
Look, I get it. You stare at your backyard and see… potential. Maybe there’s that awkward slope, or that spot where grass just refuses to grow, or perhaps you’re just tired of your boring concrete patio. A floating deck might be exactly what you need, and honestly? It’s way easier than you think.
I’ve been down this road myself, and let me tell you—floating decks are like the gateway drug of DIY projects. No digging massive holes for posts, no fighting with concrete, and (here’s the best part) most don’t even require permits. Yeah, you heard that right 🙂
What Makes a Floating Deck So Dang Perfect?
Before we jump into the ideas, let’s talk about why floating decks are having their moment. These bad boys sit right on top of the ground using deck blocks or a gravel base. No permanent foundation means you can actually move them if you change your mind later. Try doing that with a traditional deck.
The main perks? They’re budget-friendly, beginner-friendly, and they won’t have you calling your HOA for approval (in most cases). Plus, installation typically takes a weekend instead of a month.
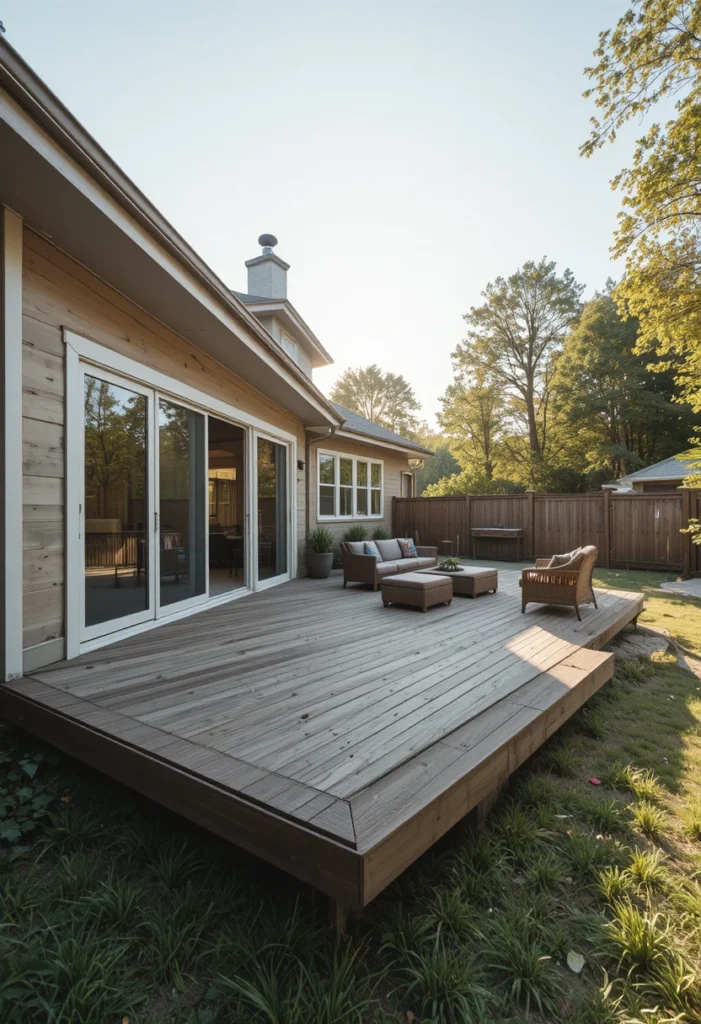
1. The Classic Ground-Level Platform
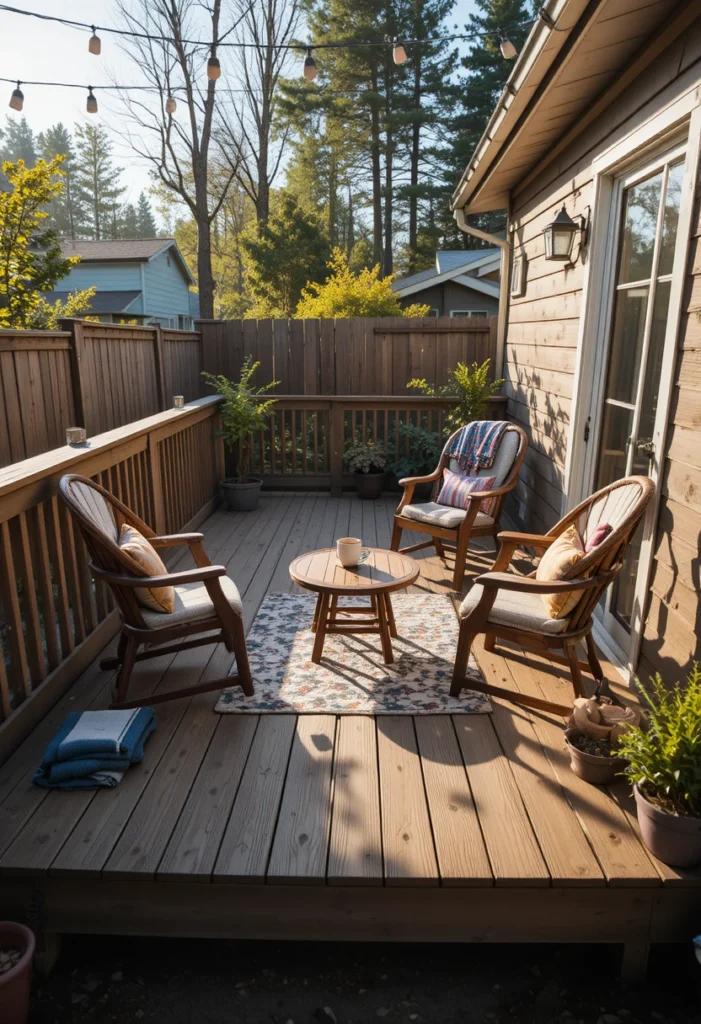
Start simple, folks. A basic 10×10 or 12×12 platform sitting flush with your yard creates an instant outdoor room. I built mine in about two days, and it transformed my neglected side yard into my favorite morning coffee spot.
Key features:
- Uses standard 2×6 or 2×4 decking boards
- Requires minimal tools (circular saw, drill, level)
- Perfect for renters since it’s non-permanent
- Costs roughly $500-800 for materials
The beauty here is versatility. Throw some outdoor furniture on it, add string lights overhead, and boom—you’ve got yourself an entertainment space.
2. Multi-Level Floating Deck
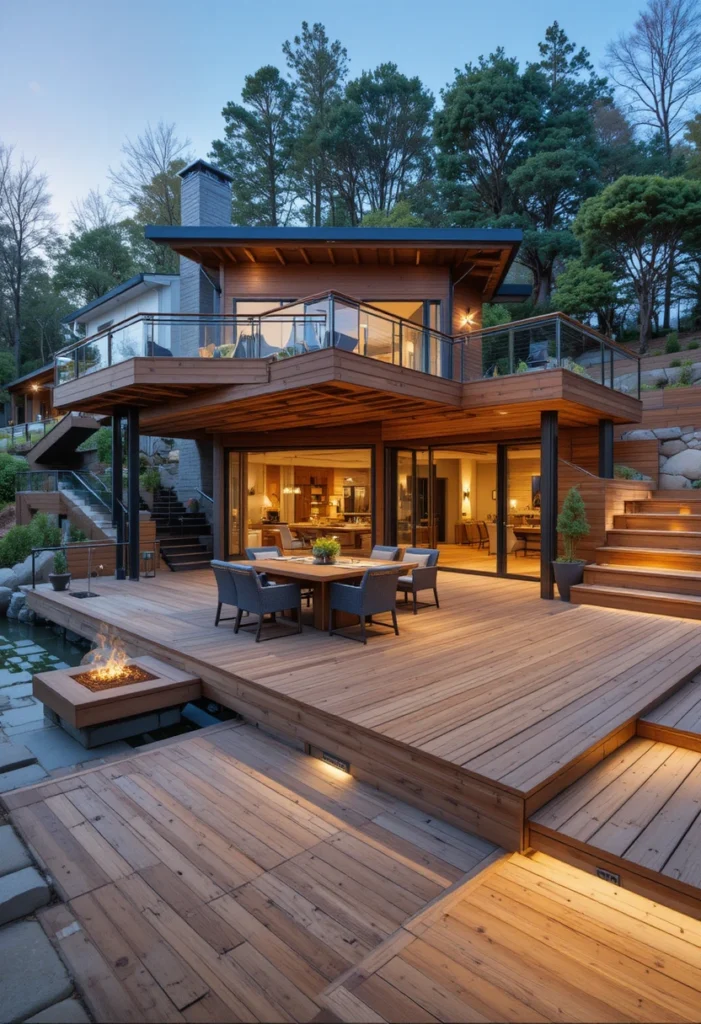
Want to get a bit fancy? Create different “zones” with multiple platform heights. I’ve seen people nail this look by building 2-3 connected decks at varying heights—one for dining, one for lounging, maybe one for a fire pit.
This works brilliantly on sloped yards where you’d otherwise need expensive grading. Each level steps down naturally with the terrain. The visual interest alone makes your backyard look professionally designed (even if you’re totally winging it like I did).
3. The Corner Hideaway
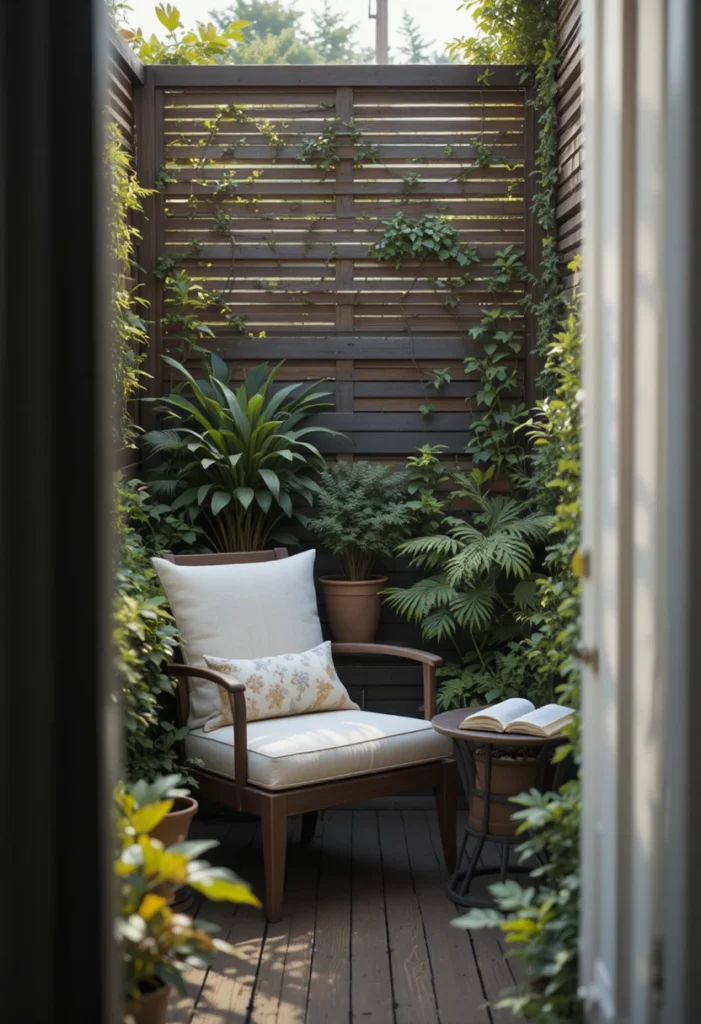
Got an awkward corner that’s basically unusable? Tuck a small floating deck in there. I’m talking 6×8 feet max. This creates the coziest reading nook or meditation space you never knew you needed.
Add some privacy screens on two sides, maybe some potted plants, and suddenly that dead zone becomes the most coveted spot in your yard. FYI, corners also provide natural wind protection—something I appreciated after building mine.
4. Around-the-Tree Deck
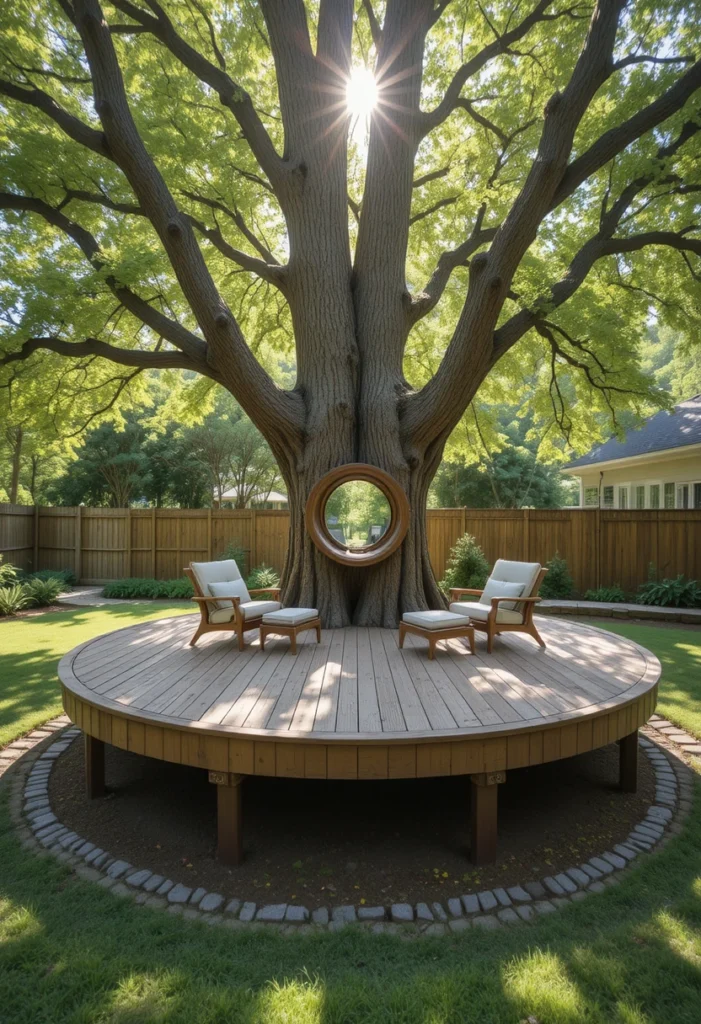
Trees are nature’s built-in shade providers, so why not build around them? A floating deck with a circular or square cutout for your tree trunk gives you instant shade without the expense of a pergola.
Important considerations:
- Leave at least 2-3 inches of space around the trunk for growth
- Use flexible materials for the cutout edge
- Ensure proper drainage around the tree roots
- Never attach anything directly to the tree
Yeah, the tree will keep growing, but that breathing room handles it. Plus, it looks ridiculously good in photos (hello, Pinterest-worthy backyard).
5. Gravel-Based Floating Deck
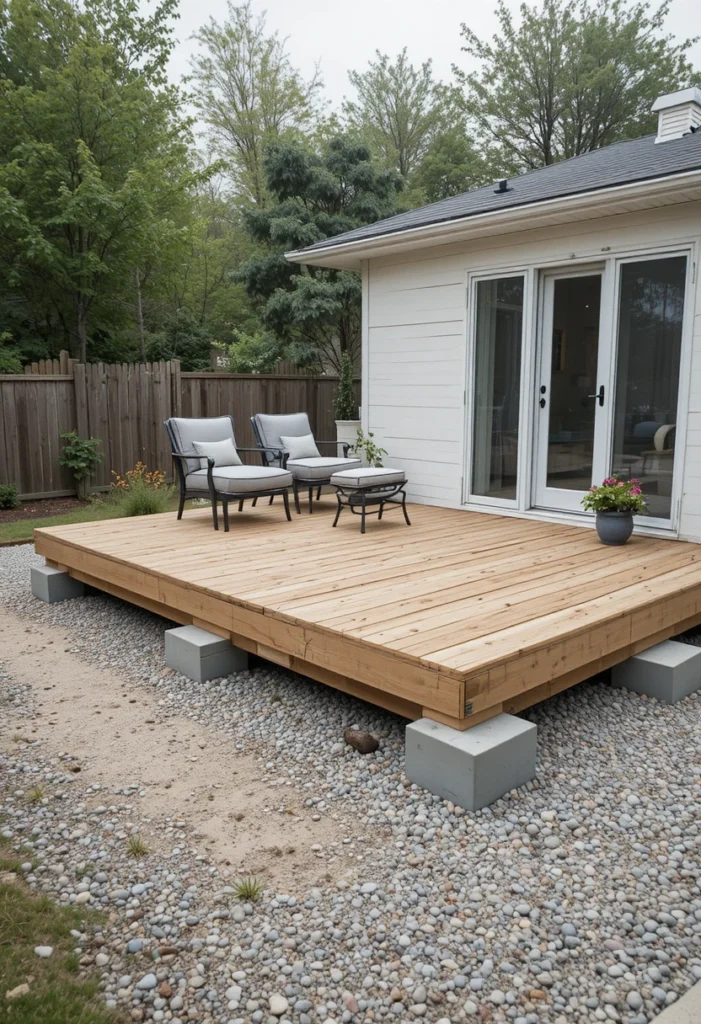
This one’s my personal favorite for stability. Instead of just deck blocks, you create a proper gravel base—about 4-6 inches deep. Then set your deck blocks on top. The gravel provides drainage and prevents settling.
Does it take a bit more work upfront? Sure. Will your deck still be perfectly level five years later? Absolutely. I’ve had mine for three years now, and it hasn’t budged an inch.
6. Composite Decking Upgrade
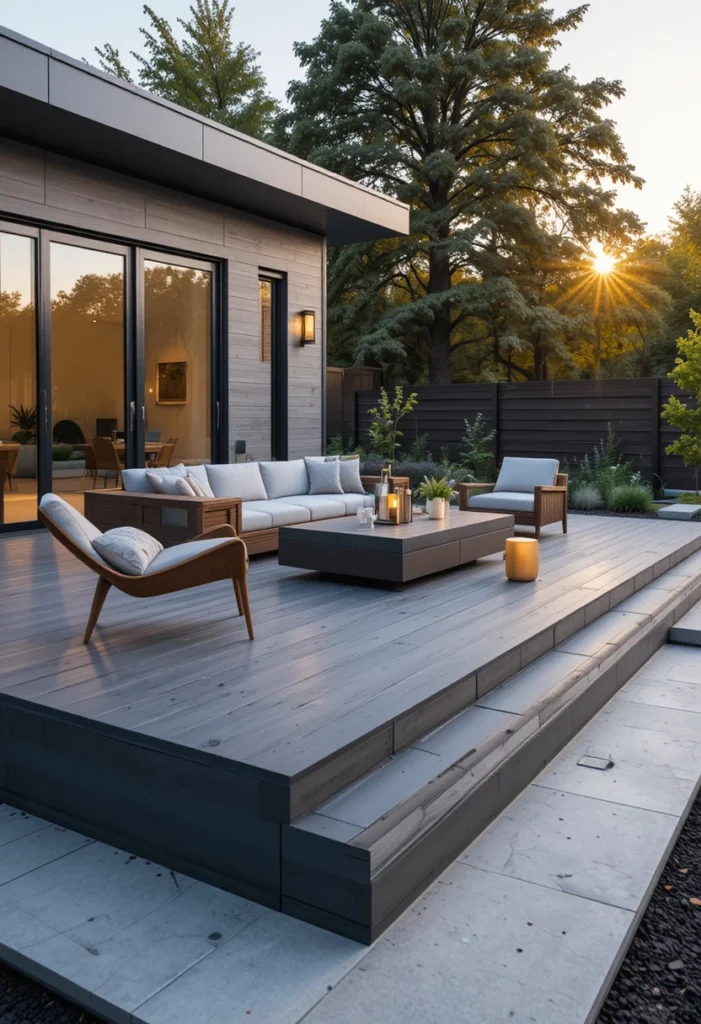
Okay, so this costs more upfront—maybe double a pressure-treated wood deck. But composite materials mean zero maintenance. No staining, no sealing, no splinters, no worrying about rot.
For a floating deck, this makes even more sense since you’re building something that’s supposed to last without major foundation work. I went composite on my second deck, and honestly? The time saved on upkeep alone was worth every extra dollar.
7. Pallet Deck (Budget Champion)
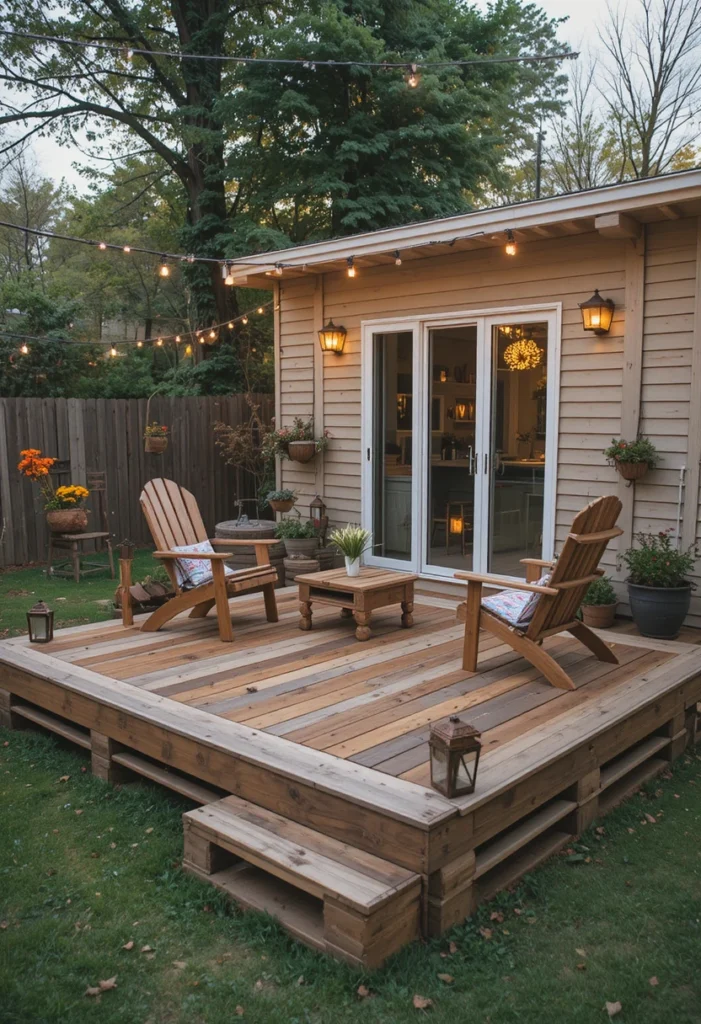
Hear me out. Free or cheap pallets can become a rustic floating deck if you’re willing to put in the elbow grease. You’ll need to disassemble them, remove nails, sand everything, and treat the wood. But we’re talking maybe $100-200 total investment.
| Material Cost | Time Required | Skill Level | Durability |
|---|---|---|---|
| $100-200 | 3-4 days | Beginner | 3-5 years |
| Basic tools needed | Labor intensive | YouTube tutorials help | With proper treatment |
Is it perfect? Nope. Will it last as long as premium materials? Definitely not. But it’s an amazing starter project that teaches you the basics without breaking the bank.
8. The Spa/Hot Tub Platform
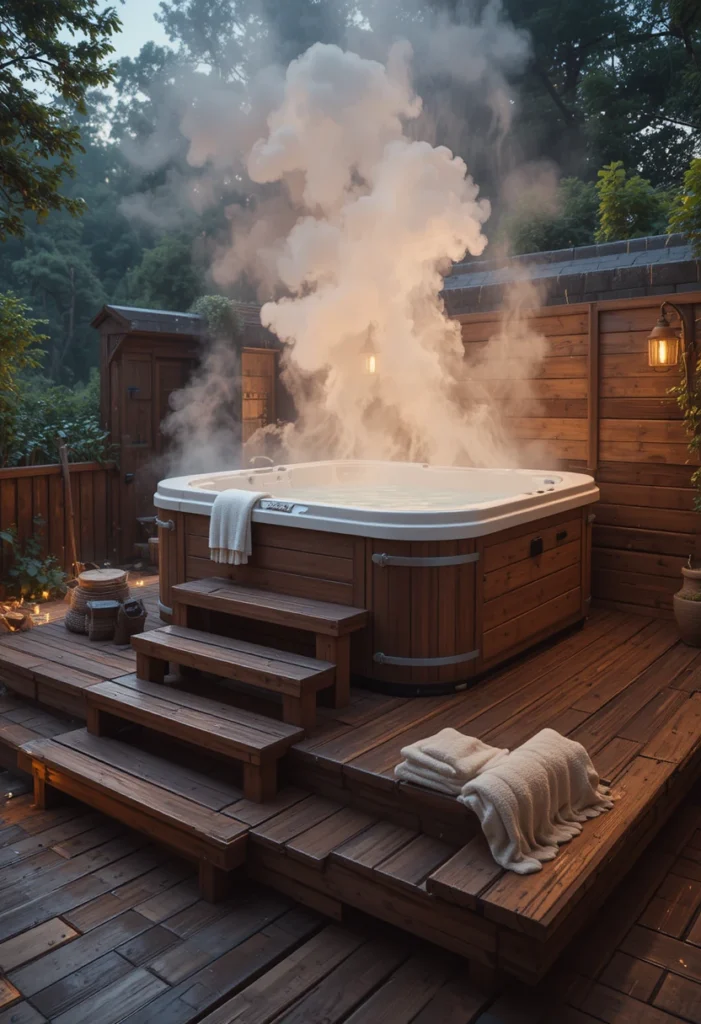
Planning to add a hot tub? Build a floating deck as the base. This distributes weight better than setting it directly on grass and creates a finished look. Plus, you get extra deck space around the tub for towels, drinks, or just sitting.
Critical specs:
- Reinforce joists to handle 100+ pounds per square foot
- Ensure perfectly level construction (hot tubs are unforgiving)
- Consider access panels for plumbing/electrical
- Build at least 12 inches larger than the tub on all sides
I’ve seen people skip the reinforcement step, and let me tell you—watching a hot tub slowly sink into a sagging deck is painful (and expensive).
9. Fire Pit Surround Deck
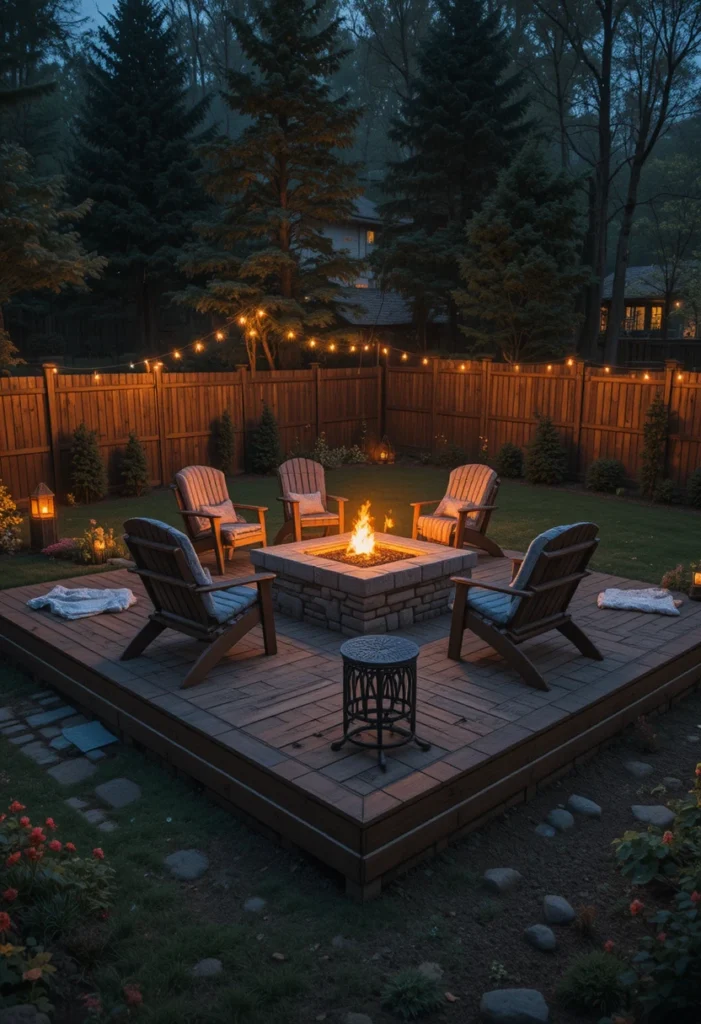
Build your floating deck in a square shape with the center left open for a fire pit. This creates built-in seating all around and contains the fire feature nicely. IMO, this setup beats random chairs around a fire pit any day.
Just make sure you’re using fire-rated materials near the pit itself. And check local fire codes—some areas get really specific about this stuff :/
10. Modular Deck Tiles
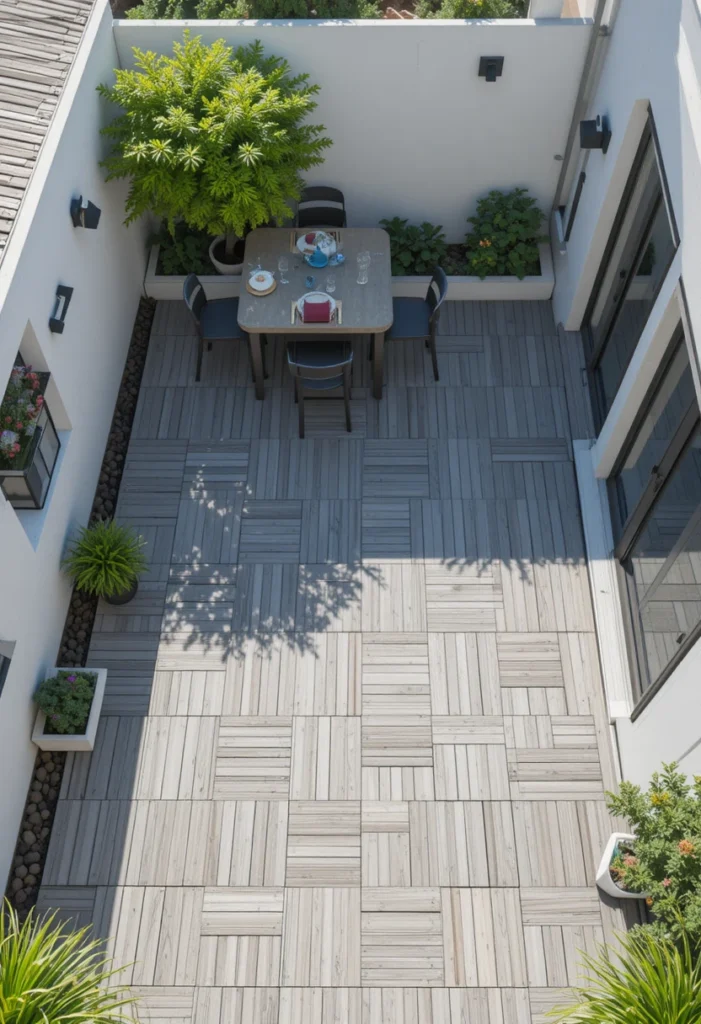
Not ready to commit to a full build? Modular interlocking deck tiles are your friend. These snap together like puzzle pieces and sit directly on level ground. You can literally install a 10×10 deck in an afternoon.
The catch? They’re more expensive per square foot than building from lumber. But the convenience factor is huge, especially if you’re not particularly handy or don’t have much time.
11. L-Shaped Deck Configuration
This works beautifully for corner lots or when you want to wrap around part of your house. The L-shape creates distinct zones naturally—one arm for dining, one for lounging. It also makes smaller yards feel larger by defining different areas.
I’ve seen this done where one section sits in full sun and the other stays shaded. Genius move if you ask me, since it gives you options throughout the day.
12. Narrow Walkway Deck

Transform an awkward narrow space along your house into a functional walkway deck. This keeps muddy feet off your lawn and creates a clean path. It’s especially clutch if you’ve got side yard access that’s always gross and muddy.
Keep it simple—4 feet wide, pressure-treated lumber, and you’re golden. This is probably the least glamorous option, but it’s stupid practical.
13. Raised Garden Bed Integration
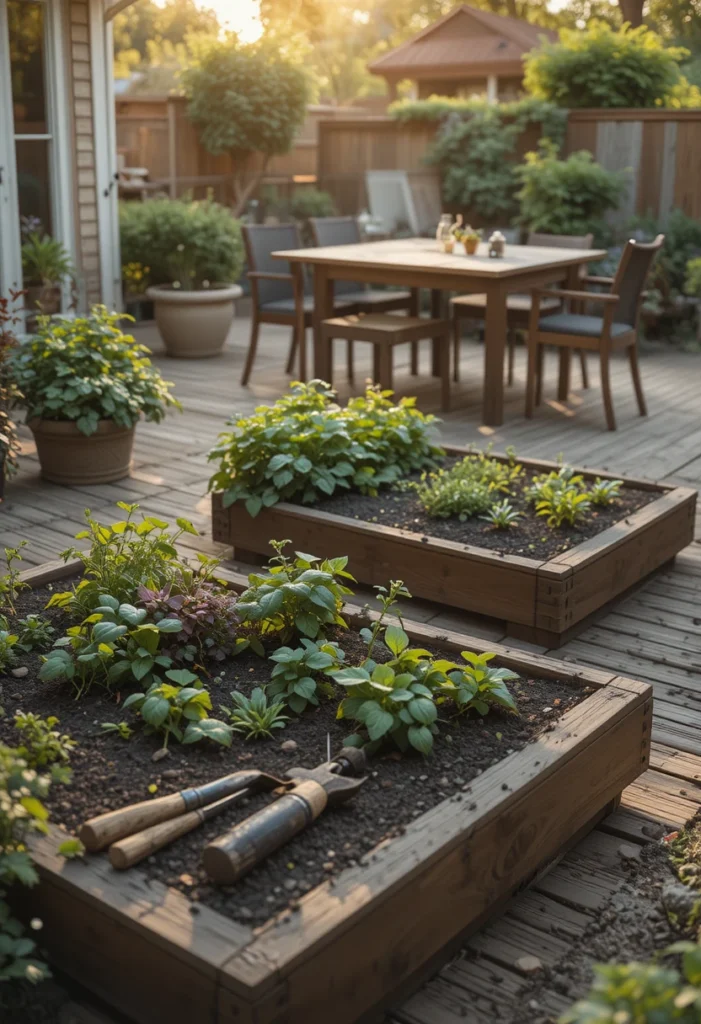
Here’s where it gets creative. Build your floating deck with one or more sections that include built-in raised garden beds. The deck becomes both entertainment space and productive garden area.
This works especially well for herbs and vegetables you use for outdoor cooking. Everything’s right there—no trudging across the yard mid-grilling session to grab fresh basil.
14. Covered Floating Deck
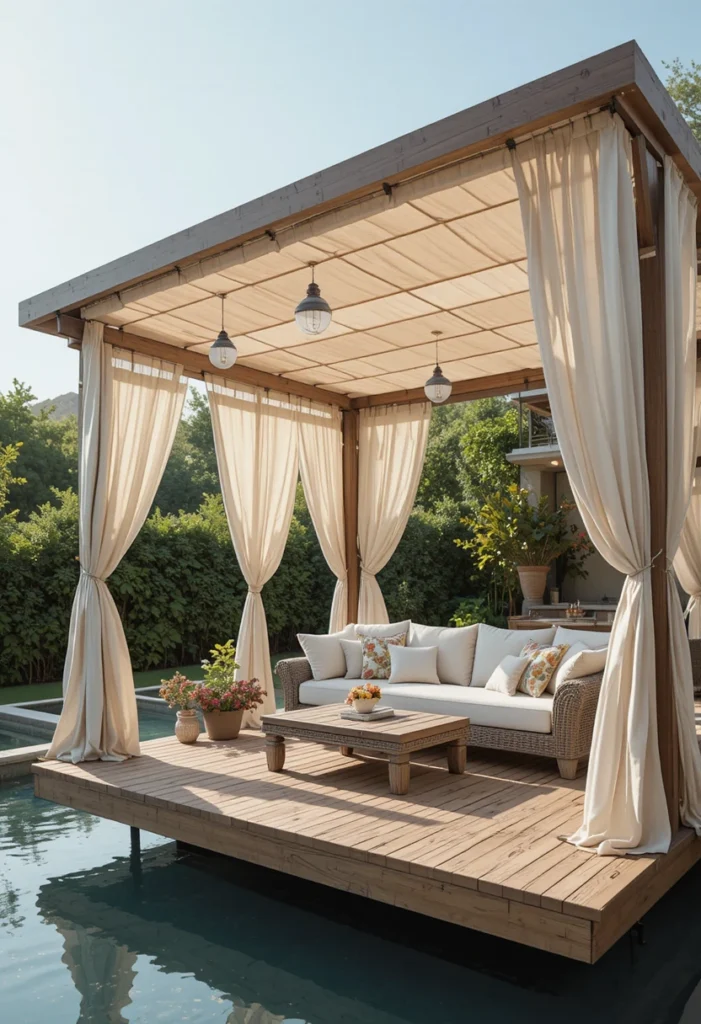
Add a simple pergola or shade sail over your floating deck for instant protection from sun and light rain. This extends usability significantly. I added a retractable awning to mine, and now I actually use the space even during midday summer heat.
The key is keeping the cover structure independent from the deck itself. You don’t want the weight bearing down on your floating platform.
15. Mix-and-Match Materials Deck
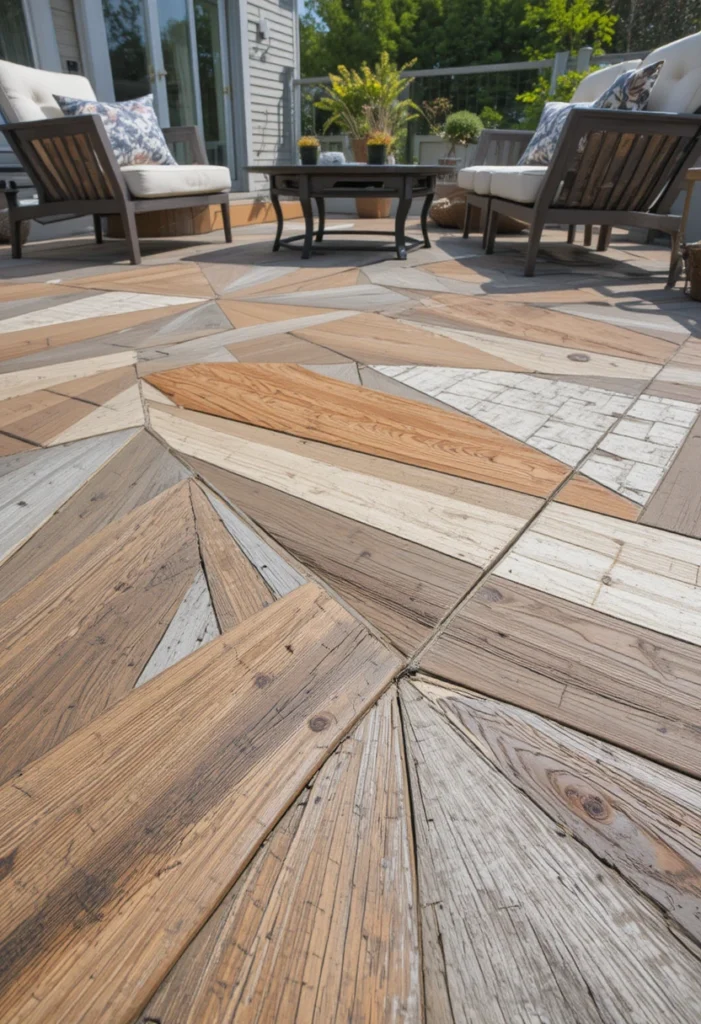
Who says your entire deck needs matching wood? Mix composite with wood, add some tile insets, or incorporate different stain colors to create patterns. This adds visual interest and lets you splurge on premium materials just in high-traffic areas.
I’ve done this with composite where people walk most and regular wood everywhere else. Saved money and got the benefits of both materials. Win-win.
Getting Started: The Actual Process
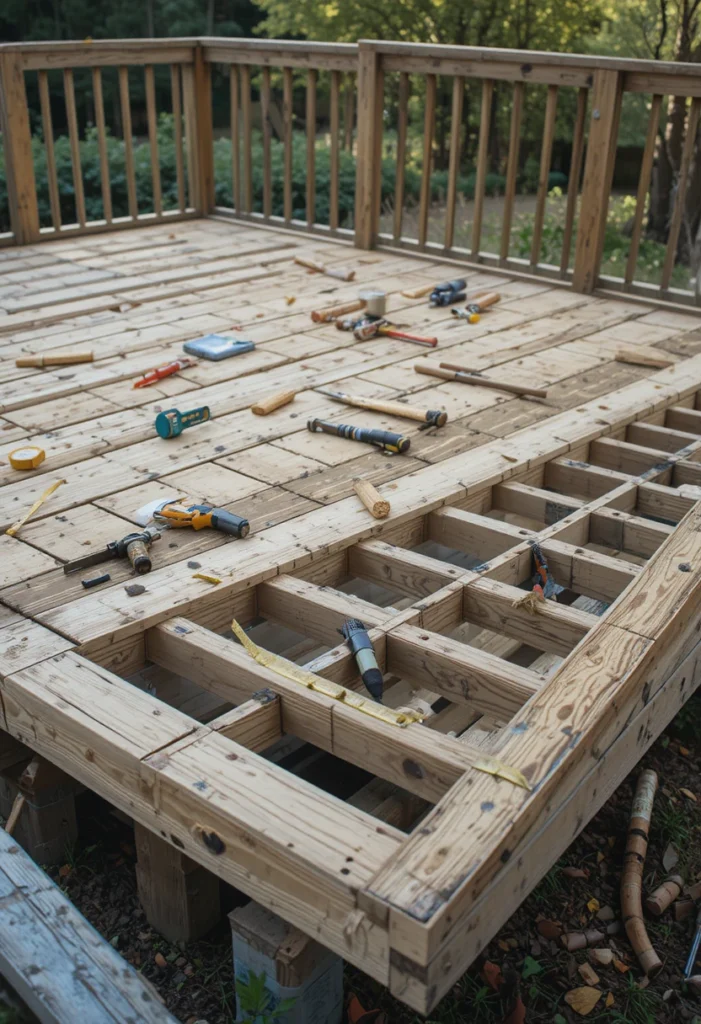
Ready to build? Here’s what you absolutely need to know before making that first cut:
Essential steps:
- Check local building codes (even floating decks have rules sometimes)
- Level your build site properly (this matters more than you think)
- Use quality deck blocks rated for your climate
- Space joists at 16 inches on center maximum
- Allow proper drainage underneath
The biggest mistake I see? People rushing the leveling step. Take your time here. A level foundation means everything else goes smoothly.
Final Thoughts
Look, floating decks aren’t rocket science, but they do require some planning. Start with a simple design for your first build. You can always add complexity later once you’ve got one under your belt.
The transformation these create is honestly remarkable. That eyesore section of your yard becomes your favorite hangout spot. And the satisfaction of building something functional with your own hands? That’s hard to beat.
Now grab some lumber and get building. Your backyard’s been waiting long enough.