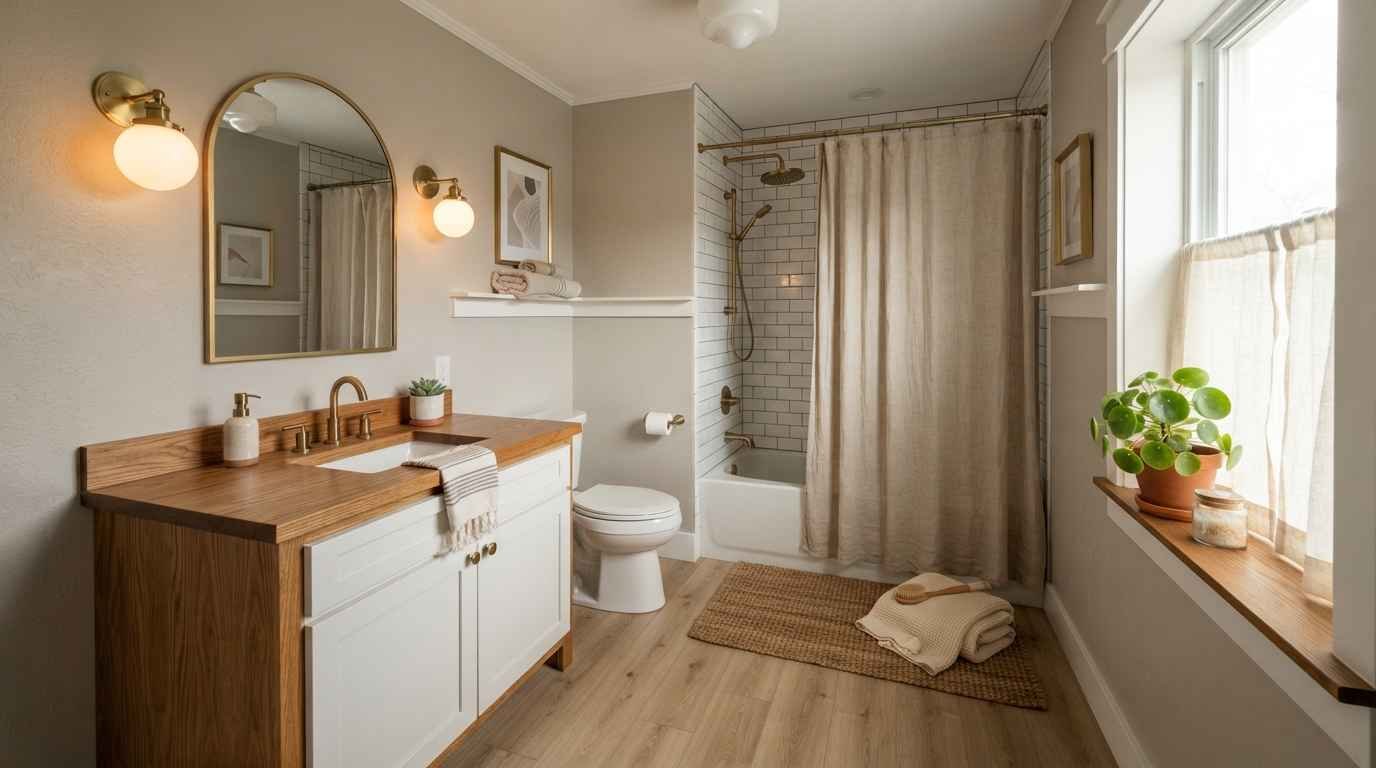
My bathroom used to look like a place where design trends went to die.
Beige tile, a mirror straight from 1998, and a shower curtain I’m pretty sure came with the apartment.
I fixed it for under $400, room by room, weekend by weekend. So when I say these ideas actually work, I mean I’ve lived with the results.
If you’re scrolling for inspiration boards and dreaming up your next pin, you’re in the right spot.
None of this requires a contractor, a second mortgage, or a trip to a fancy showroom.
Just some patience, a few tools you probably already own, and a willingness to get a little paint on your hands.
Here’s what actually moved the needle for me, plus a handful of ideas I’ve stolen from friends who redid their own spaces on a budget.
Start with paint, because it changes everything
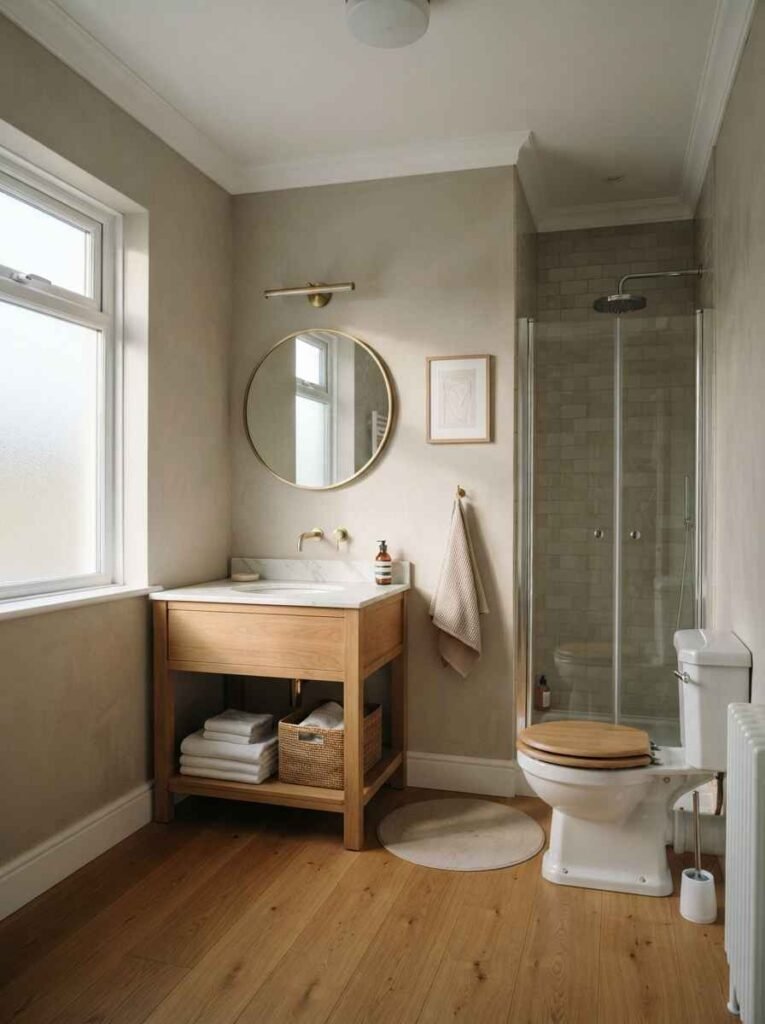
Paint is the cheapest transformation you can make in any room, and bathrooms are no exception. A gallon runs $30 to $50 and covers most powder rooms twice over.
Warm neutrals (think greige, oat, or soft clay) make small bathrooms feel bigger and calmer than stark white ever will.
I went with a warm taupe in my own bathroom and it instantly looked less like a hospital and more like a place I wanted to spend time in.
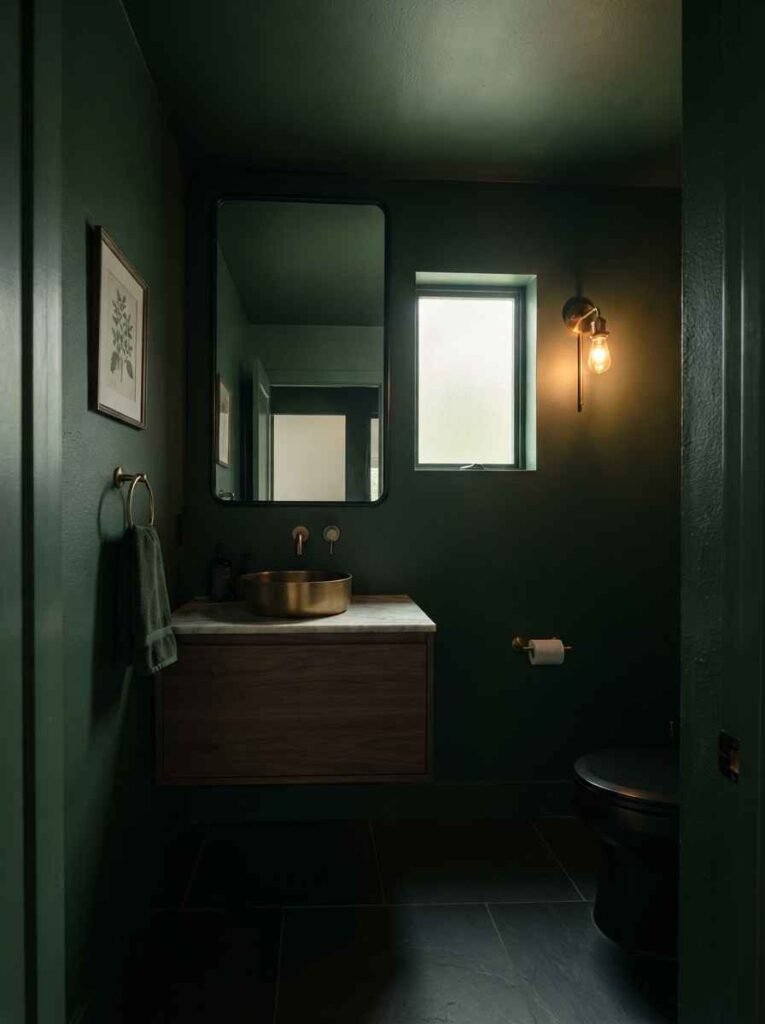
Deeper colors work too, and honestly, they might work better.
A moody green or navy on all four walls creates what designers call a “cocoon effect,” where the room feels intentional instead of cramped.
IMO this is the single most underrated bathroom move: go bold on a small room because you can always repaint it in a weekend if you hate it.
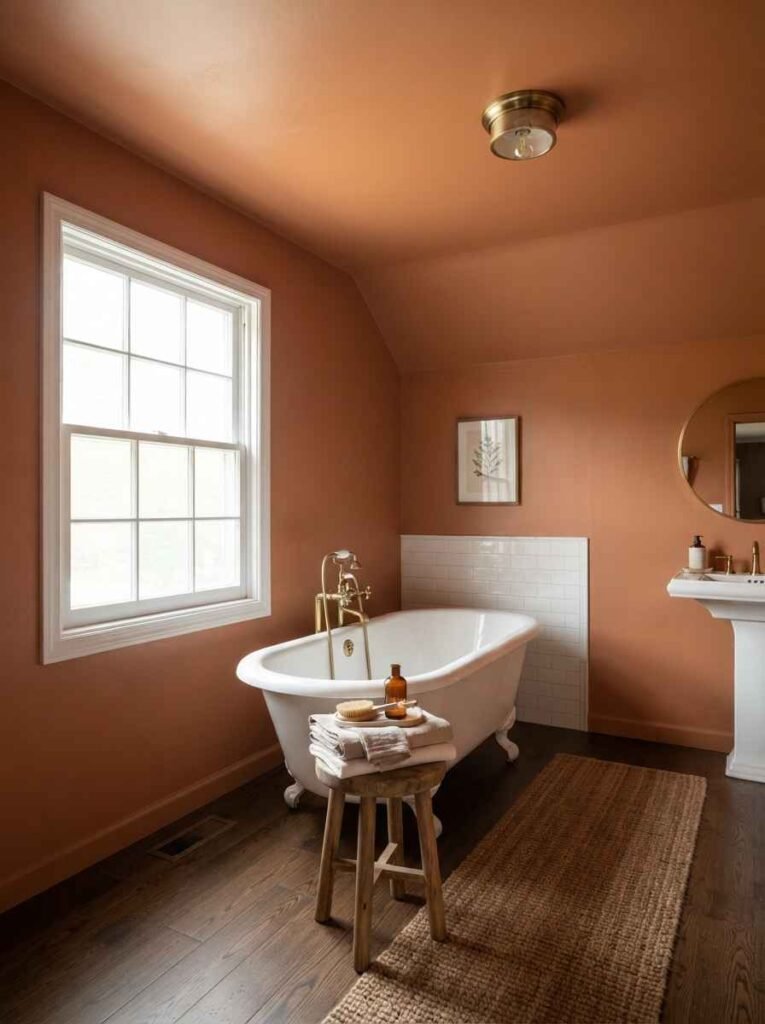
Don’t skip the ceiling. Painting it the same color as the walls, a trick called “color drenching,” makes low ceilings feel taller because your eye stops noticing where the wall ends.
Reinvent the vanity without replacing it
Buying a new vanity can run $500 easily. Repainting the one you have costs about $40 in supplies and a Saturday afternoon.
- Sand, prime, and paint the cabinet in a color that contrasts with your walls. Black or deep green against white walls looks custom-built.
- Swap the hardware. New knobs and pulls run $2 to $8 each and change the whole personality of a piece.
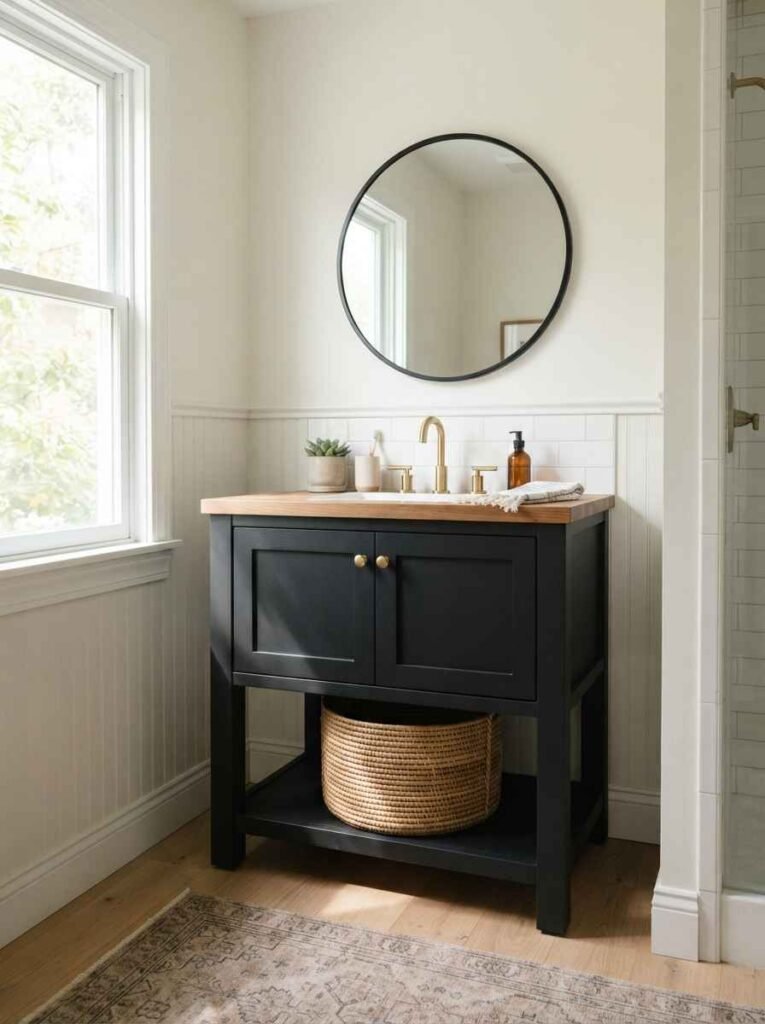
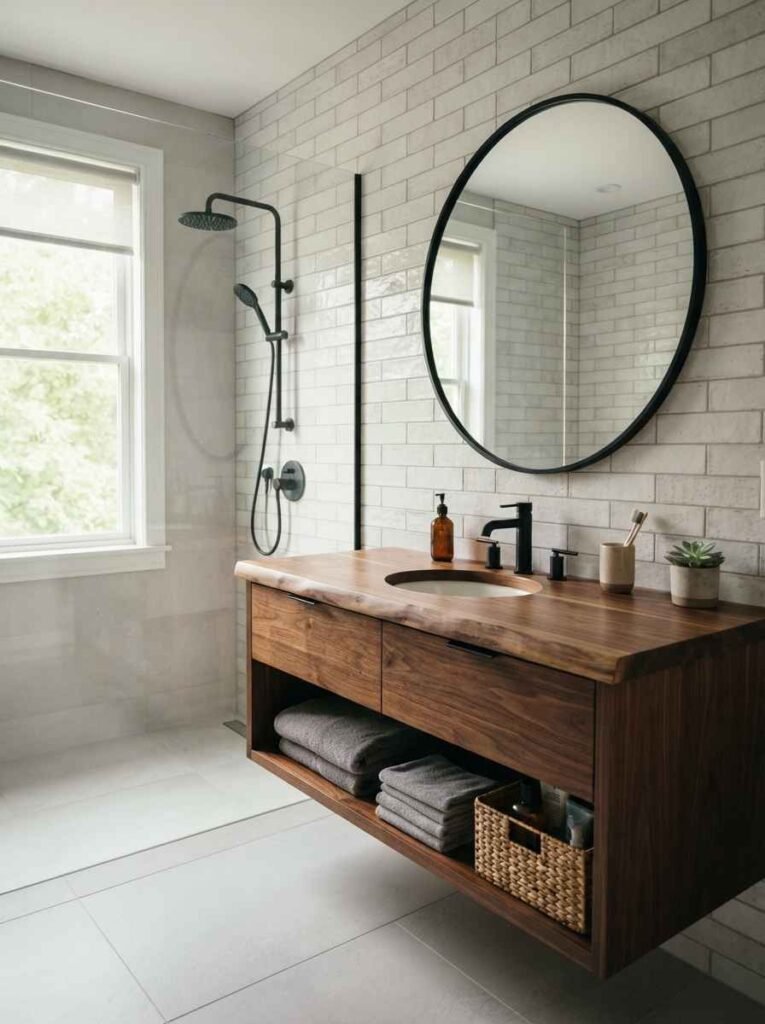
- Add a wood countertop or butcher block if your current counter is chipped laminate. Sealed properly, it holds up fine in a bathroom.
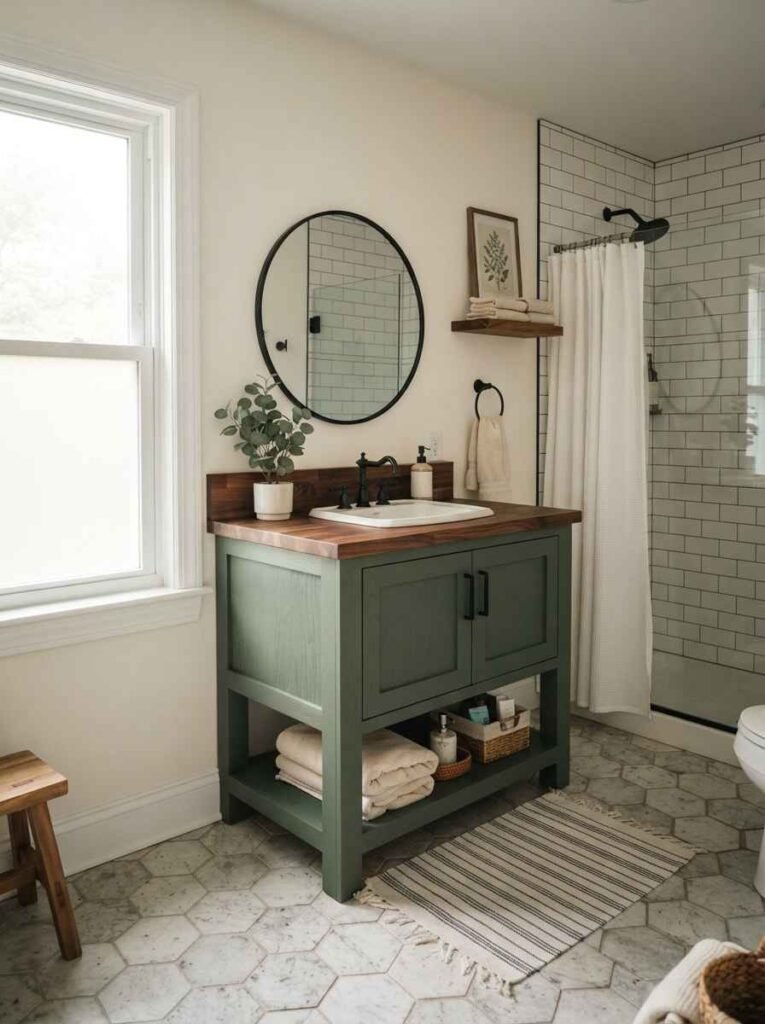
I redid my vanity in an evening and had three people ask where I bought it. I did not tell them it used to be the color of wet sand.
Play with tile without tiling anything
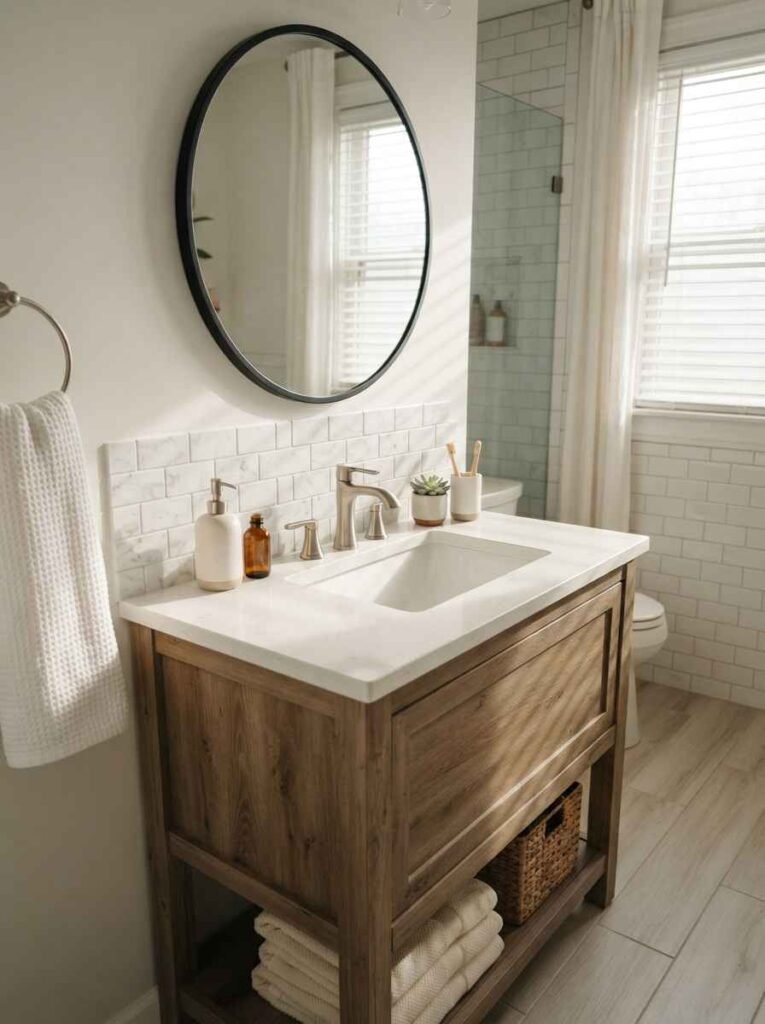
Real tile work is gorgeous, but it’s also expensive and messy. Peel-and-stick tile has come a long way.
Better Homes & Gardens found that a typical 5×8-foot bathroom can run $1,000 to $1,500 for standard tile materials and installation, while peel-and-stick versions cost a fraction of that for the same footprint.
Good places to use it:
- A small backsplash behind the sink
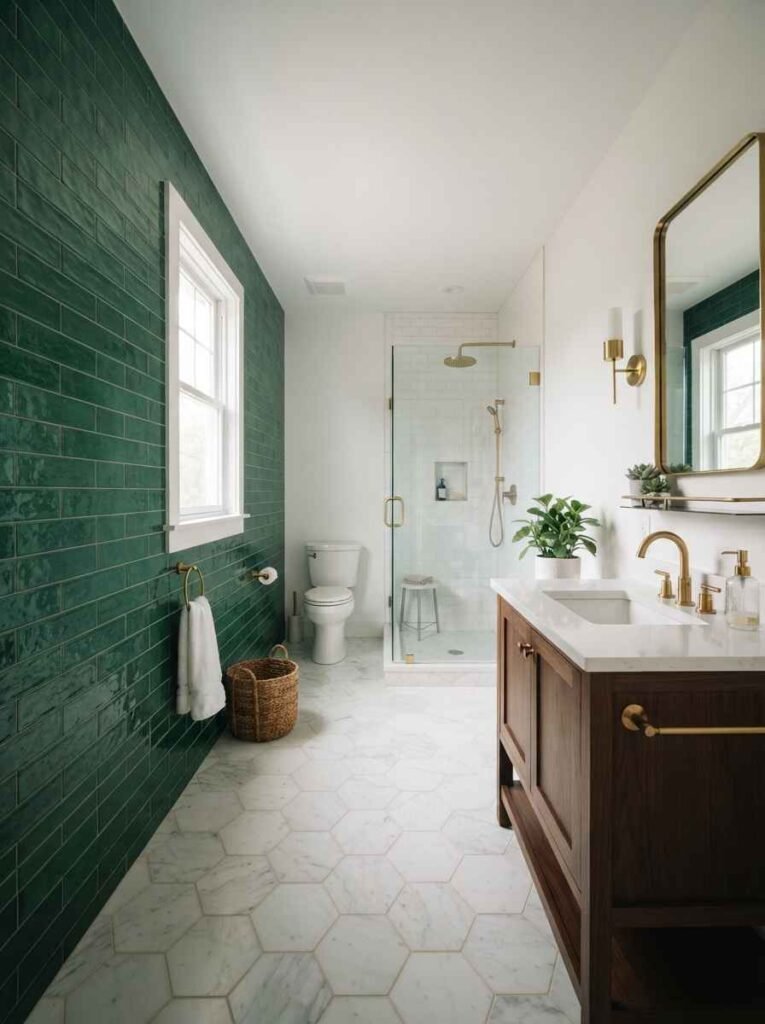
- A statement accent wall
- Stair-riser style patterns on a half wall
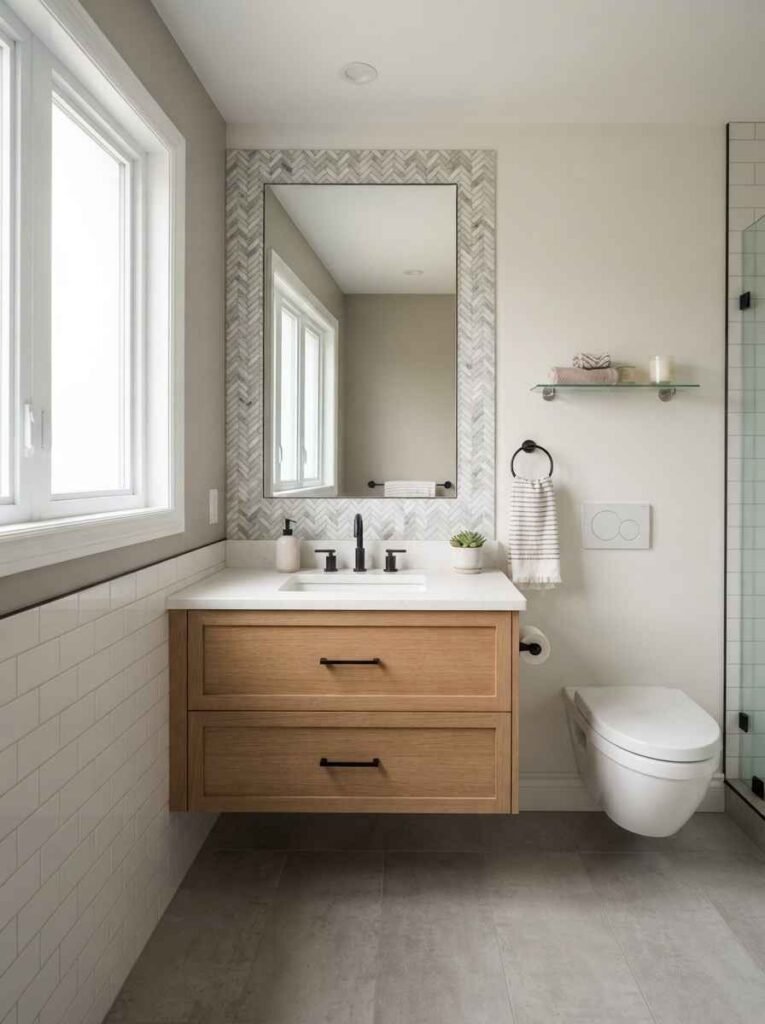
- Around a mirror as a frame
The key is committing to a small, contained area rather than trying to cover an entire shower surround.
It photographs beautifully, and it comes off clean if you’re renting.
Mirror, mirror, actually matters
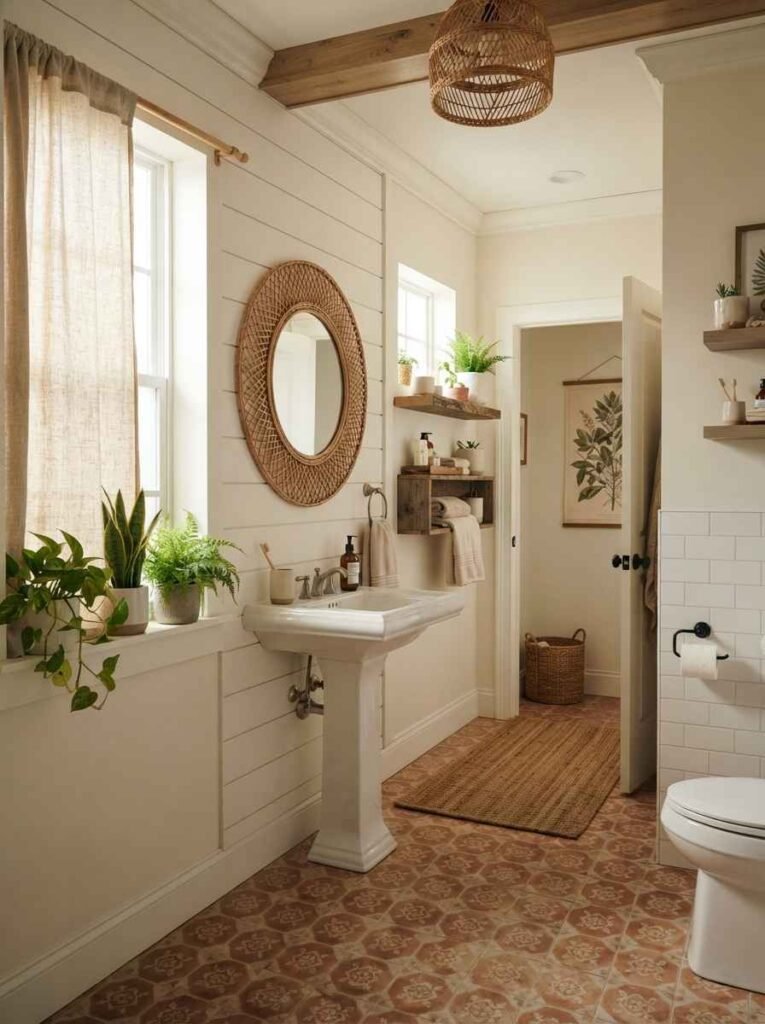
Builder-grade mirrors are the bathroom equivalent of beige carpet.
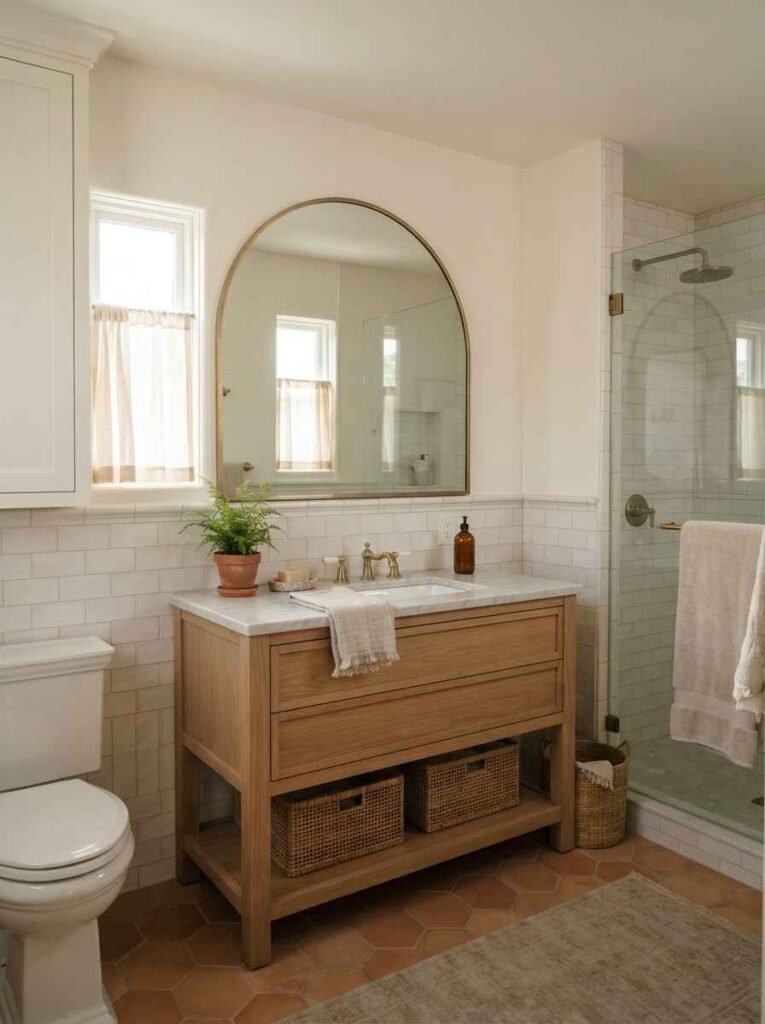
Swapping yours for something with a frame, an arch, or an unusual shape does more for the room’s personality than almost anything else on this list.
Round or arched mirrors soften a bathroom full of straight lines and right angles.
Framed mirrors in black metal, wood, or rattan add texture without adding clutter.
And if your budget is basically zero, a peel-and-stick mirror frame kit works surprisingly well.
Let there be (better) light
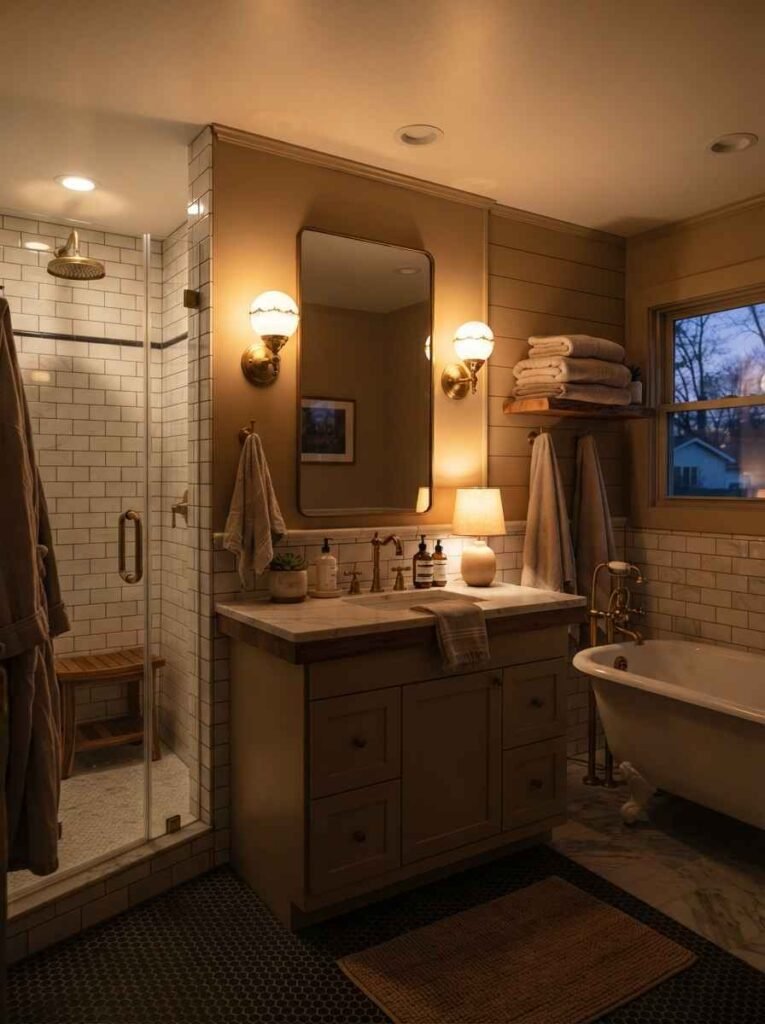
This is the idea people skip, and it’s the one that changes photos the most. A single harsh overhead bulb makes everything, including you, look tired. Layering your lighting fixes that without an electrician bill in most cases.
Sconces at eye level beside the mirror cut shadows dramatically compared to a light mounted above it. Interior designers generally recommend mixing overhead fixtures with wall lights and smaller accent pieces so a room has flexibility instead of relying on one flat source, and a bathroom benefits from that as much as any living room does.
If rewiring feels like too much, plug-in sconces and battery LED strips get you most of the way there.
Warm white bulbs (2700K to 3000K) flatter skin tones far better than the cool white ones most builders install by default.
Texture is doing more work than color
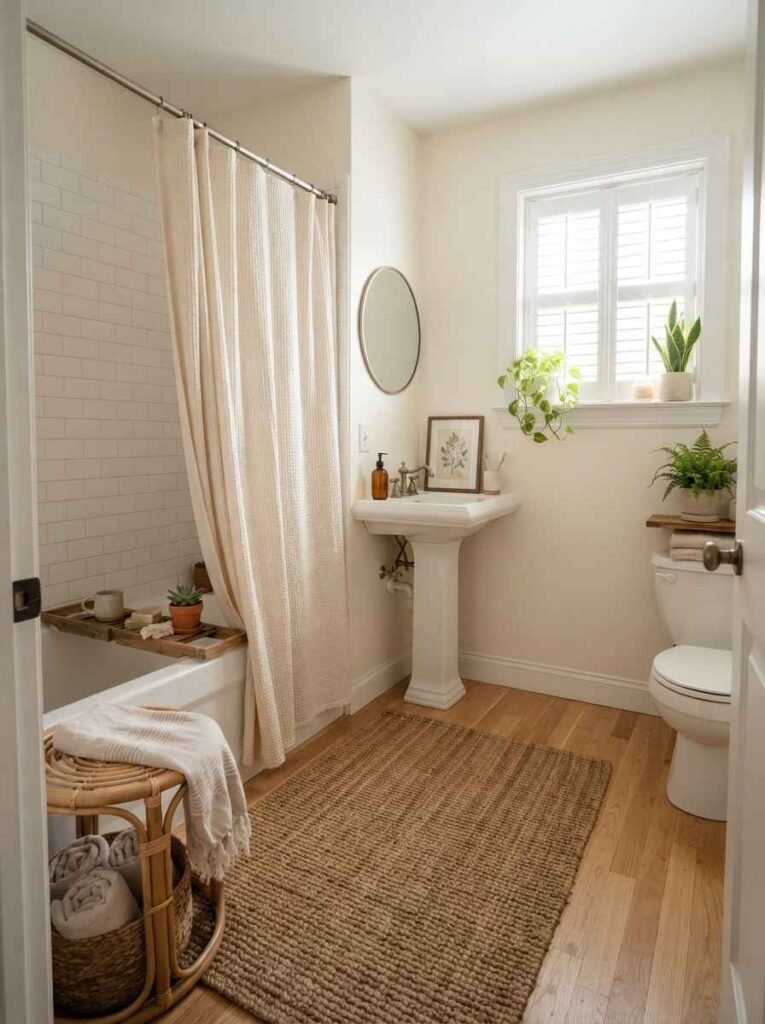
Ever notice how the bathrooms you actually save on Pinterest usually mix at least three textures?
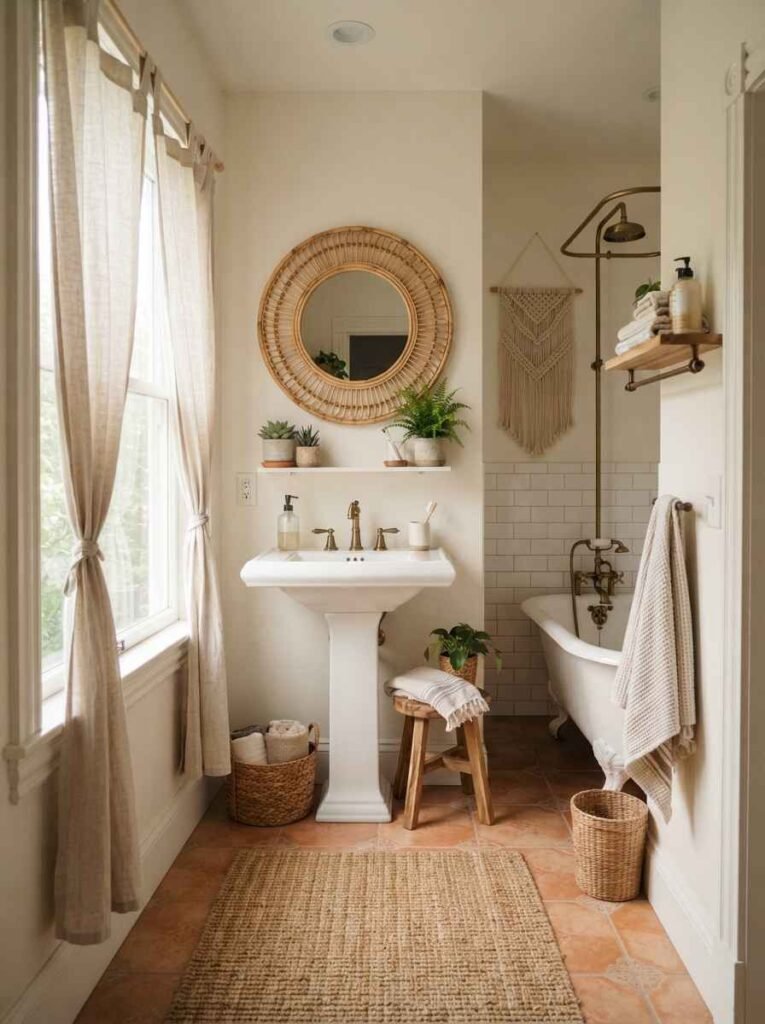
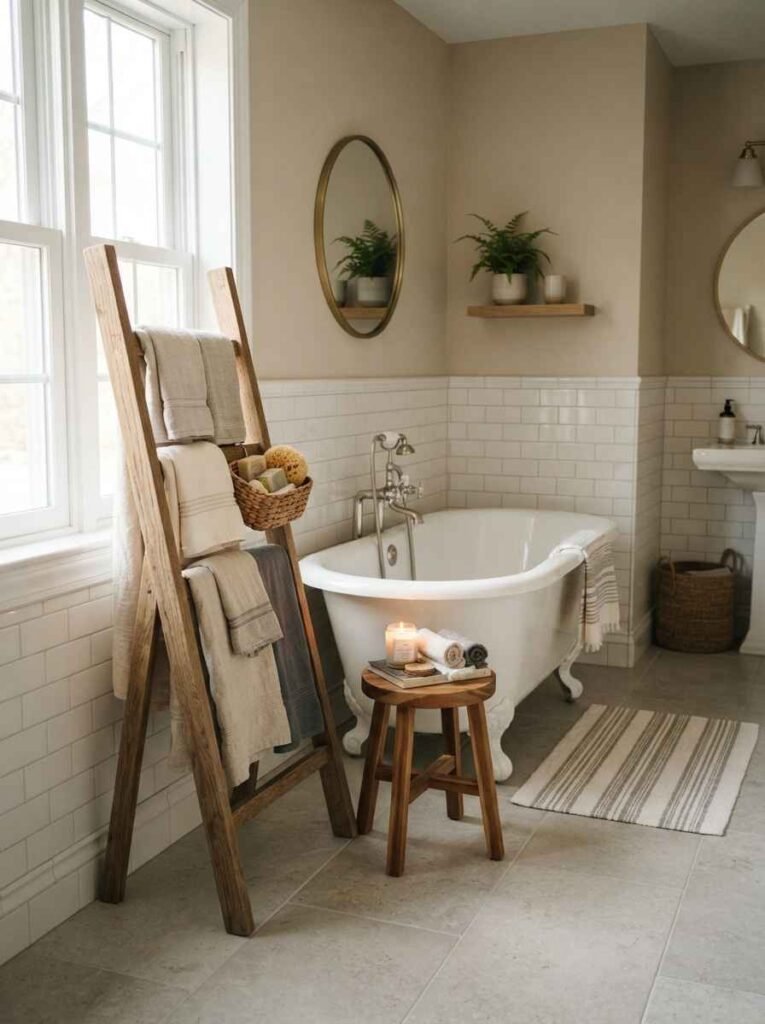
Woven baskets, a linen shower curtain, a rattan stool, a stone soap dish.
None of that is expensive individually, but together it reads as “designed” instead of “decorated in one trip to a big box store.”
A few low-cost texture additions:
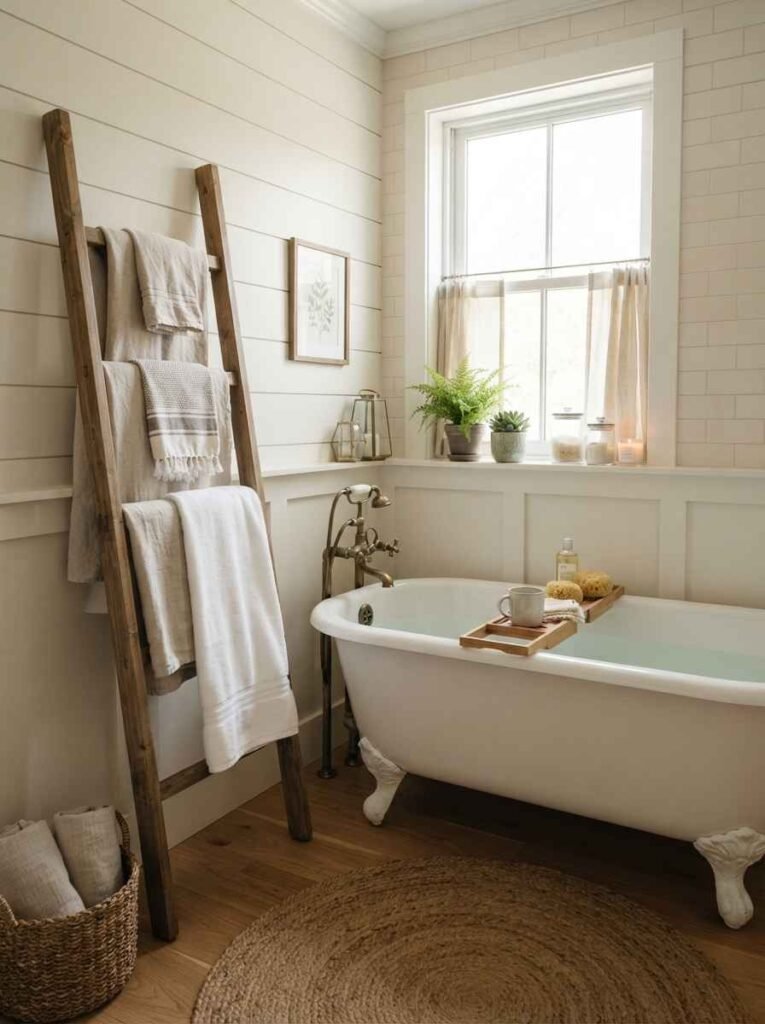
- A woven or jute bath mat instead of plush white
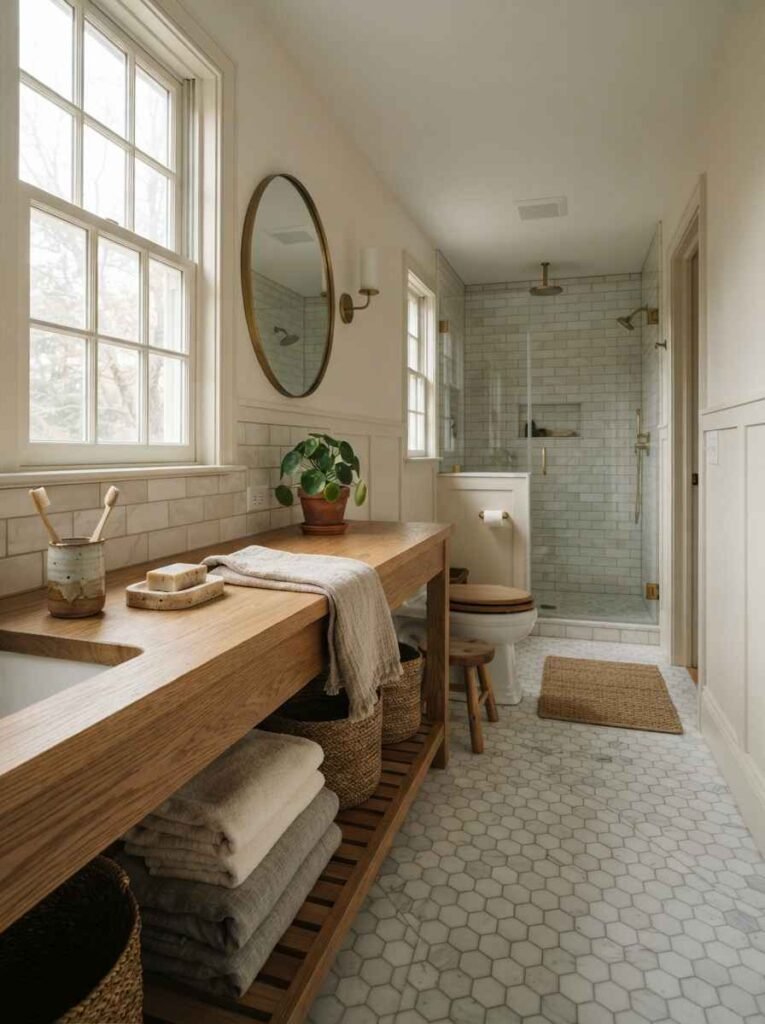
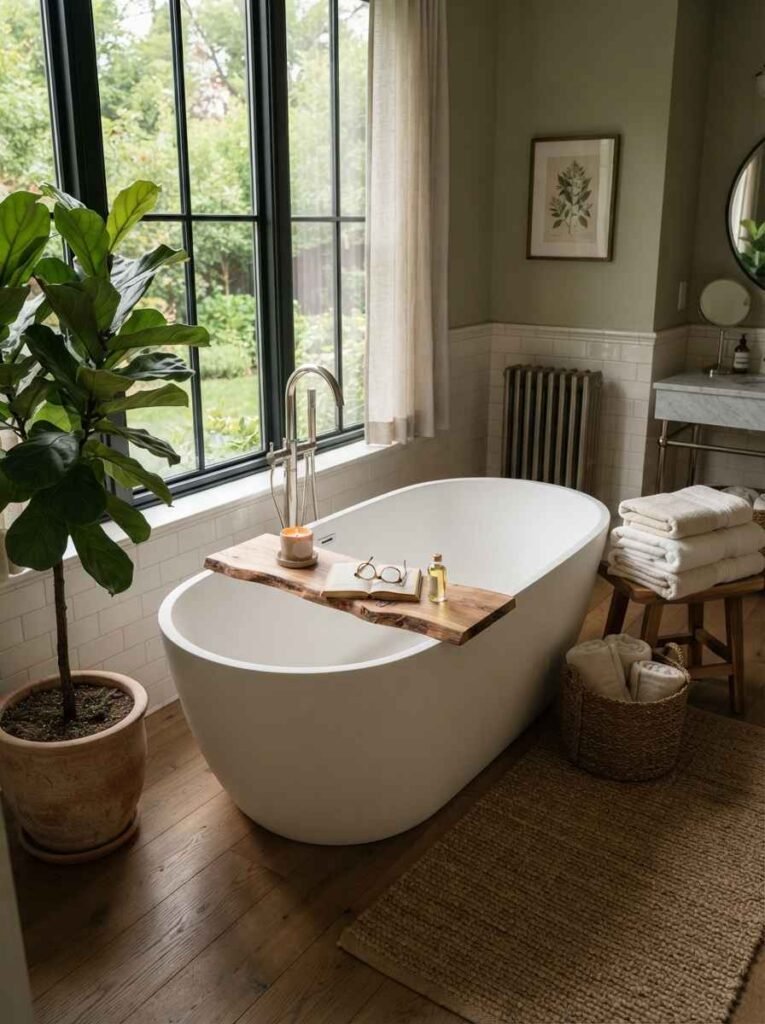
- A wood or bamboo bath tray across the tub
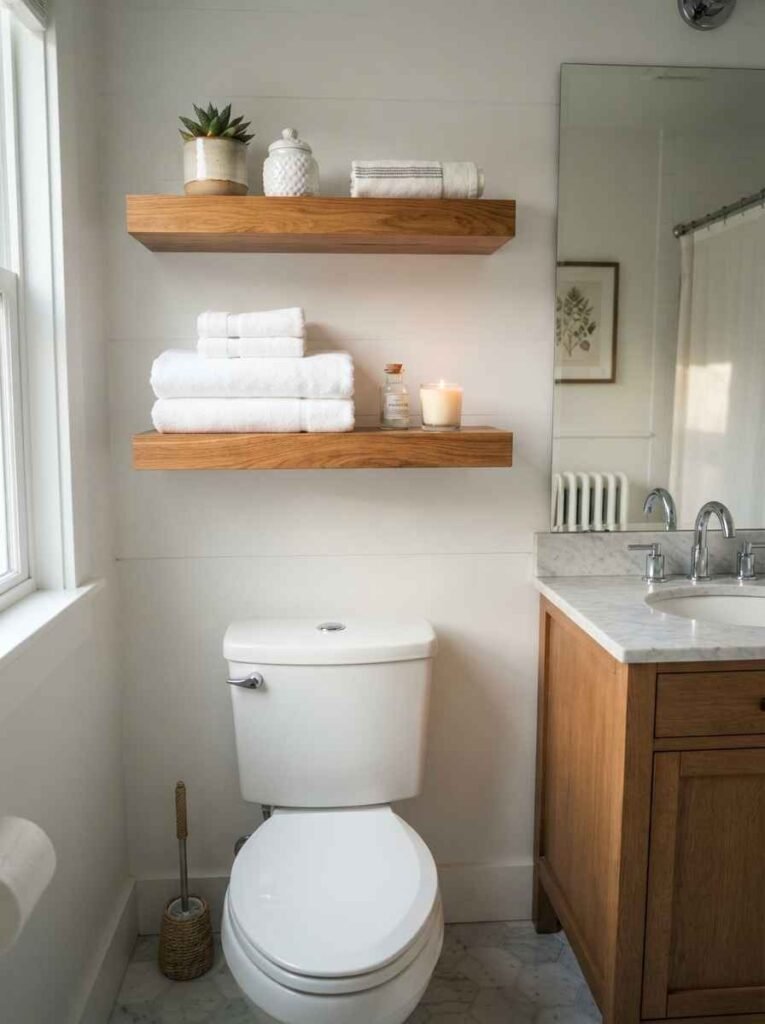
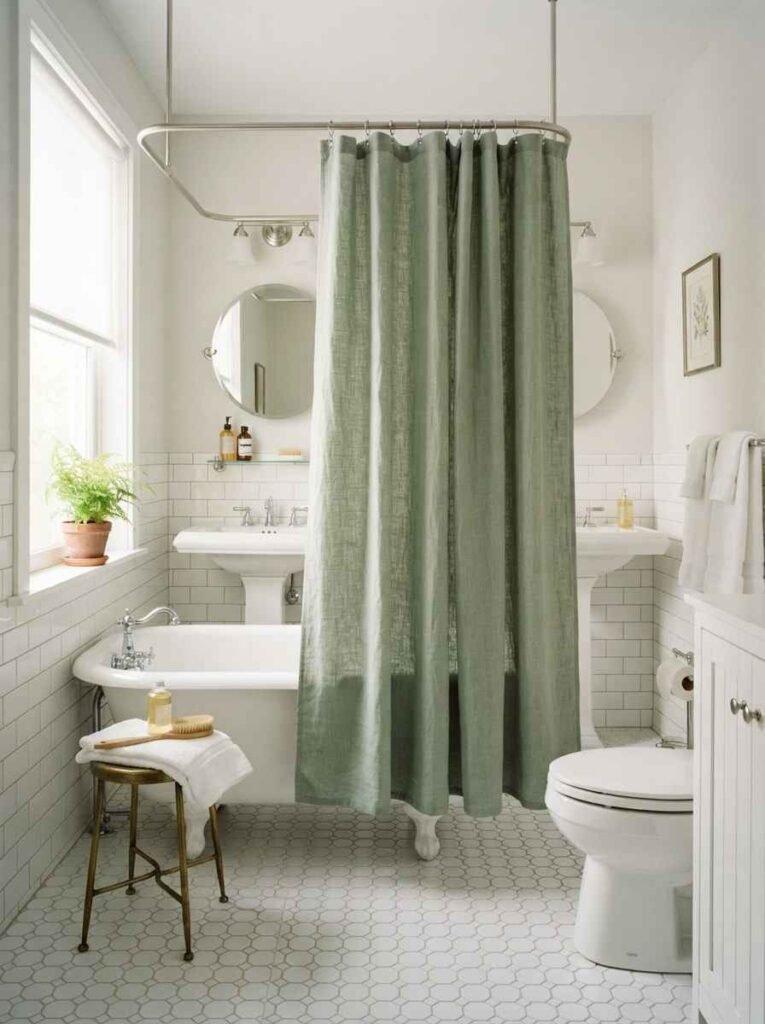
- A linen or waffle-weave shower curtain
- Ceramic or stone accessories instead of plastic
Small storage upgrades that photograph well
Clutter kills any aesthetic, no matter how nice your paint color is. And unlike a full remodel, storage fixes are cheap and immediate.
| Idea | Approx. cost | Why it works |
|---|---|---|
| Floating shelf | $15–$30 | Adds display space without eating floor room |
| Woven baskets under sink | $10–$20 each | Hides clutter, adds texture |
| Ladder towel rack | $25–$45 | Doubles as decor and storage |
| Wall-mounted caddy in shower | $15–$25 | Removes bottle clutter from tub edge |
I added two floating shelves above my toilet and finally had somewhere to put candles that weren’t balanced precariously on the tank lid.
Budget swaps that punch above their price
Some upgrades are just objectively good value. Here’s where I’d spend first if you’re working with a tight number:
- New shower curtain and rings. Sounds small, but a curtain in the wrong color drags down an otherwise nice room.
- A stylish soap pump instead of the bottle it came in. Ridiculous how much this matters visually.
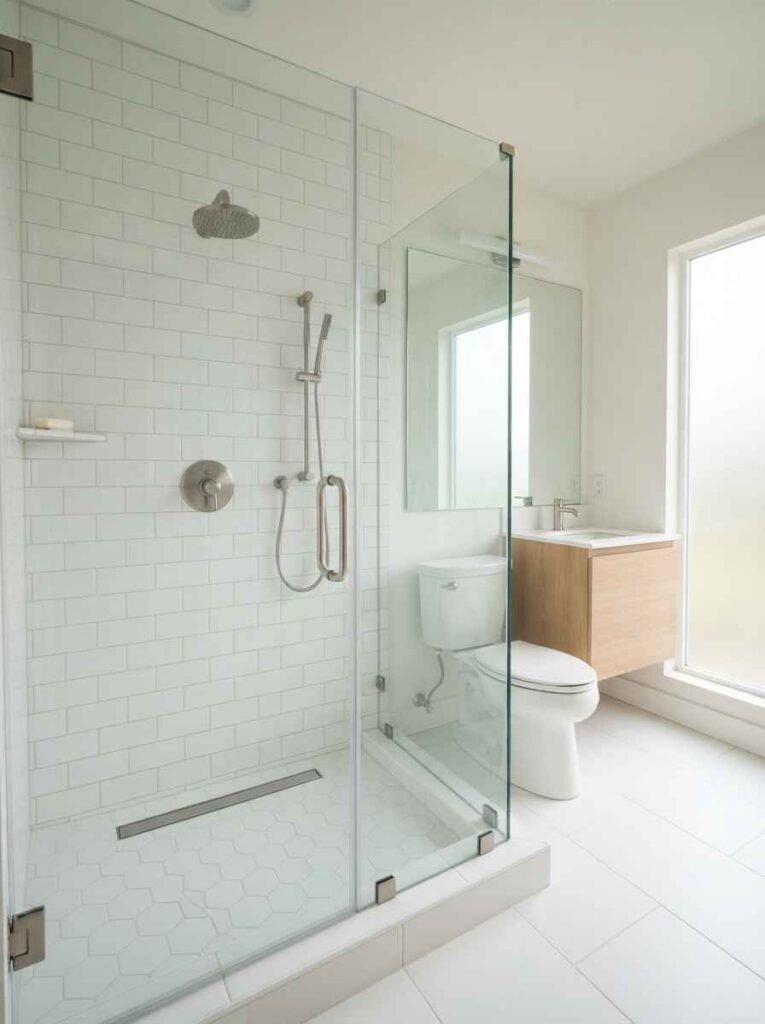
- Fresh caulk and grout. Not glamorous, but grimy caulk undercuts every other design choice you make. This one’s non-negotiable, honestly.
- A new toilet seat. A cracked or yellowed seat is the fastest way to make an otherwise pretty bathroom look neglected.
Go green, literally
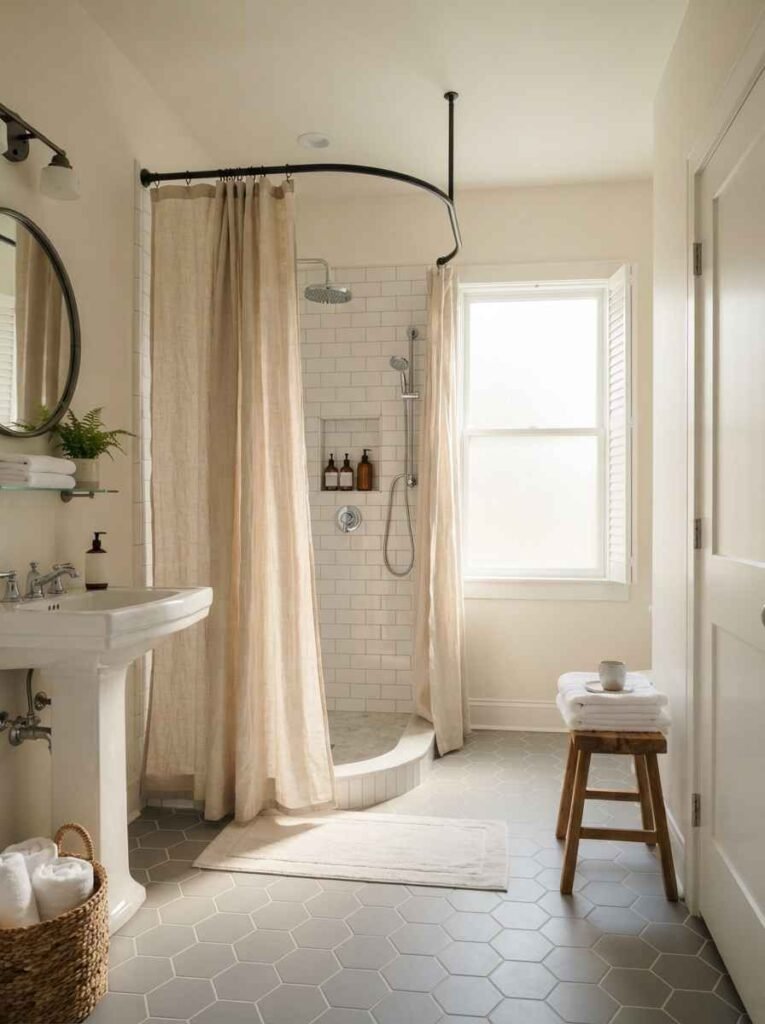
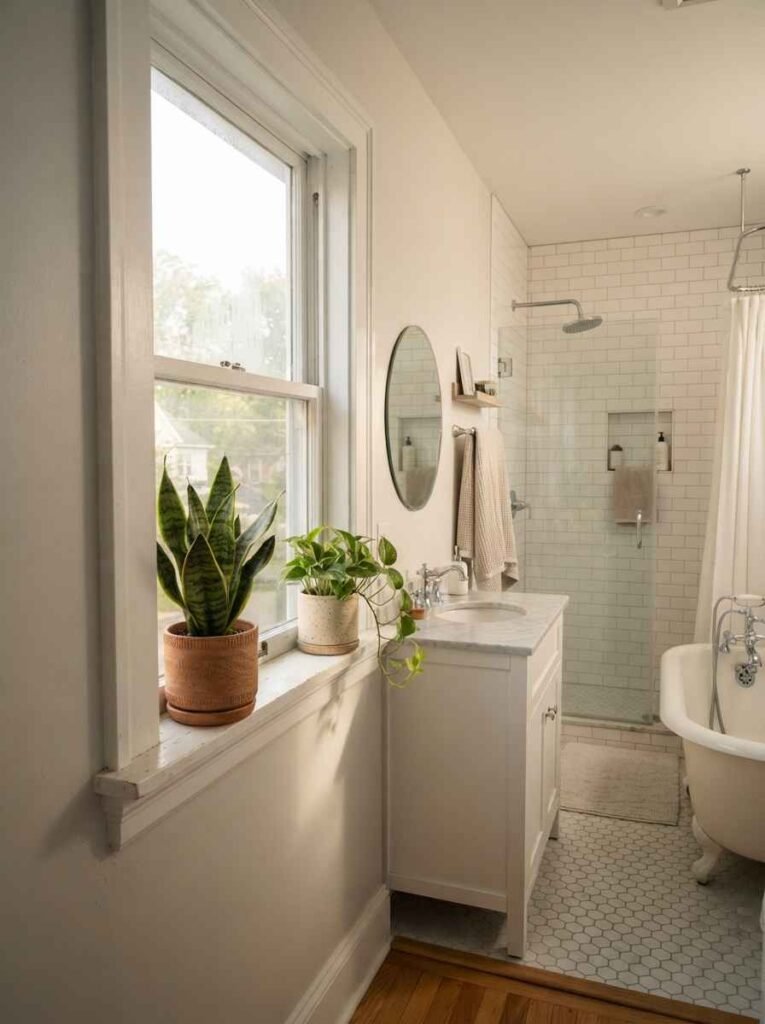
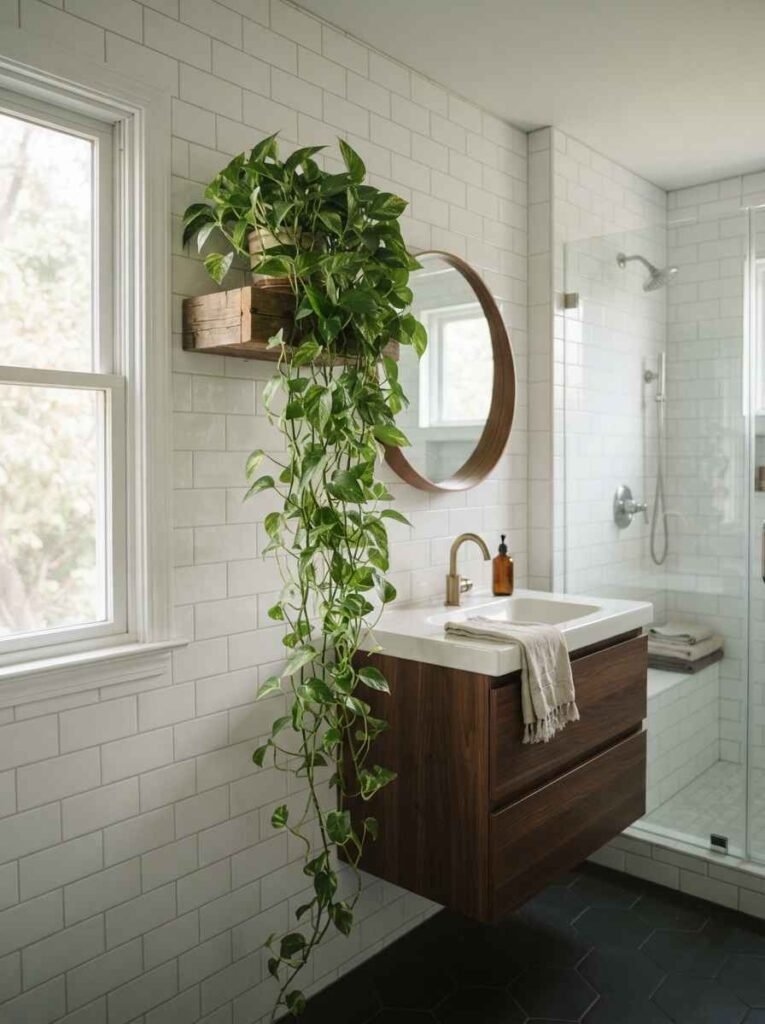
Live plants that tolerate humidity and low light, like pothos, snake plants, or ZZ plants, soften hard surfaces and add color without touching your walls. Faux versions work almost as well if your bathroom doesn’t get any natural light, and nobody’s judging you for it.
A trailing plant on a shelf or a small potted one on the windowsill photographs beautifully against tile or paint, and it costs less than most decor items on this list.
Water-wise fixtures that still look good
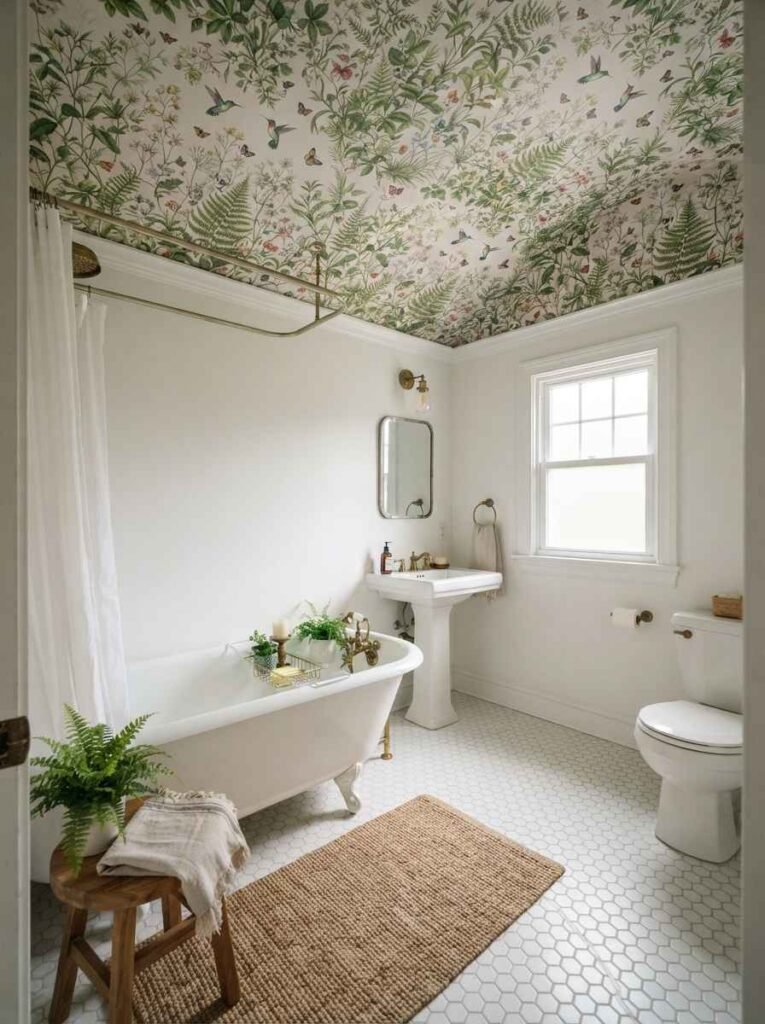
Slightly off-topic, but stick with me here. If you’re already swapping a faucet or showerhead for the aesthetic upgrade, it’s worth checking whether the new one is efficient too. The EPA’s WaterSense program notes that a bathroom remodel using WaterSense-labeled fixtures can save nearly 10,000 gallons of water a year, on top of the style upgrade you’re already going for. Same visual payoff, lower water bill. Feels like a cheat code, honestly.
Frame the tub or shower like it’s the main event
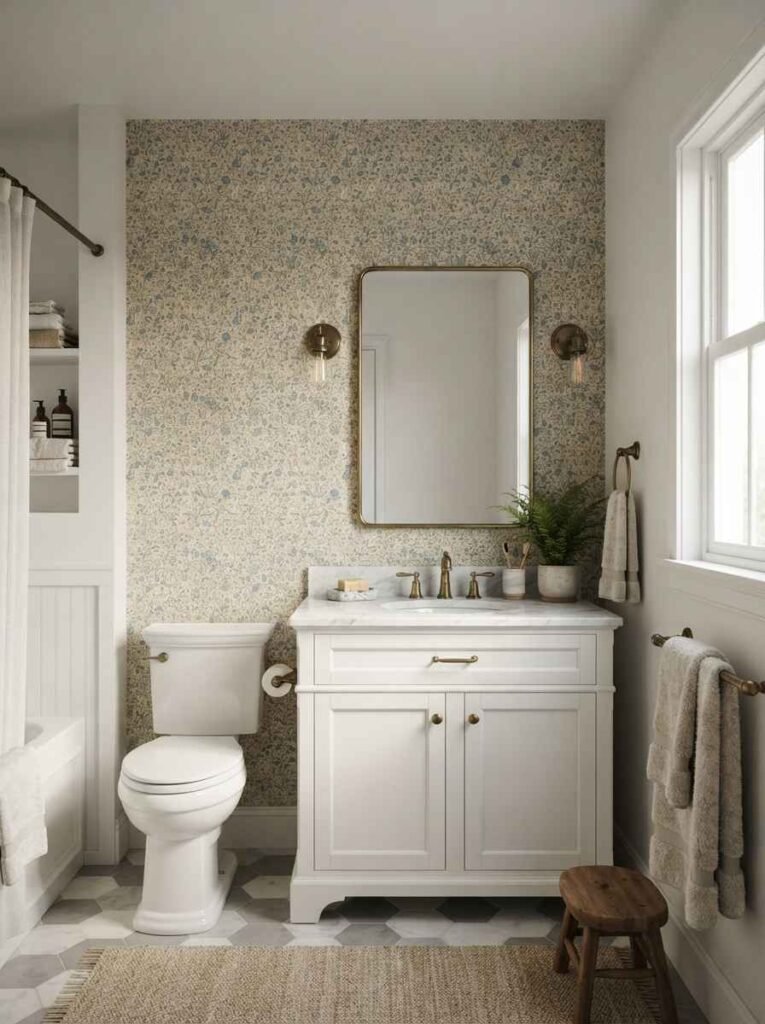
If you have a tub, treat it like the room’s centerpiece instead of an afterthought.
A folded stack of matching towels, a small tray with a candle and a book, and one plant nearby turns a plain tub into something worth photographing.
For showers, a curved shower rod (they run about $20 to $30) creates extra elbow room and a more spa-like curtain drape than a straight rod ever manages.
Wallpaper the ceiling or a single wall
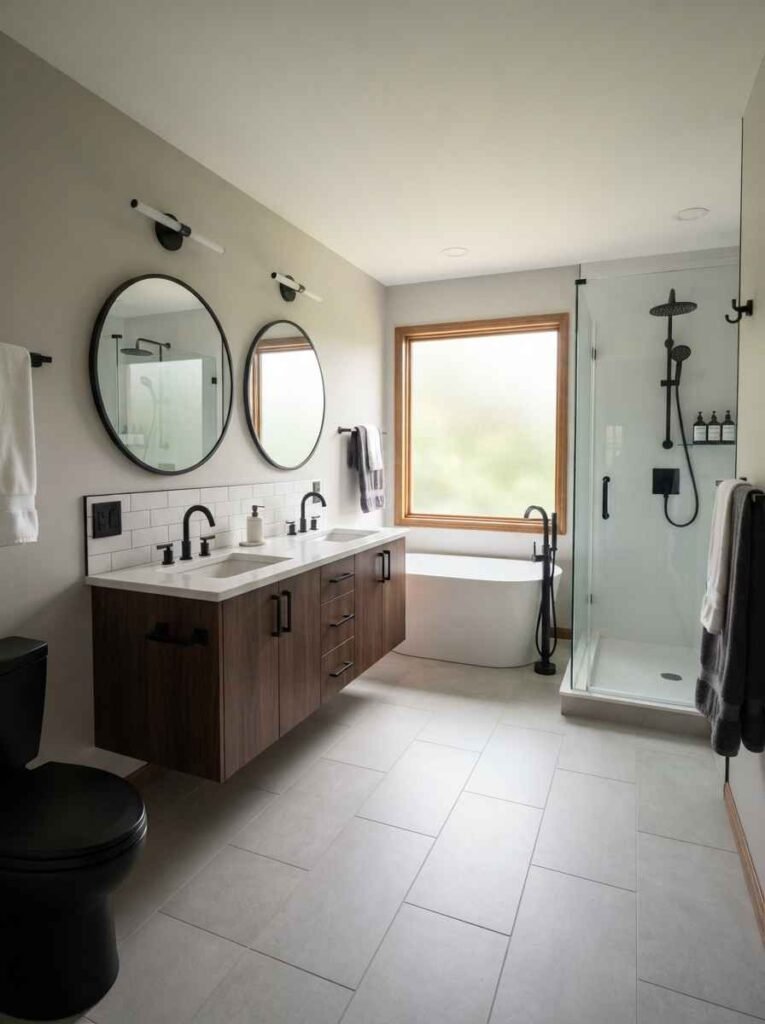
Full-room wallpaper in a bathroom gets pricey and humidity can be a real issue over time.
But a peel-and-stick wallpaper on just the ceiling, or on one accent wall away from direct water spray, gives you the wow factor without the risk.
Small-scale prints work better than huge patterns in a small bathroom. This isn’t a hard rule, more of a “trust me on this one” from someone who tried the opposite first.
Quick final round of ideas
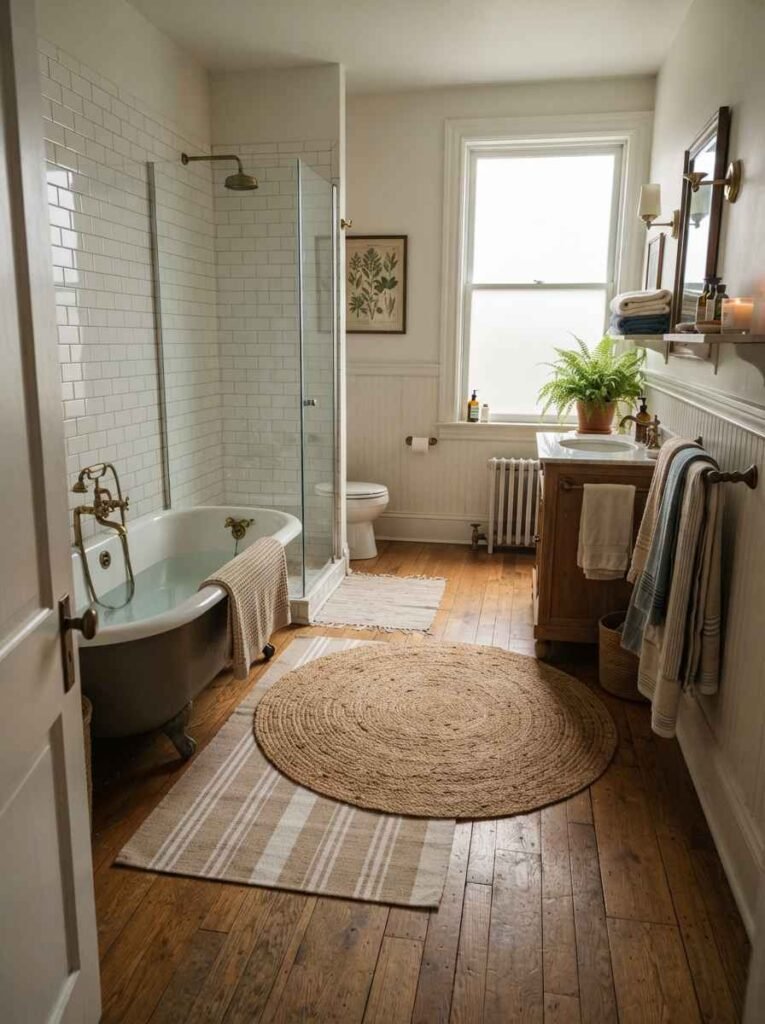
To wrap up the list without dragging this out forever, here are the rest in rapid fire:
- Swap plastic outlet covers for metal ones in your fixture finish
- Add a small round rug layered over your bath mat for depth
- Hang art in a humidity-safe frame above the toilet
- Use a bold grout color between white tiles for a graphic look
- Replace a shower liner the second it starts looking dingy
- Add a wall hook in brass or matte black instead of a towel bar
- Try a monochrome scheme (one color, different shades) for a designer feel
- Add a small bench or stool for both function and styling
- Use a scalloped or shaped shelf edge instead of a plain rectangle
- Finish with a diffuser or reed sticks for scent, because a bathroom with a smell you actually like feels finished in a way nothing visual can fix
A quick word on picking a theme before you buy anything
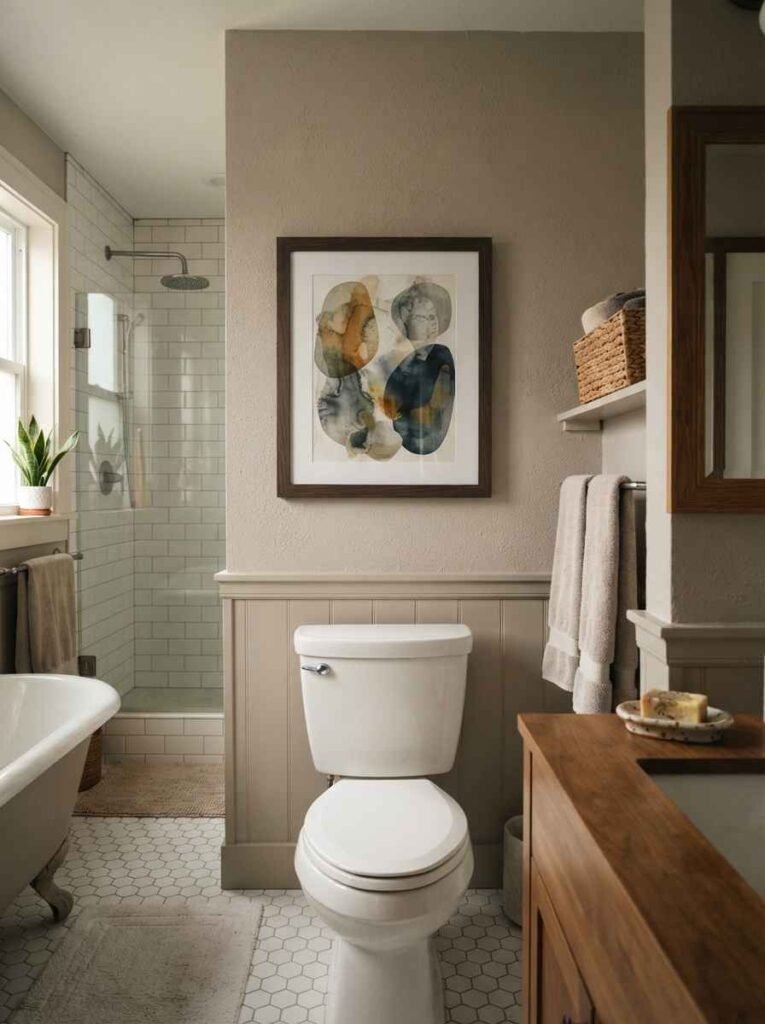
One mistake I made early on: buying pieces I loved individually that had nothing to do with each other. A rattan mirror, a chrome faucet, and a black matte towel bar all in one small room just looks confused, not eclectic.
Pick a lane before you shop. Coastal, warm minimalist, moody and dark, vintage farmhouse, whatever speaks to you, and let it guide your metal finishes and color choices.
Metals especially: pick one (brass, matte black, or chrome) and stick with it across your faucet, hardware, and light fixtures.
That single decision does more to make a budget bathroom look pulled-together than any individual item on this list.
FAQ
Do I need a permit for any of these ideas? No. Every idea on this list is cosmetic: paint, peel-and-stick materials, lighting swaps that don’t involve rewiring, and accessories. Anything involving plumbing or electrical work beyond a fixture swap is a different conversation.
What’s the single best upgrade if I only have $100? Paint plus new hardware and a curtain. That combination changes more visual real estate per dollar than anything else on this list.
Will peel-and-stick tile hold up in a real shower? It depends on the product and the surface prep. Most brands are rated for splash zones and backsplashes rather than constant direct water, so check the packaging before you commit to a full shower surround.
So, which one are you trying first: the paint, the mirror, or that grout situation you’ve been avoiding?
Save this list, pin your favorite idea, and tag me if you actually pull the trigger on one. I’d love to see what you do with it.
