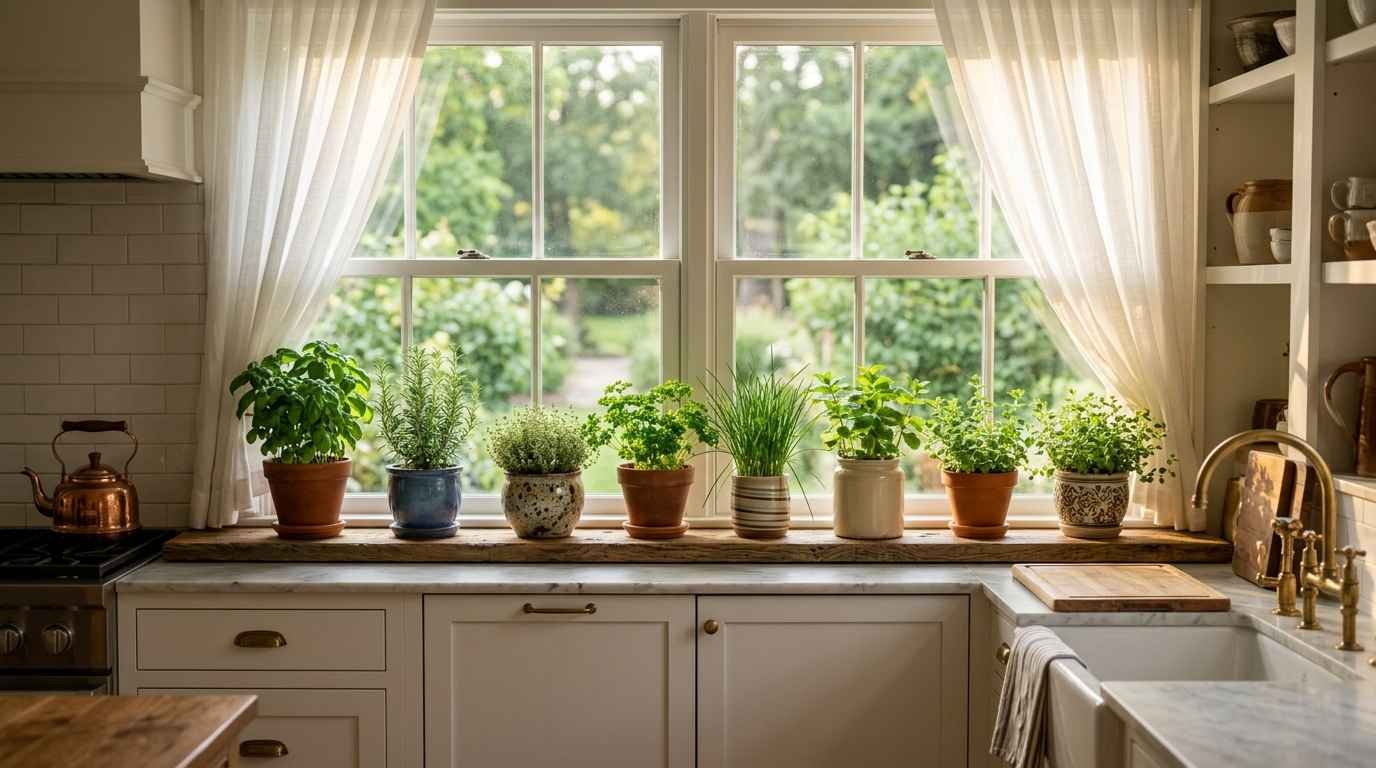
You killed the basil again, didn’t you? It’s okay. We’ve all done it.
You buy a little pot from the grocery store, stick it on the windowsill, forget to water it twice, and suddenly it’s just a sad brown twig with a faint memory of pesto.
But here’s the thing: growing herbs indoors is genuinely one of the most satisfying things you can do in a small space, and most of the failure comes down to setup, not skill.
I’ve been growing herbs inside my apartment for about four years now, starting with a single mason jar of chives on a south-facing ledge and eventually taking over most of my kitchen counter.
The learning curve was real. But once you figure out what actually works, it kind of runs itself.
These 24 ideas cover everything from windowsill basics to creative setups you’d genuinely pin on Pinterest three times.
Setup tips are included for each one because pretty and dead is the worst combination.
Why Small Indoor Herb Gardens Work Better Than You Think
A lot of people assume you need a big garden, a greenhouse, or at minimum a porch to grow herbs well.
That’s genuinely not true. Most culinary herbs are originally from the Mediterranean, meaning they evolved to thrive in hot, dry,
compact conditions. Your sunny kitchen window is closer to their natural habitat than a shaded garden bed.
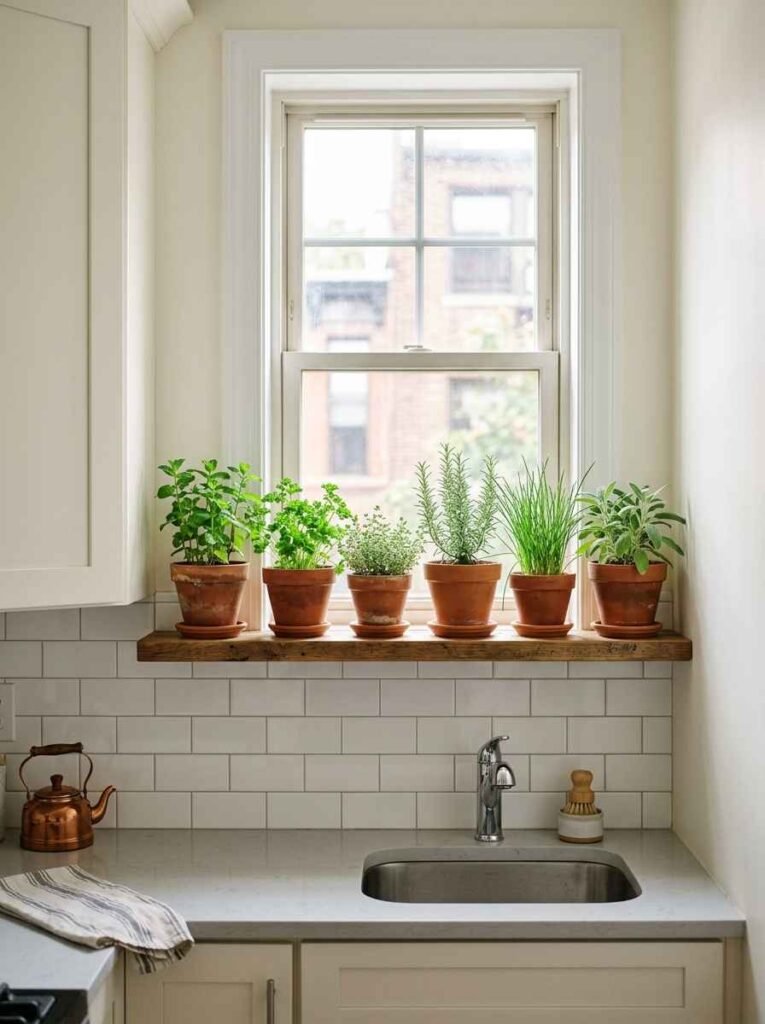
The other thing people underestimate is how little space even a productive setup takes. A single 12-inch shelf can hold six herb pots if you pick the right containers. That’s enough mint, parsley, thyme, rosemary, chives, and basil to cover most cooking needs week to week.
Small also means manageable. You can actually learn what each plant needs without feeling overwhelmed.
Windowsill Ideas
1. The Classic Single-Row Windowsill Garden
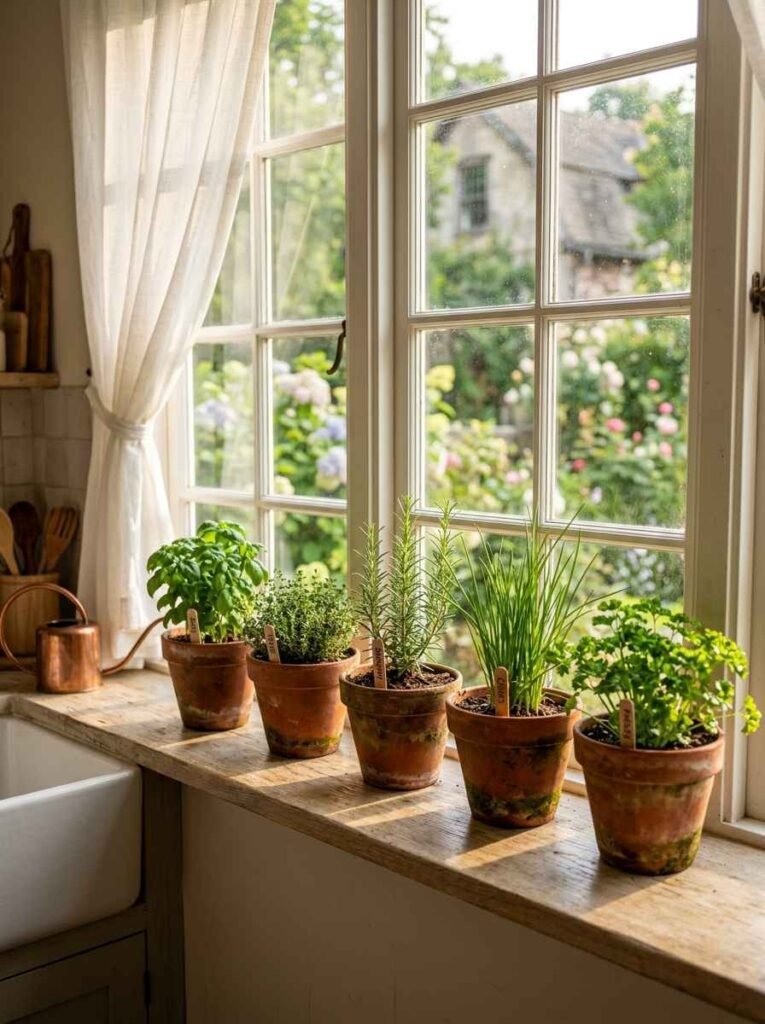
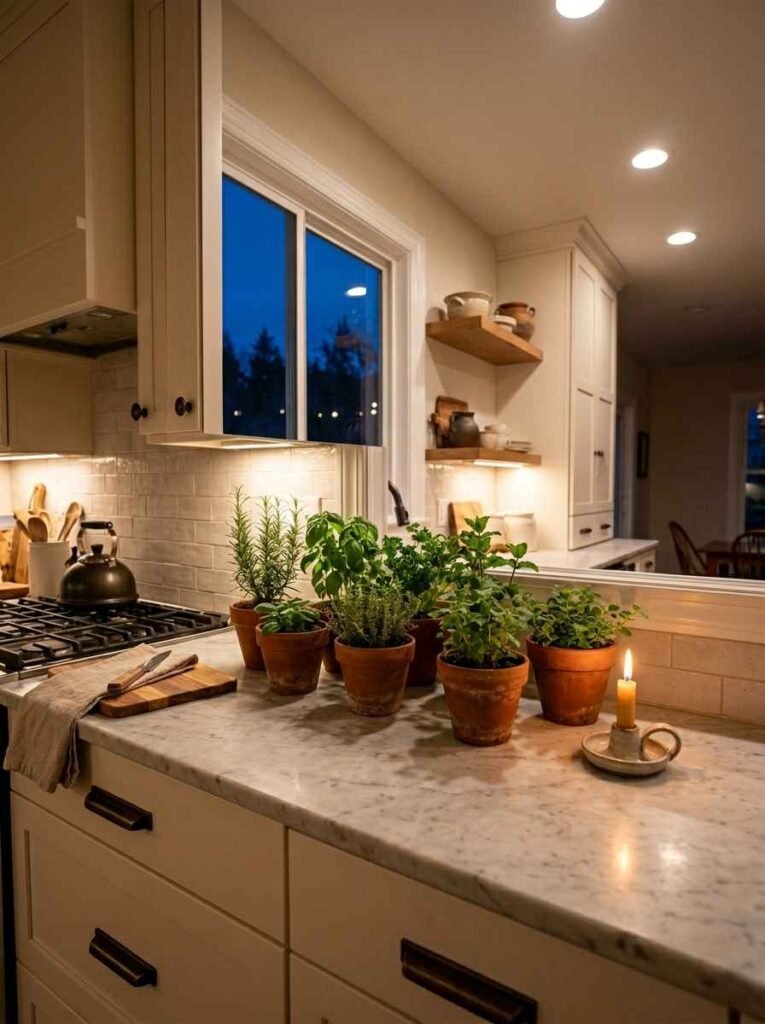
Simple works. Line up 4-inch terracotta pots along a south or southwest-facing window. Stick to one herb per pot.
Don’t crowd them. The key here is pot material: terracotta breathes, which prevents root rot far better than plastic does.
Setup tip: Space pots at least 2 inches apart so air moves between the leaves. Rotate them a quarter turn every few days so all sides get light evenly.
2. Matching Ceramic Pots in a Window Box
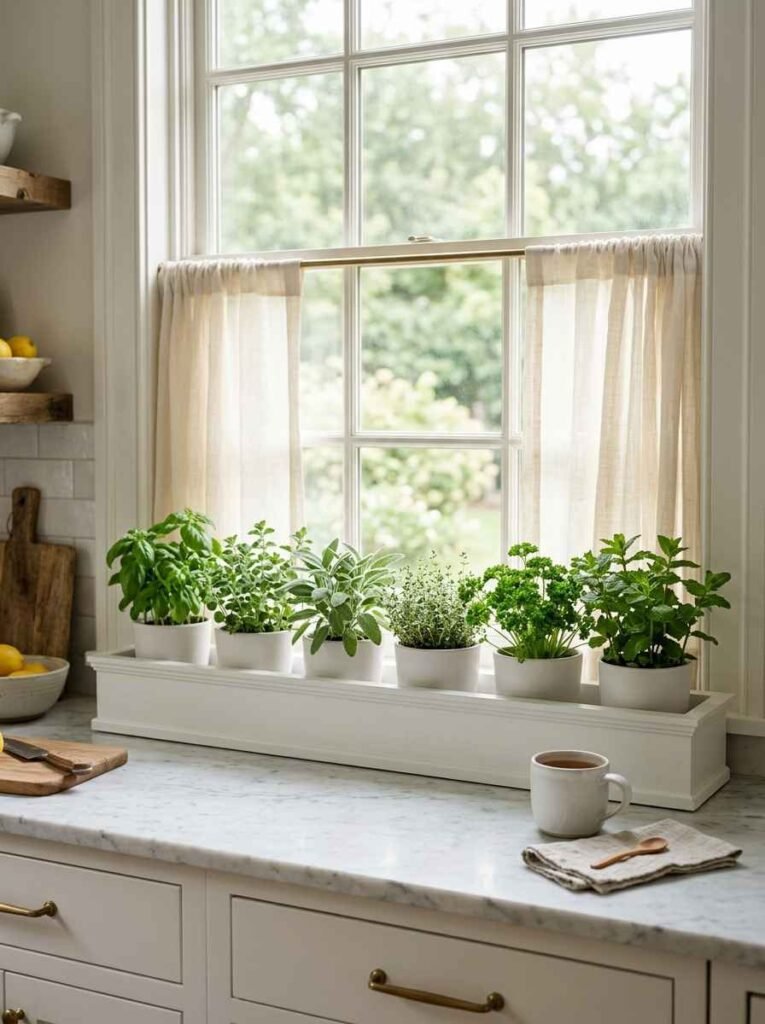
Buy a wooden or metal window box that fits inside your sill and fill it with matching ceramic pots in one color family.
White or cream works with almost any kitchen aesthetic. It looks deliberately designed rather than accidental.
Setup tip: Ceramic holds moisture longer than terracotta. Water less frequently, and make sure each pot has a drainage hole. A layer of pebbles under the soil helps too.
3. Upcycled Tin Can Herb Row
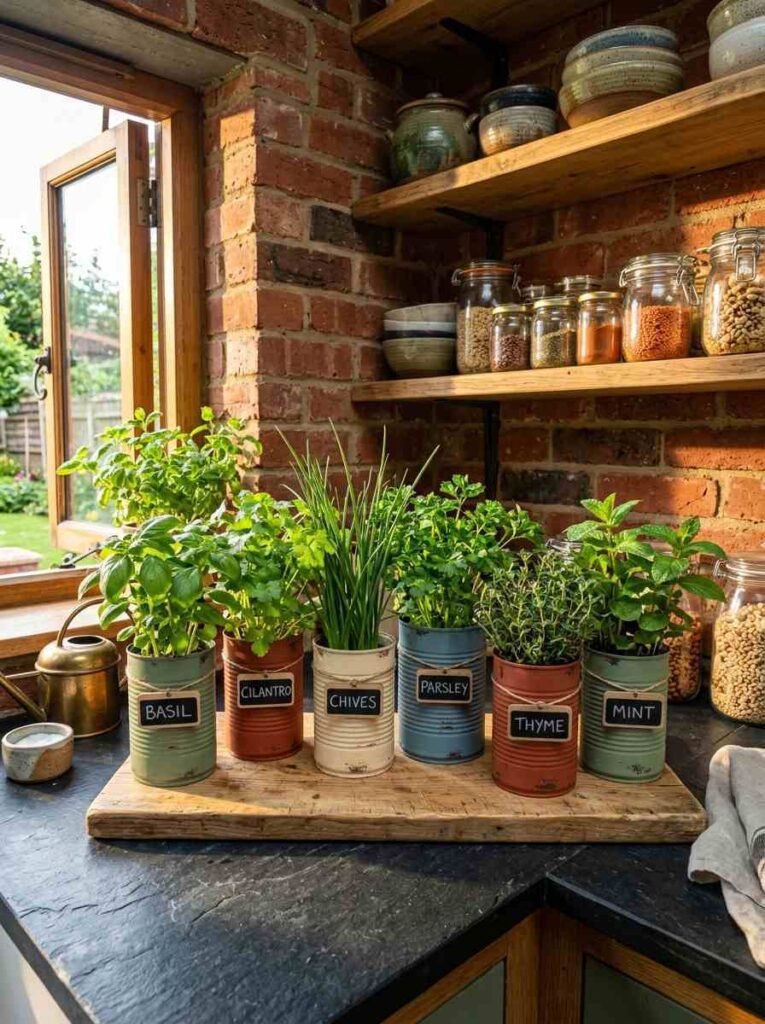
This one is genuinely charming and free if you cook with canned goods. Clean out old tin cans (tomato, chickpea, whatever), punch drainage holes in the bottom with a nail, spray paint them a matte color or leave them raw, and line them up.
It’s the kind of thing that photographs beautifully and costs almost nothing.
Setup tip: Small cans dry out fast. Check soil moisture every day in summer. Cans also heat up quickly in direct sun, which can stress roots, so a thin layer of pebbles on top helps insulate.
4. Tiered Window Ledge Shelf
If your sill is narrow, a tiered shelf that sits inside the window frame doubles your growing space without taking up counter room. You can find these in bamboo or metal at most home stores.
Setup tip: Put taller herbs like rosemary and sage on the bottom tier where they get more light, and shorter herbs like thyme and chives on the upper tiers.
Wall-Mounted Ideas
5. Hanging Pocket Planter
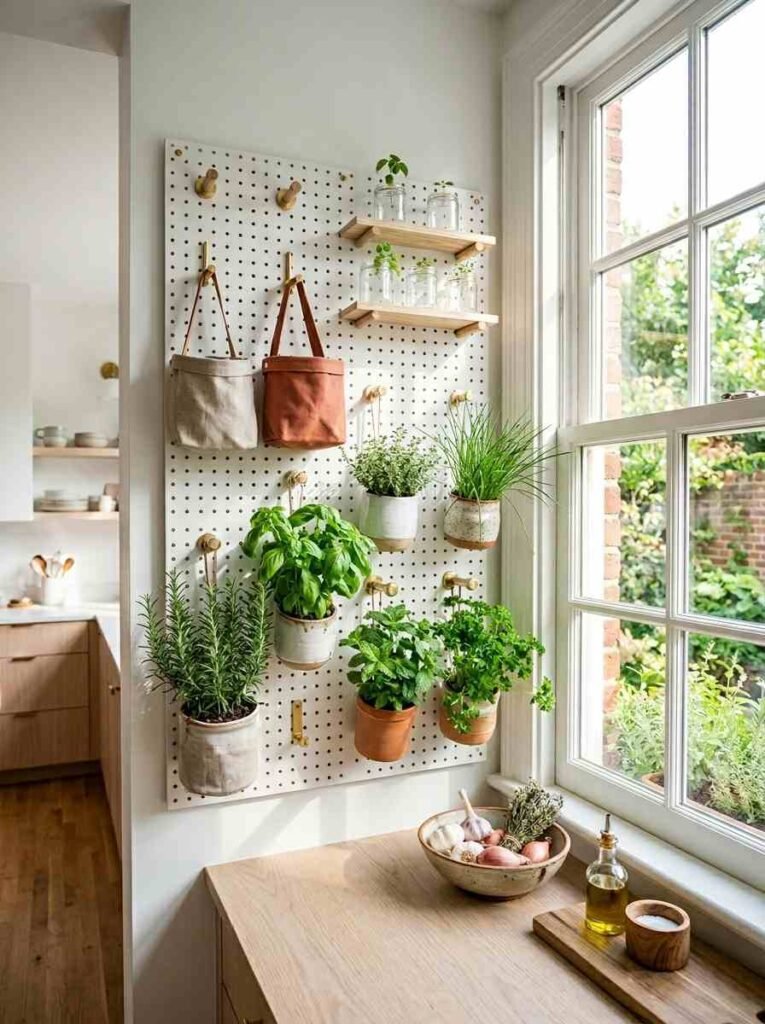
These fabric pocket planters hang on the wall and hold 6-12 herbs in individual pockets.
They’re popular on Pinterest for a reason: they genuinely look great, take up zero counter or shelf space, and the visual texture of different herb shapes at different heights is very satisfying.
Setup tip: Hang these on or near a south-facing wall where they’ll get reflected light. Water carefully because drainage can be tricky.
Felt pockets hold moisture well, but check the back of the planter monthly for mold.
6. Pegboard Herb Wall
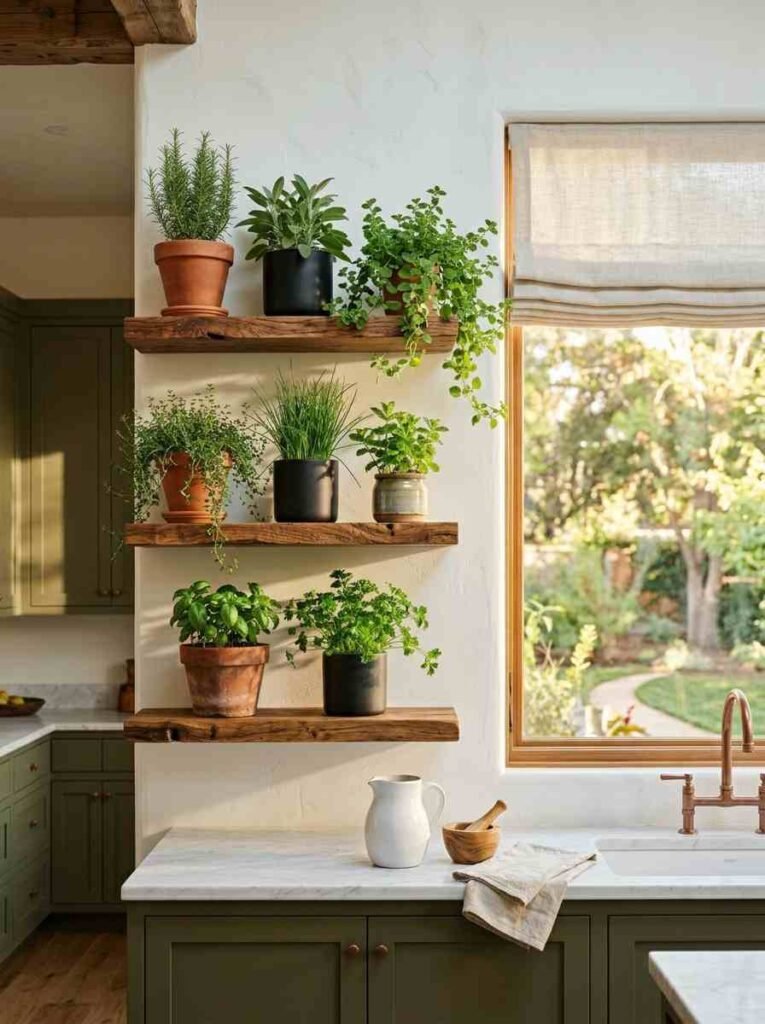
Mount a pegboard on a wall near your kitchen window. Attach small hooks and hang lightweight planters, jars, and pots at different heights.
It looks like something from a design blog and works surprisingly well.
Setup tip: Keep the total weight manageable. Terra cotta pots can get heavy when wet. Plastic or lightweight fabric pots work better for pegboard setups.
7. Reclaimed Wood Floating Shelves with Herbs
Install two or three floating shelves near a window and dedicate them entirely to herbs.
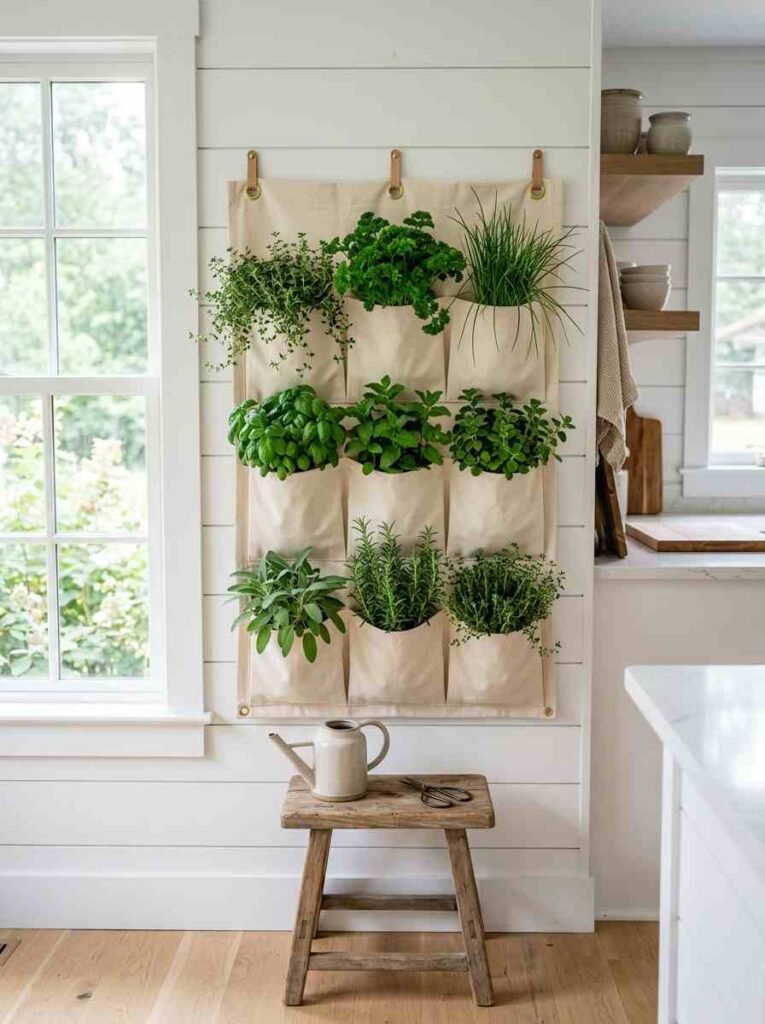
Pair this with trailing herbs like oregano or thyme to let some greenery drape over the shelf edge. The visual effect is genuinely lush for a small space.
Setup tip: Check shelf weight capacity before loading it with ceramic pots full of wet soil. Each medium pot can weigh 3-5 pounds when watered.
8. Magnetic Herb Jars on the Fridge
Small glass jars with magnetic lids stick directly to the fridge door. This works best for herbs you use constantly and want at arm’s reach: basil, parsley, chives.
The jars are small, which means soil volume is low, which means you need to water often and fertilize more than you would with larger pots.
Setup tip: These dry out quickly. Check moisture daily. A fridge door also gets vibrated and jostled, so root systems can get disturbed.
This works better as a short-term growing spot than a permanent home.
Hanging and Suspended Ideas
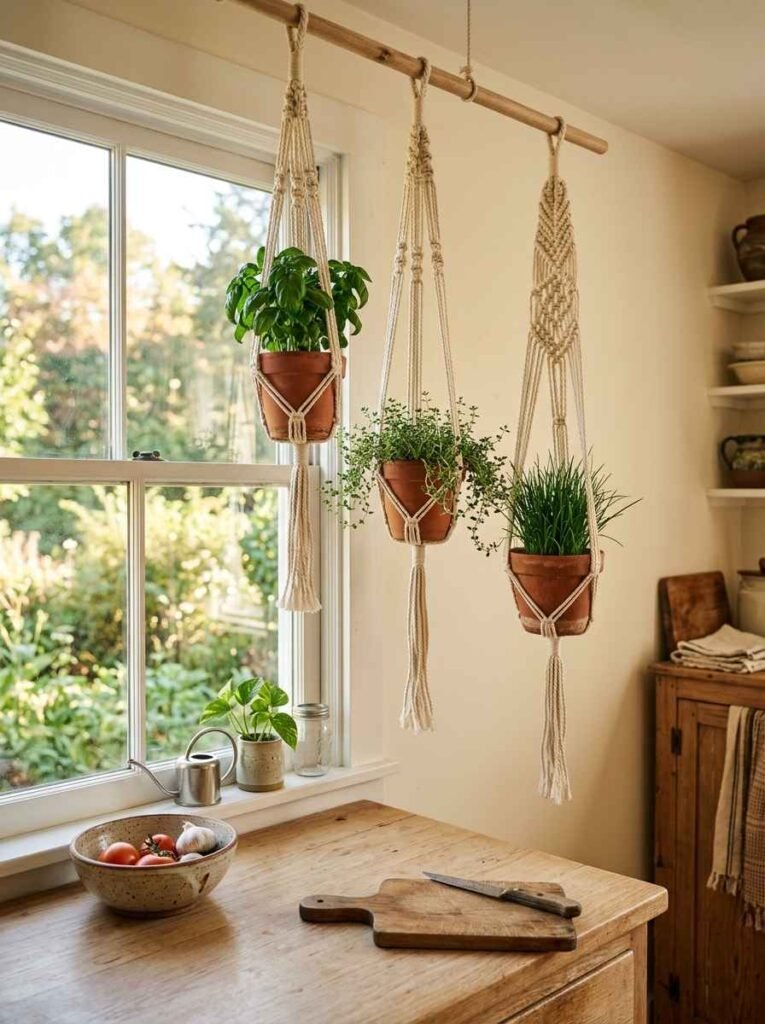
9. Macrame Plant Hangers
Macrame hangers holding round pots in a kitchen window look genuinely beautiful, and the craft itself has had such a strong revival that you can find kits everywhere.
Hang two or three at different heights near a bright window.
Setup tip: Make sure the hanger is rated for the pot weight. Wet soil is heavier than it looks. A knot that holds fine when dry can slip when the pot is watered.
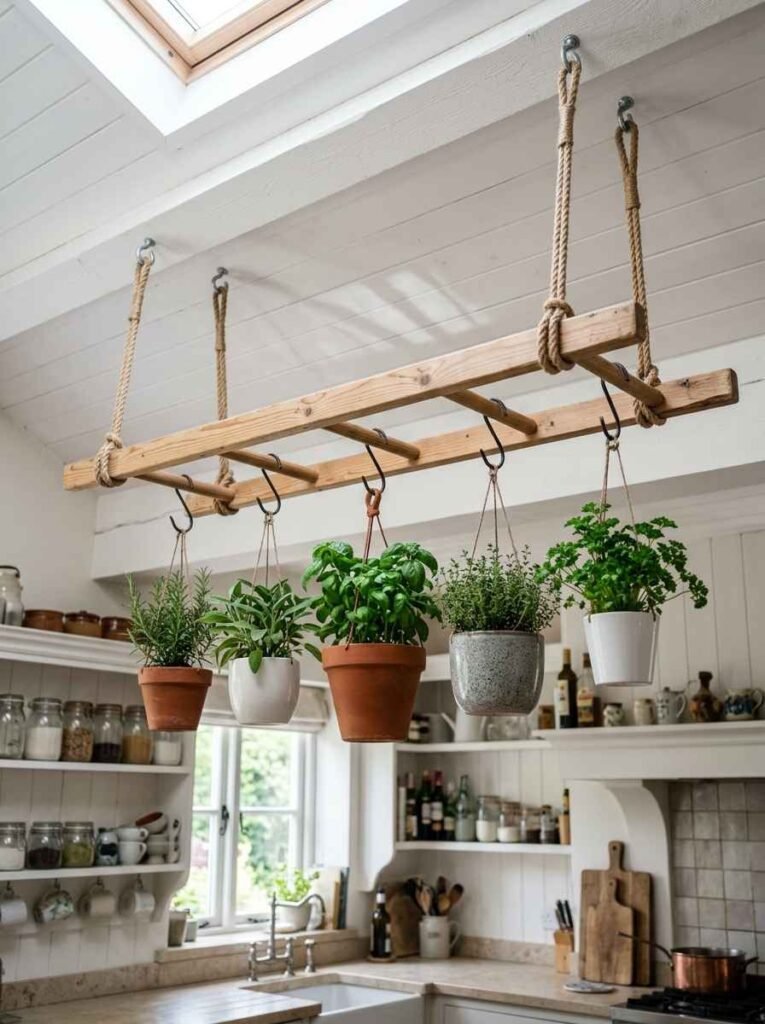
10. Suspended Wooden Ladder with Hanging Pots
A small wooden ladder suspended horizontally from the ceiling, with pots hanging from S-hooks, is one of the cleverest space-saving herb setups I’ve seen.
It draws the eye up, keeps counters clear, and works well in kitchens with good natural light from skylights or high windows.
Setup tip: Hang it near but not directly over your cooking area. Herbs don’t love steam from boiling pots.
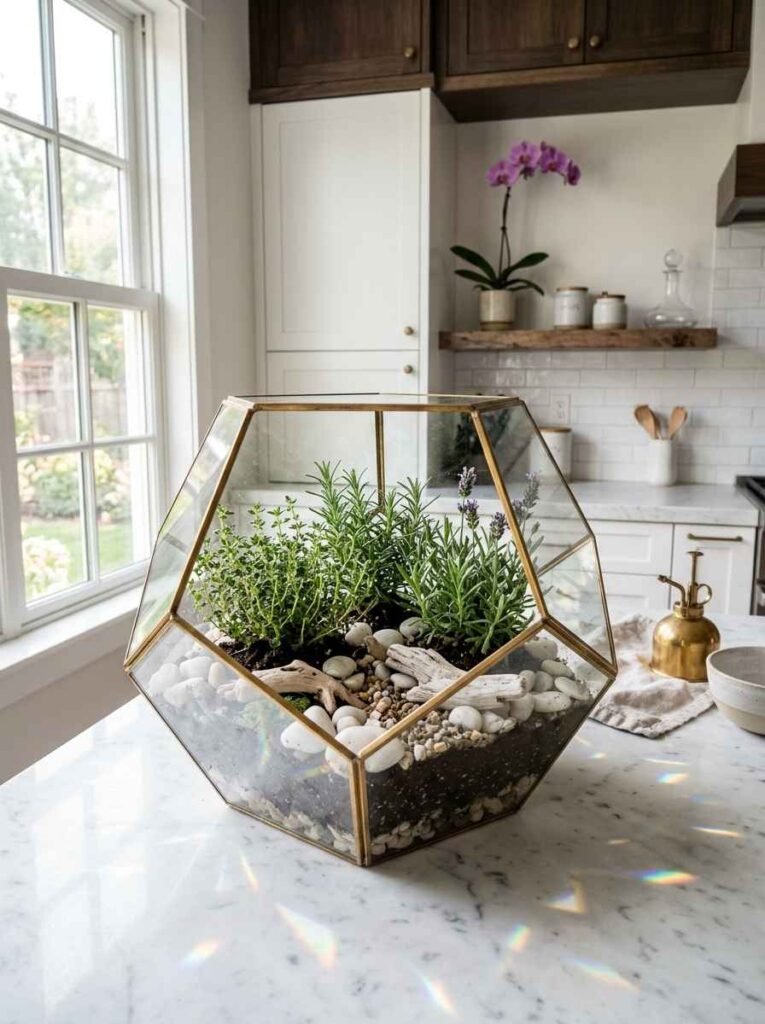
11. Glass Terrarium Herb Display
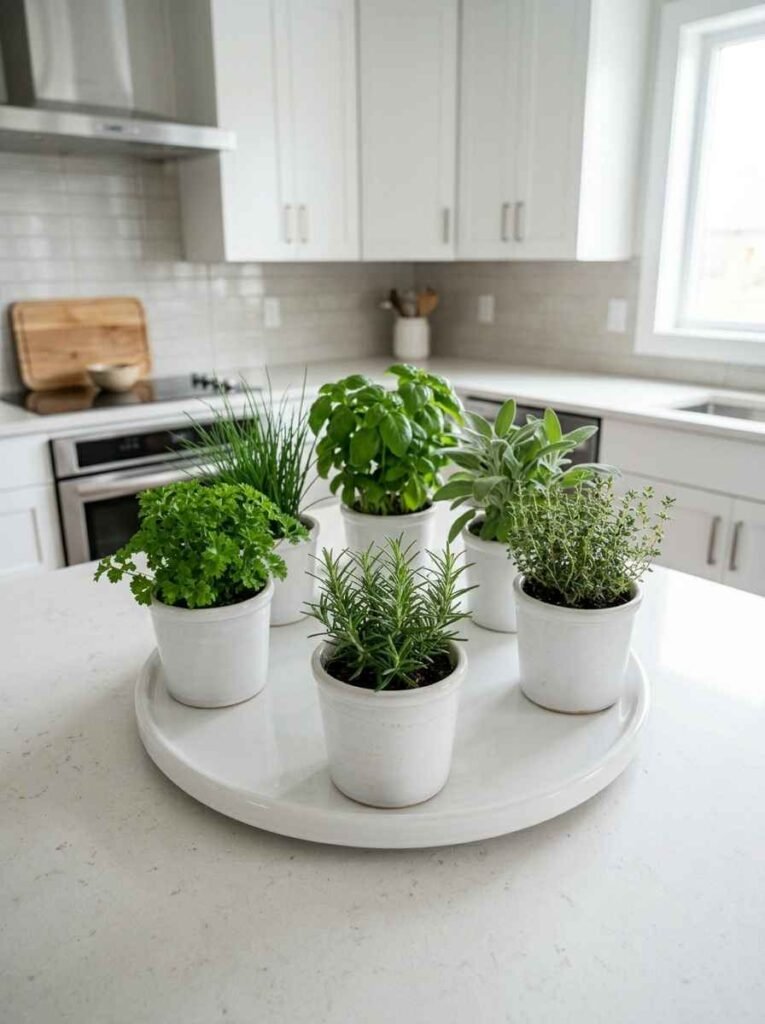
A large open terrarium filled with herbs and decorative stones looks more like a piece of art than a garden.
This works best with drought-tolerant herbs like thyme, rosemary, and lavender that don’t want too much humidity.
Setup tip: Open terrariums work; closed ones trap moisture and cause rot. Never put mint in a terrarium. It will take over and you will not win.
Counter and Table Ideas
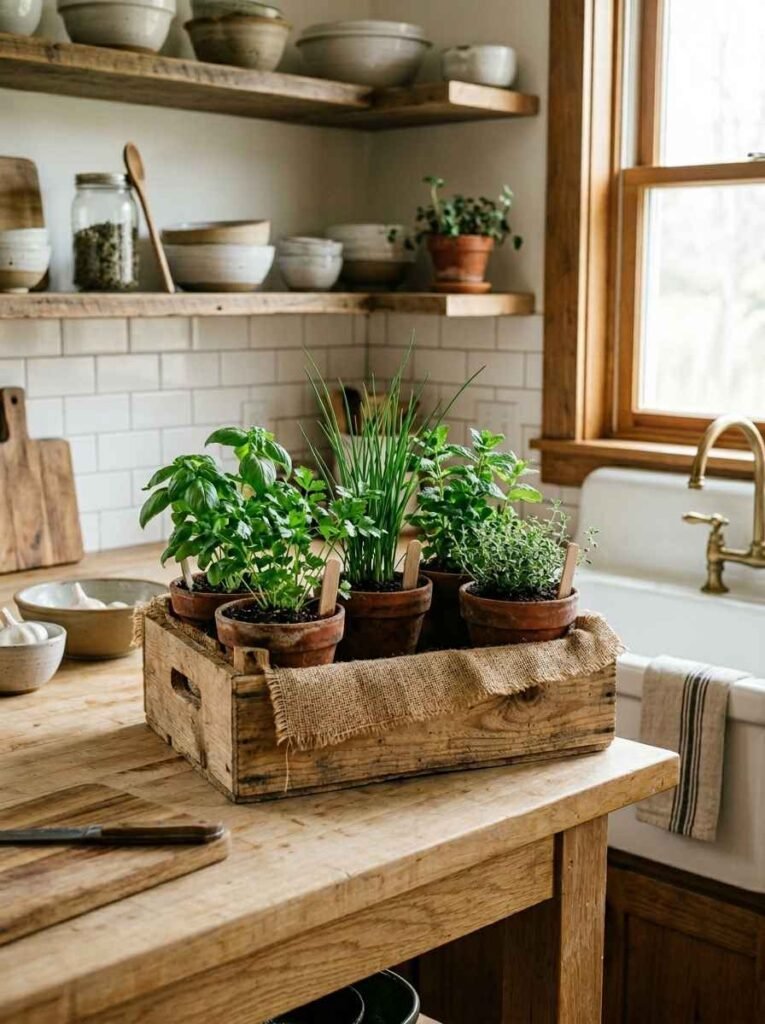
12. Wooden Crate Herb Garden
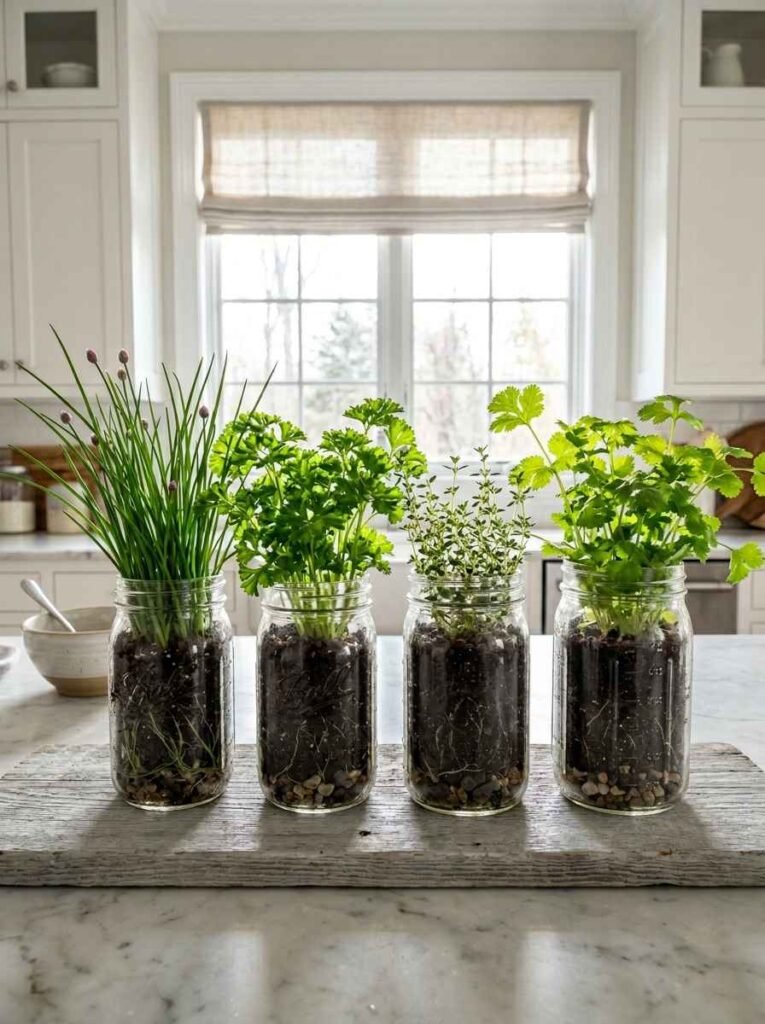
A single wooden crate from a craft store, lined with burlap and filled with individual herb pots, looks collected and intentional.
You can move it to the sunniest spot in your kitchen at any time of year.
Setup tip: Line the crate with plastic before adding soil or potted plants to prevent moisture damage to the wood. Elevate it slightly on small rubber feet for airflow underneath.
13. Lazy Susan Rotating Herb Garden
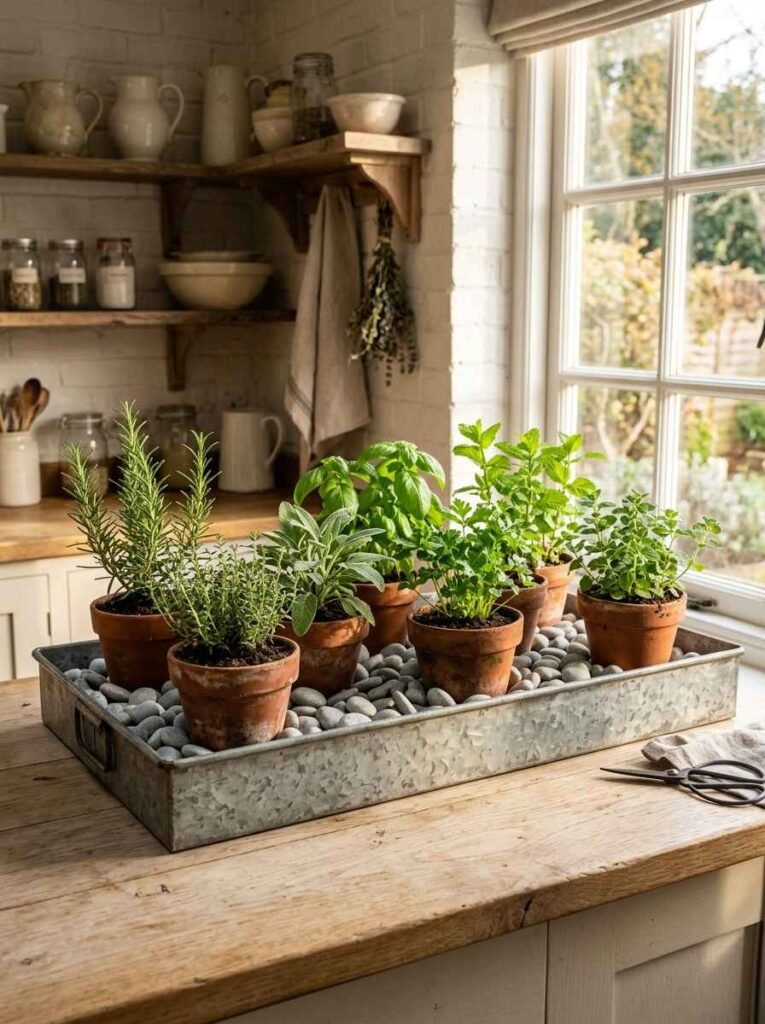
Put four to six herb pots on a large lazy Susan. This sounds oddly practical until you realize how much it matters that every plant gets rotated regularly, and this setup makes that automatic. Spin it a quarter turn when you walk by.
Setup tip: Use a lazy Susan with a lip or edge to prevent pots from sliding. Keep it near a window and spin daily.
14. Mason Jar Herb Garden
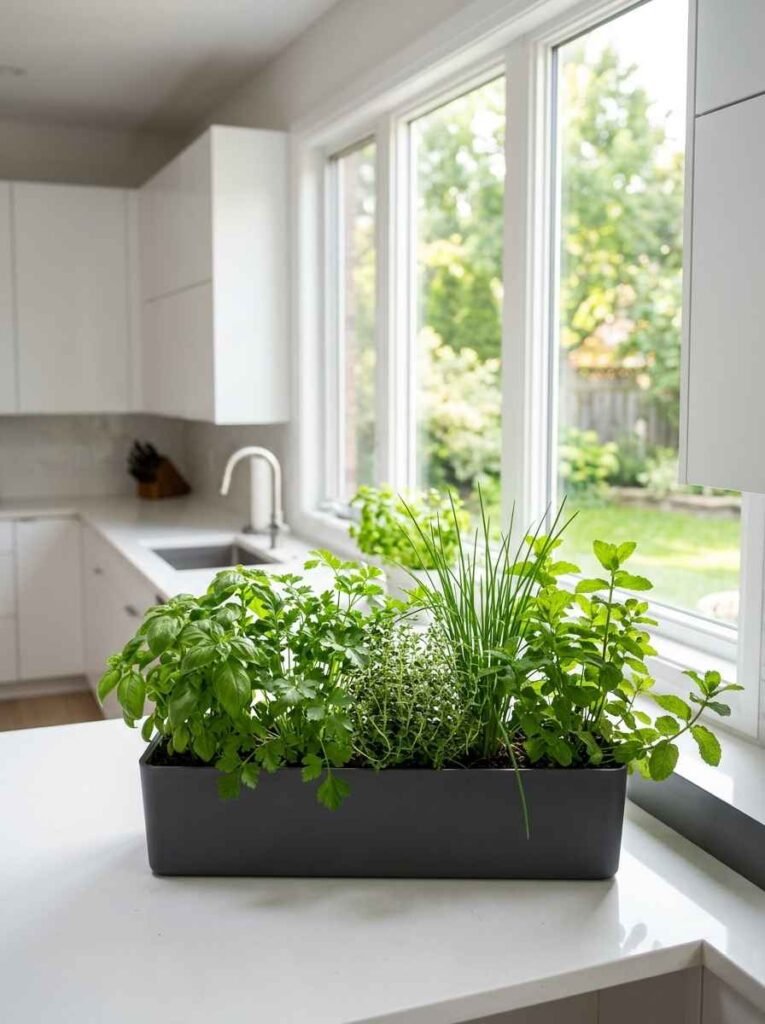
Mason jars are genuinely perfect for herbs that don’t need much root depth: chives, parsley, cilantro.
They’re inexpensive, widely available, and look clean on any counter. Wide-mouth jars work better than regular ones.
Setup tip: Mason jars have no drainage. Put a layer of small stones at the bottom before adding soil. Water very sparingly. Root rot is the main risk here, so err on the dry side.
| Herb | Jar Size | Watering | Light Needed |
|---|---|---|---|
| Chives | 16 oz | Every 3 days | 4-6 hrs sun |
| Parsley | 32 oz | Every 2 days | 6+ hrs sun |
| Thyme | 16 oz | Every 4 days | 6+ hrs sun |
| Cilantro | 32 oz | Every 2 days | 4-6 hrs sun |
15. Galvanized Metal Tray Garden
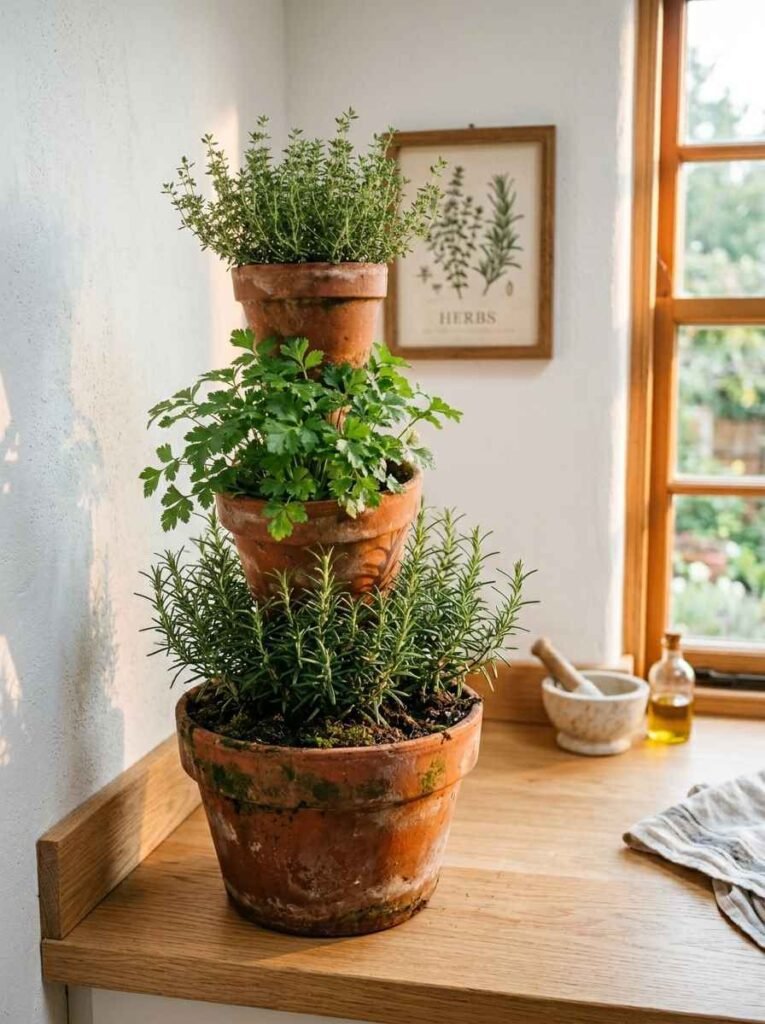
Fill a shallow galvanized metal tray with individual pots and a layer of decorative gravel around the bases.
It looks like something from a farmhouse kitchen styling shoot. Very popular on Pinterest for obvious reasons.
Setup tip: Galvanized trays can get hot in direct sun and transfer heat to pots. Use this in bright indirect light rather than harsh direct sun.
16. Self-Watering Planter Box
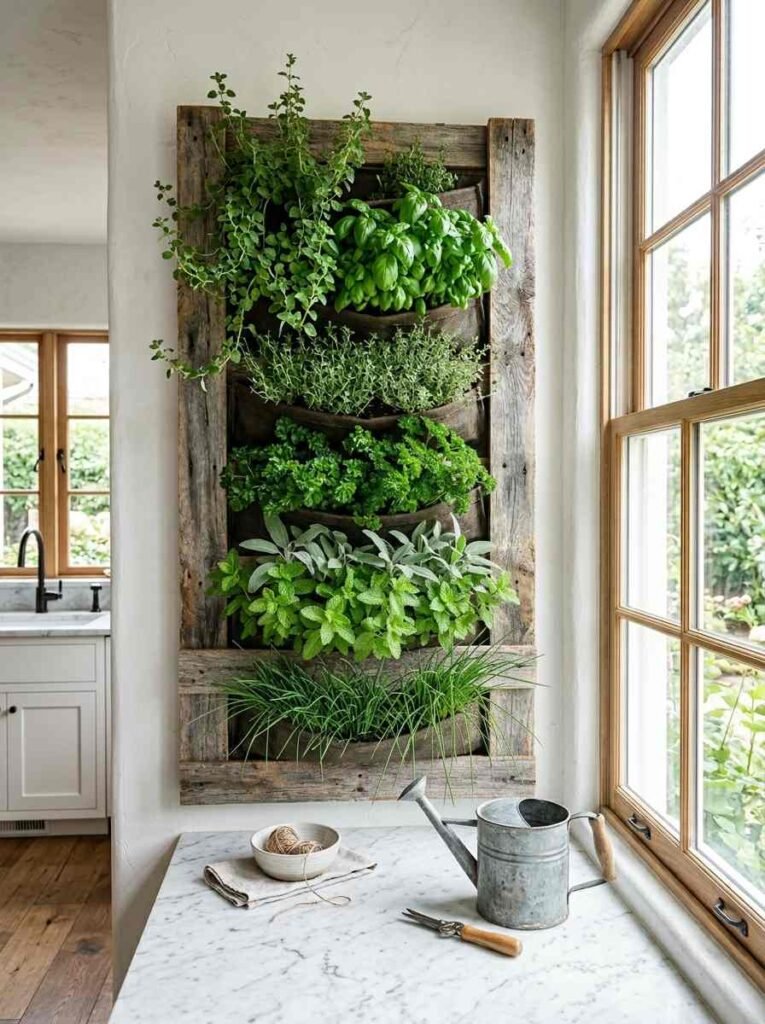
For anyone who travels frequently or simply forgets to water (no judgment), a self-watering planter box is genuinely useful.
You fill a reservoir at the bottom, and the soil wicks moisture upward as needed. Herbs won’t die while you’re away for a long weekend.
You can find solid options at Gardener’s Supply Company if you want something durable and well-made for indoor use.
Setup tip: Don’t overfill the reservoir. The goal is consistent moisture, not soggy roots. Empty and refill the reservoir weekly rather than topping it off constantly.
Vertical and Stacked Ideas
17. Stacked Terracotta Tower
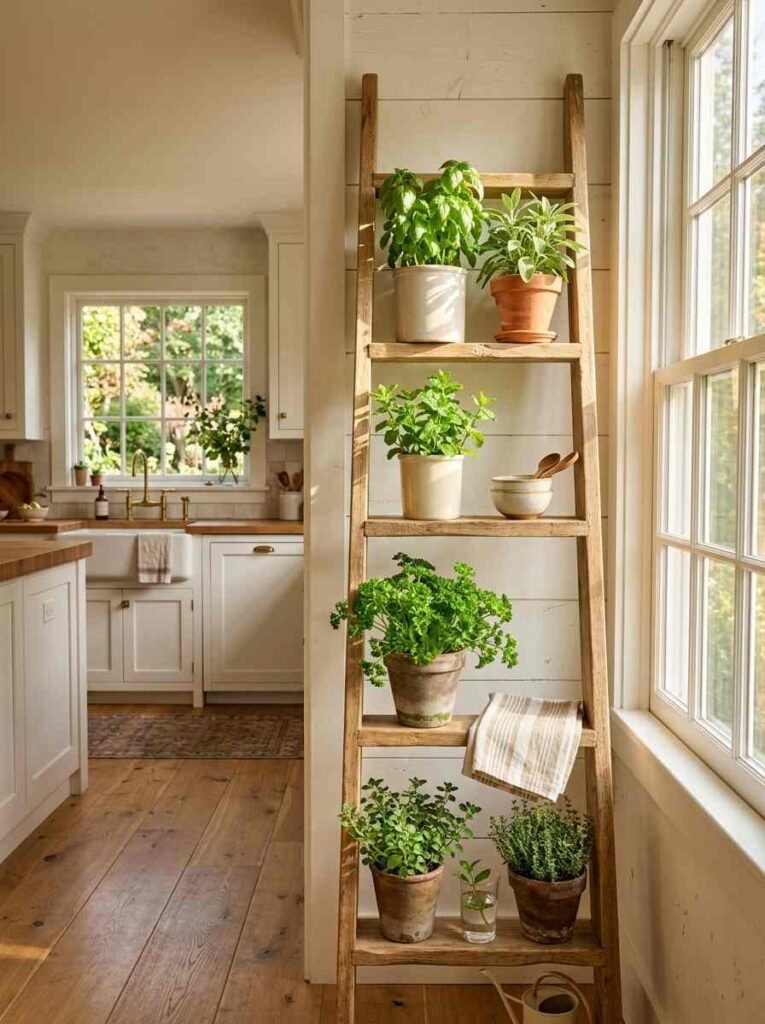
Stack three or four terracotta pots of descending sizes, offset slightly so each one gets light.
It’s a compact tower that can hold four different herbs in less than one square foot of counter space.
Setup tip: Secure the tower against tipping. A small wooden dowel through the drainage holes of each pot, running vertically, keeps the whole stack stable.
18. Vertical Pallet Herb Garden
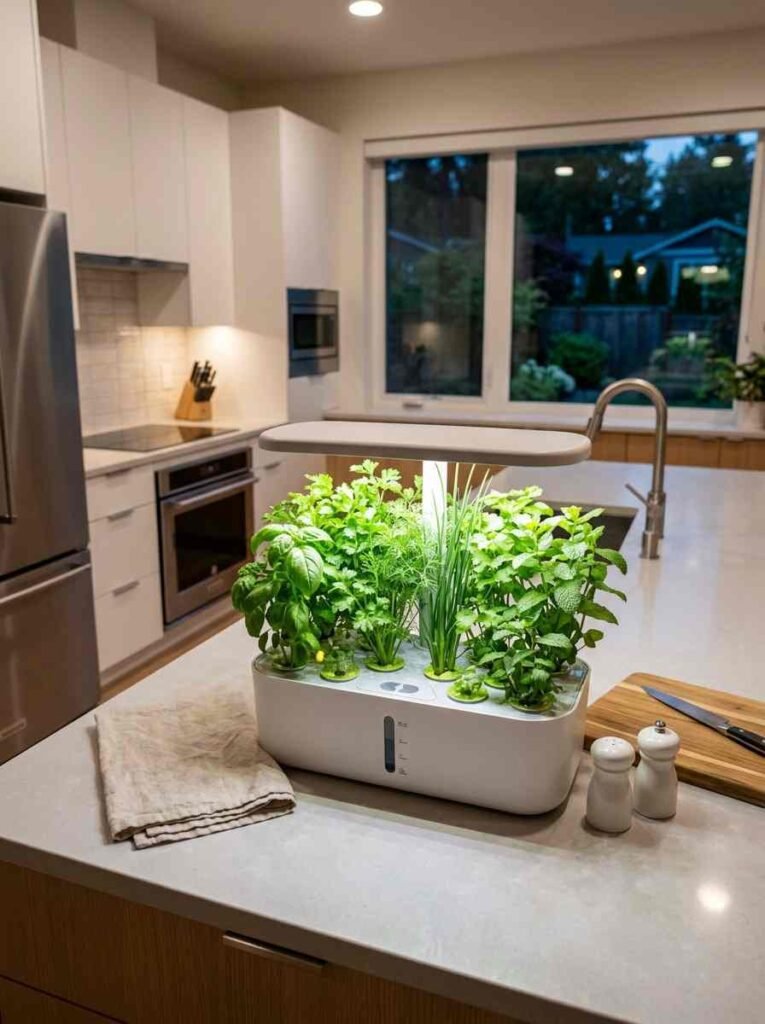
A small reclaimed wood pallet, lined with landscape fabric and mounted on a wall, can hold 8-10 herbs in a tight vertical space.
This is one of those projects where the DIY version honestly looks better than anything you can buy.
Setup tip: Use a staple gun to secure landscape fabric tightly before adding soil. Pallets need to be sealed or treated to prevent moisture damage and mold over time.
19. Ladder Shelf Herb Display
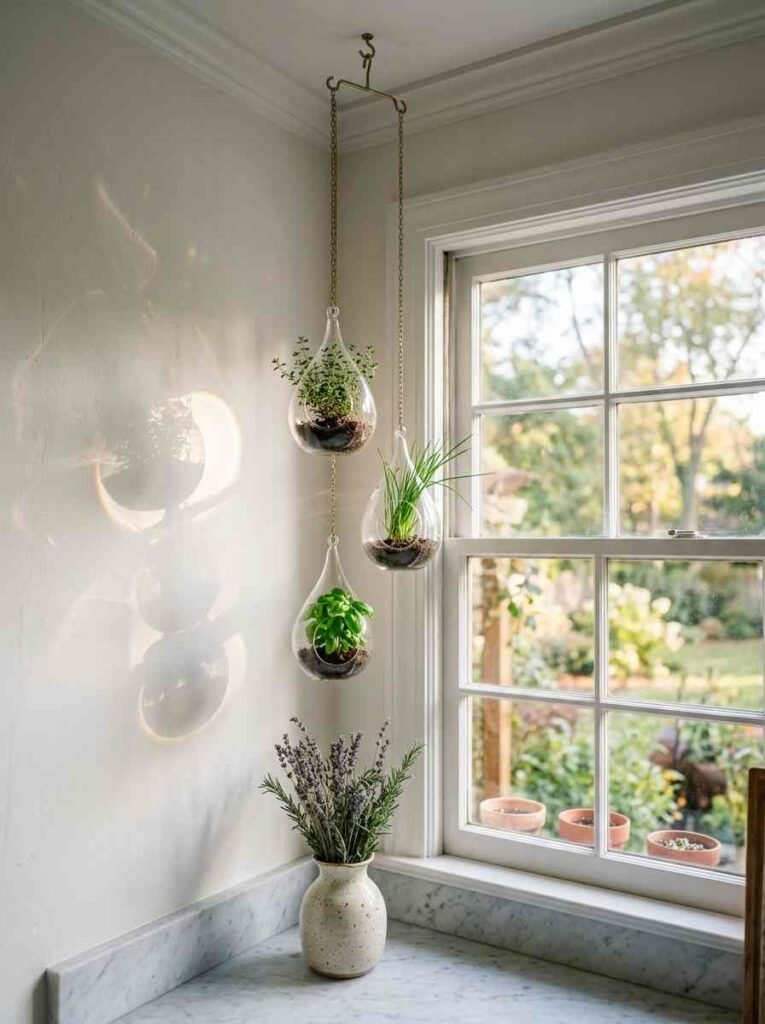
A leaning ladder shelf is one of the most versatile pieces of furniture for small spaces, and it works perfectly as an herb display near a window.
Each rung holds a different herb in a pot that suits its size.
Setup tip: Bottom rungs get less light. Put sun-hungry herbs like basil and sage on the higher rungs. Shade-tolerant herbs like mint and parsley do fine at the bottom.
Hydroponic and Modern Ideas
20. Countertop Hydroponic Garden
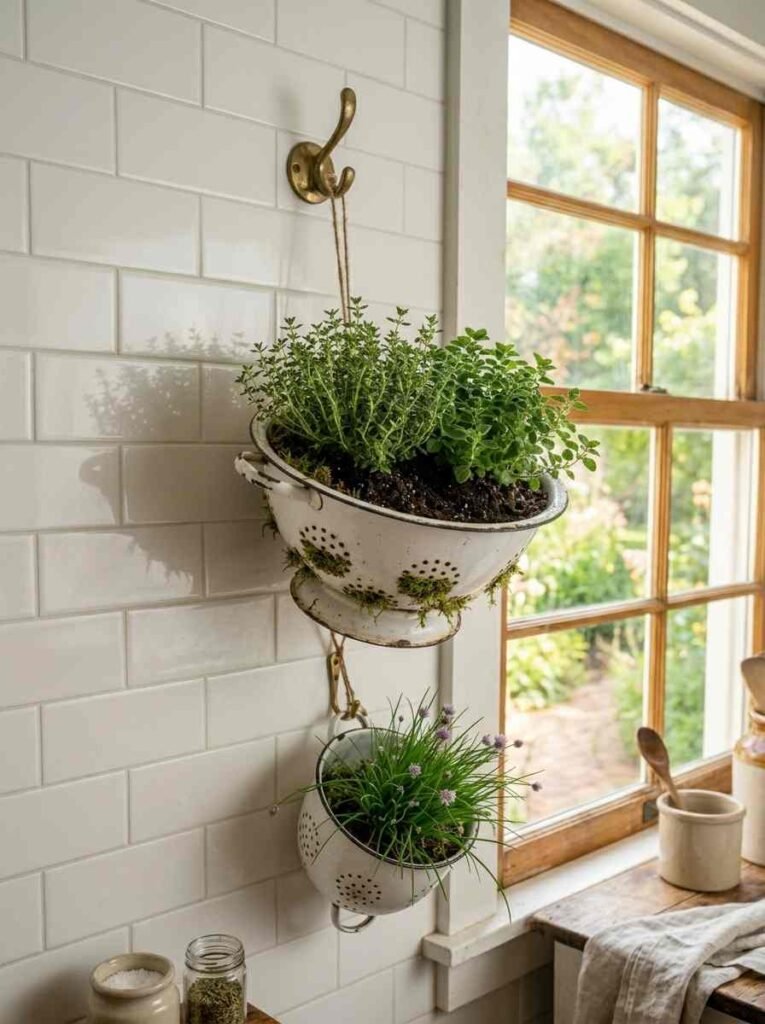
Hydroponic herb gardens have gotten genuinely good over the past few years. Systems like the AeroGarden grow herbs in water with built-in grow lights, require almost no maintenance, and produce more herb volume than most soil-based setups.
Wow, honestly the yield difference between a well-maintained hydroponic system and a neglected window pot is almost unfair to compare.
For anyone who’s serious about having fresh herbs year-round regardless of season or light conditions, a countertop hydroponic unit is worth the investment.
Setup tip: Follow the nutrient solution schedule exactly. Overfeeding causes leaf burn. Change the water reservoir every two weeks to prevent algae.
21. Glass Bulb Hanging Planters
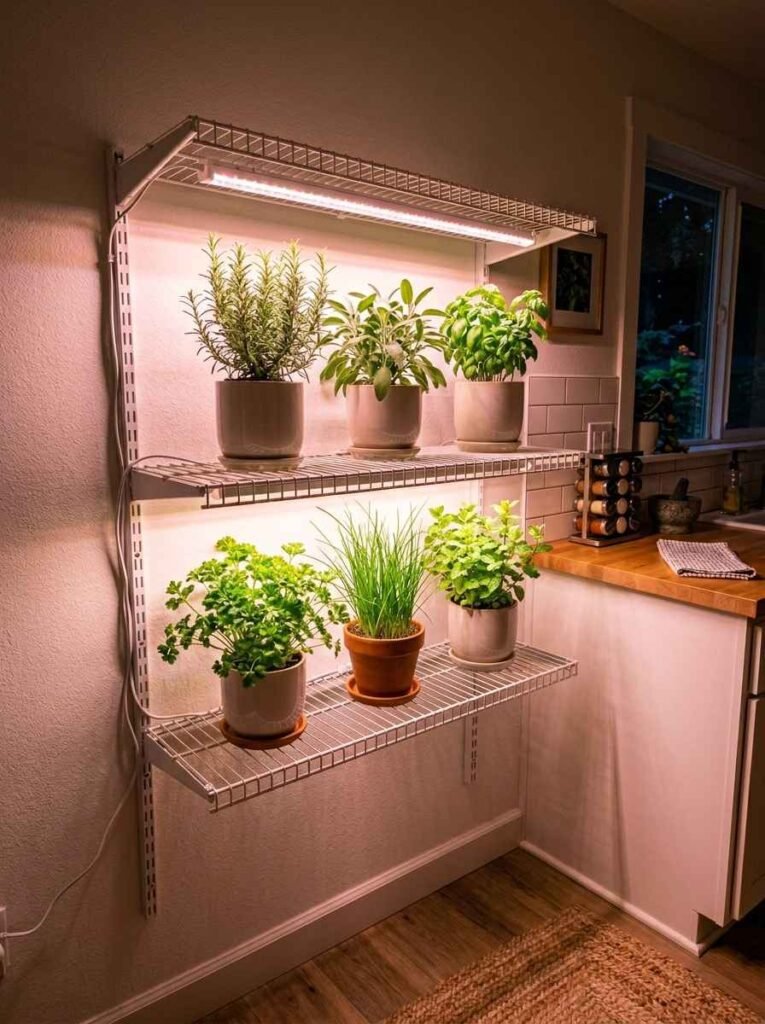
Small teardrop-shaped glass bulb planters hold a tiny amount of soil and look like something from a botanical illustration.
Trailing herbs like thyme or compact herbs like chives work here. These are purely for aesthetic pleasure rather than serious herb production.
Setup tip: The soil volume is tiny. These need daily attention. Best treated as a decorative accent to a larger setup rather than a standalone growing system.
22. Repurposed Colander Herb Planter
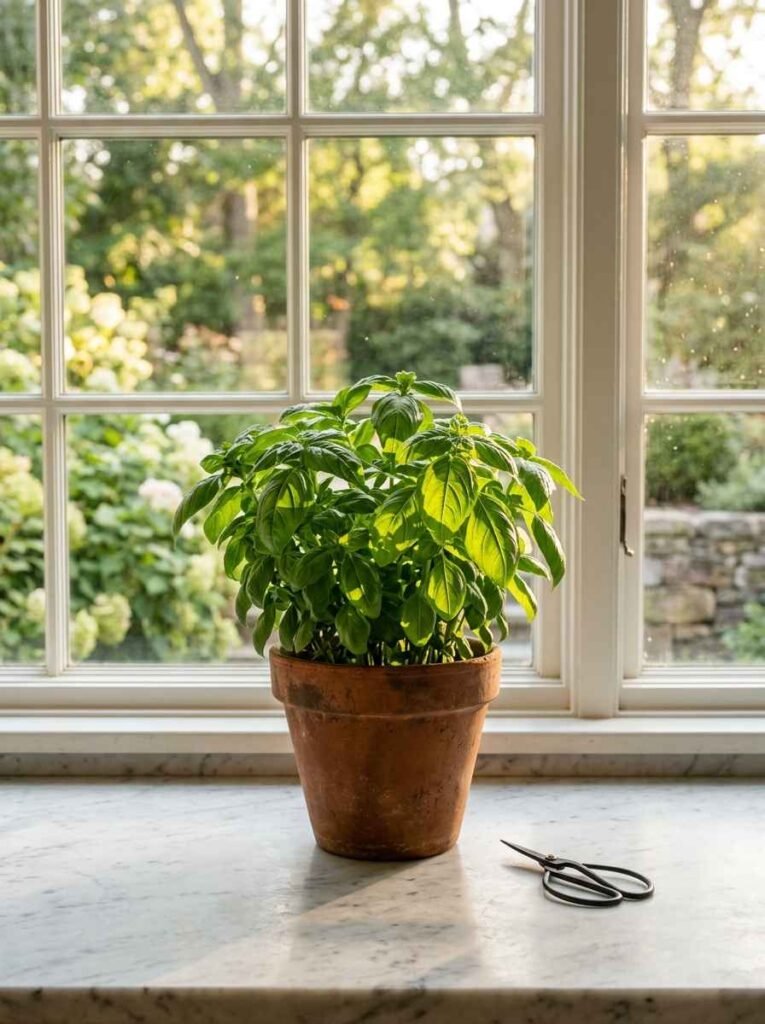
An old metal colander lined with moss makes a surprisingly functional hanging herb planter.
The holes provide excellent drainage and airflow. It looks completely unexpected, which is exactly why it photographs so well.
Setup tip: Line the colander with sphagnum moss before adding potting mix to prevent soil loss through the holes. Hang it where it gets at least 6 hours of light.
Low-Light and Minimal-Setup Ideas
23. Grow Light Shelf Station
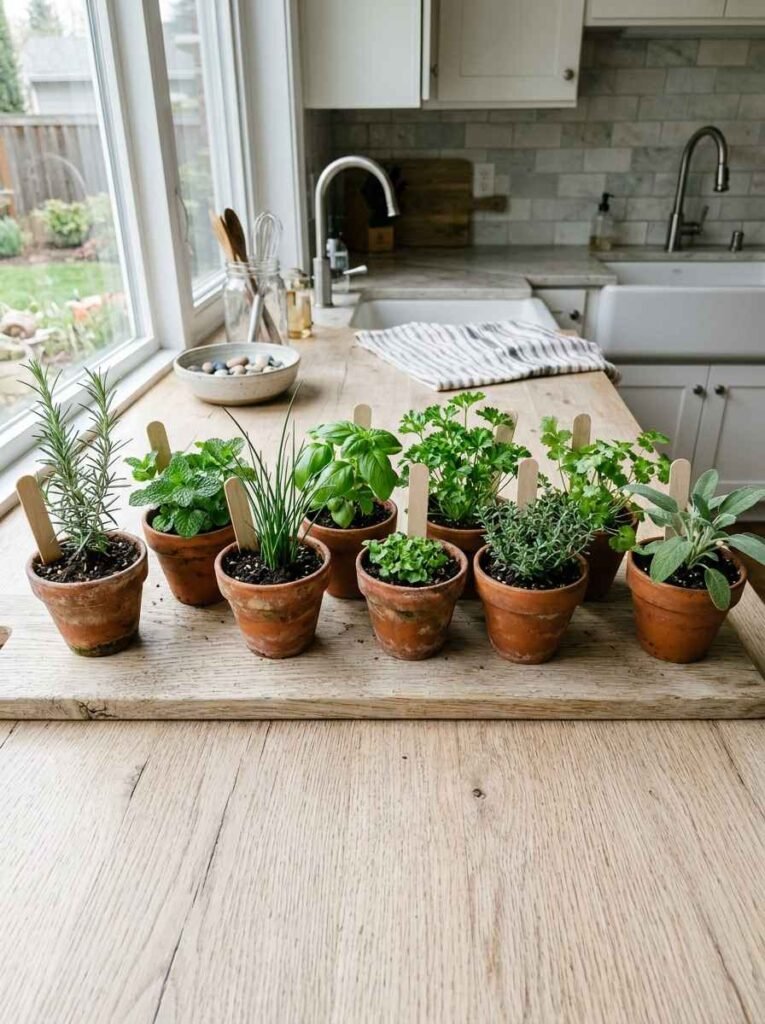
Not everyone has a south-facing window. If your apartment faces north or your windows are shaded by buildings, grow lights are the answer.
A simple two-tier wire shelf with full-spectrum LED grow lights mounted underneath each shelf can grow any herb you want, completely independent of natural light.
You can get solid beginner guidance on light requirements from the University of Minnesota Extension’s indoor gardening resource, which covers light intensity and duration in plain terms.
Setup tip: Keep grow lights 4-6 inches above plant tops. As plants grow, adjust the light height. Aim for 14-16 hours of grow light per day to match natural summer light intensity.
24. Single-Herb Dedicated Pot
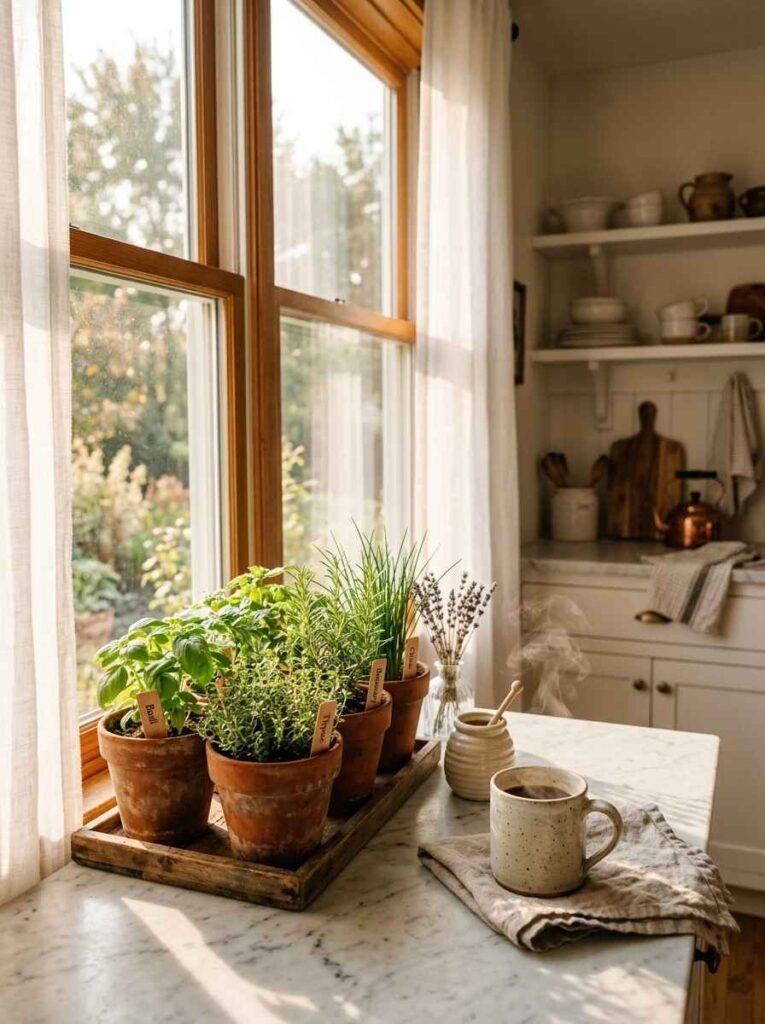
Sometimes one herb done well beats ten herbs done poorly.
A single large pot of basil on a sunny windowsill, properly pruned and fertilized, gives you more fresh basil than you can realistically use. Start with one herb you actually cook with constantly. Get that right. Then add more.
Setup tip: For basil specifically, pinch off any flower buds the moment they appear. Flowering triggers the plant to go to seed, the leaves get bitter, and growth slows down.
Pinching takes two seconds and completely extends the productive life of your plant.
I want to briefly mention something that nobody in herb articles ever talks about: pot size is almost always the thing that kills indoor herbs, not light or water.
Most grocery store herbs come in pots that are two sizes too small for their root system. Repot them the day you bring them home.
This single step makes a bigger difference than almost anything else.
Quick-Reference Setup Table
| Setup Type | Space Needed | Skill Level | Best For |
|---|---|---|---|
| Windowsill row | 12-24 inches | Beginner | Everyday cooking herbs |
| Hanging wall pockets | Wall space only | Beginner | Small kitchens |
| Hydroponic system | 1-2 sq ft counter | Beginner | Year-round growing |
| Vertical pallet wall | Full wall panel | Intermediate | Larger herb collections |
Which Herbs Actually Work Indoors
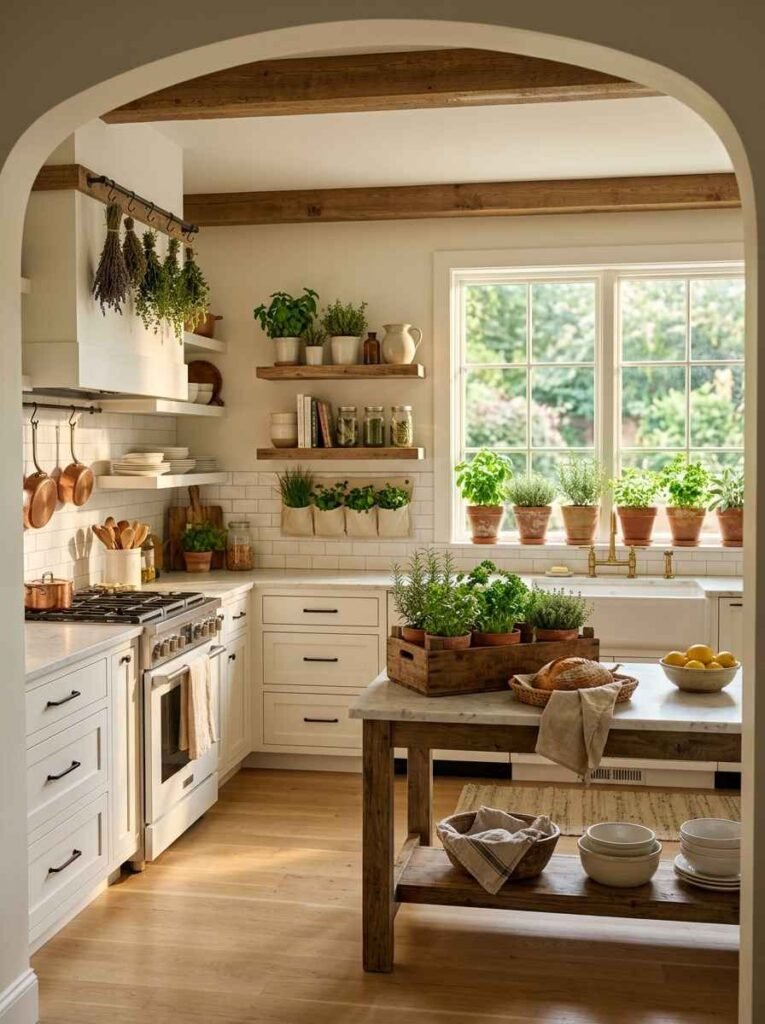
Not all herbs behave well in containers. Some need more root space or cold periods or outdoor wind. Here’s the honest list:
Easiest to grow indoors:
- Chives (nearly impossible to kill, IMO)
- Mint (grows aggressively, keep it contained)
- Parsley (slow to start, consistent once established)
- Thyme (drought-tolerant, forgiving)
- Basil (needs warmth and good light, but very rewarding)
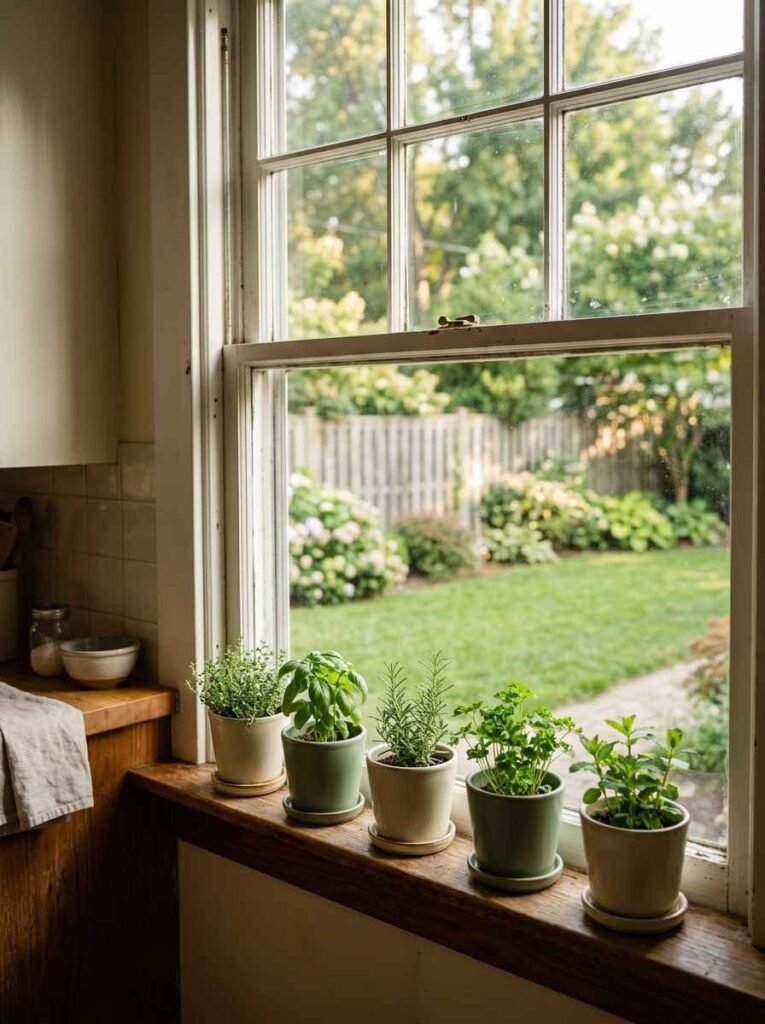
Harder but doable:
- Rosemary (needs excellent drainage and airflow)
- Cilantro (bolts quickly, sow seeds in succession every few weeks)
- Sage (needs very good light and dry conditions)
Best left for outdoors:
- Dill (too tall for most indoor setups)
- Fennel (aggressive root spread, doesn’t container well)
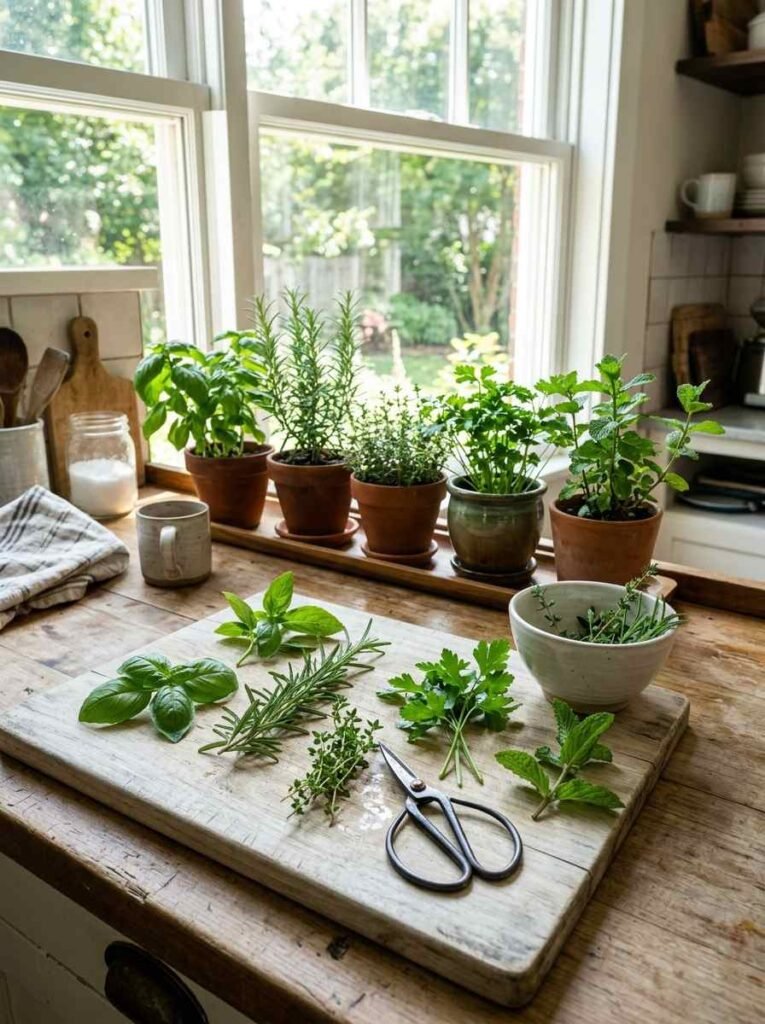
For a thorough breakdown of light and water requirements for each herb, the Royal Horticultural Society’s herb growing guide is one of the better free resources available.
FAQ
Q: How often should I water indoor herbs? The most reliable method is the finger test: push your finger about an inch into the soil. If it feels dry at that depth, water thoroughly until it drains from the bottom. If it still feels moist, wait another day. Most herbs in 4-inch pots need water every 2-3 days in summer and every 4-5 days in winter. The exact frequency depends on pot material, humidity, and light levels, so the finger test beats any calendar schedule.
Q: Can herbs grow in a north-facing window? Most culinary herbs need 6+ hours of direct sun per day, which a north-facing window can’t provide in most temperate climates. Mint and parsley can manage in lower light but grow slowly. For a north-facing kitchen, a grow light setup is genuinely the better path. Full-spectrum LED strips are inexpensive now, and a basic two-shelf grow station takes about 20 minutes to set up.
Q: Why do my herbs keep dying after a few weeks? The three most common reasons are overwatering, undersized pots, and insufficient light. Overwatering is the most frequent culprit because it looks identical to underwatering from the outside (wilting, yellowing leaves). Check soil moisture before every watering and never let plants sit in standing water in a tray. If you bought herbs from a grocery store, repot them immediately into a container at least twice the original size. And be honest with yourself about your light conditions.
Final Thought
You don’t need a lot of space, a fancy setup, or even much gardening experience to grow herbs indoors successfully. What you do need is a little attention to the basics: good light, appropriate containers, and the self-control to not overwater. Start with two or three herbs you actually use in your cooking. Get those thriving. Then expand.
The 24 ideas in this article range from things you can set up in 15 minutes with items you already own to more involved projects that genuinely transform a wall or a corner of your kitchen. Pick the one that fits your space and skill level right now, not the one that looks best on Pinterest. That said, they can eventually be the same thing.
Which herb are you going to start with? Drop your answer in the comments or save this for later when you’re ready to actually set it up.
