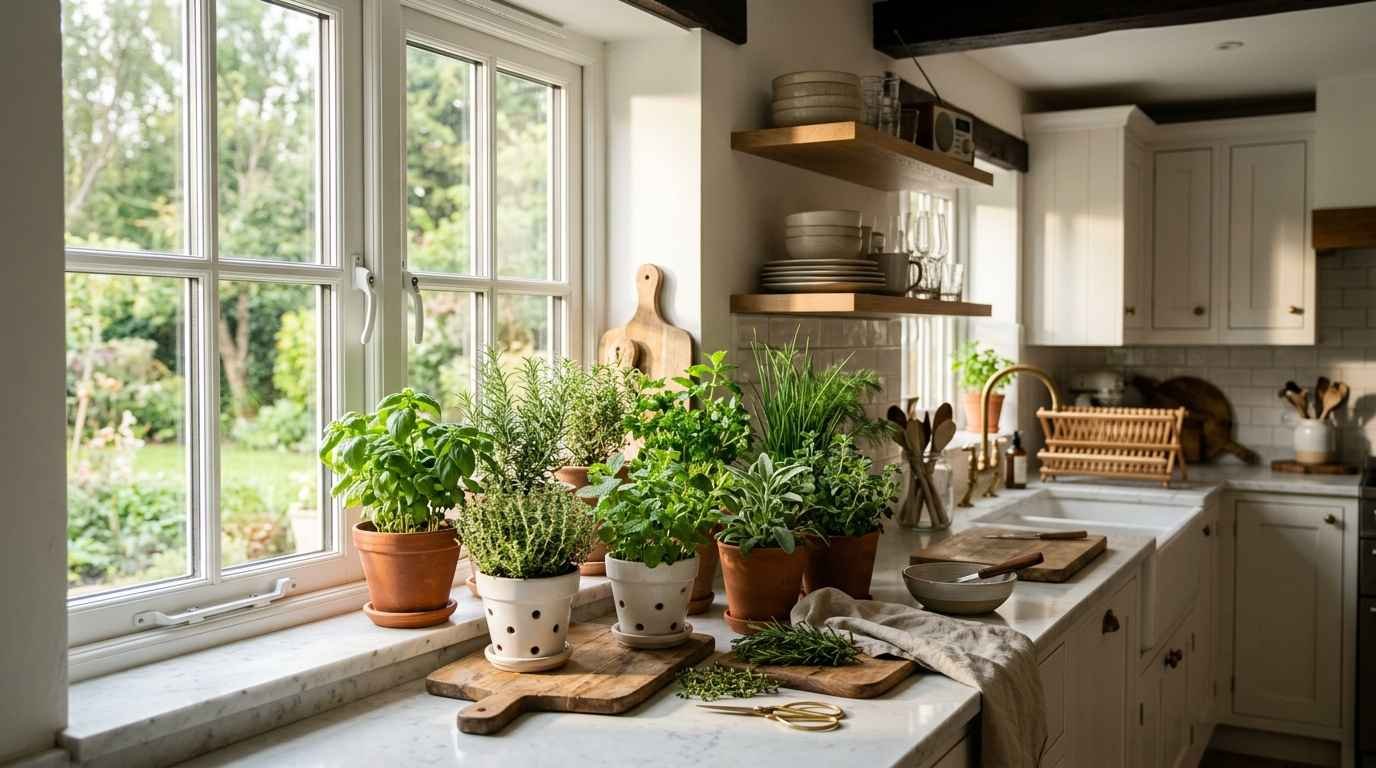
You killed your first herb plant, didn’t you? Probably basil. Everyone kills basil first.
I did too. I overwatered it, stuck it on a shadowy kitchen shelf, and wondered why it turned into a sad, soggy stump within two weeks.
That was my expensive lesson in what not to do. Now, three years and a very crowded windowsill later, I grow 9 herbs indoors year-round, and honestly,
it’s one of the most satisfying things I’ve added to my home routine.
If you’re starting from zero or you’ve already lost a few plants along the way, this guide is the practical reference I wish I’d had.
We’re covering 21 actual ideas, real growing steps, and the specific stuff that trips beginners up.
Why growing herbs indoors actually works
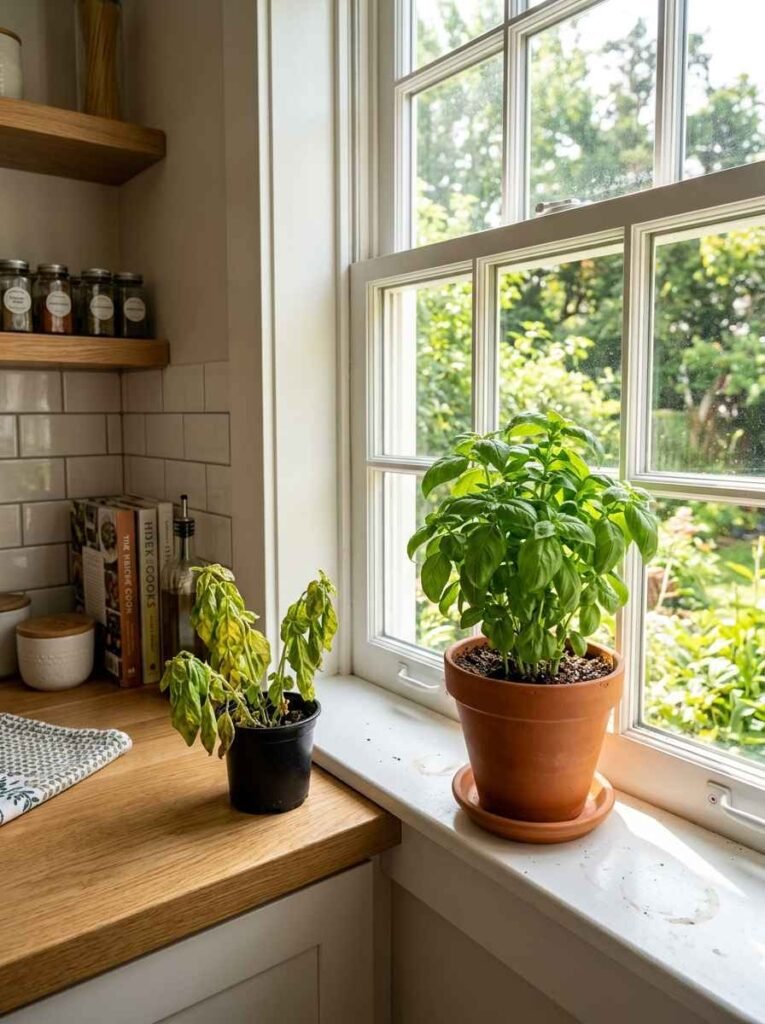
A lot of people assume you need a garden, a backyard, or at least a balcony to grow herbs properly.
You don’t. Most culinary herbs are compact plants that evolved in Mediterranean climates, meaning they like sun, moderate water, and well-draining soil.
A sunny south-facing window replicates this better than you’d think.
The bonus: you harvest small amounts constantly rather than buying a $3 bunch of cilantro that goes slimy in the fridge after 4 days.
Your basil is alive until you snip it. That’s the whole appeal.
What you actually need before you start
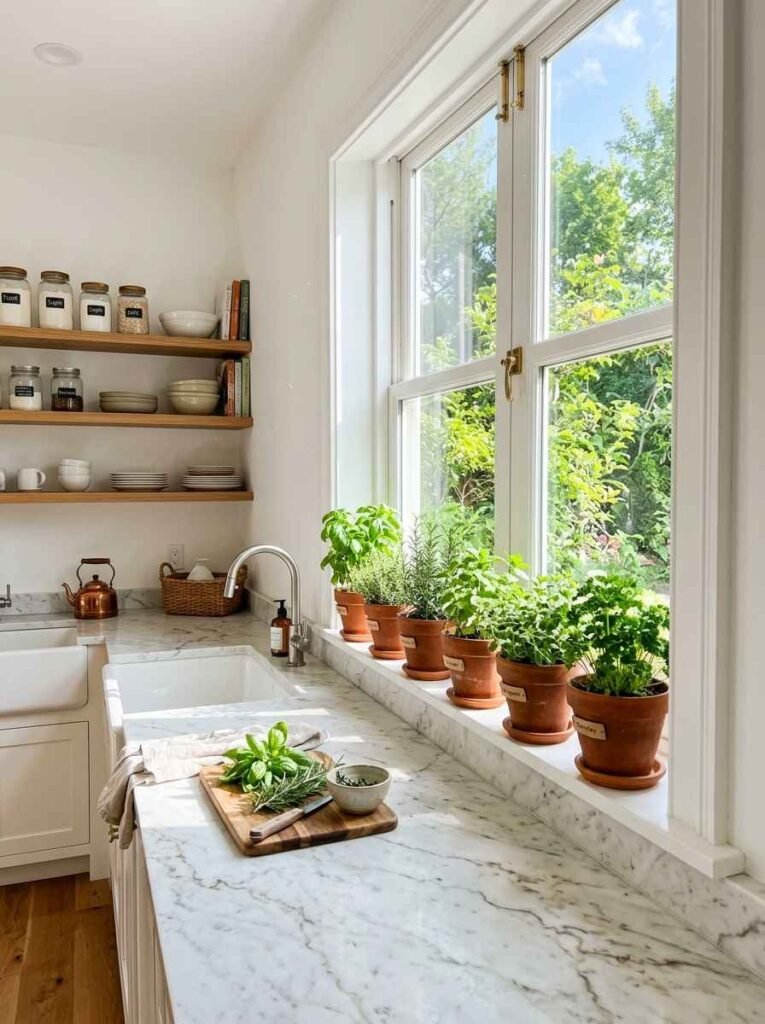
Light: the one thing you can’t fake
Every beginner underestimates how much light herbs need. Most culinary herbs want 6 to 8 hours of direct or bright indirect sunlight daily.
A north-facing window in a UK flat won’t cut it, full stop.
Your options:
- South-facing windowsill (best natural light in the northern hemisphere)
- East or west-facing window (workable for less light-hungry herbs like mint and chives)
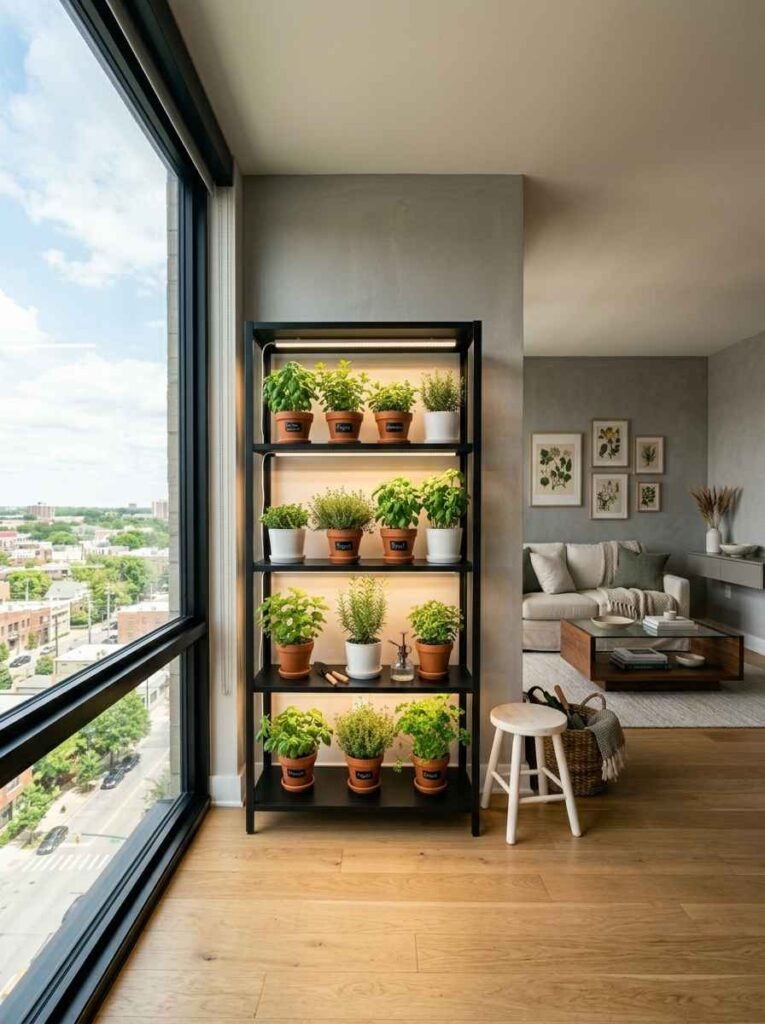
- Grow light, specifically a full-spectrum LED set 6 to 12 inches above plants, running 12 to 14 hours per day
I picked up a basic Barrina grow light strip for about $25, and it changed everything for my winter growing.
If your windowsill gets weak light from October through March, a grow light is worth it.
Containers and drainage
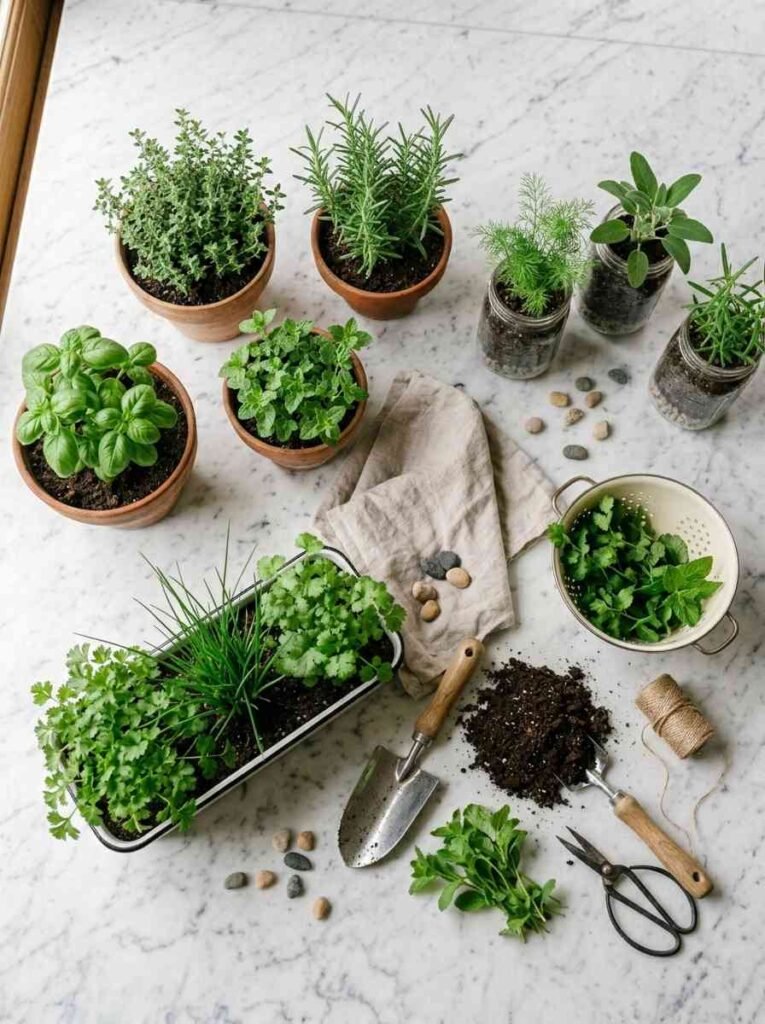
Herbs rot in standing water. Whatever pot you use, it needs a drainage hole. Clay pots dry out faster than plastic, which is actually a feature for Mediterranean herbs like rosemary and thyme.
For beginners, I’d suggest starting with:
- Individual 4-inch or 6-inch terracotta pots per herb (cheap, breathable, forgiving)
- A window box with dividers if you want everything in one spot
- Mason jars work only if you add a gravel layer at the bottom and water very carefully (I’ve done it, it’s doable, just riskier)
Soil matters more than the pot
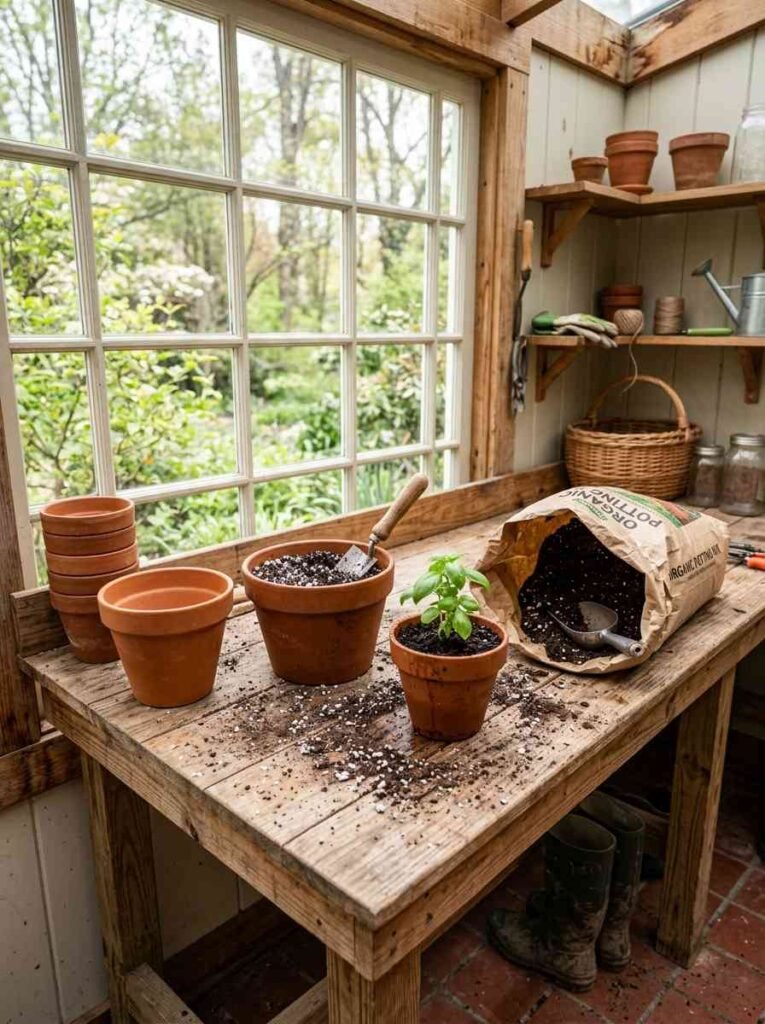
Use potting mix, not garden soil. Garden soil compacts in containers and suffocates roots. A good all-purpose potting mix works for most herbs.
For rosemary, thyme, and oregano, mix in about 30% perlite to get faster drainage.
21 indoor herb garden ideas, from simplest to more involved
1. The single-herb windowsill starter
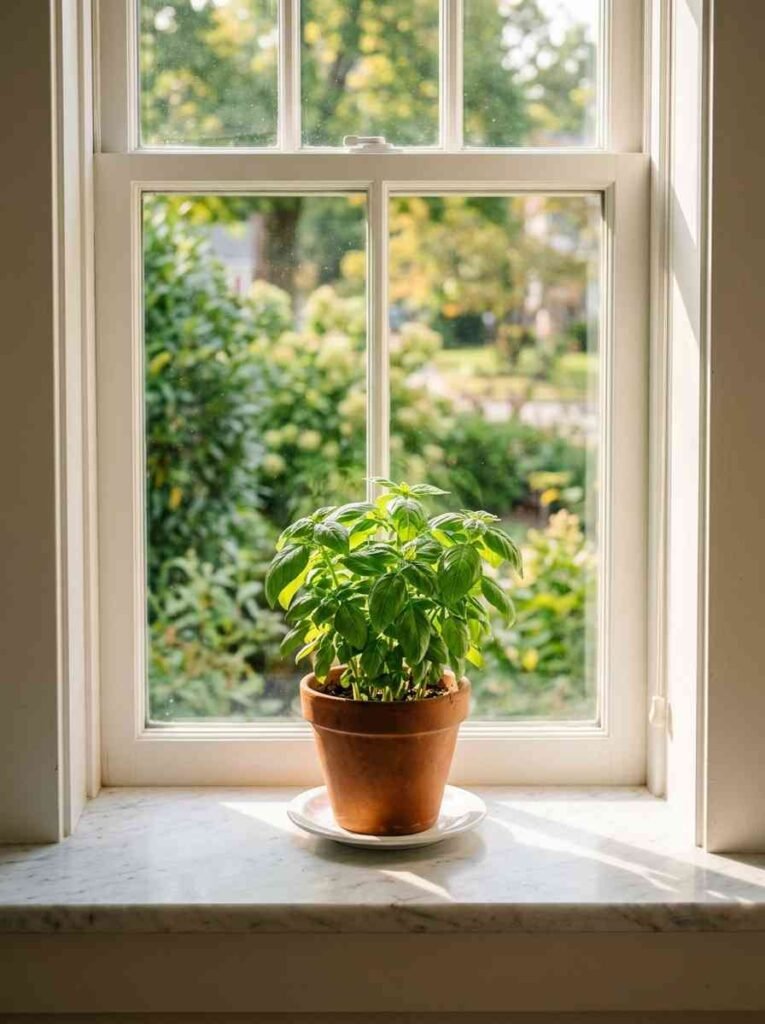
Pick one herb. Basil, mint, or chives. Buy a small plant from the grocery store, repot it into a proper container with drainage, give it your sunniest window, and water only when the top inch of soil is dry. That’s it.
Starting with 1 plant teaches you the watering rhythm before you’re managing 7 pots at once.
2. The classic kitchen trio
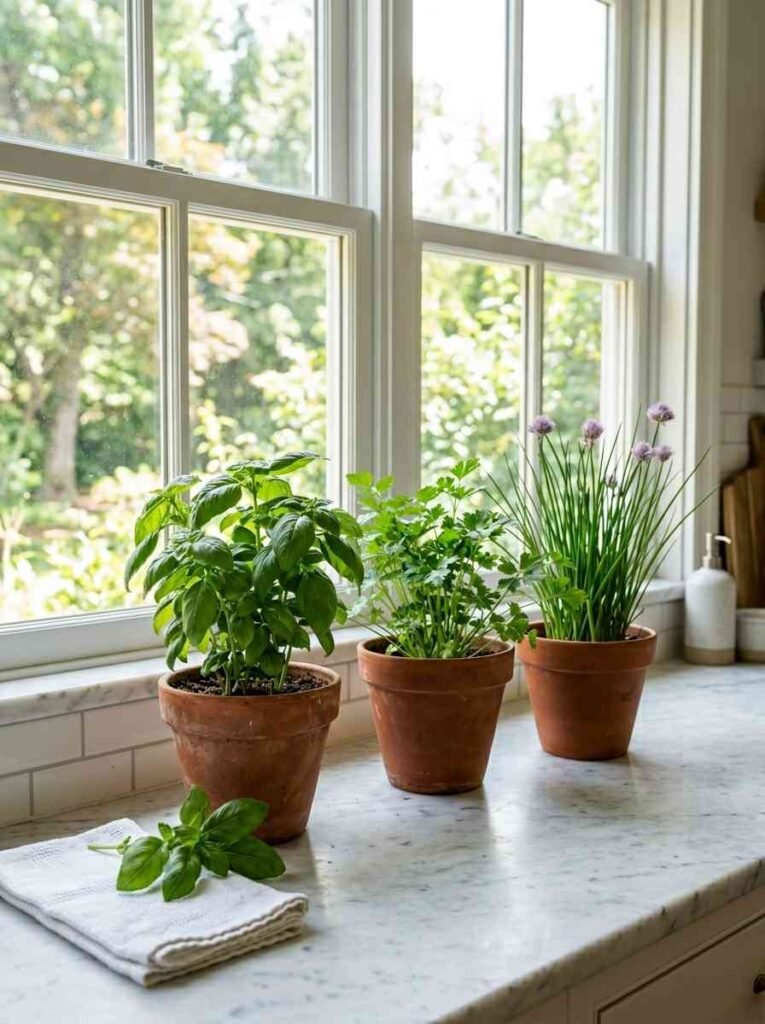
Basil, parsley, and chives in 3 separate pots on the windowsill above the sink. These 3 cover a huge percentage of what you actually reach for while cooking.
Basil for tomatoes and pasta, parsley for everything savory, chives for eggs and potatoes.
Keep them in individual pots so different watering needs don’t conflict. Basil wants more moisture than the other two.
3. A dedicated herb shelf with grow lights
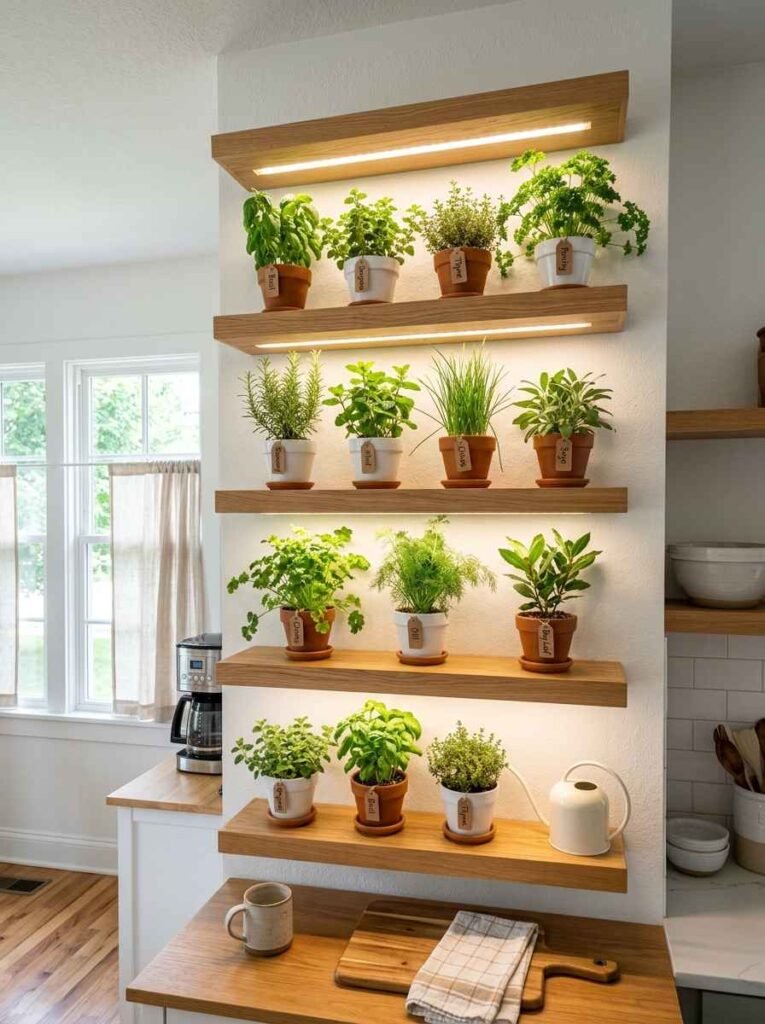
A floating shelf at window height, or a freestanding shelving unit with grow lights mounted underneath each shelf, lets you grow 8 to 12 herbs in a small vertical footprint.
This is probably the setup I’d recommend most to anyone serious about year-round growing.
The key is spacing: don’t crowd plants together. Air circulation prevents fungal problems.
4. Hanging planters near a bright window
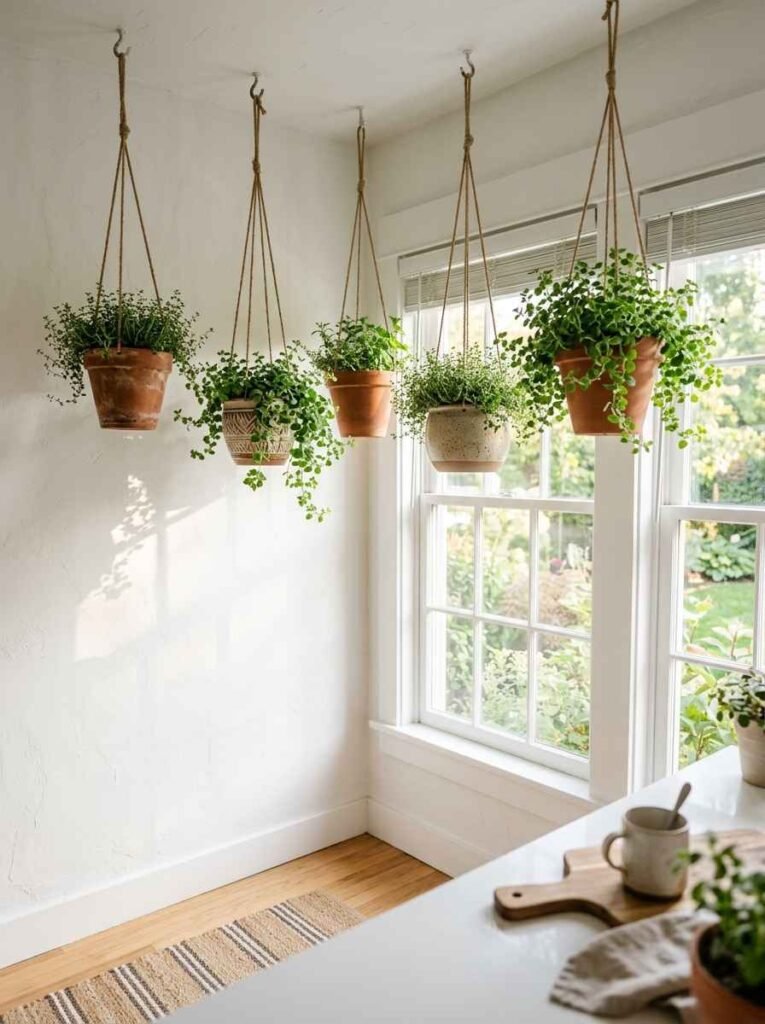
Trailing herbs like thyme, oregano, and even strawberry mint look genuinely beautiful in hanging terracotta or ceramic pots near a window. FYI, this is also one of the most-pinned aesthetics on Pinterest right now, and it earns every save.
Make sure the hanging system can handle the weight when pots are wet. Wet soil is heavy.
5. A repurposed wooden crate planter
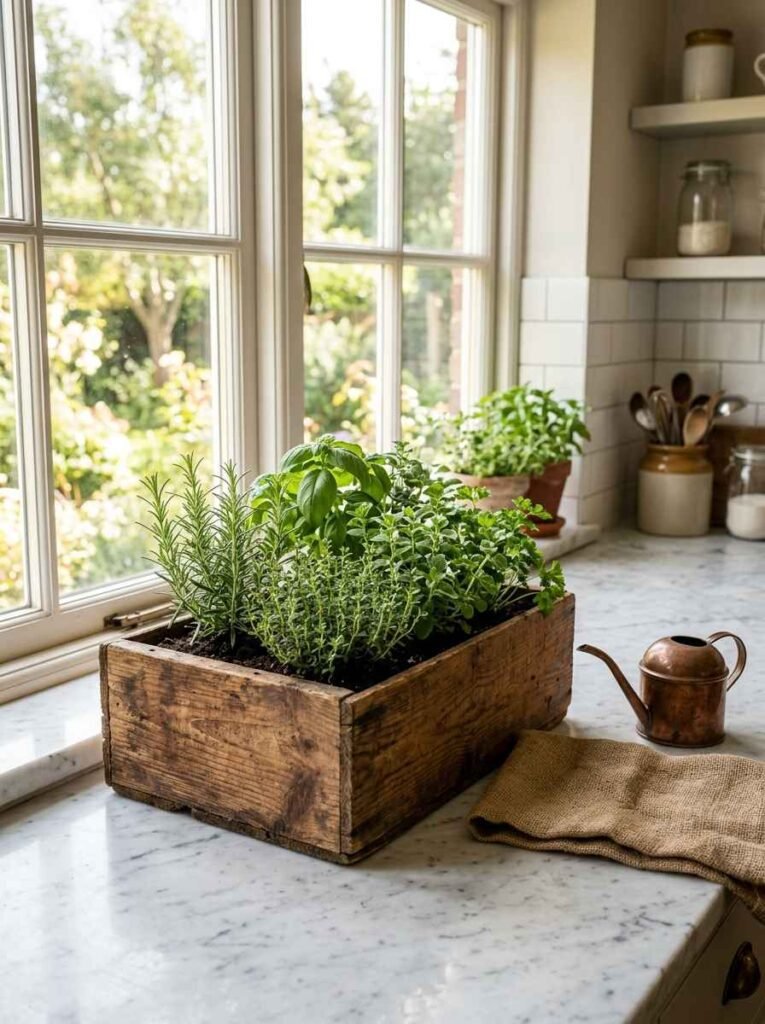
Line an old wine crate or wooden box with landscape fabric, fill it with potting mix, and plant 4 to 6 herbs together.
Works beautifully on a deep windowsill or a small table near a window. The visual is rustic and warm.
Stick with herbs that have similar water needs in the same crate. Mint and basil together: fine. Rosemary and mint together:
problematic, because rosemary wants to dry out completely between waterings and mint does not.
6. The mason jar herb garden
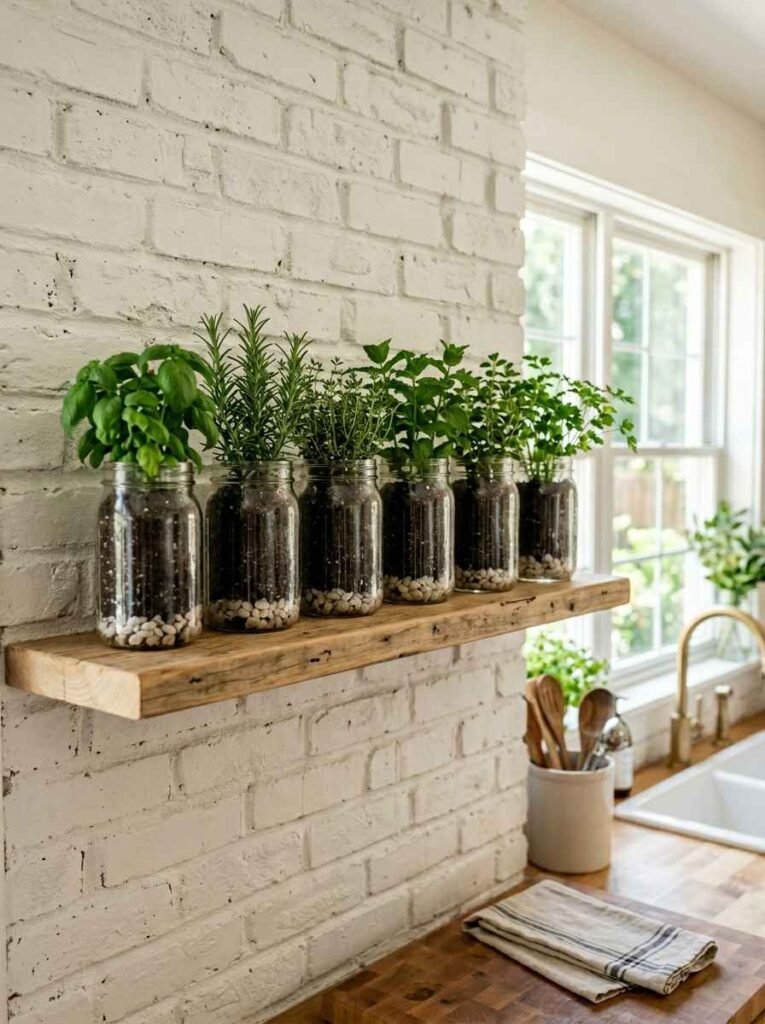
Line up 4 to 6 mason jars on a windowsill. Add a layer of small stones or pebbles at the bottom (about 1 inch), then potting mix, then your herbs.
No drainage holes, so you have to be disciplined about not overwatering.
Honestly, this setup looks incredible on a light-colored kitchen shelf. The visual alone explains why it’s everywhere on Pinterest boards.
Just water in small amounts, maybe 2 to 3 tablespoons per jar every few days, and check by poking your finger into the soil before adding more water.
7. Magnetic fridge herb pots
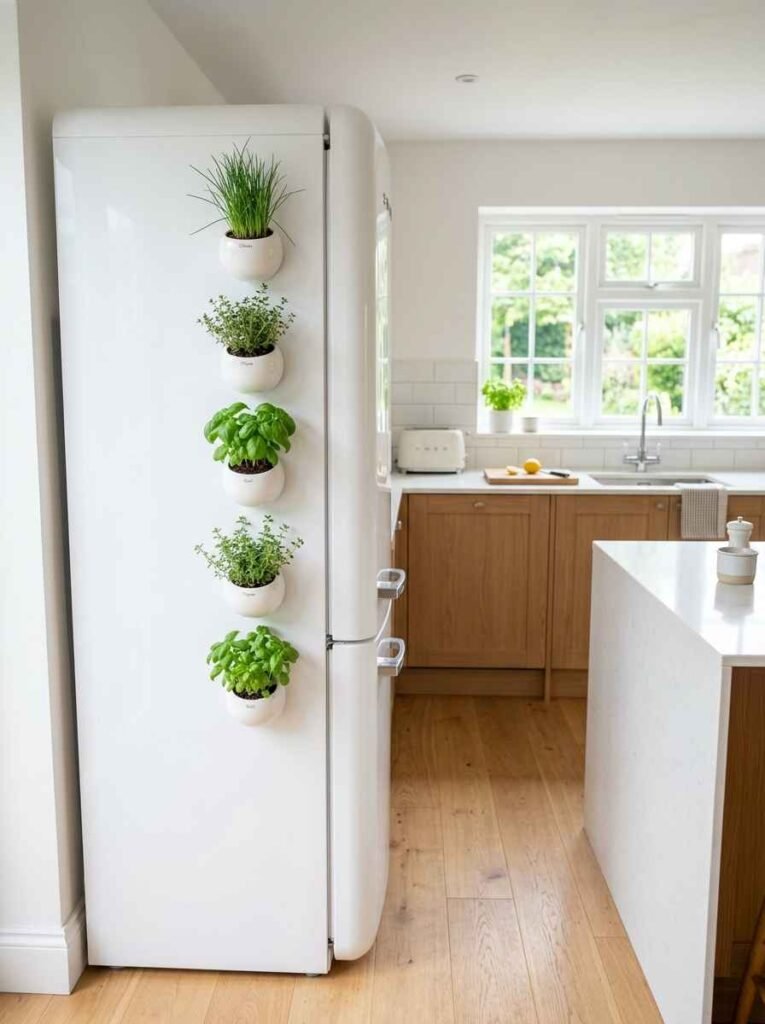
Small magnetic planters stick to the side of your fridge or a metal backsplash. They’re best for very compact herbs like chives, small basil, or thyme cuttings. The pots are tiny (usually 3 inches), so they dry out fast; check them daily.
This is more of an aesthetic add-on than a primary growing setup, but it’s a fun one.
8. Hydroponic herb kit
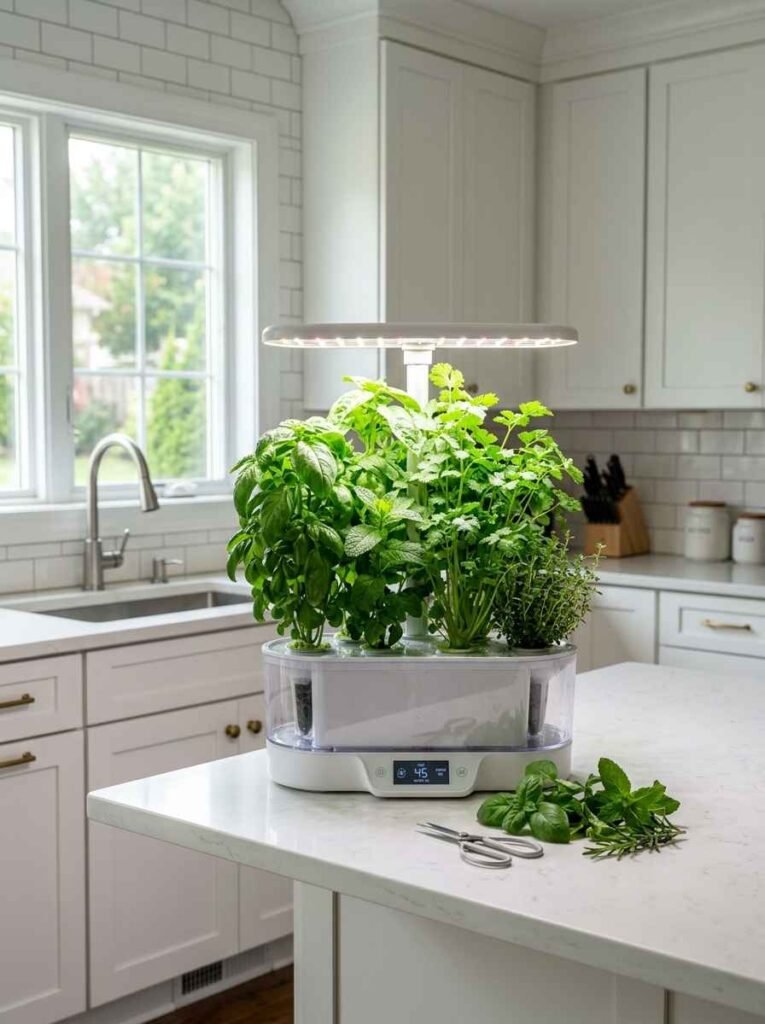
Okay, this one is genuinely impressive. Countertop hydroponic systems like the AeroGarden or Click and Grow grow herbs in water with built-in LED lights and nutrient pods.
You basically fill the water tank, pop in a pod, and the thing does most of the work.
Wow, the basil these systems produce is insane. I grew a basil plant in an AeroGarden that reached 18 inches tall and kept producing for 5 months straight.
The countertop units start around $50 to $100, and the pods cost about $5 to $8 each. More info about hydroponic herb growing at the Savvy Gardening herb guide: https://savvygardening.com/growing-herbs-indoors
9. Tiered plant stand with mixed herbs
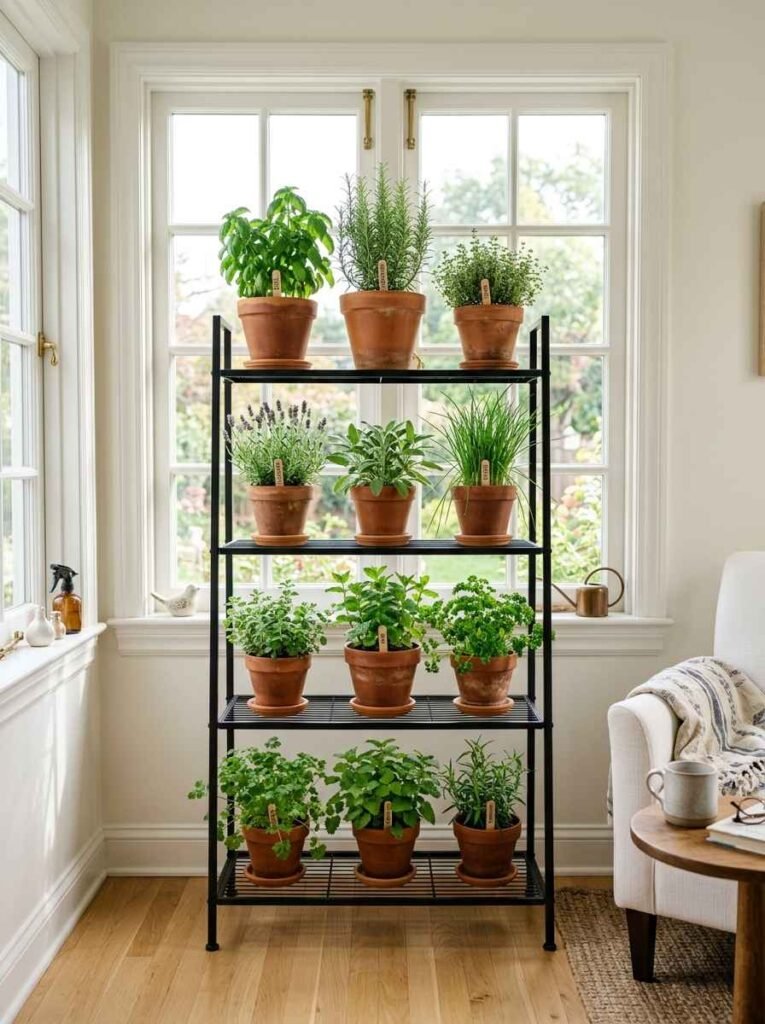
A 3 or 4-tier plant stand near a sunny window gives you a proper display and keeps herbs organized by light needs.
Put the most sun-hungry herbs (basil, rosemary) on the top tier where they get the most direct light, and shade-tolerant herbs (mint, parsley, chives) on lower tiers.
This setup looks like something out of a well-styled kitchen photo shoot, which is probably why it performs so well on Pinterest.
10. Terracotta pot cluster on a tray
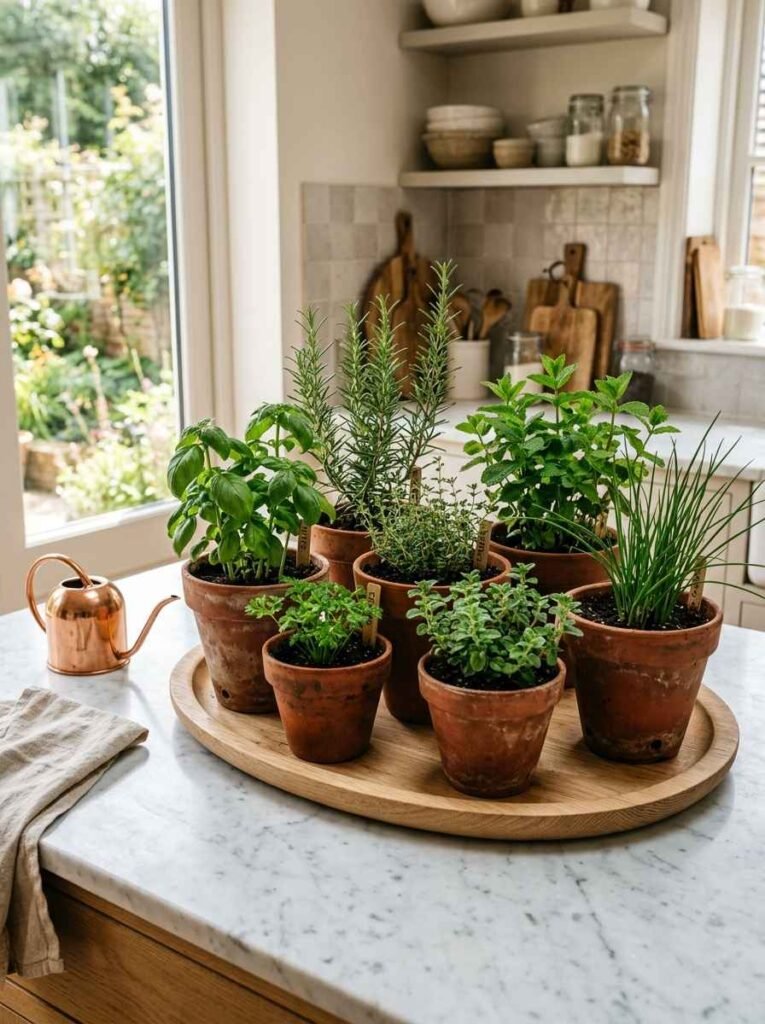
Group 5 to 7 terracotta pots of varying sizes on a large tray or wooden board. The tray catches water runoff and keeps the whole thing movable.
You can rotate the tray to give different pots more light, which is actually useful if you only have 1 good window.
Use odd-numbered groupings. 5 or 7 pots look more natural together than 6.
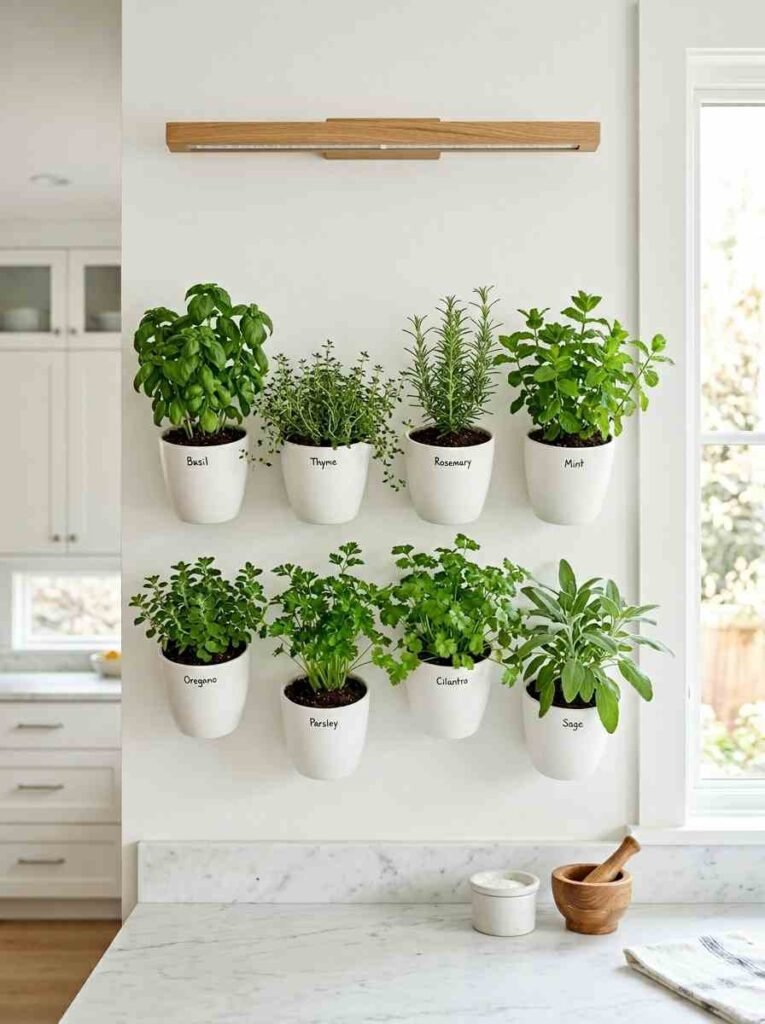
11. Wall-mounted vertical planter
Pocket planters or individual mounted pots on a wall near a window make a proper herb wall. These work best if the wall gets some natural light, or if you mount a grow light above the arrangement.
The visual payoff is high. The maintenance reality is that small wall pots dry out fast, so you’re watering daily in warm months.
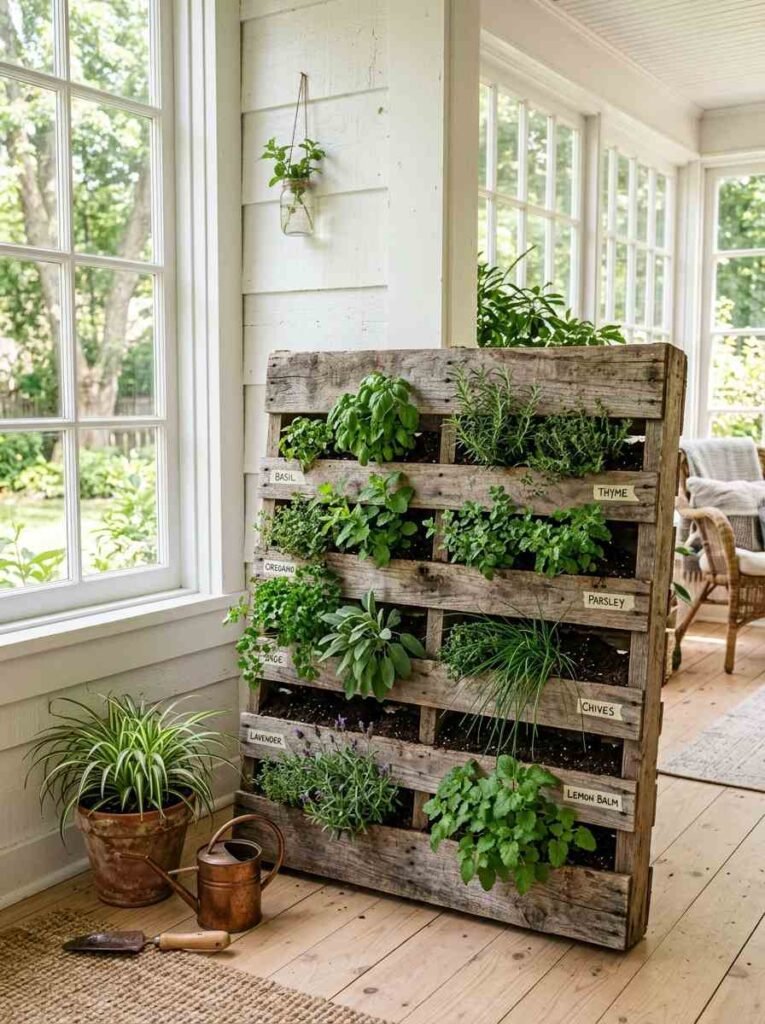
12. A recycled pallet planter
Stand a wooden pallet upright against an indoor wall or lean it near a window. Stuff the gaps with landscape fabric and fill with soil. You can plant directly into the horizontal slats.
I’ll be honest: this works better in theory than practice for most indoor setups. The soil depth is shallow, and watering evenly across all the pockets is tricky.
But if you have a very bright sunroom or large south-facing window, it’s a stunning piece of living decor.
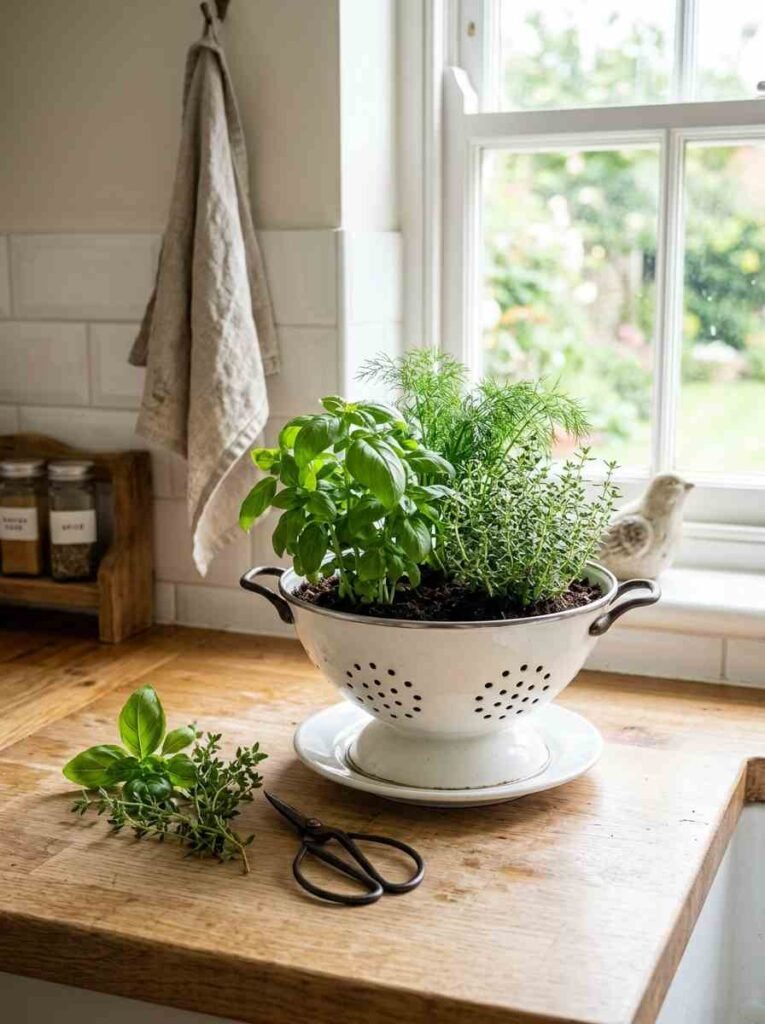
13. Herb garden in a colander
A stainless steel or enamel colander is a ready-made planter with built-in drainage holes. Plant 2 to 3 herbs together (basil and parsley work well), set it on a saucer, and place it on your windowsill.
It’s a slightly unexpected container that tends to look intentional rather than improvised, which is half the battle with kitchen herb gardens.
14. Glass cloche over a single herb
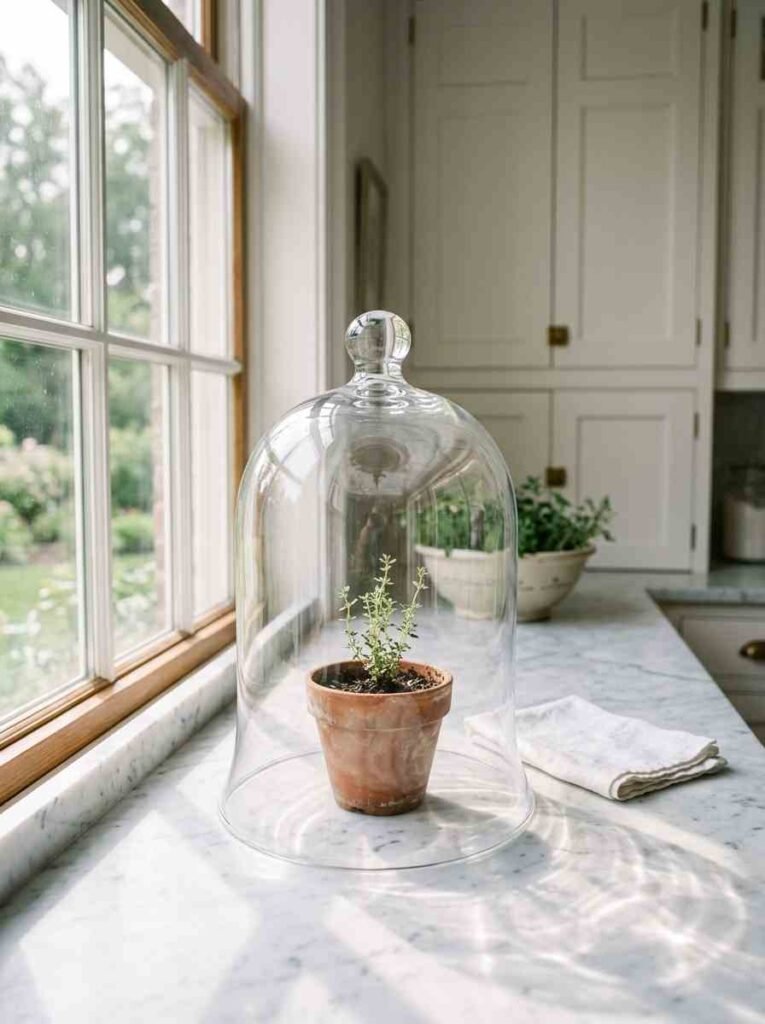
A glass cloche or bell jar over a small potted herb on your counter creates a micro-greenhouse effect and looks amazing.
Good for herbs that want humidity, like lemon verbena or Vietnamese coriander.
Remove the cloche for a few hours each day for air circulation, or the inside will get too damp.
15. Propagating herbs from cuttings in water
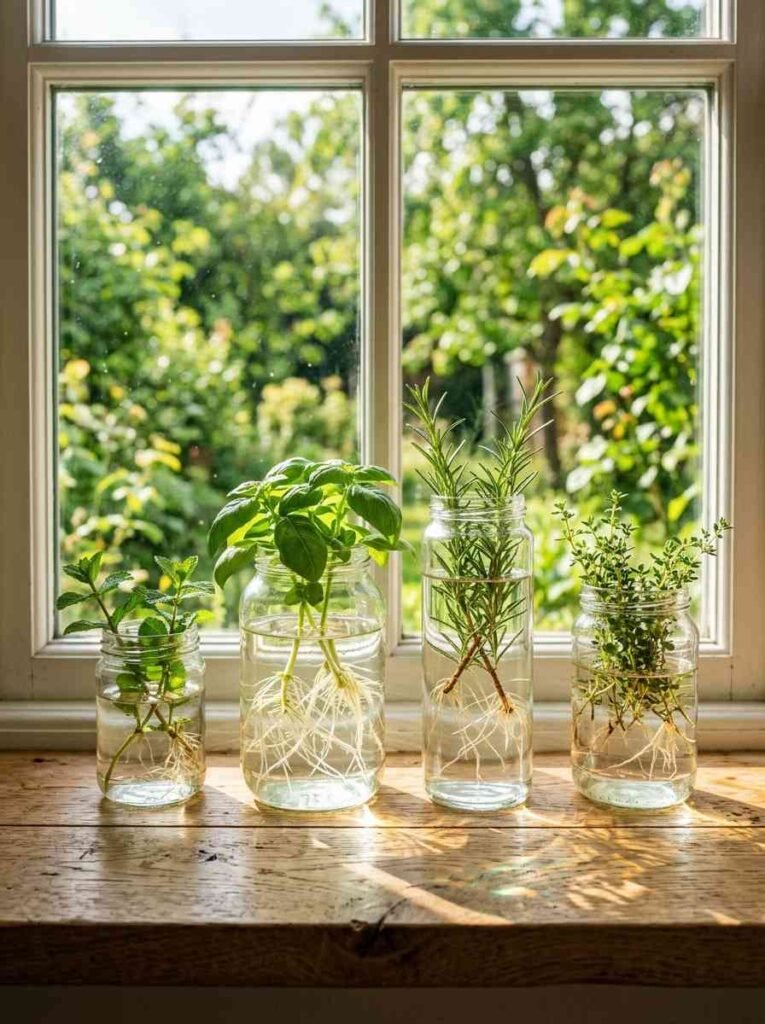
Keep a small glass jar of water on your windowsill with fresh herb cuttings in it. Basil, mint, and lemon balm all root easily in water within 1 to 2 weeks. Once roots reach about 2 inches, transfer to soil.
This is genuinely one of the cheapest ways to grow herbs.
You buy a bunch from the grocery store once, take cuttings, and turn $3 of basil into 4 or 5 new plants. The propagation jar also looks great sitting on a windowsill.
16. Labeled terracotta with hand-painted pots
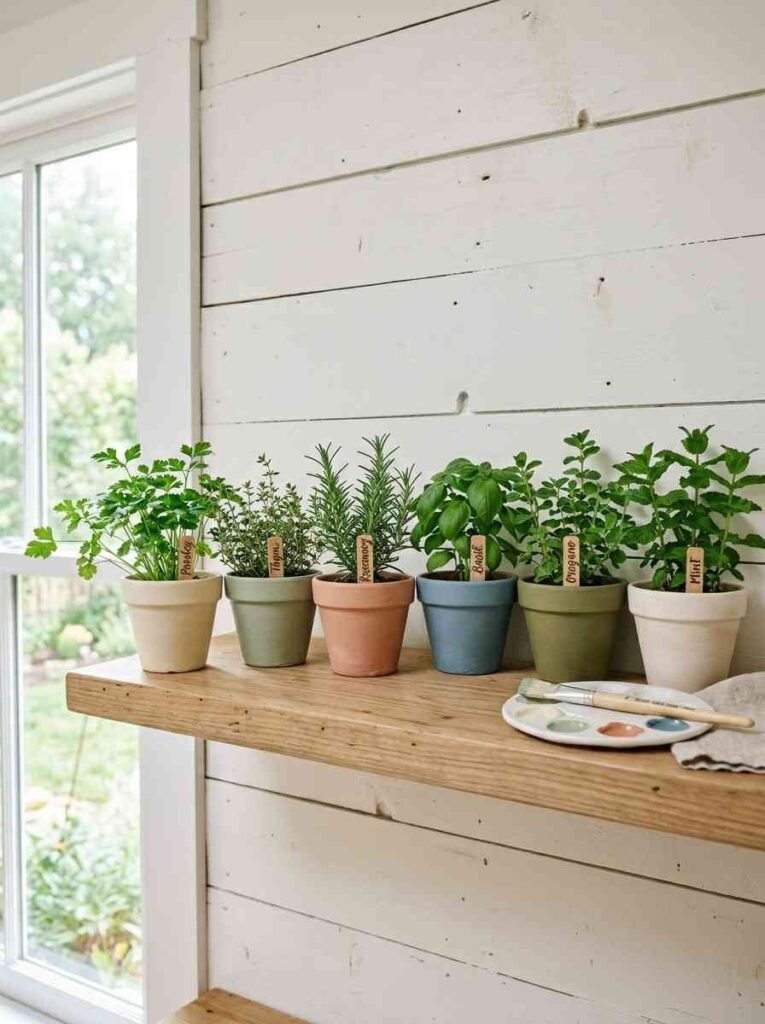
Buy plain terracotta pots and paint or chalk-mark the herb names on each one.
This sounds decorative-only, but labels genuinely help when you’re growing herbs that look similar as seedlings (thyme and oregano, I’m looking at you).
The personalised-pot aesthetic performs really well on Pinterest, especially in flat-lay photos.
17. A compact grow tent setup
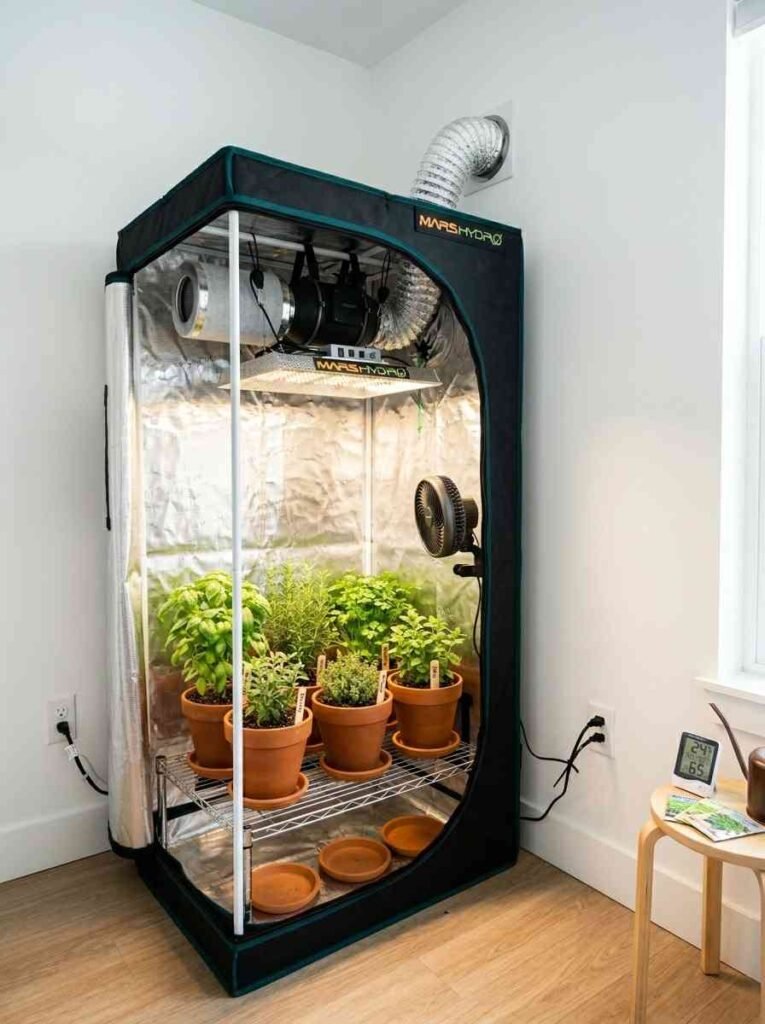
For serious year-round growing in a space with no good natural light, a small grow tent (even a 2×2-foot model) with a quality LED grow light gives you full control over conditions. Temperature, humidity, light hours. All adjustable.
Overkill for a beginner? Maybe. But if you live in a dark city flat and want to grow cilantro in January, this actually works.
Good overview of grow light options at Epic Gardening: https://www.epicgardening.com/grow-lights-for-herbs
18. Herb seedling station near a heat source
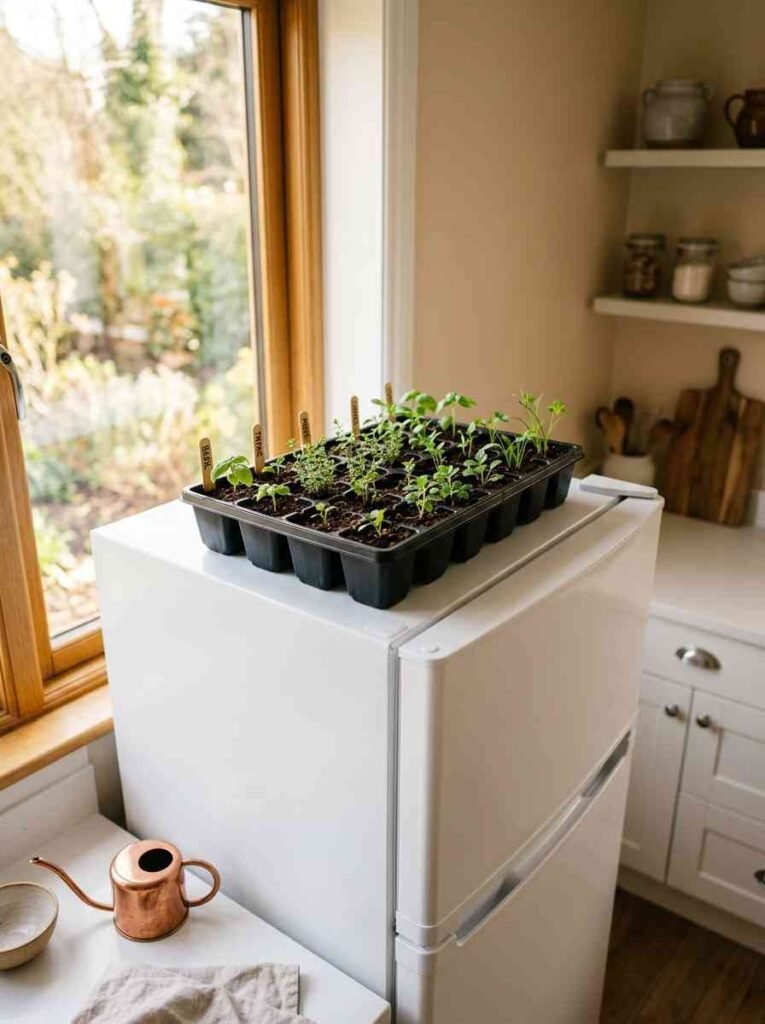
Starting herbs from seed requires warmth. Most herb seeds germinate best at 65 to 75 degrees Fahrenheit (18 to 24 degrees Celsius).
A seed tray placed on top of the fridge (which throws off a bit of heat), near a radiator, or on a seedling heat mat will give you significantly faster and more consistent germination.
Once seedlings reach 2 to 3 inches tall, move them to your main growing spot with better light.
19. A tea herb collection
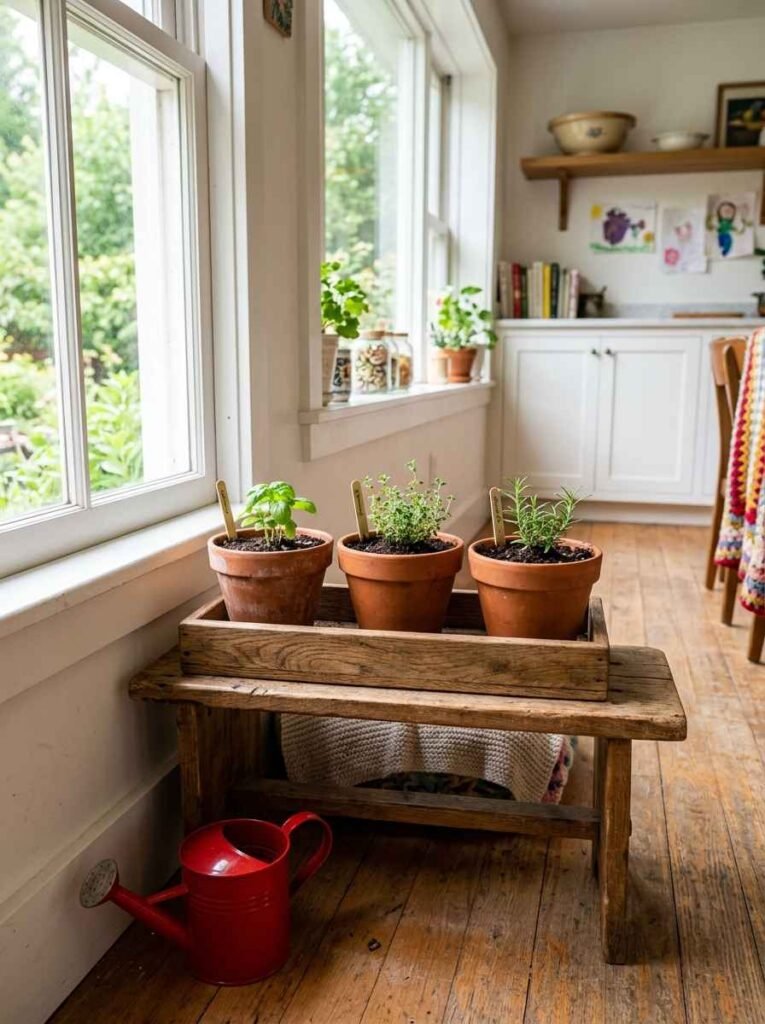
Grow a small collection of herbs specifically for fresh tea: lemon balm, peppermint, spearmint, chamomile, and lemon verbena.
Keep them in a cluster near the kettle (near a window, obviously).
Snip a few leaves, pour boiling water over them, and steep for 5 minutes. It’s genuinely better than anything in a tea bag, and the collection of mint varieties in pots looks great as a display.
20. A children’s herb garden kit
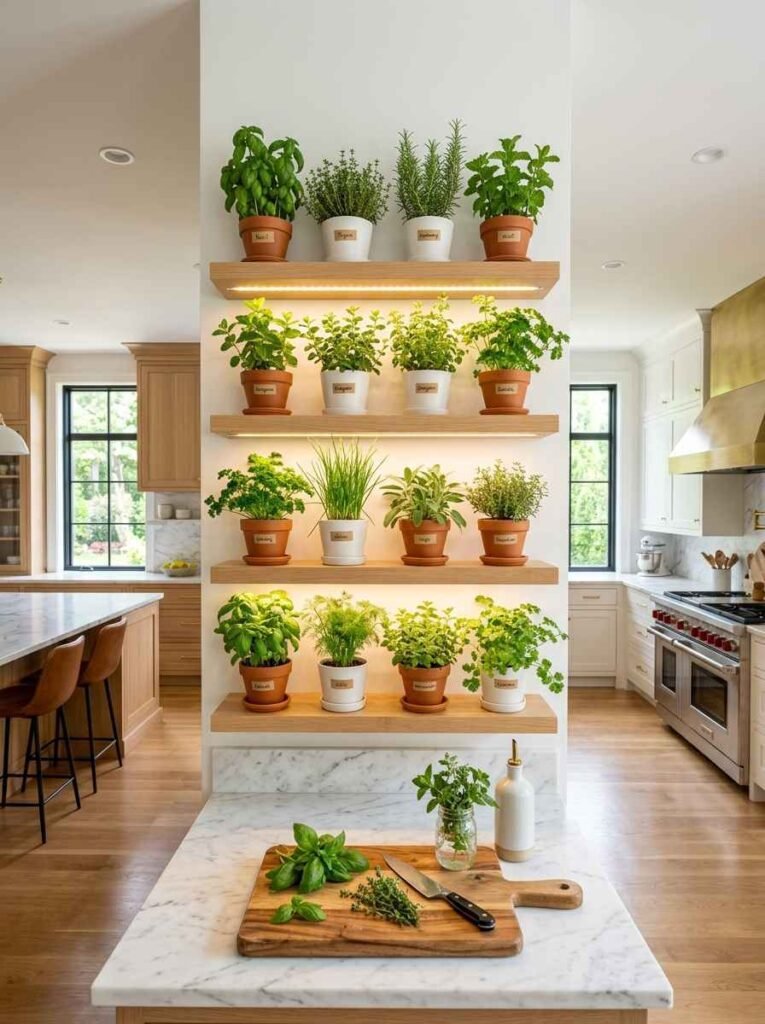
If you have kids at home, a small labelled herb tray with basil, mint, and chives is a great starter project.
Kids tend to respond well to herbs because the results are fast (basil seedlings emerge in 5 to 7 days) and the payoff is tangible: they can actually eat what they grew.
Keep it simple: 3 pots, a windowsill, a watering schedule on the fridge.
21. The full kitchen garden wall
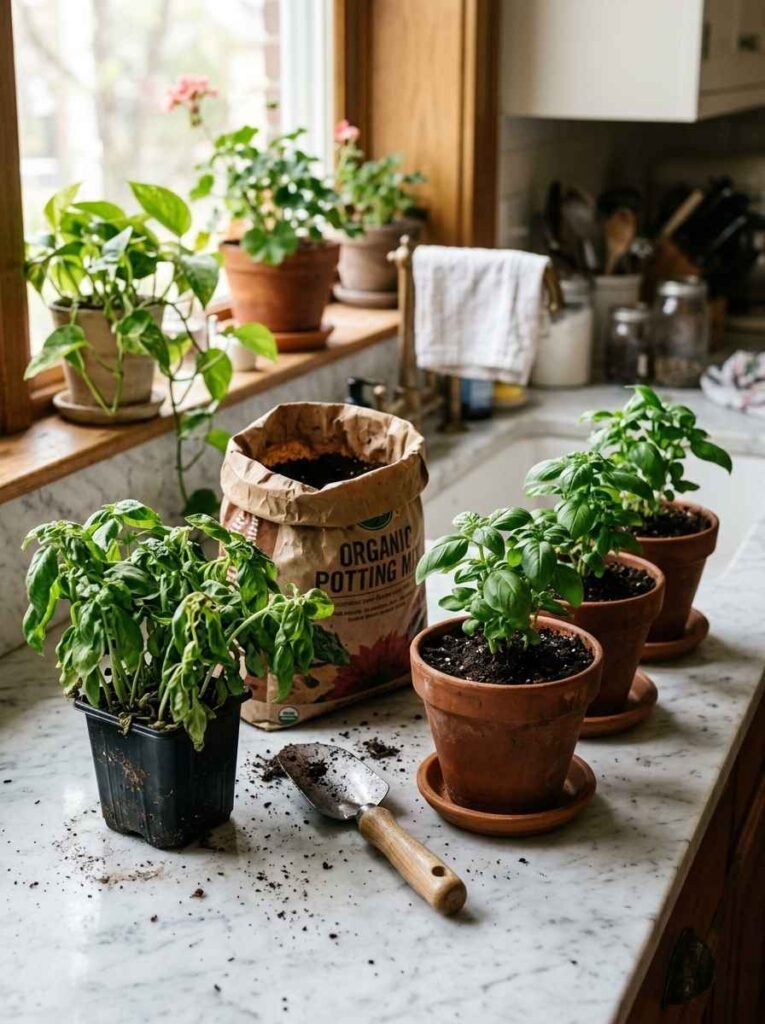
A dedicated section of wall in your kitchen with mounted shelves, grow lights underneath each shelf, and 12 to 15 herbs growing year-round.
This is the end goal for a lot of indoor herb enthusiasts, and it’s genuinely achievable in most kitchens with about a 3-foot section of wall.
Budget around $150 to $250 for shelves, grow light strips, pots, and soil for the initial setup. After that, the only ongoing cost is seeds and the electricity for the lights (minimal with LED).
Step-by-step growing guide for absolute beginners
Step 1: Pick the right herbs to start
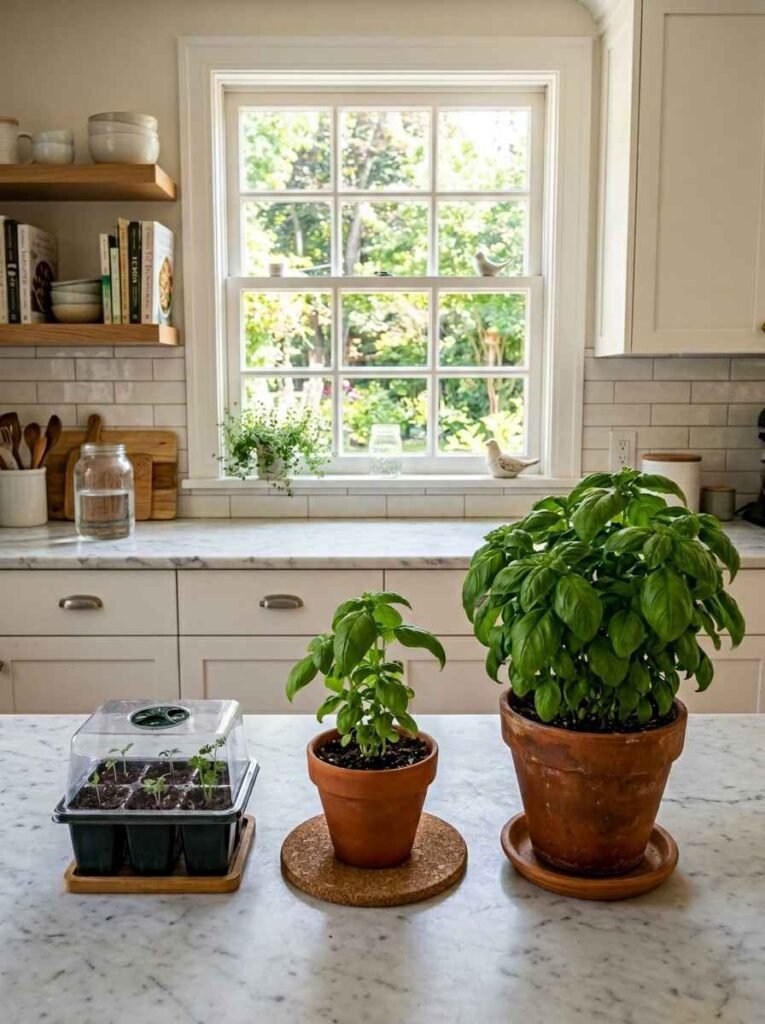
Some herbs are far more forgiving than others for beginners.
Easy (start here):
- Chives: hard to kill, tolerates lower light, grows back after every harvest
- Mint: aggressive grower, wants moisture, does well in partial light
- Basil: needs warmth and sun but grows fast and gives you constant feedback
Medium difficulty:
- Parsley: slow to germinate from seed (3 to 4 weeks), but easy once established
- Cilantro: fast-growing but bolts to seed quickly in warmth; best in cooler spots
- Thyme: low water needs, very drought-tolerant
Save for later:
- Rosemary: needs very good drainage and lots of sun; slow to establish
- Tarragon: finicky about soil conditions
- Lemongrass: needs high heat and humidity to thrive indoors
Step 2: Start with plants, not seeds (at least the first time)
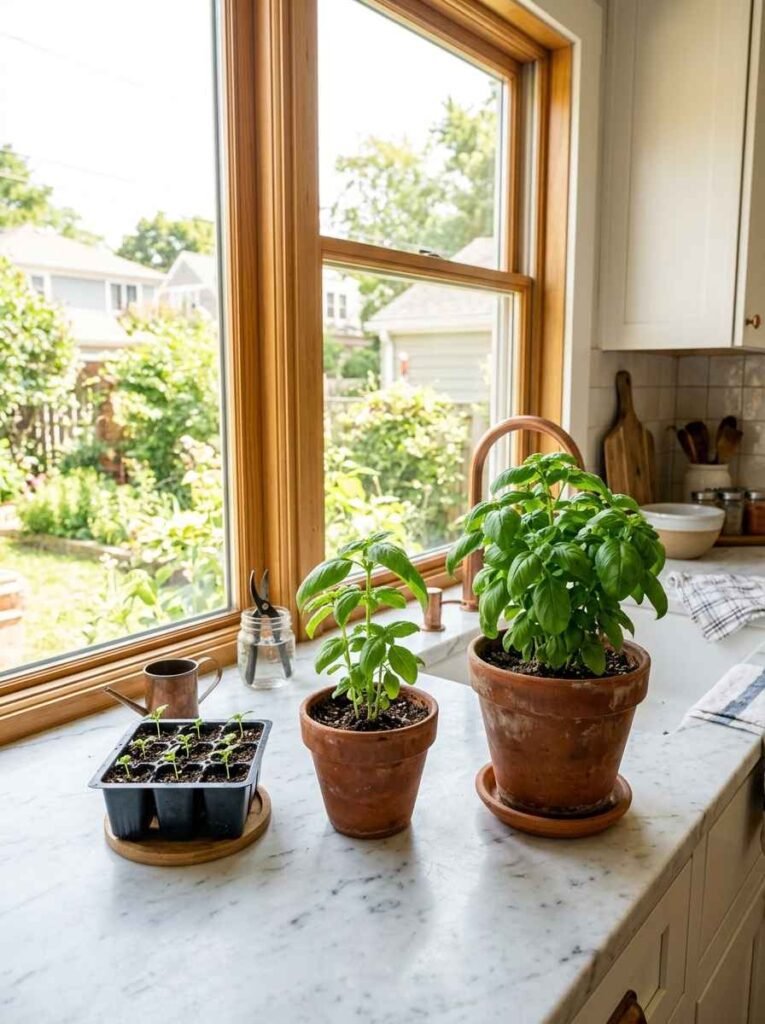
Seeds are cheaper and more satisfying long-term, but if you’ve never grown herbs before, starting with a small plant from a garden center gives you immediate feedback. You can see what healthy growth looks like, feel the right soil moisture, observe how the plant responds to your windowsill conditions.
Buy seeds once you know what healthy looks like.
Step 3: Repot immediately
Grocery store herb pots are a trap. Those little plastic pots with 6 basil plants crammed together are designed to last 2 weeks on a supermarket shelf, not to actually grow. The moment you get home, separate the plants and repot them individually into 4-inch pots with proper potting mix.
Step 4: Master the watering rhythm
Most herb deaths are from overwatering. The rule: water when the top 1 inch of soil is dry. Stick your finger in. If it’s still damp, wait. If it’s dry, water thoroughly until water runs out the drainage hole.
Don’t water on a schedule. Water based on what the soil is doing.
Step 5: Harvest regularly
Harvesting herbs correctly makes them grow faster. For basil, pinch off the top 2 leaves of each stem regularly, and always remove flowers the moment they appear. For mint and chives, cut stems down to about 1 inch from the soil. Regular harvesting keeps the plant in an active growth phase.
Quick reference table: herb growing at a glance
| Herb | Light needed | Water frequency | Best container size |
|---|---|---|---|
| Basil | 6-8 hrs direct | Every 2-3 days | 6-inch pot minimum |
| Mint | 4-6 hrs | Keep soil moist | Wide shallow pot |
| Chives | 4-6 hrs | When top inch dries | 4-inch pot |
| Rosemary | 8+ hrs direct | Every 7-10 days (dry) | 8-inch pot minimum |
Common mistakes and how to fix them
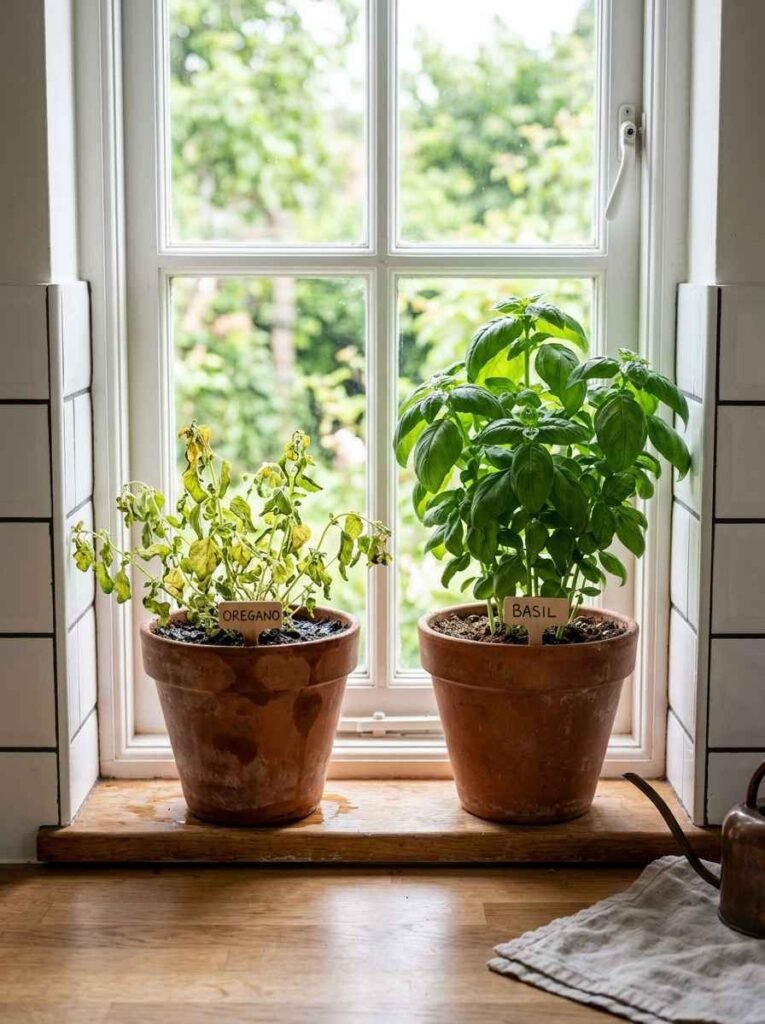
Overwatering. The single most common beginner mistake. Yellowing leaves, soggy soil, and a slightly rotten smell are all signs. Fix: let the soil dry out completely, check drainage holes are clear, and reduce watering frequency.
Wrong light. If your basil is stretching toward the window with long, thin stems and pale leaves, it wants more sun. Move it to a brighter spot or add a grow light. For more detail on diagnosing light problems, the RHS herb growing guide is worth reading: https://www.rhs.org.uk/herbs/growing-herbs
Planting incompatible herbs together. Mint and rosemary in the same pot will result in one dead herb, and IMO it’s usually the rosemary. Keep herbs with similar water needs together, or just grow them separately.
Never harvesting. Letting herbs grow without harvesting makes them woody, leggy, and eventually causes bolting (going to seed). Pick from your plants at least once a week.
Frequently asked questions
How often should I water indoor herbs? Check the soil daily by touching the top inch. Water when it’s dry for most herbs. Mint and basil like a bit more consistent moisture; rosemary and thyme prefer to dry out between waterings. A fixed daily watering schedule typically leads to overwatering.
Can herbs grow indoors without a sunny window? Yes, with a grow light. A full-spectrum LED grow light running 12 to 14 hours per day compensates well for a lack of natural light. Place it 6 to 8 inches above the plants for best results. Without either a sunny window or a grow light, most culinary herbs will slowly decline.
Why does my basil keep dying? Usually one of 4 reasons: overwatering, not enough light, too cold (basil hates temperatures below 50 degrees Fahrenheit / 10 degrees Celsius), or it was left to flower without removing the blossoms. Check all 4 before buying a replacement plant.
Final thought
Growing herbs indoors is one of those things that sounds harder than it is. Once you get the light and watering right, most herbs basically grow themselves. Start with chives or mint if you want something that’s practically indestructible, or jump straight to basil if you want the most satisfying kitchen herb you can grow.
The windowsill you keep walking past? It could be doing a lot more for your cooking. Which herb are you starting with?
