My dog used to treat my entire backyard like a personal newspaper. Every corner, every flower bed, every spot right next to the patio door.
I got tired of playing minesweeper every time I stepped outside barefoot.
So I built a designated potty spot. It took a weekend, cost less than $150, and honestly changed how much I enjoy my own yard.
If you’re dealing with the same landmine situation, here’s everything I’ve tried, what worked, what didn’t, and 17 backyard ideas you can actually pull off yourself.
Why a designated spot is worth the effort
Dogs are creatures of habit. Once they know where the “bathroom” is, they’ll keep going back to it, especially if you reinforce it early.
The American Kennel Club’s guide to housetraining points out that early potty habits tend to stick for life, which is exactly why getting this right now saves you years of yard maintenance headaches.
There’s also the practical side. One clean-up zone instead of a scavenger hunt across your whole lawn.
Your grass stays green. Your shoes stay clean. Your neighbors stop side-eyeing your yard over the fence.
1. Pick a corner, any corner
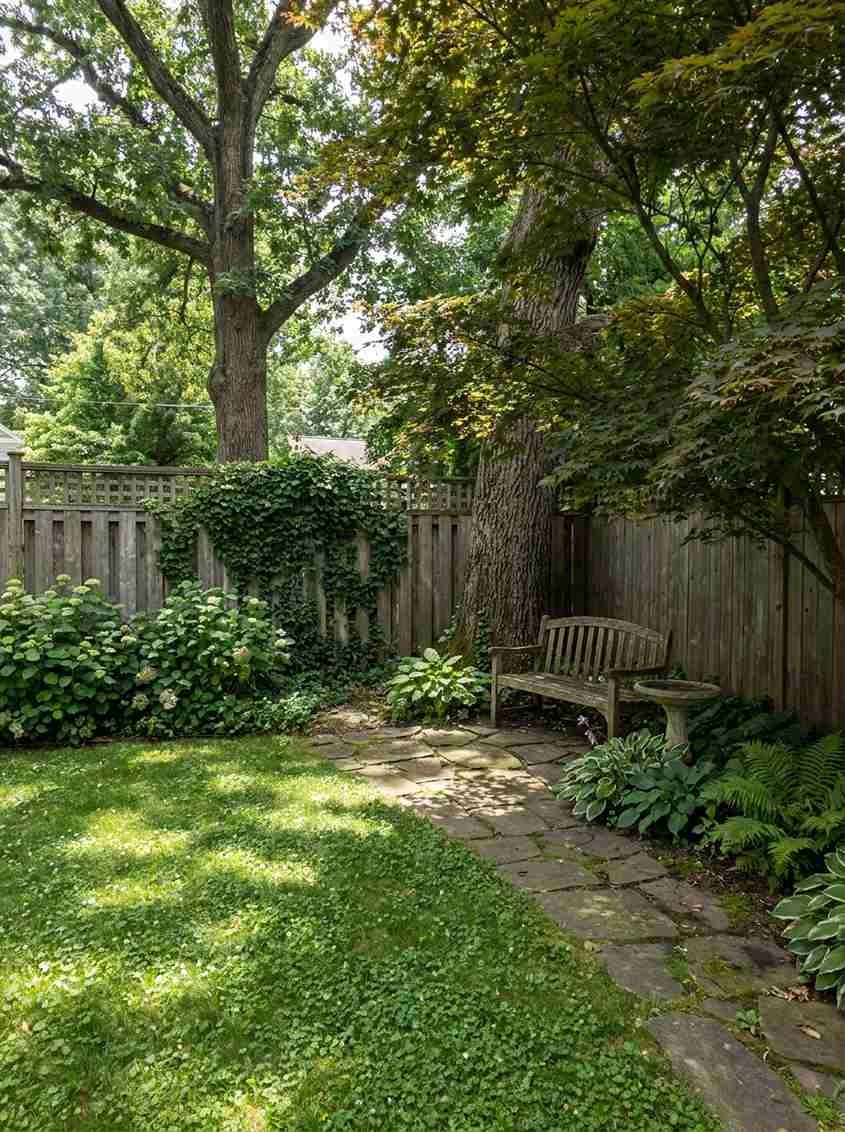
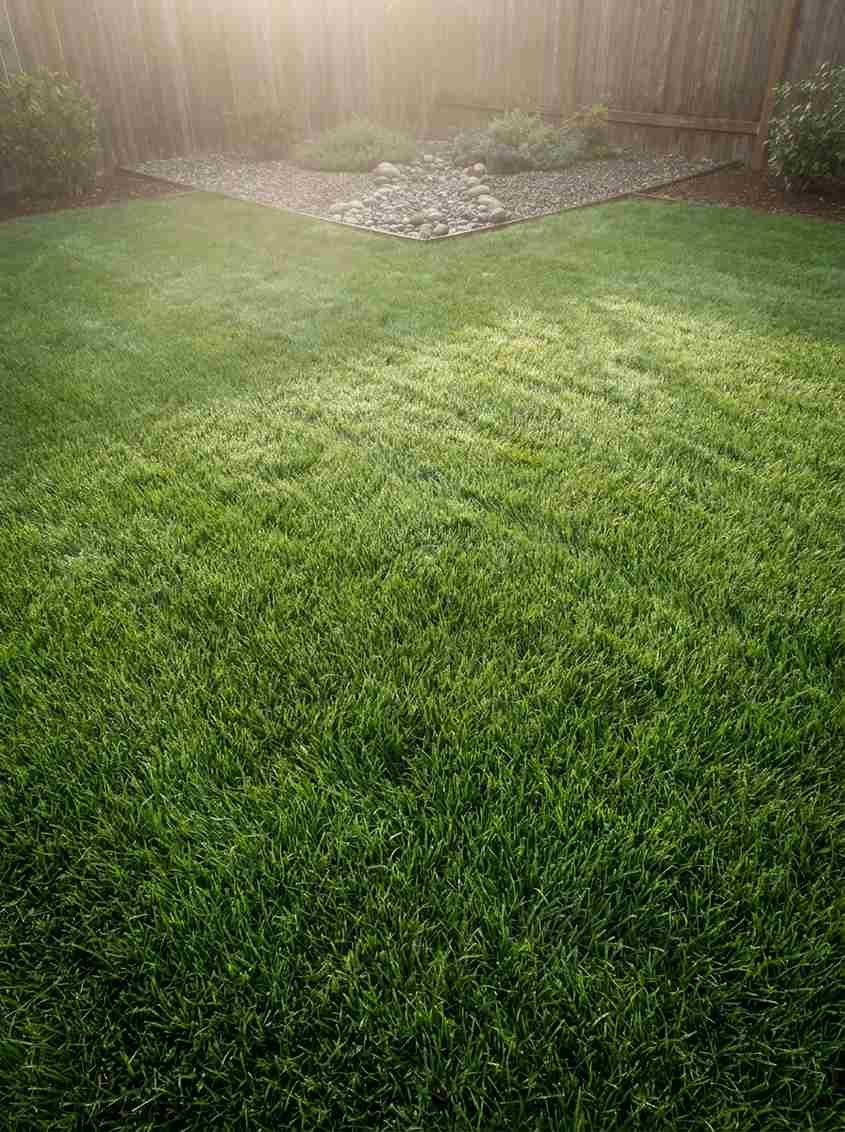
Start simple. Pick a back corner of your yard, ideally somewhere with a bit of shade and away from your patio or kids’ play area.
Dogs like a little privacy for this. So do you, honestly.
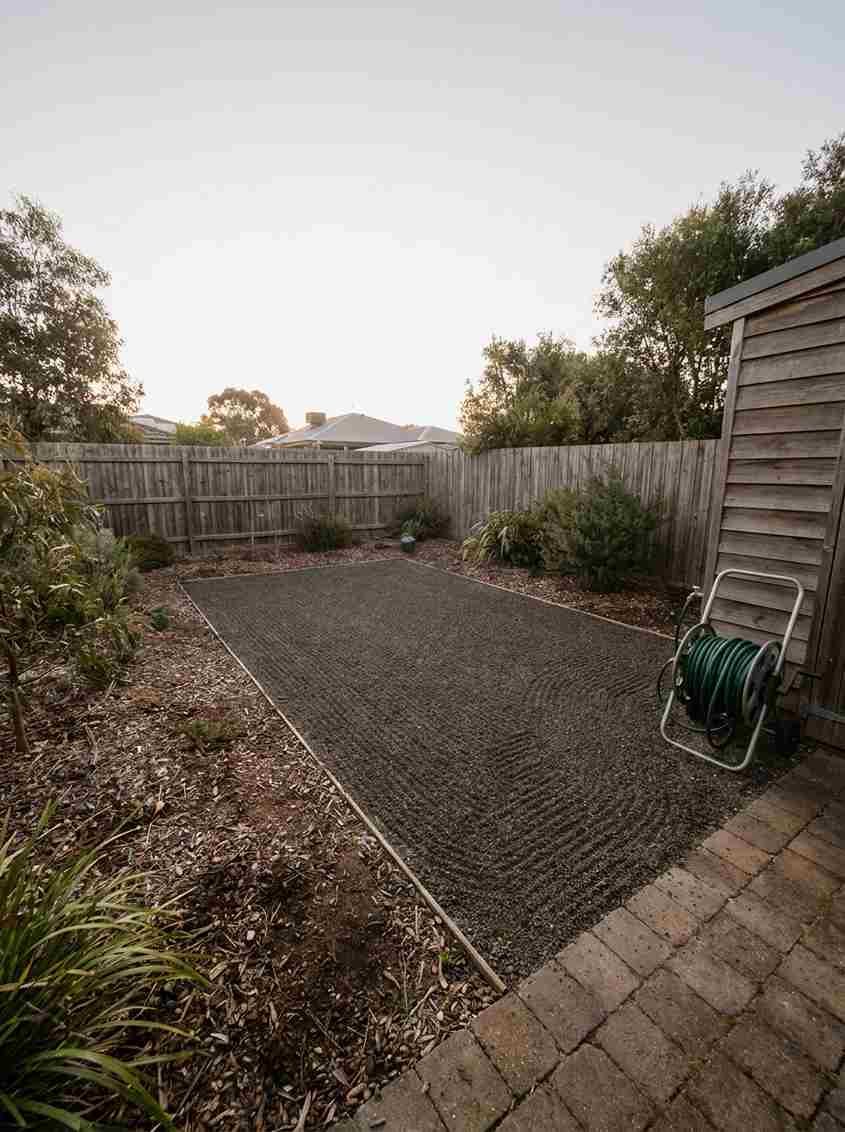
2. Go with pea gravel as your base
This is my personal favorite, and I’ll die on this hill.
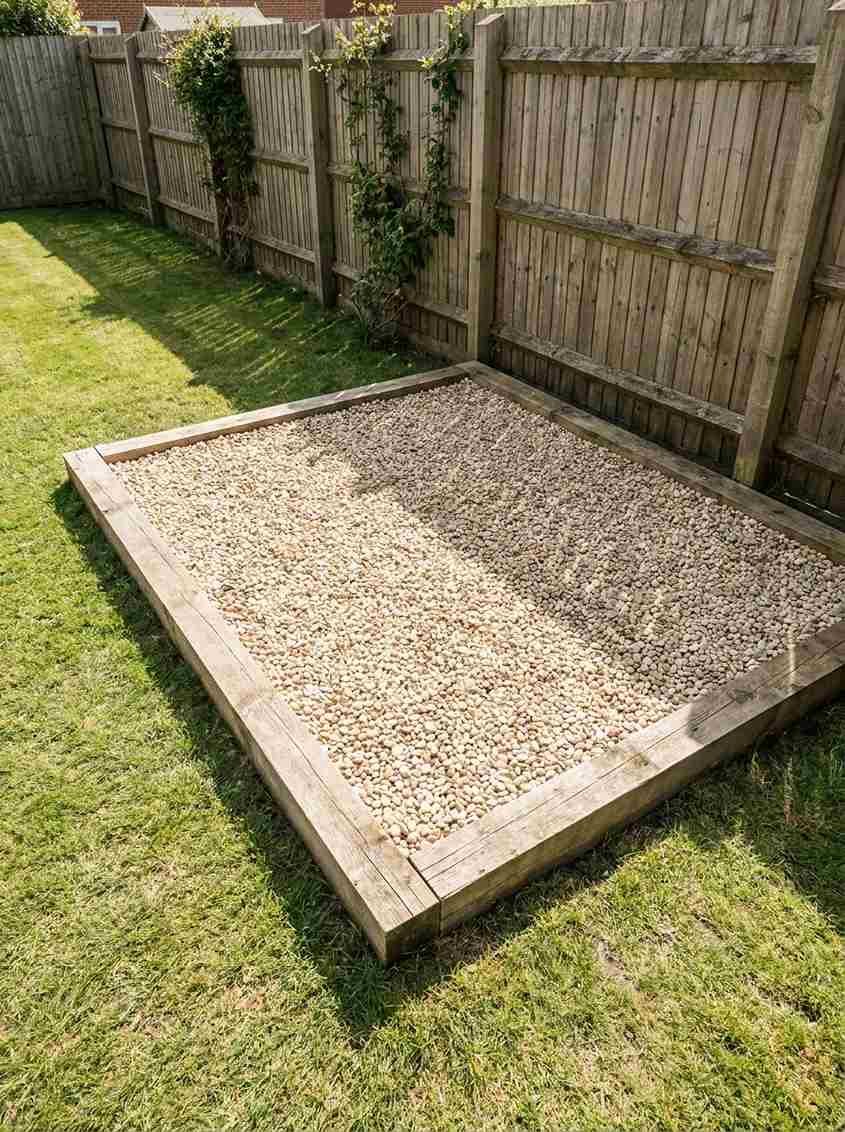
Pea gravel drains fast, doesn’t hold odor the way mulch does, and hoses off in about 30 seconds.
Yes, it costs more upfront than dirt.
But I’ve replaced my mulch potty area twice in three years and haven’t touched the gravel setup once.
3. Try artificial turf if you want a “grass” look
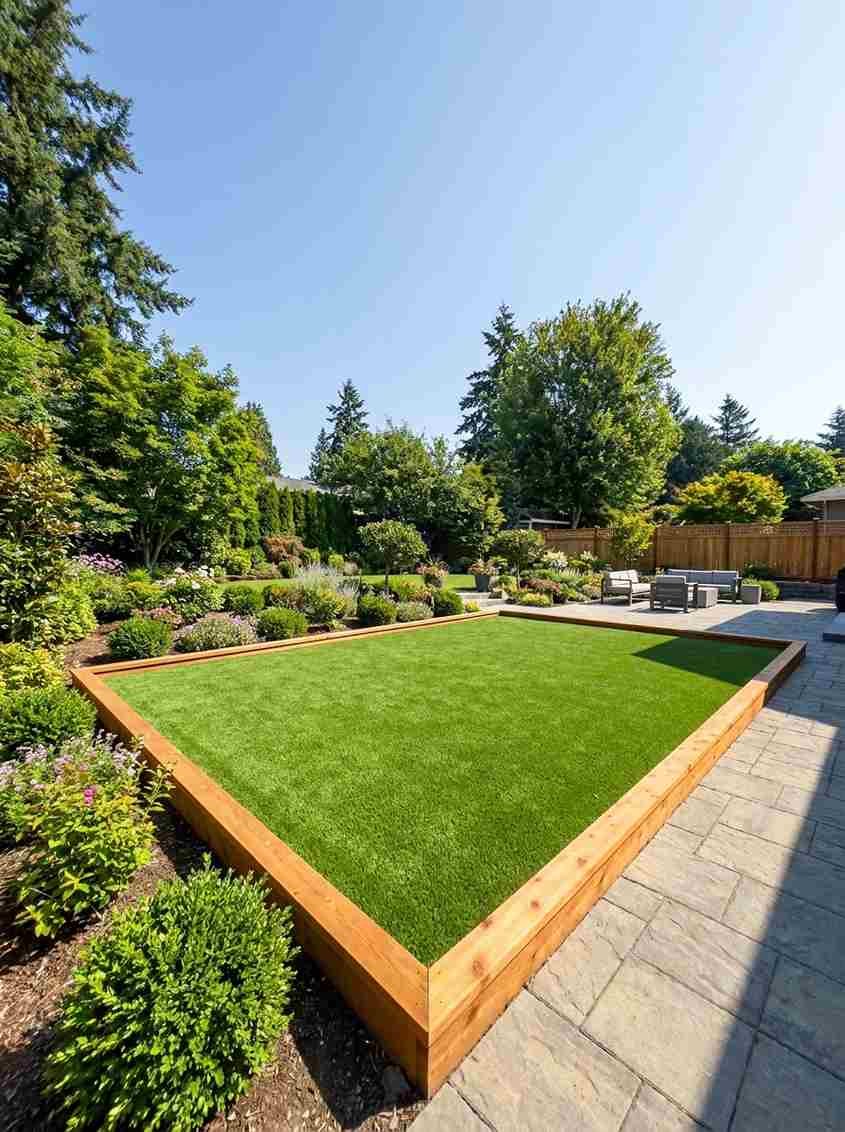
Artificial turf gives you that green lawn look without the brown patches that real grass gets from urine burn.
It’s a solid pick for small yards or apartment patios too.
The tradeoff: it gets hot in direct sun, and picking up solid waste off turf takes a bit more effort than gravel.
4. Mulch works, but read the label first
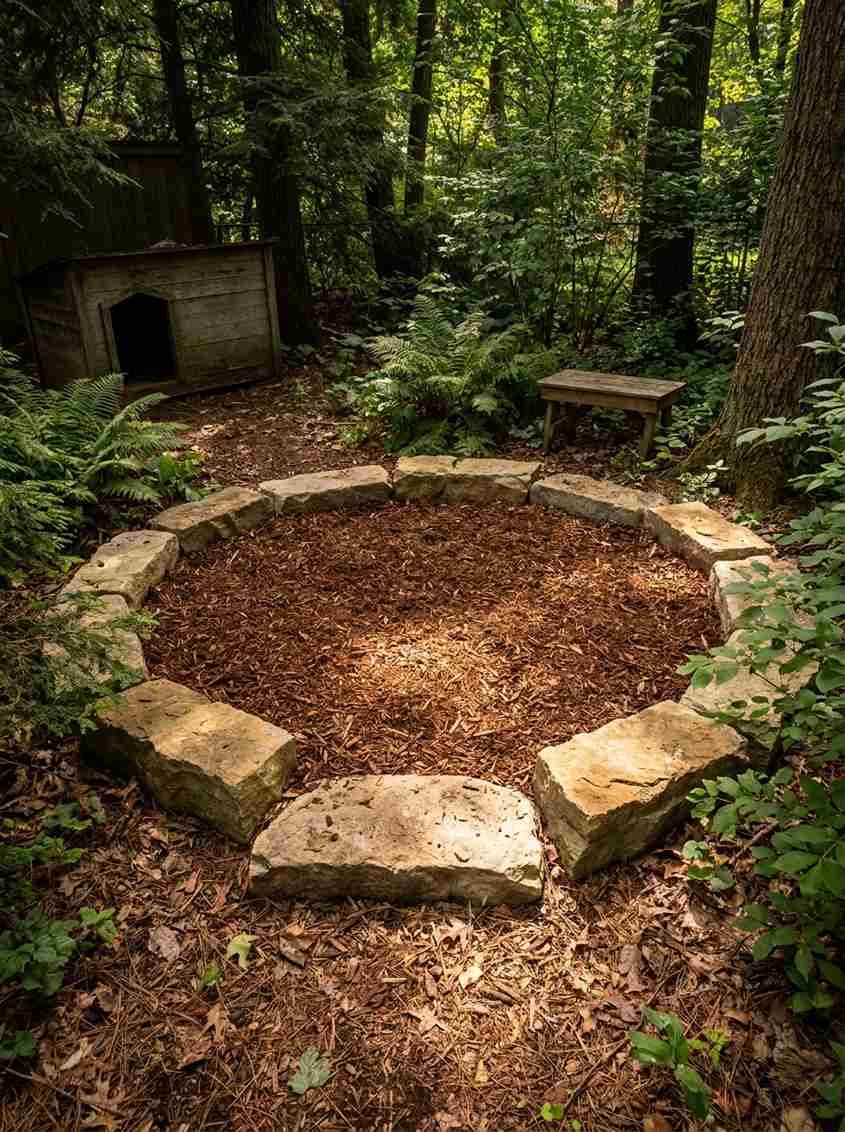
Cedar or pine bark mulch is soft on paws and cheap. Just avoid cocoa mulch entirely since it’s toxic to dogs, and skip anything dyed with chemicals.
I tried mulch first and it smelled awful after every rain. Nobody warns you about that part.
5. Build a simple low fence or border
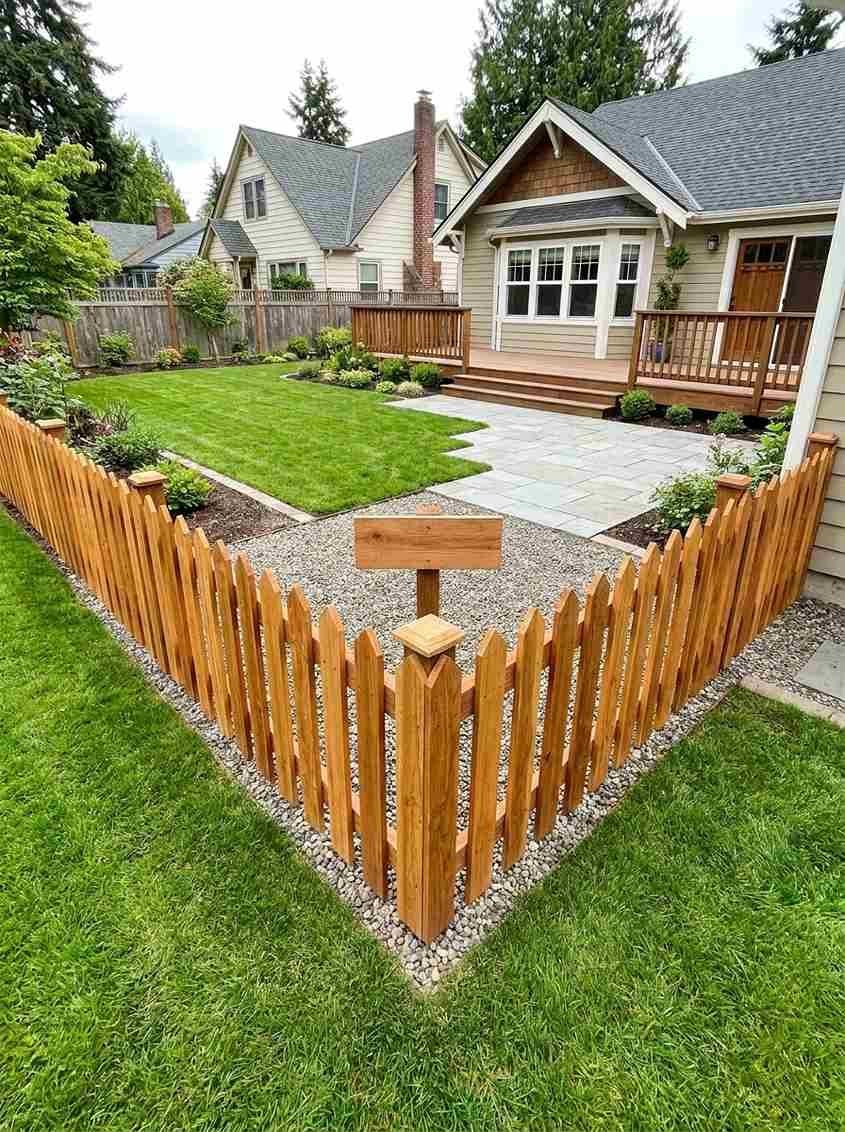
You don’t need anything fancy. A row of landscape edging, some cheap fence panels, or even large rocks stacked in a line will mark the boundary clearly.
This visual cue helps your dog (and you) know exactly where the zone starts and stops.
6. Use a scent marker to speed up training
Dogs go where they smell they’ve already gone.
Leave one small, recent waste sample in the new area when you’re first training the spot, then clean everything else up immediately.
It sounds gross. It works fast, though.
7. Size it to your dog, not your yard
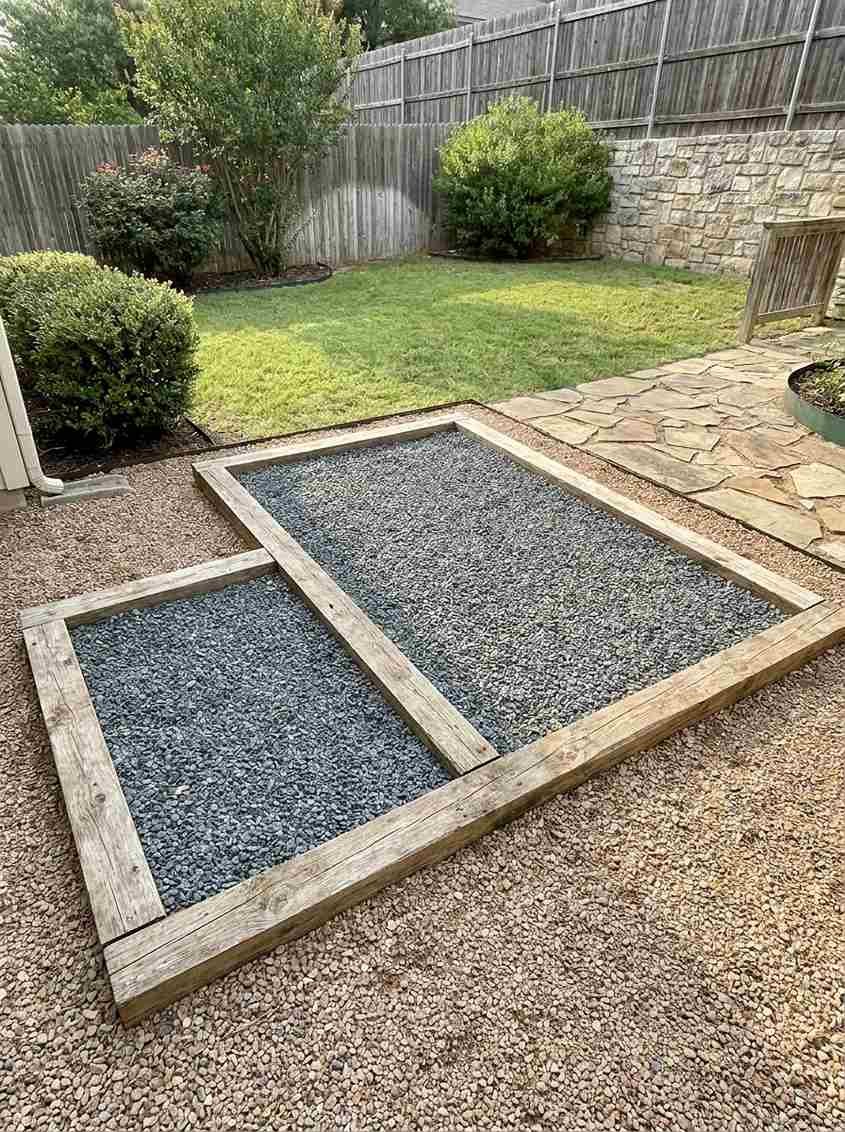
A good rule of thumb: make the area roughly 5 times your dog’s length, minimum. A Chihuahua doesn’t need the same footprint as a Labrador.
Too small and your dog will avoid it. Too big and you’re back to hunting for mess across a wider area.
8. Add a small paver path leading in
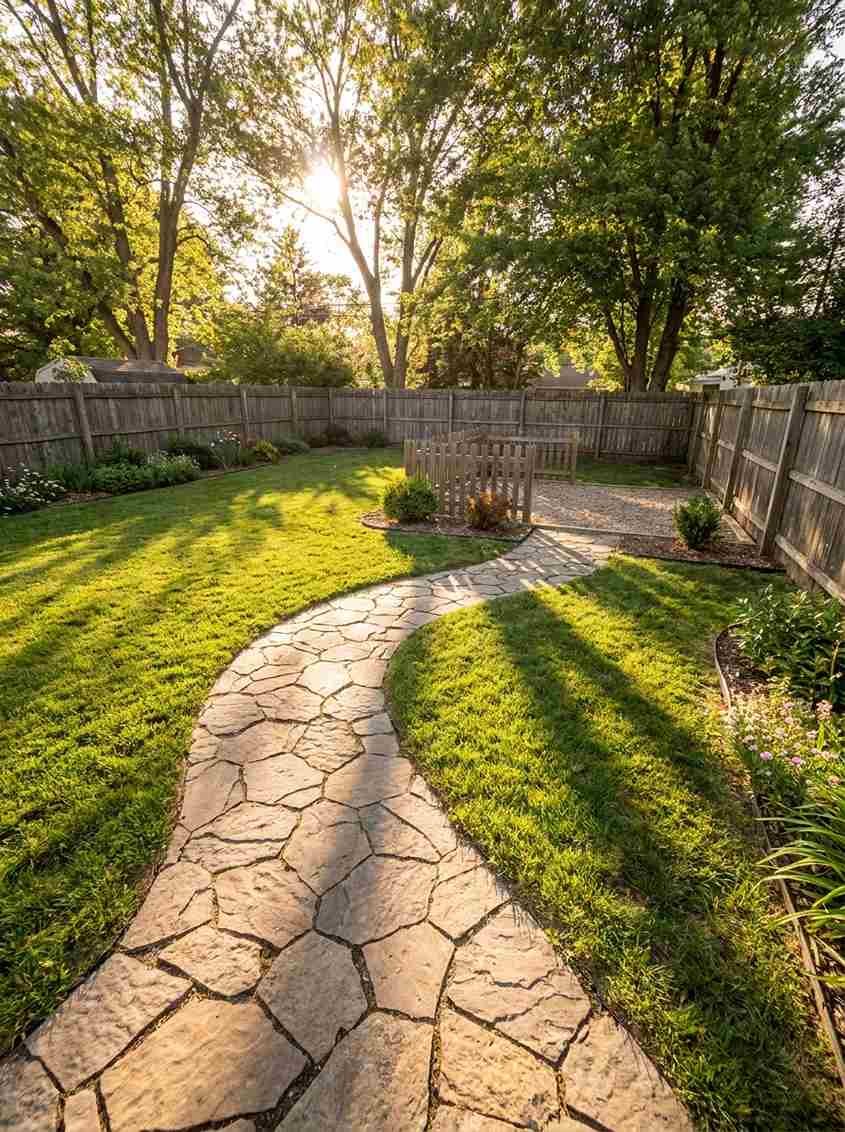
A short row of steppers leading to the potty area gives your dog a clear visual path, especially useful at night.
It also keeps your dog’s paws (and your slippers) out of mud on rainy mornings.
9. Install a simple drainage layer underneath
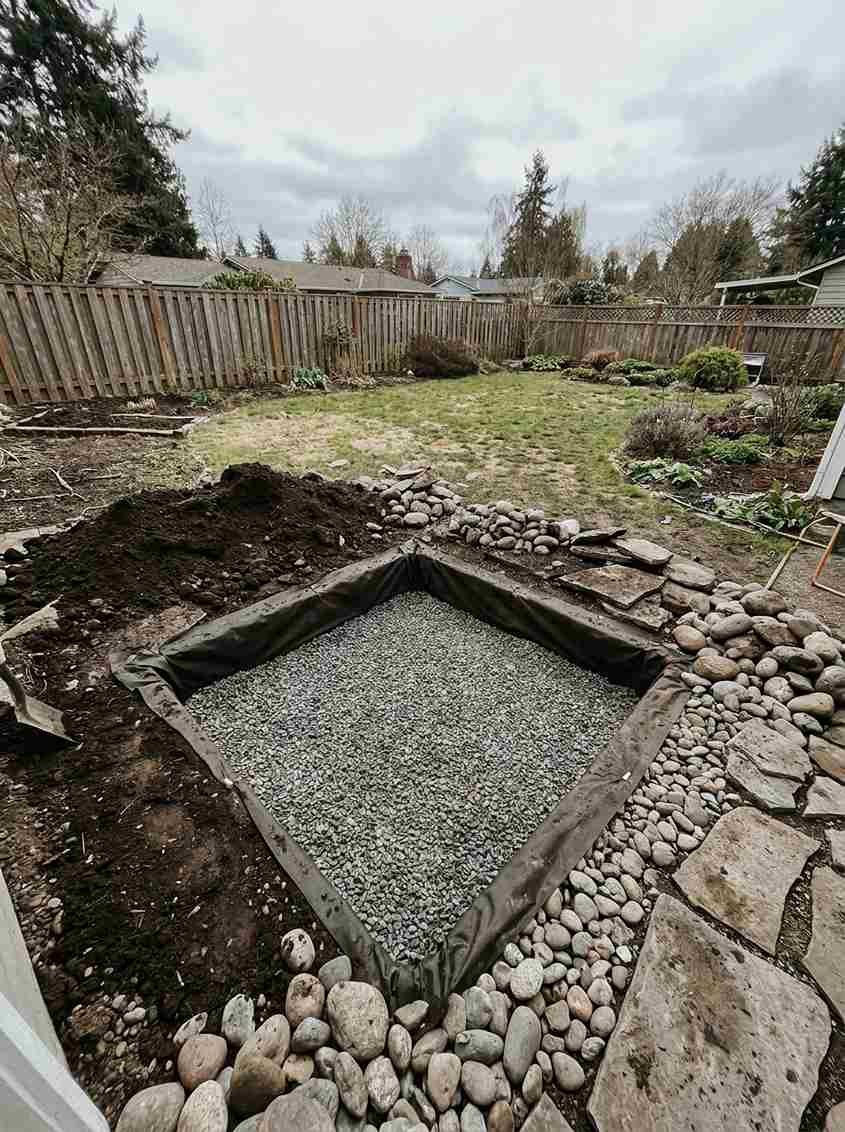
Whatever surface you pick, dig down 4 to 6 inches and add a gravel base with landscape fabric first. This one step prevents the whole area from turning into a swamp during heavy rain.
Skip this step and you’ll regret it by spring. Trust me.
10. Consider a raised potty box for small dogs
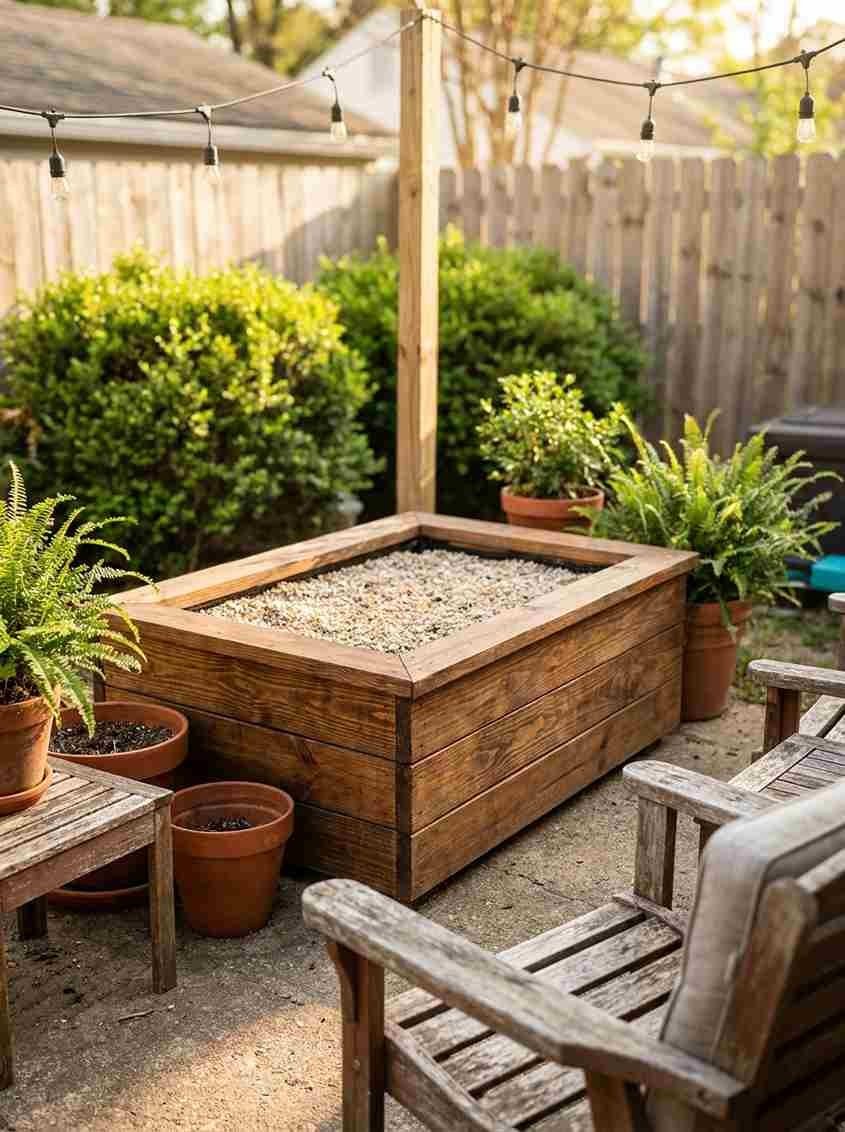
For small breeds or apartment dwellers, a raised wooden box filled with pea gravel or fake turf works well.
It’s easy to build with basic 2x4s and keeps the mess contained and off the ground.
11. Keep it away from your vegetable garden
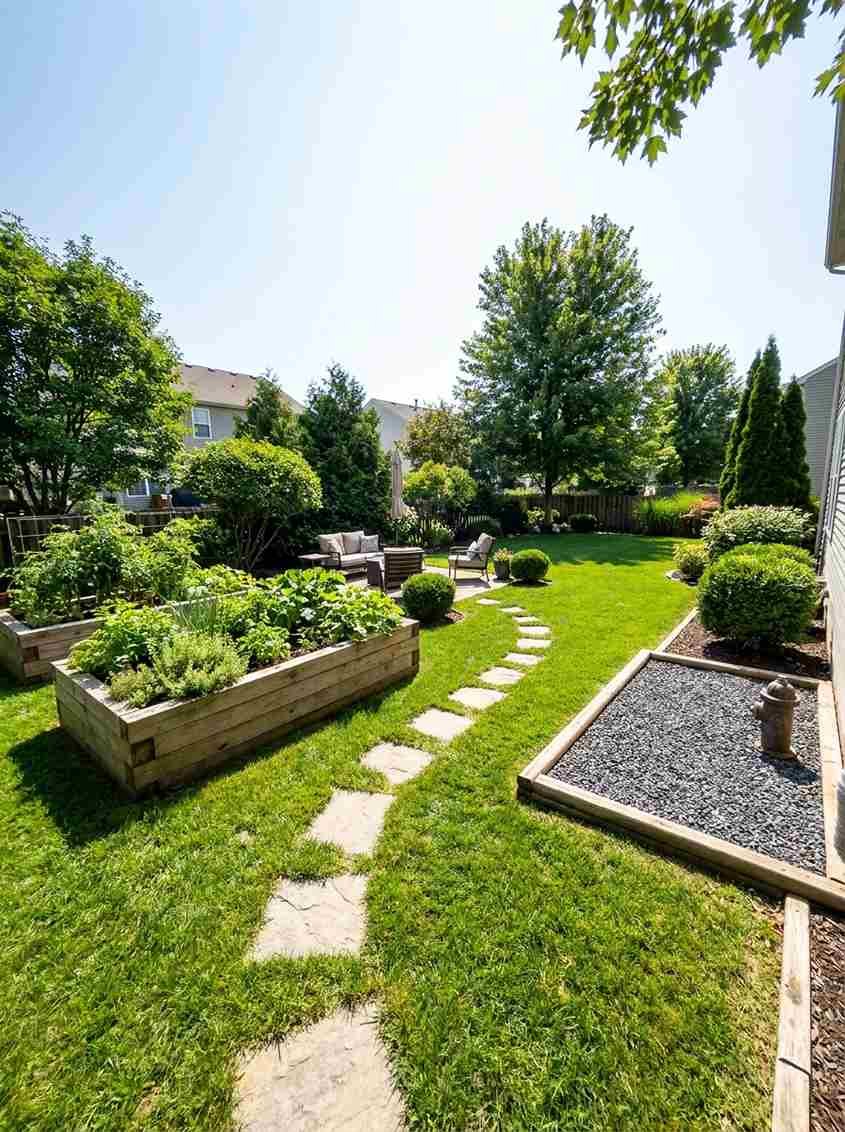
This one seems obvious, but I’ve seen people put the potty zone right next to their tomato beds. Runoff and waste near edible plants is a genuine health concern, not just an aesthetic one.
12. Use enzymatic cleaner, not just a hose
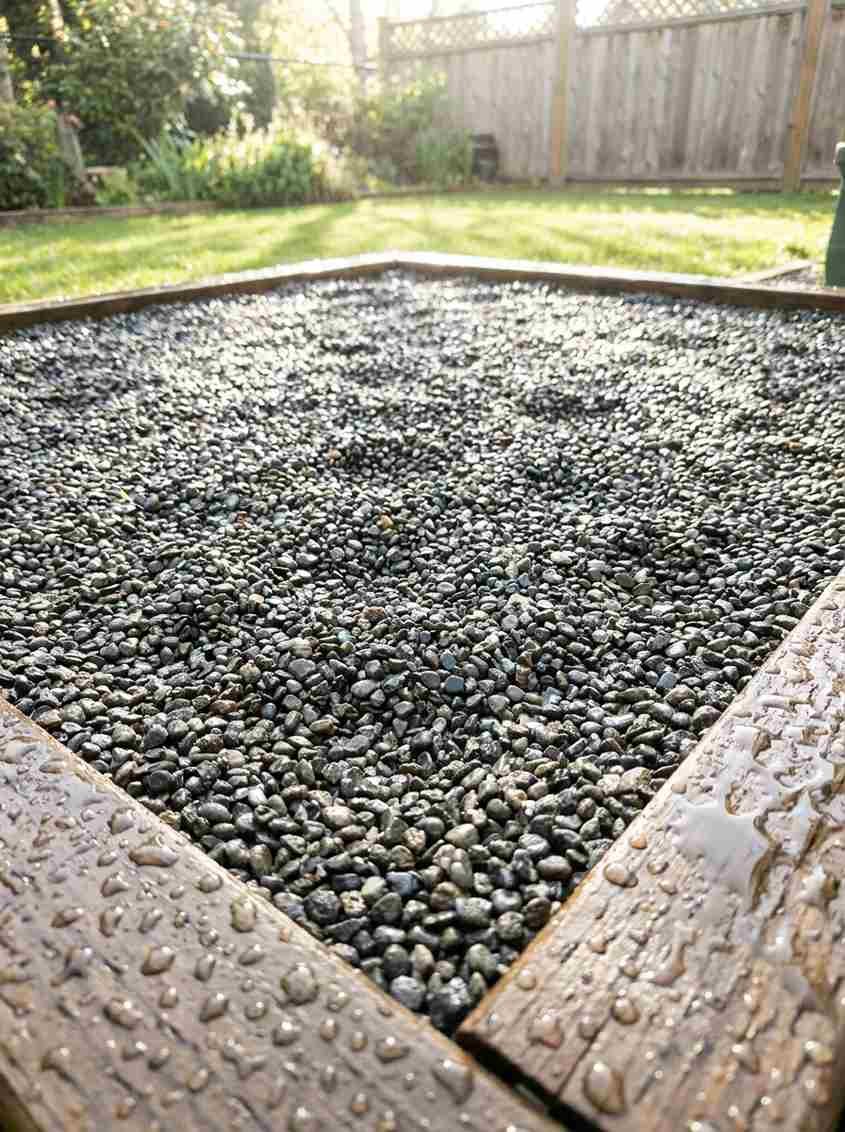
A hose handles the visible mess. It doesn’t handle the smell that seeps into gravel, mulch, or soil over time. Hepper’s breakdown of potty area materials notes that turf especially needs enzyme treatment since odor gets trapped in the fibers.
FYI, the cheap enzyme sprays from the pet aisle work fine. You don’t need the premium stuff.
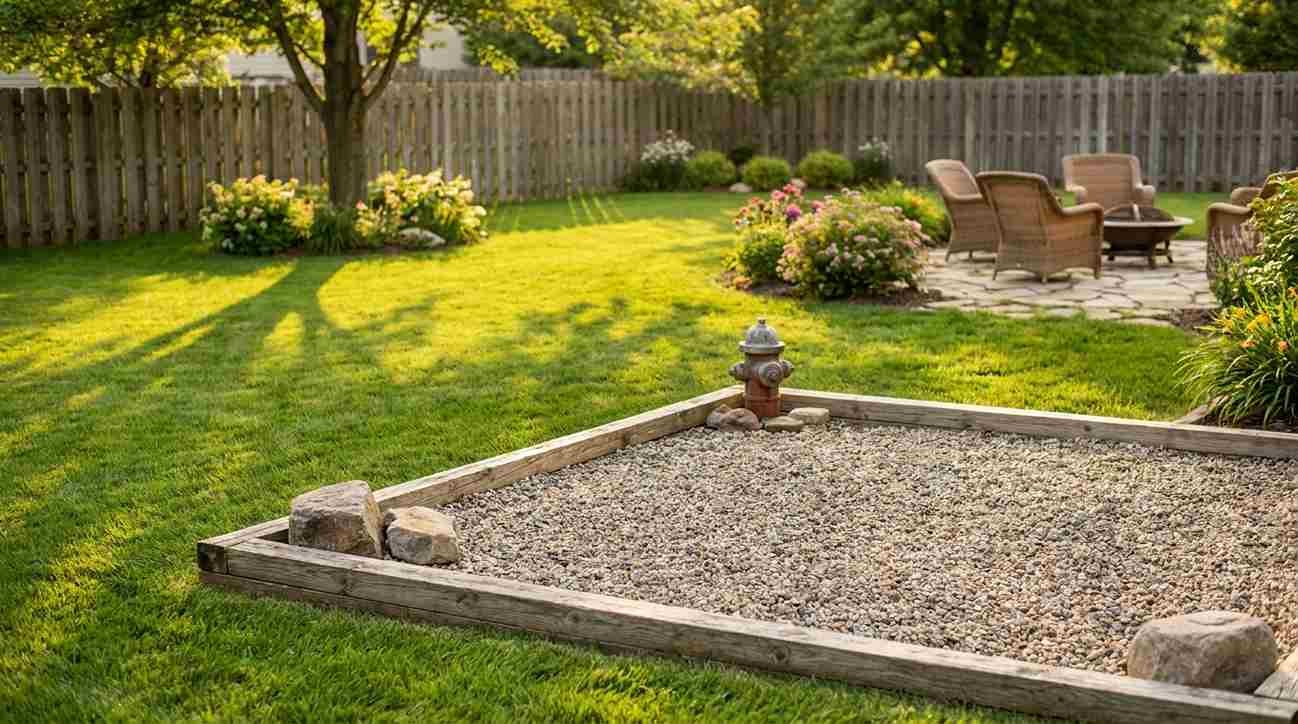
13. Try a fire hydrant or post as a target
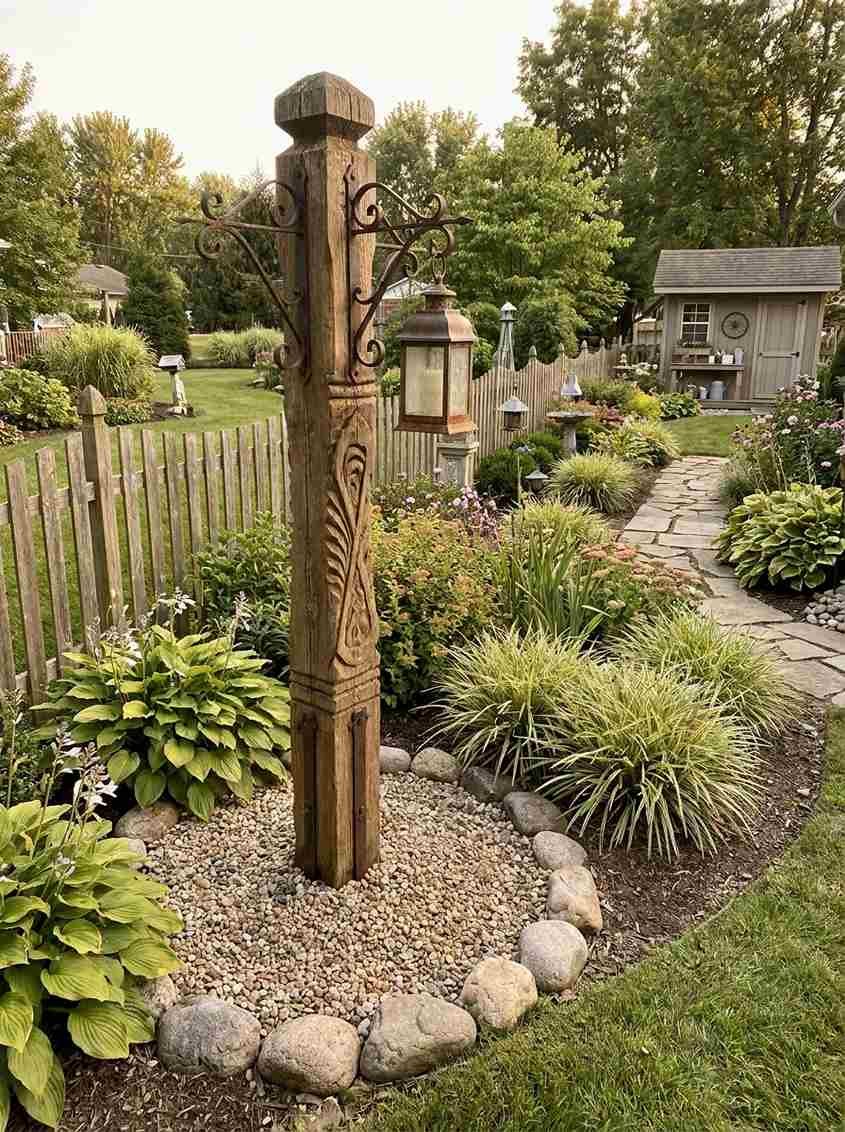
This sounds like a cartoon, but a lot of male dogs respond well to having a vertical target, like a decorative post or even a real fire hydrant statue. It gives them something specific to aim for.
14. Rotate between two zones
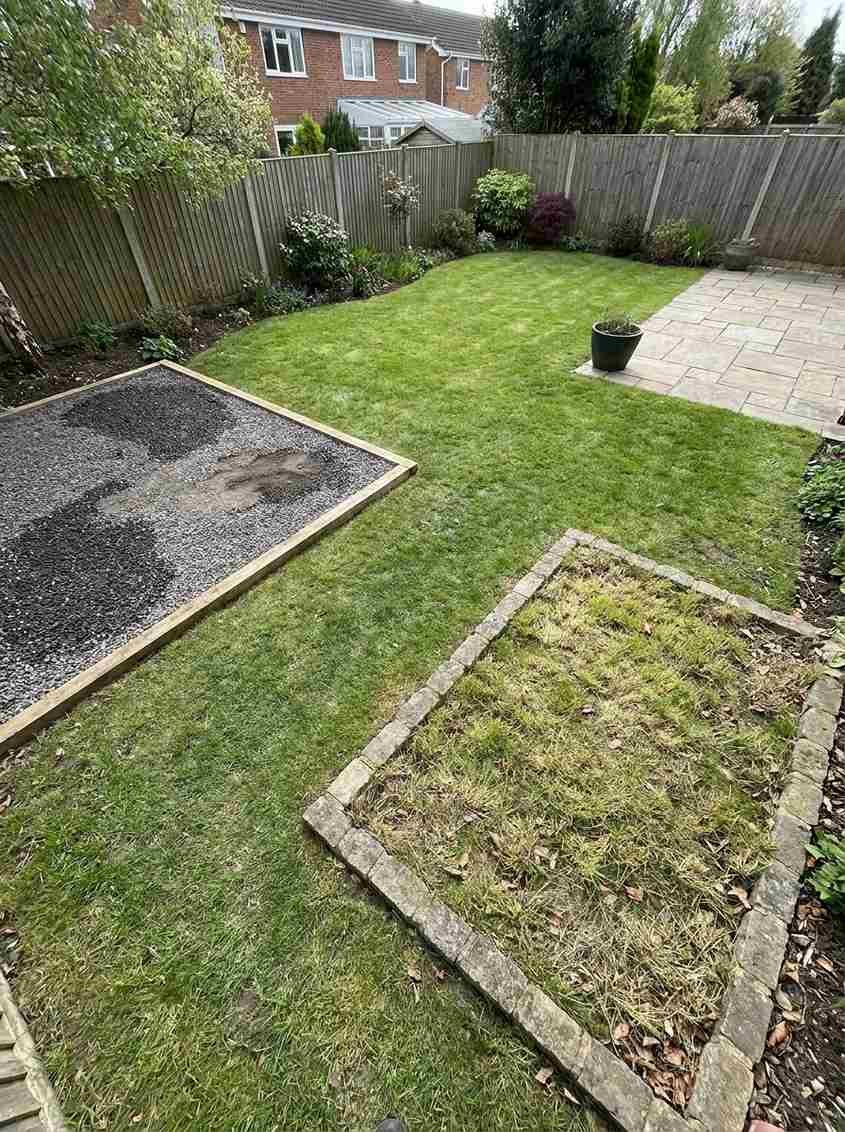
If you have the space, set up two designated areas and alternate weekly. This gives grass or mulch time to recover and cuts down on smell buildup in any one spot.
15. Add gravel edging to stop migration
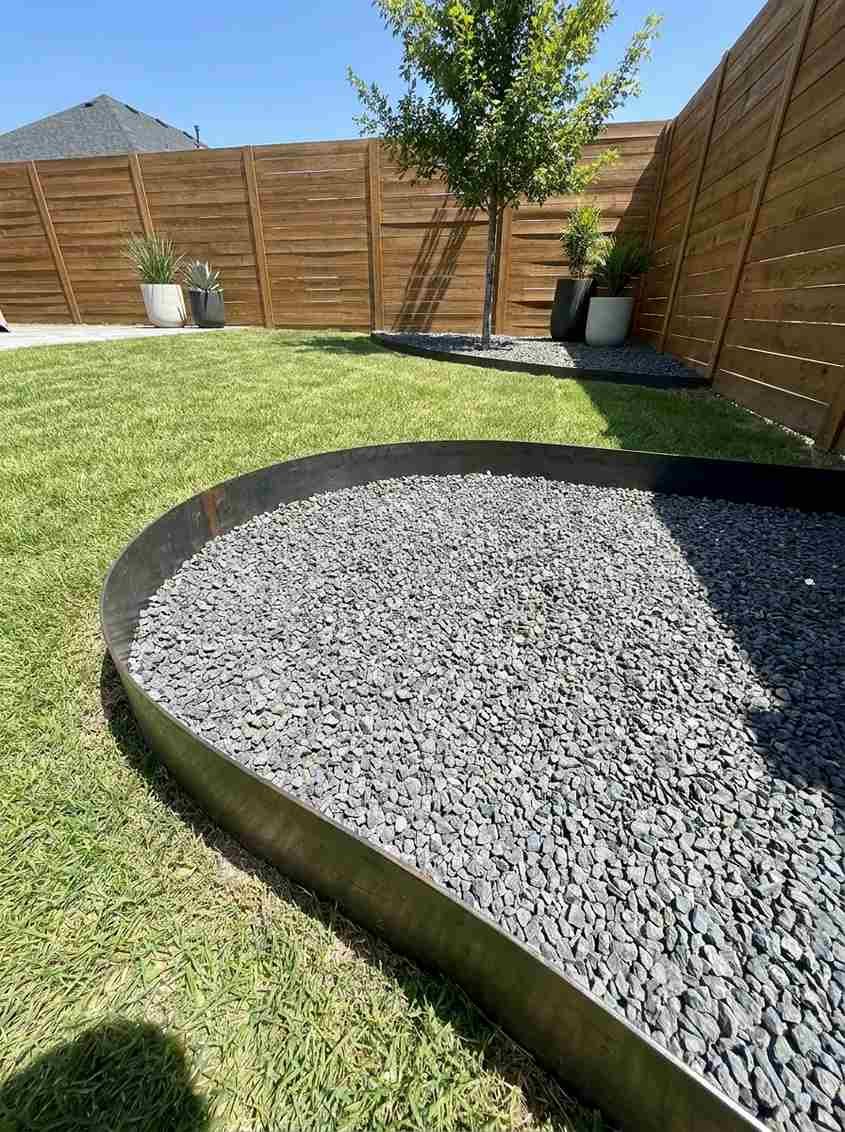
Loose gravel travels. It ends up on your patio, in your shoes, tracked through the house. A simple plastic or metal edging strip keeps it contained to the zone you actually want it in.
16. Light it for nighttime bathroom trips
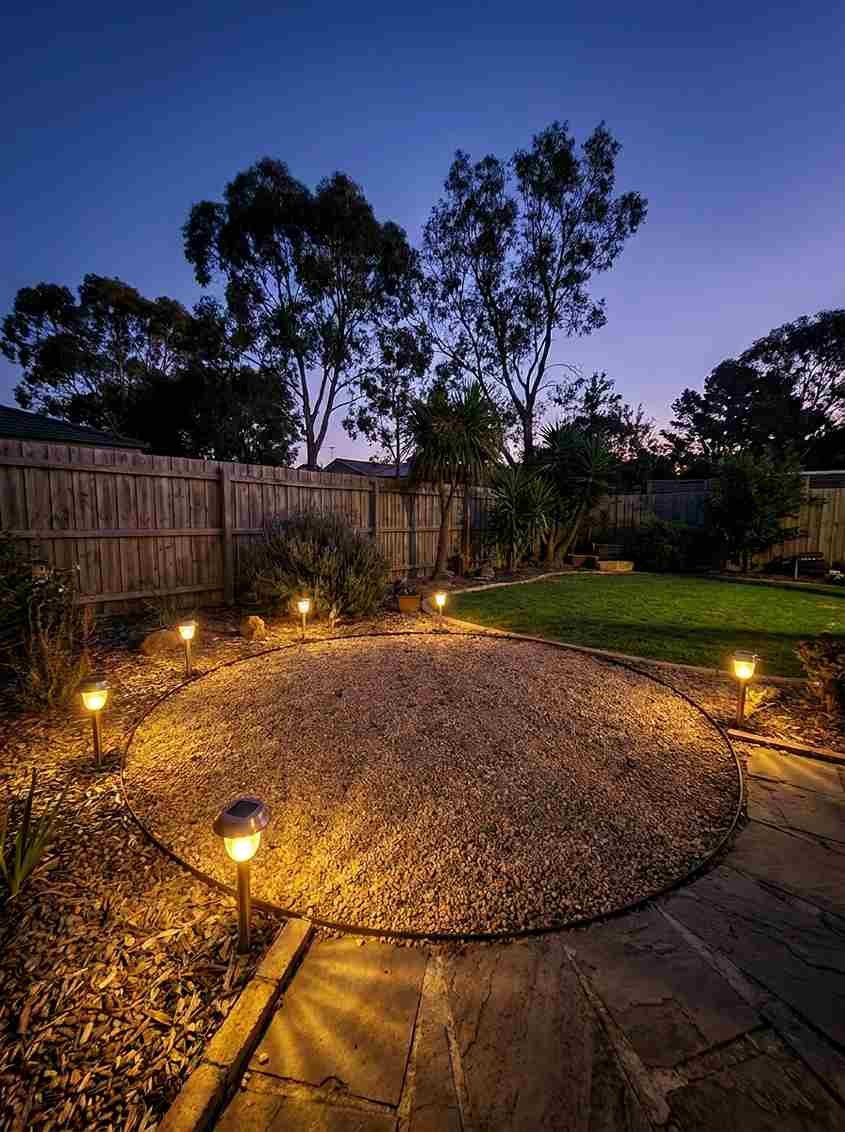
A cheap solar light or two near the potty area makes those 11pm bathroom runs way less annoying. You won’t be stumbling around with your phone flashlight trying to find the spot.
Random tangent, but does anyone else’s dog pick the exact coldest night of the year to need three separate trips outside? Just me? Okay.
17. Reward the behavior every single time, no exceptions
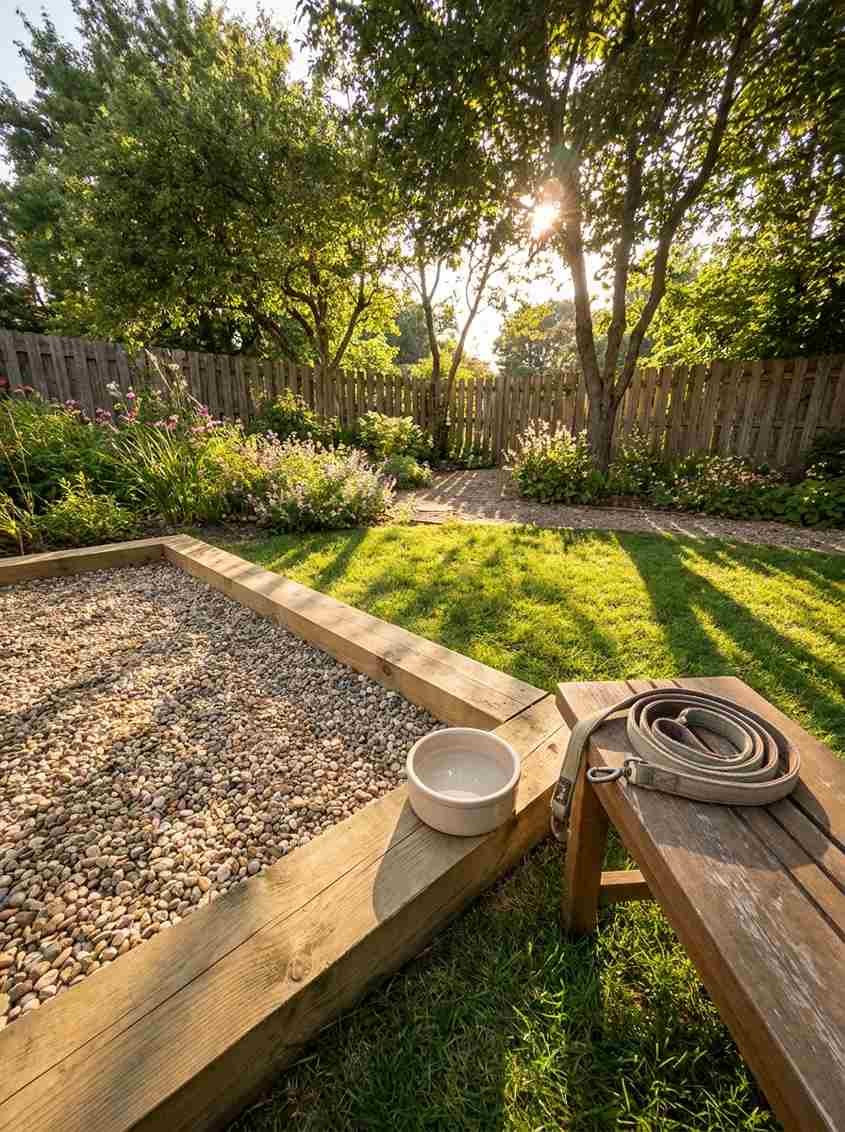
None of these setups matter if you skip the training piece. Walk your dog to the spot, use a consistent cue word, and reward immediately when they go.
The AKC’s guide to teaching potty on cue recommends pairing a verbal marker with the behavior as it’s already happening, which made the whole process click for me faster than I expected.
Consistency beats a fancy setup every time. I’ve seen a $20 gravel patch outperform a $500 turf installation just because the owner stuck to the routine.
Quick material comparison
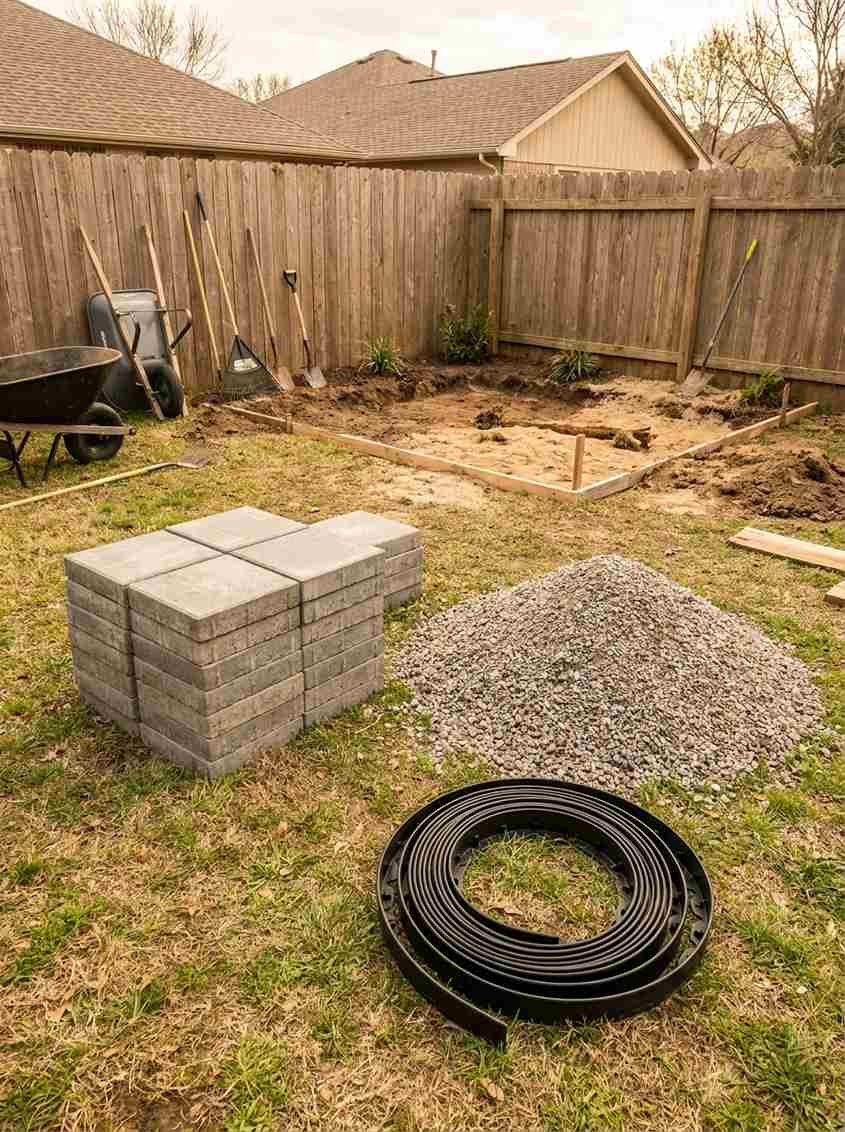
Here’s the short version if you’re deciding between materials:
| Material | Drainage | Maintenance | Best for |
|---|---|---|---|
| Pea gravel | Excellent | Low, just hose it | Most yards, all climates |
| Mulch | Poor to fair | Needs replacing | Budget setups, shaded spots |
| Artificial turf | Good | Moderate, needs rinsing | Small yards, patios |
| Natural grass | Fair | High, needs reseeding | Large yards with rotation space |
A word on cost, because it matters
You can build a basic gravel potty zone for under $100 if you’re handy with a shovel. Turf setups run higher, usually $150 to $400 depending on size.
Neither breaks the bank compared to what you’d spend replacing a ruined lawn every year.
Frequently asked questions
How long does it take to train a dog to use a designated potty spot? Most dogs pick it up within 2 to 4 weeks of consistent, on-leash training.
Older dogs with established habits sometimes take a bit longer, so don’t panic if week one looks messy.
Will pea gravel hurt my dog’s paws? Smaller, rounded pea gravel is generally comfortable. Avoid sharp crushed stone since that can irritate paw pads over time.
Can I use the same spot for multiple dogs? Yes, though you’ll want to size the area up and clean it more frequently. Multiple dogs mean more waste concentrated in one zone, which speeds up odor buildup.
So, which one of these are you actually going to try this weekend? Save this for your next backyard project and let me know how your dog takes to the new spot.
