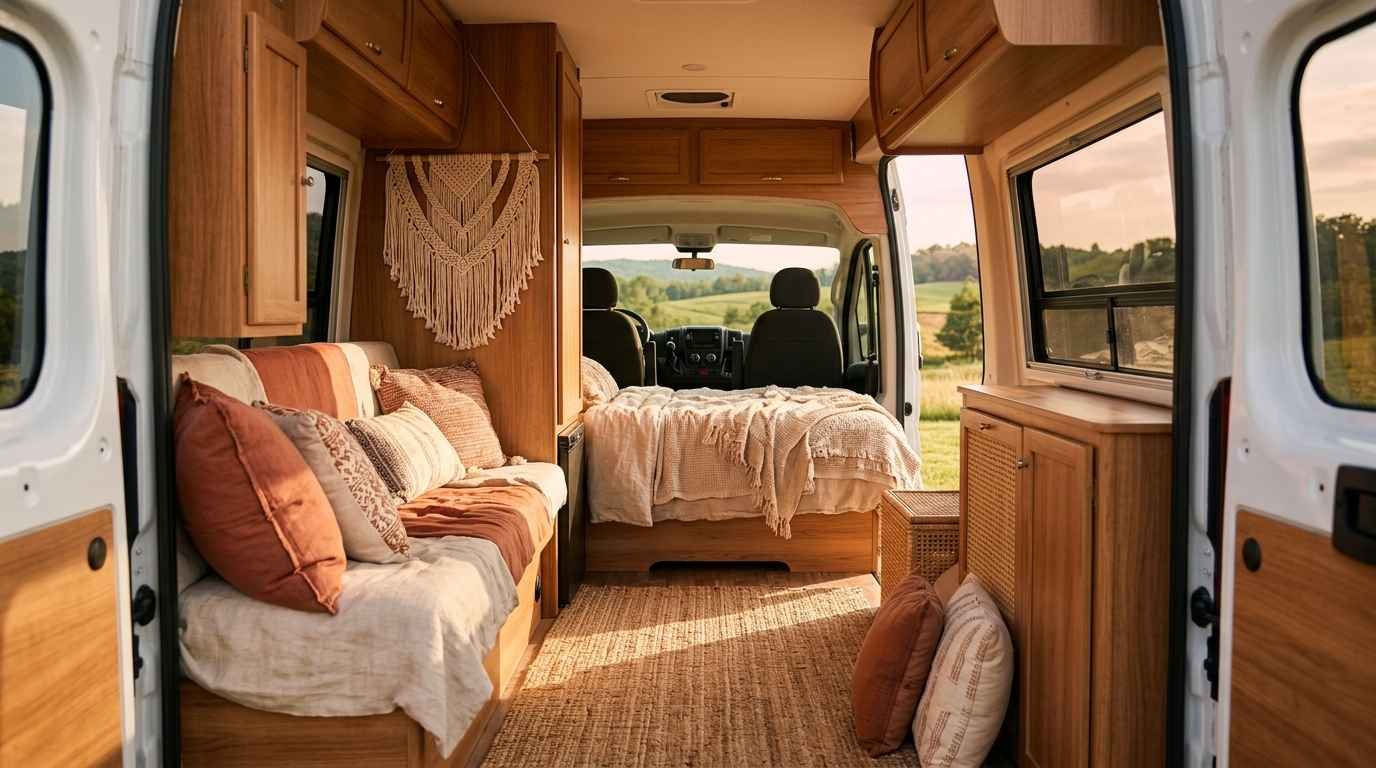
I’ve spent way too many nights scrolling camper renovation photos instead of sleeping, and I’m not sorry about it.
There’s something about a tiny rolling space done up in warm textiles and mismatched patterns that gets me every time.
If you’re staring at a bare camper interior right now wondering where to even start, I’ve pulled together 28 ideas that actually work in small spaces, not just ones that look pretty in a single staged photo.
I built out my own camper two years ago (a 1998 Class B with cabinets straight out of a dentist’s office waiting room), so most of this comes from trial, error, and one memorable incident involving spray adhesive and a ceiling fan.
IMO, boho style is the most forgiving aesthetic you can pick for a camper, because it’s built on layering, not perfection.
Why boho works so well in a small space
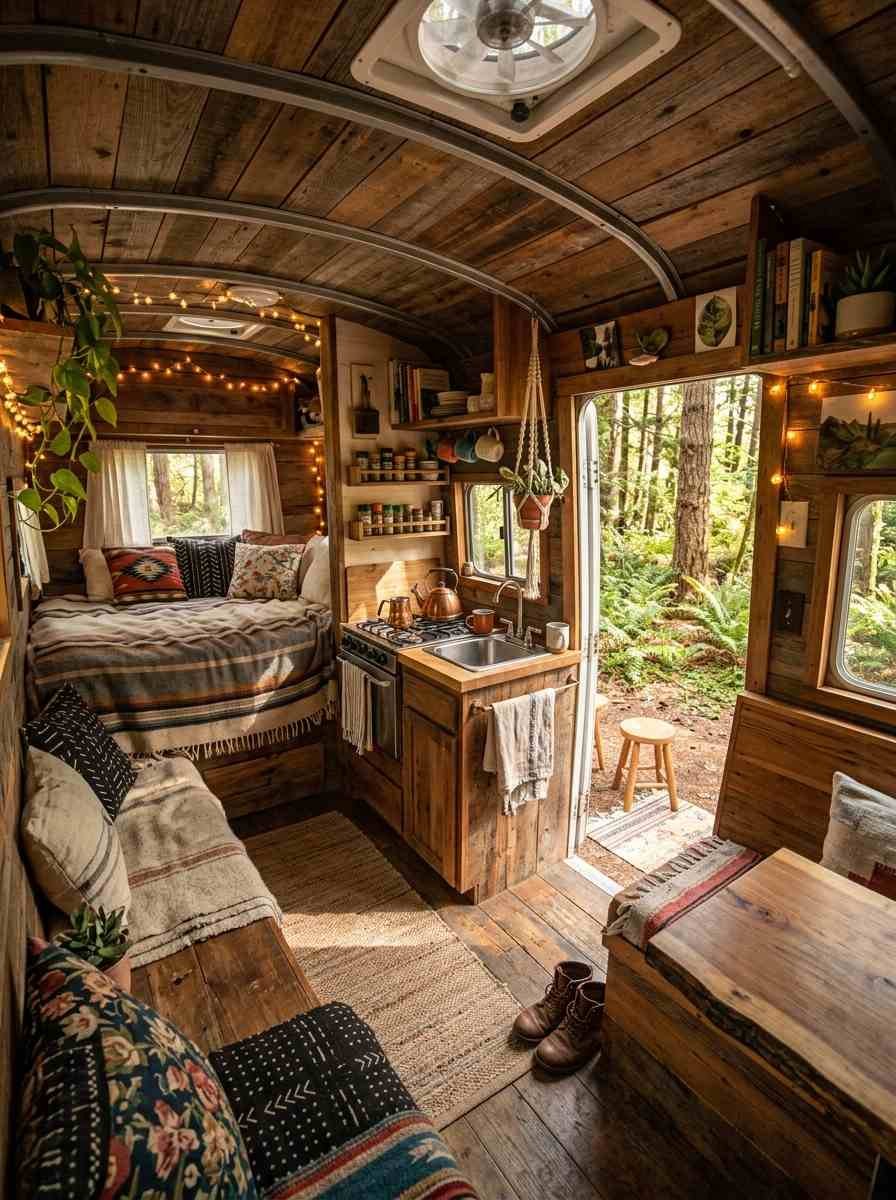
Boho design leans on texture, warmth, and a “collected over time” feel rather than matchy-matchy furniture sets.
That’s exactly what a camper needs. You’re not filling a 2,000 square foot house with a cohesive theme. You’re filling 60 to 200 square feet with things that need to earn their spot.
The bohemian style traces back to the Roma people, and it’s carried that free-spirited, well-traveled feeling ever since.
For a camper, that history is almost poetic. You’re building a home that moves, and the whole aesthetic is rooted in movement too.
Textiles that do the heavy lifting
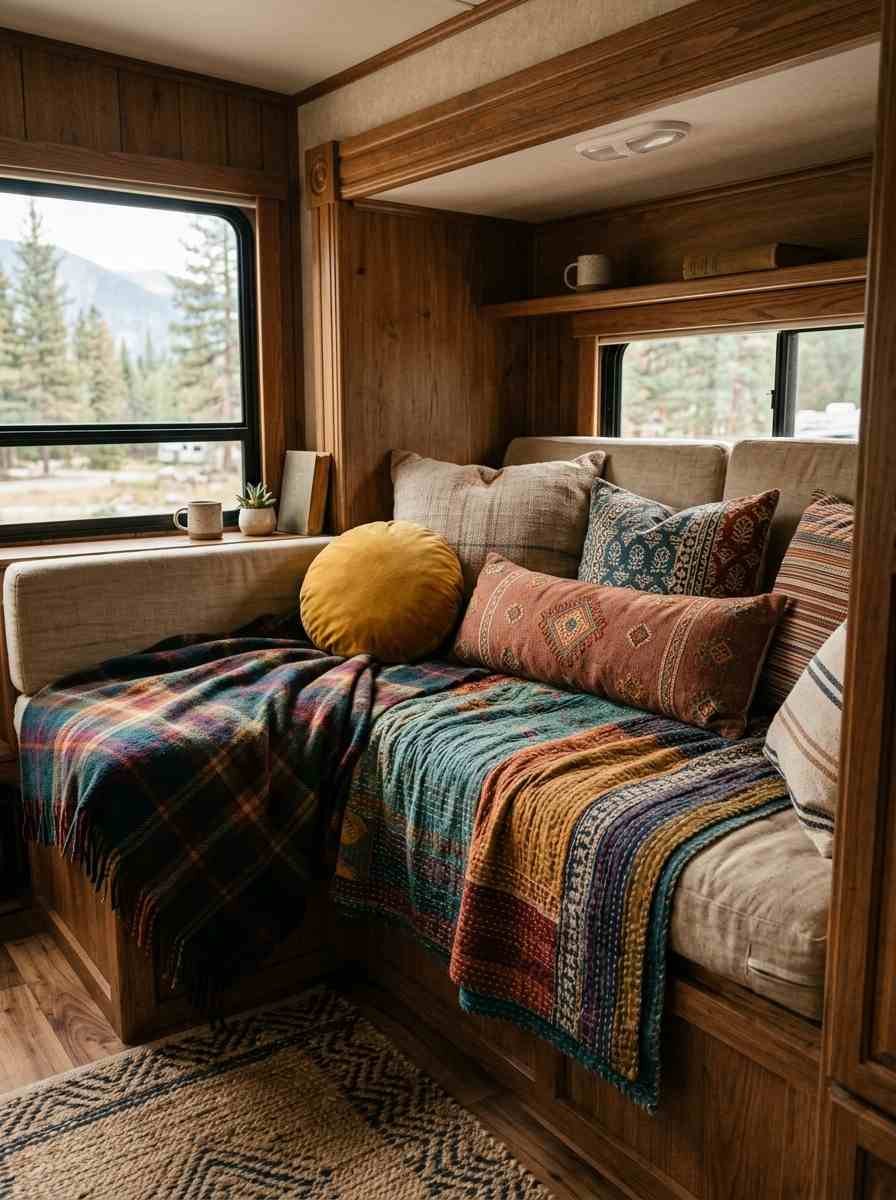
Textiles are the fastest, cheapest way to transform a camper. Swap these out and the whole space feels different in an afternoon.
- Layer a vintage-style throw blanket over your bench seat. Mix wool with cotton for texture contrast.
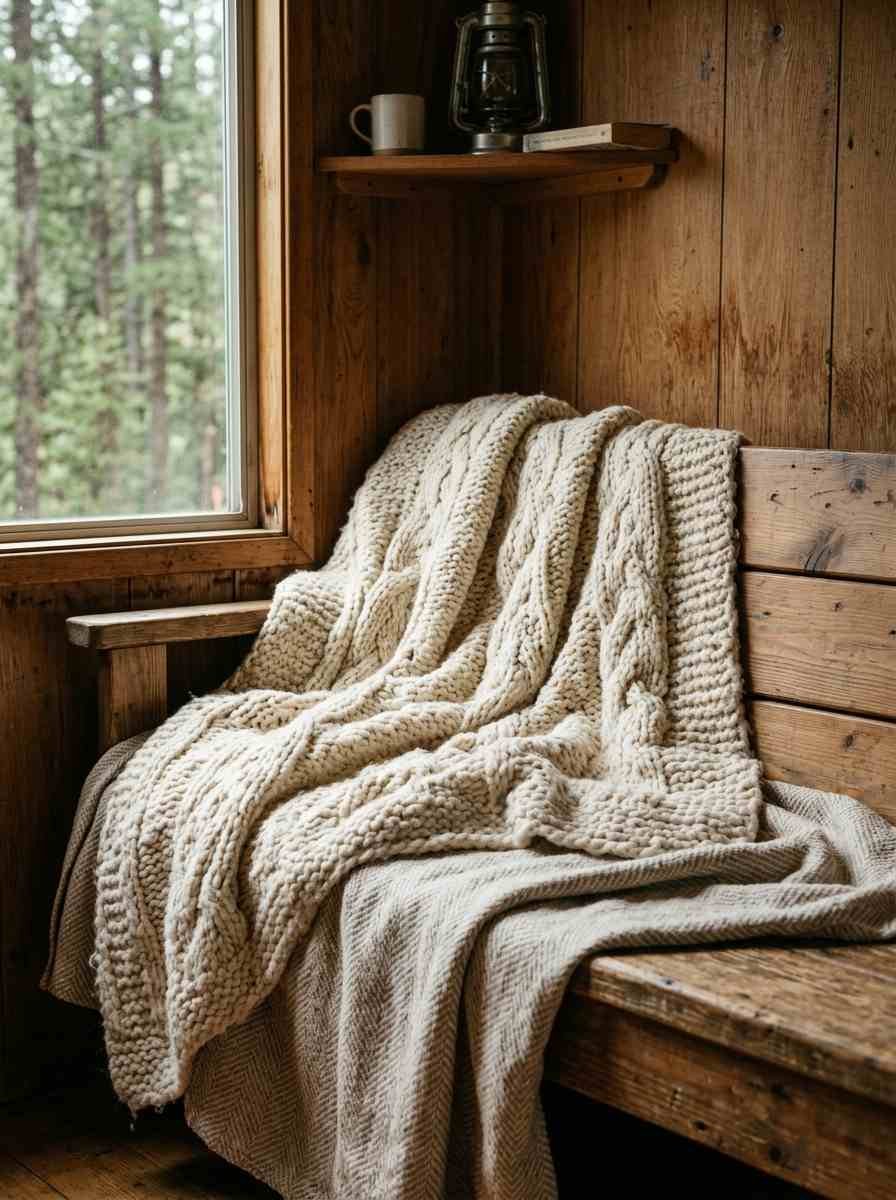
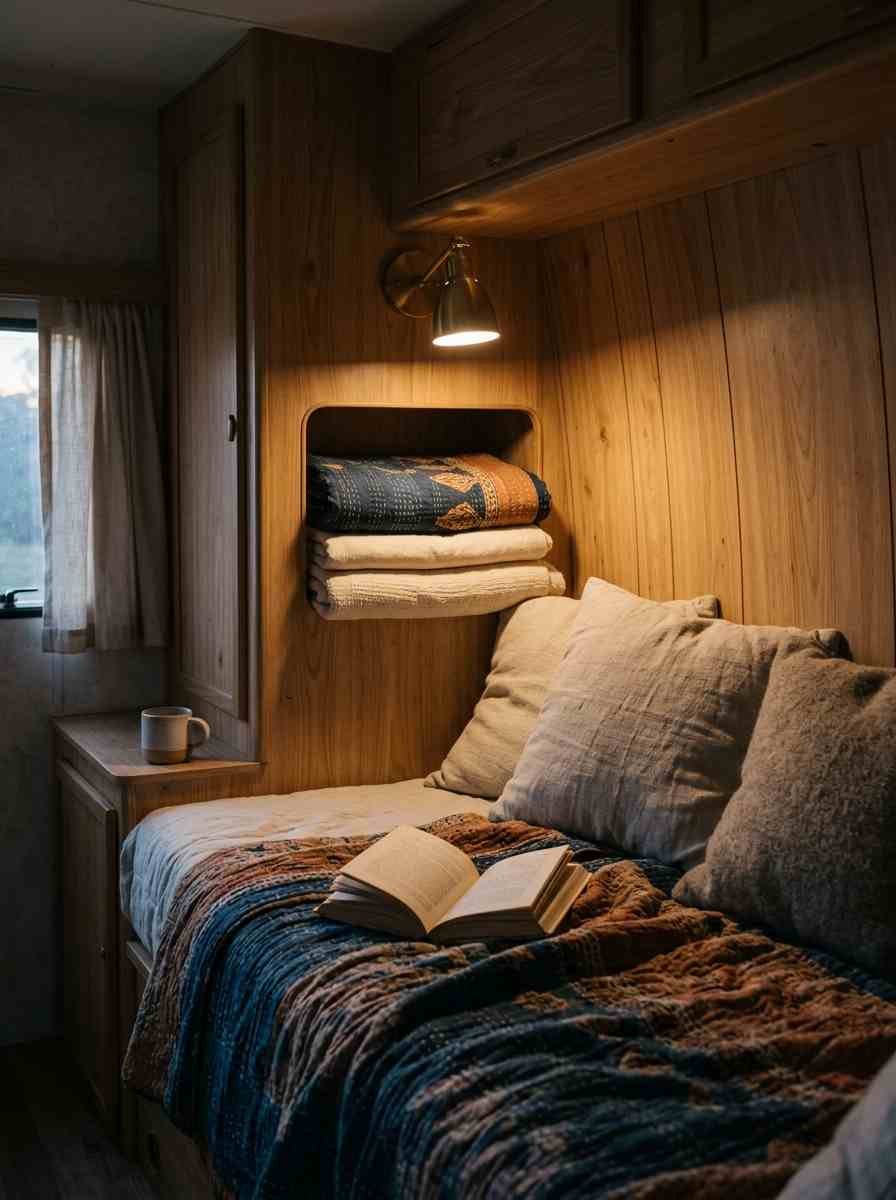
- Add a kantha quilt to the bed. These are hand-stitched, so no two look alike.
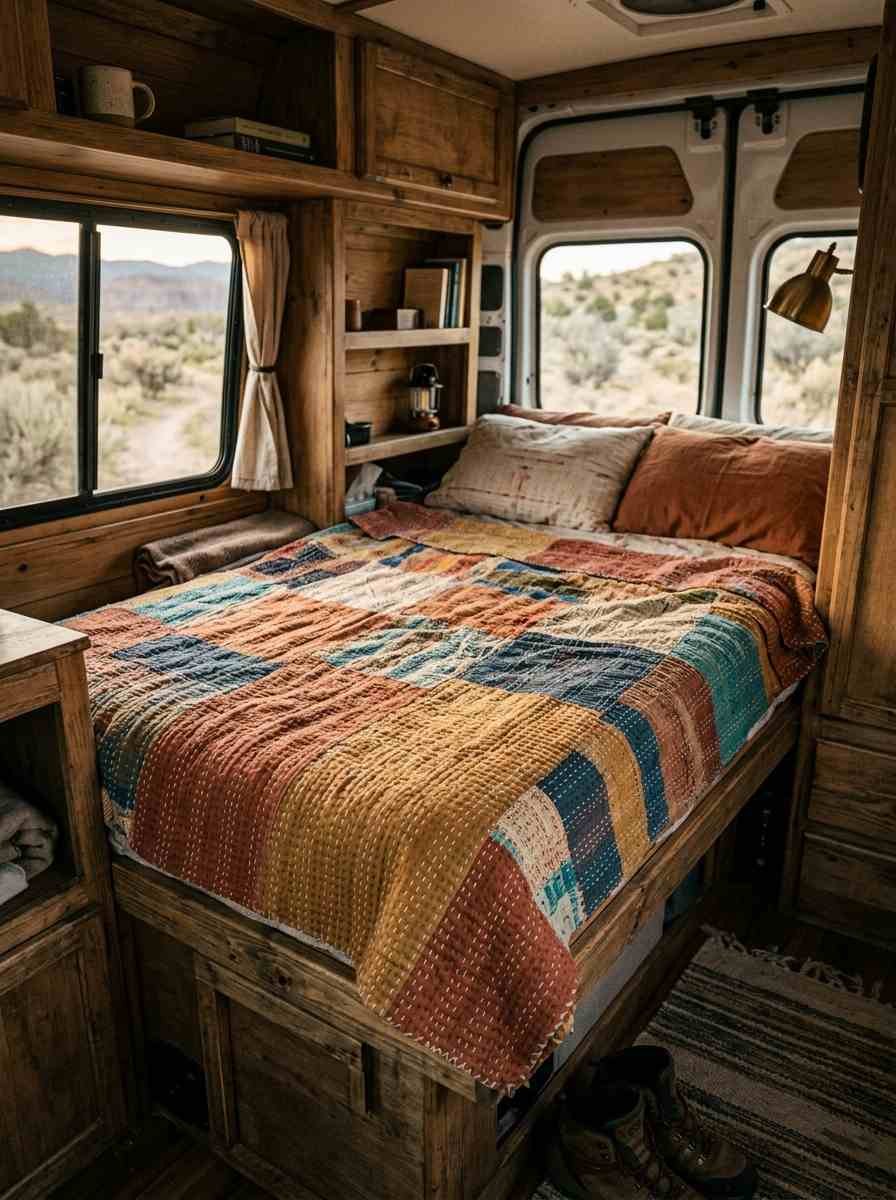
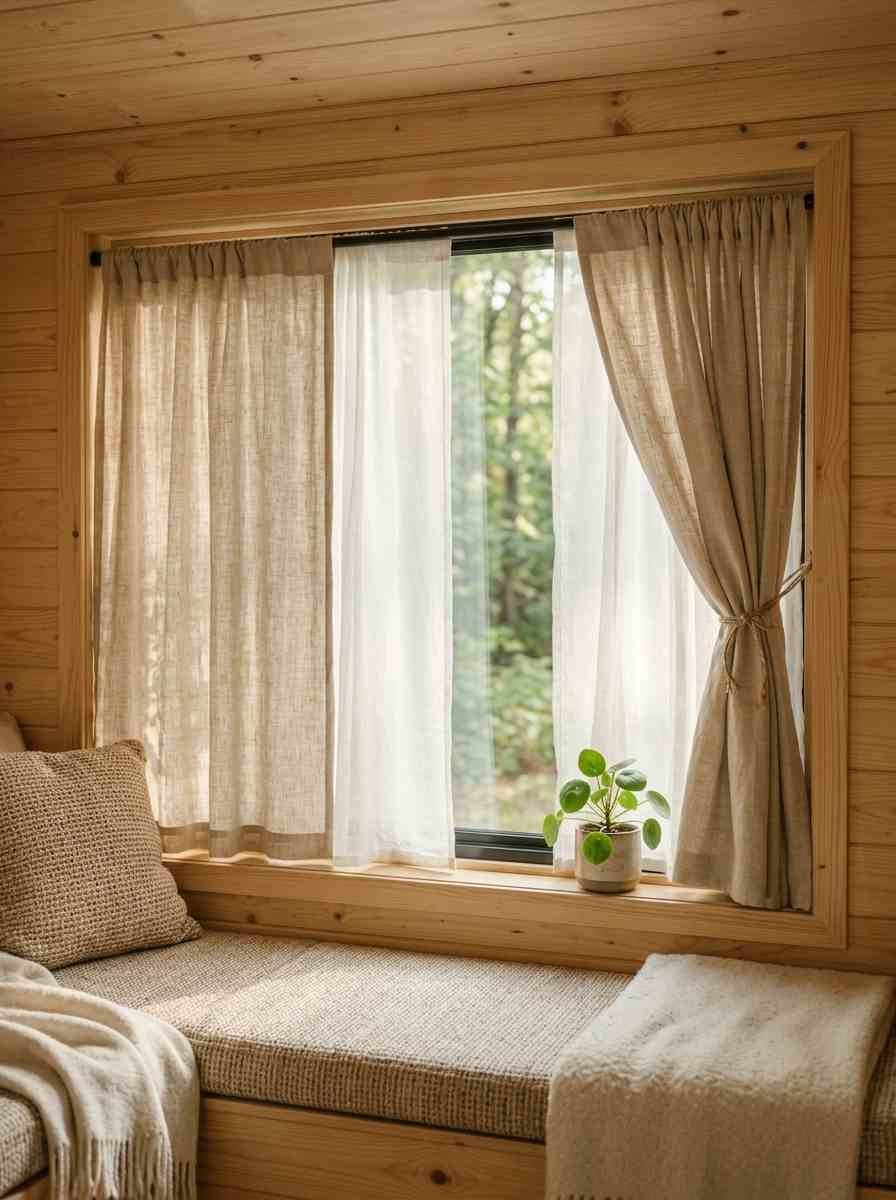
- Hang tension-rod curtains with a heavier blackout layer and a sheer inner layer for daytime privacy.
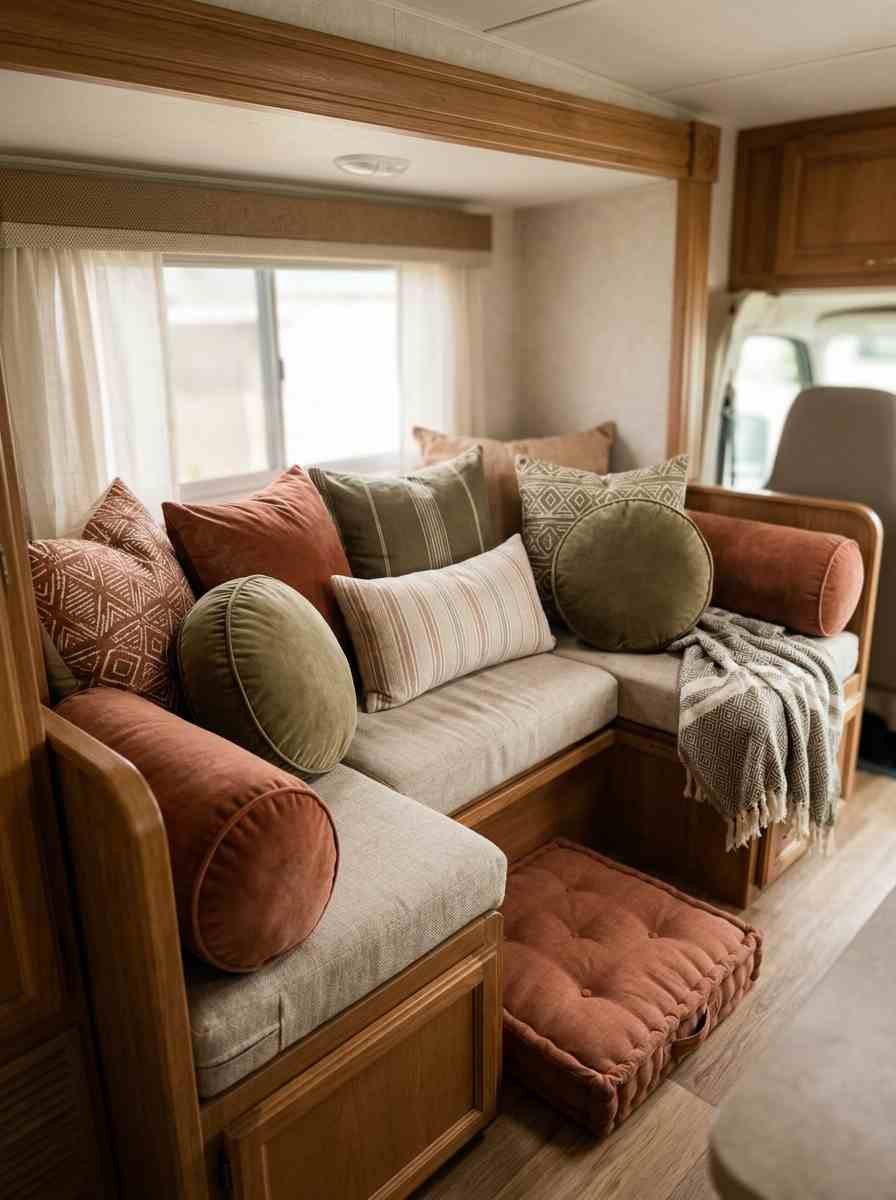
- Mix pillow shapes, not just colors. Round, lumbar, and floor cushions all in one seating area reads as intentional, not cluttered.
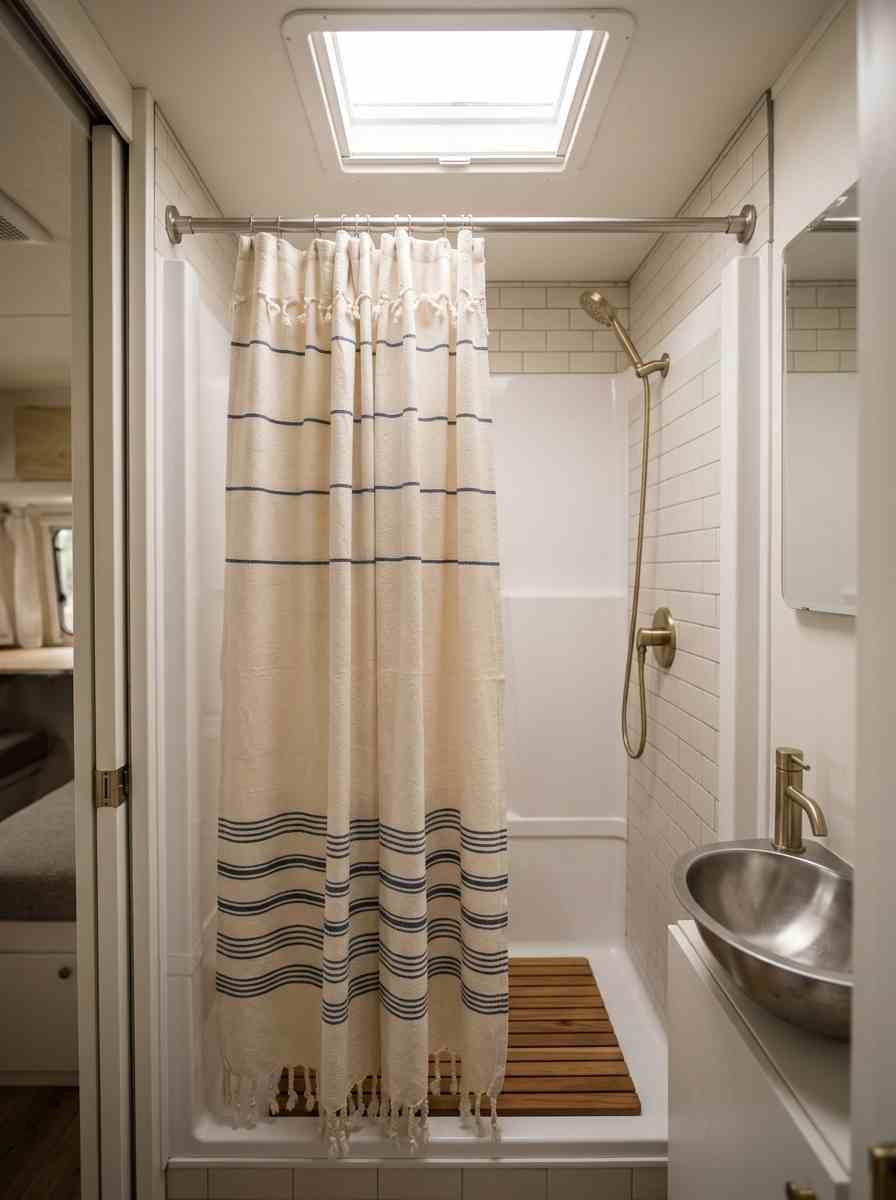
- Try a Turkish towel as a bathroom or shower curtain. They dry fast, which matters a lot when you’ve got zero ventilation.
- Cover dated bench cushions with a patterned slipcover instead of reupholstering. Way cheaper, and you can change it seasonally.
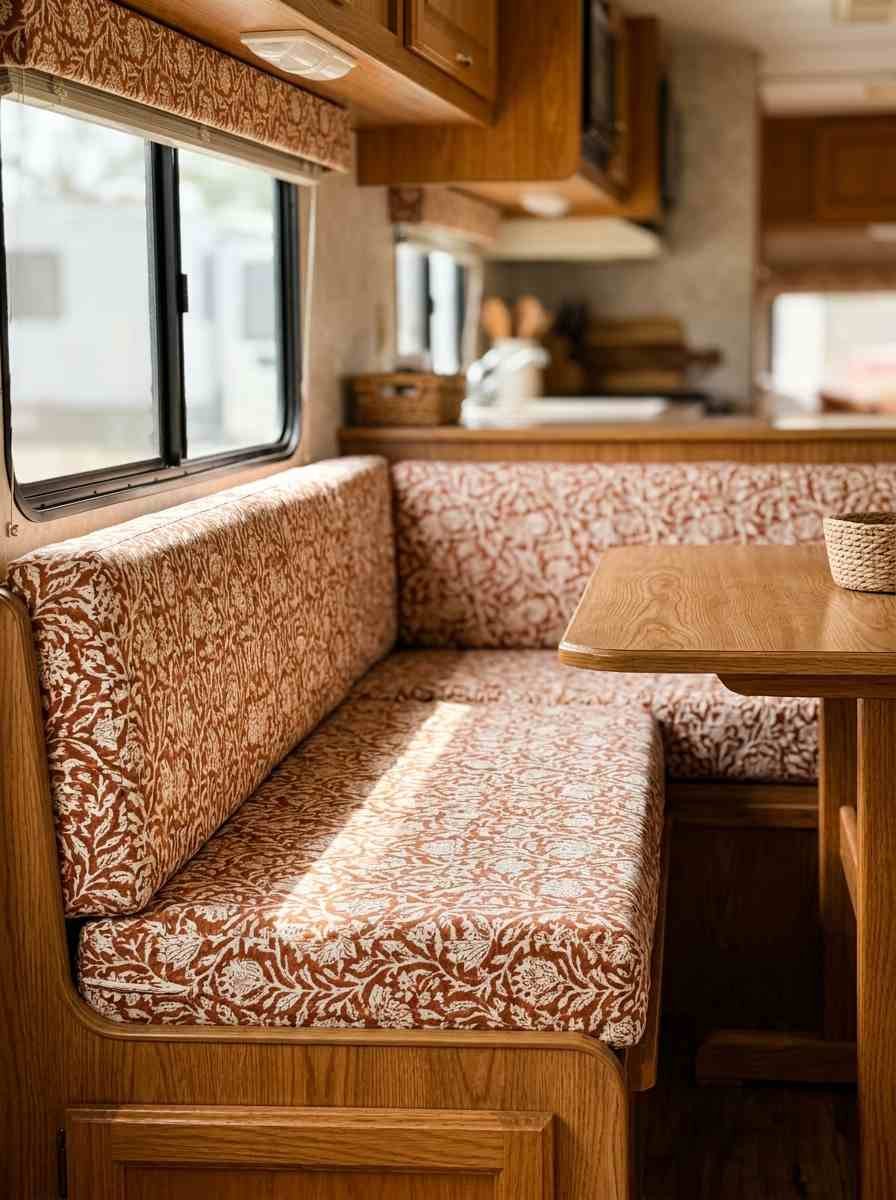
Here’s a question worth asking yourself before you buy anything: does this texture survive driving down a dirt road at 40 mph? Boho tolerates a little chaos, but sagging fabric that slides off every pothole gets old fast.
Lighting that actually feels warm
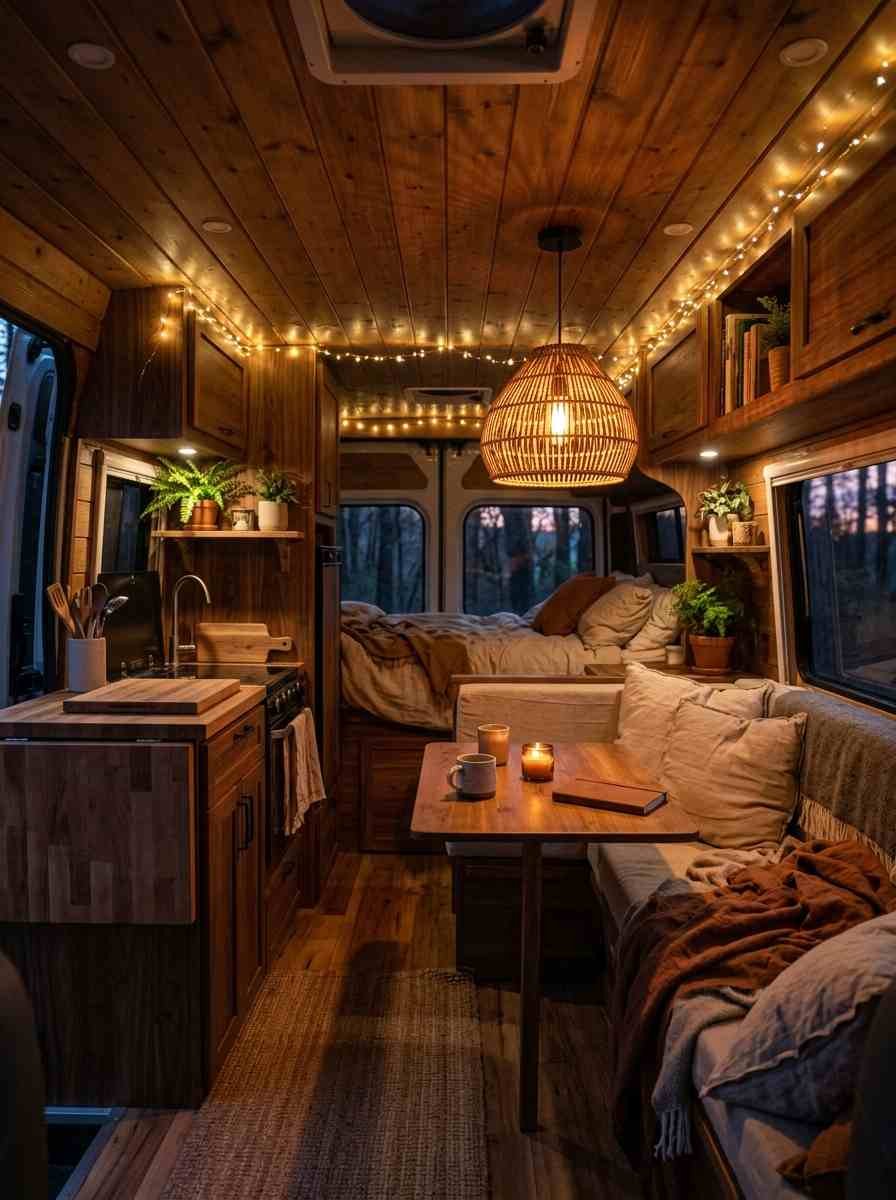
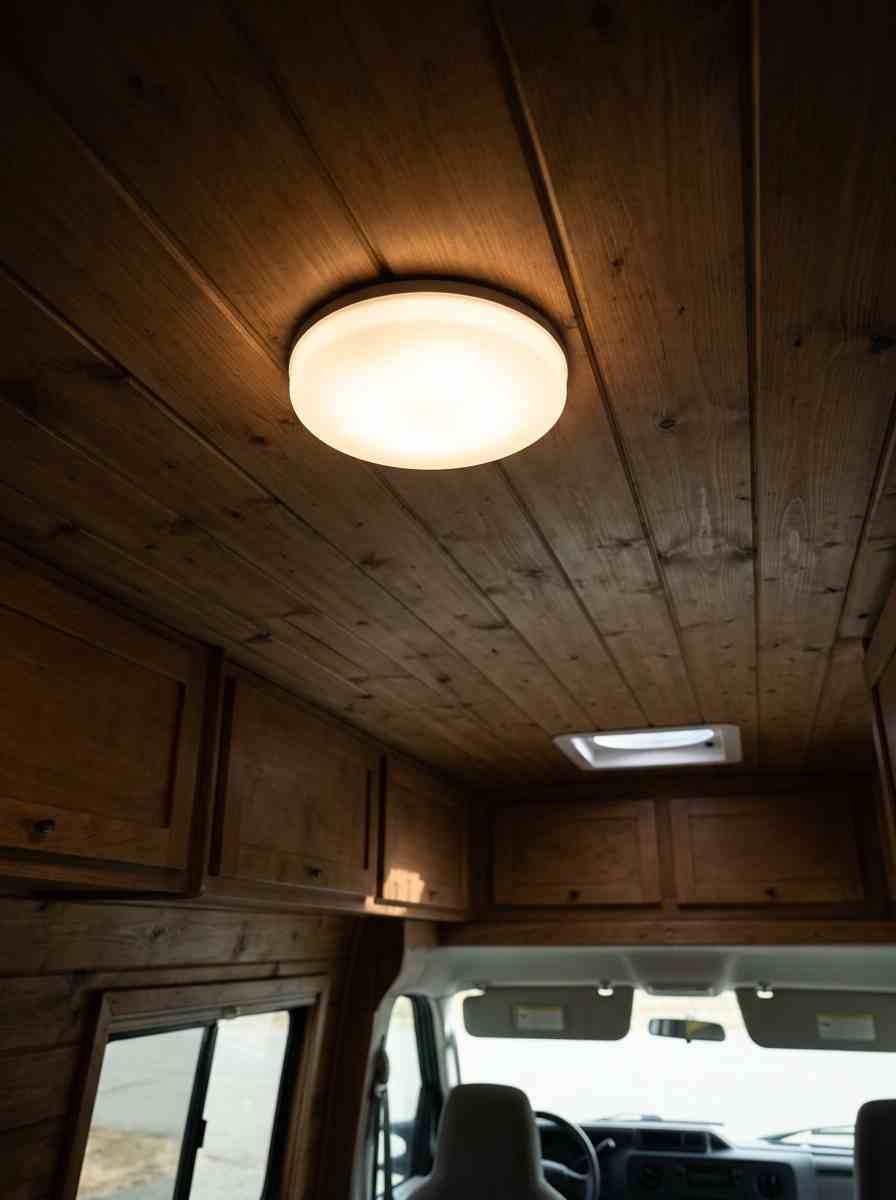
Camper overhead lights are usually harsh, blueish, and about as cozy as a dentist’s office. Fixing this is one of the highest-impact changes you can make.
- Swap the factory dome lights for warm white bulbs if your fixture allows it.
- String fairy lights along the ceiling seams, tucked behind trim so the wiring disappears.
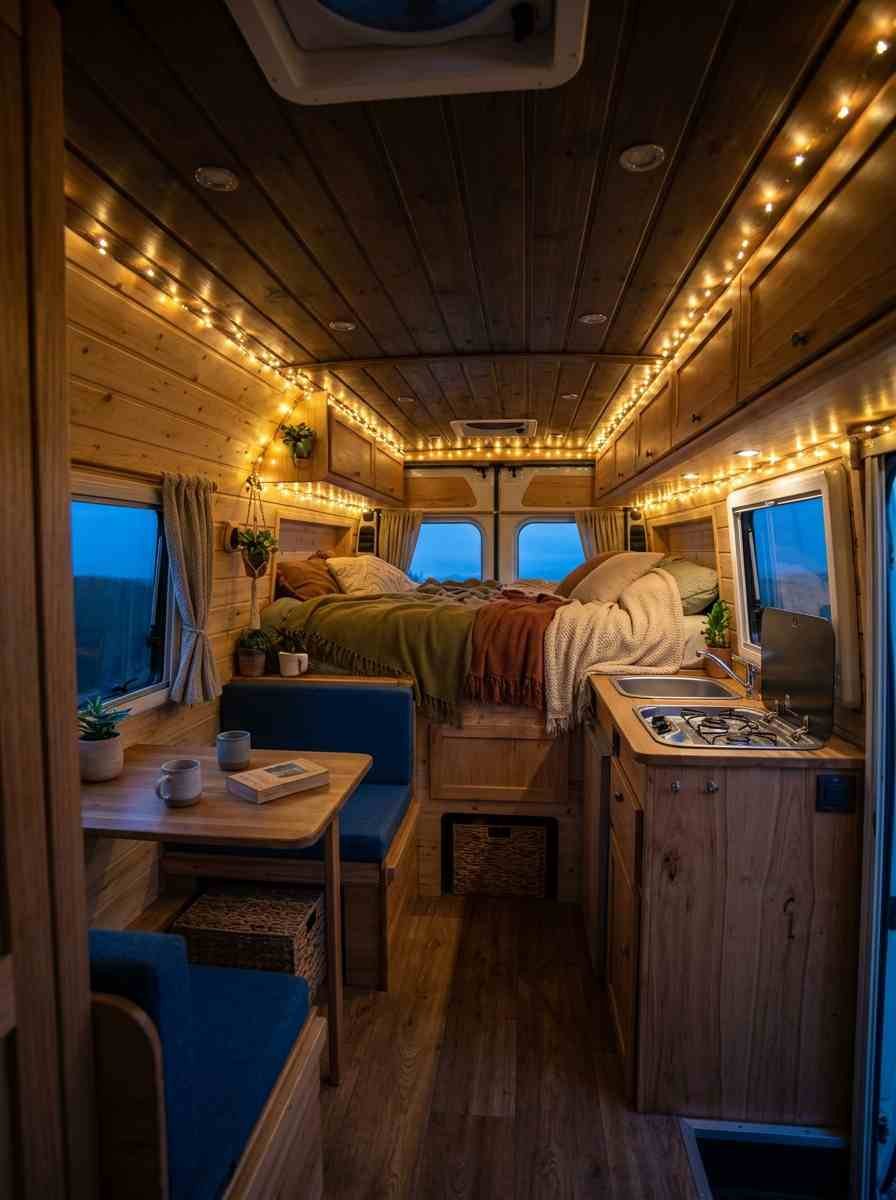
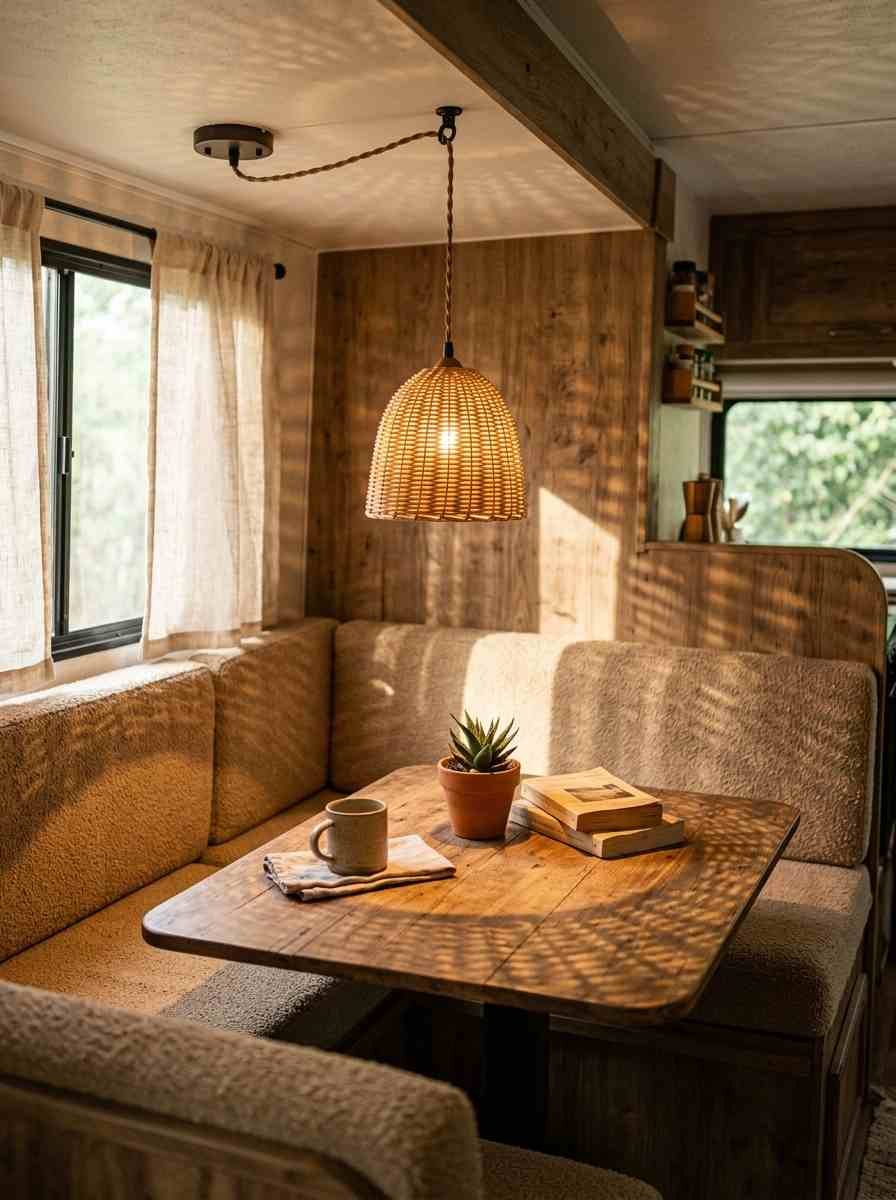
- Add a small rattan pendant light over the dinette. Just make sure it’s secured for travel, not just resting on a hook.
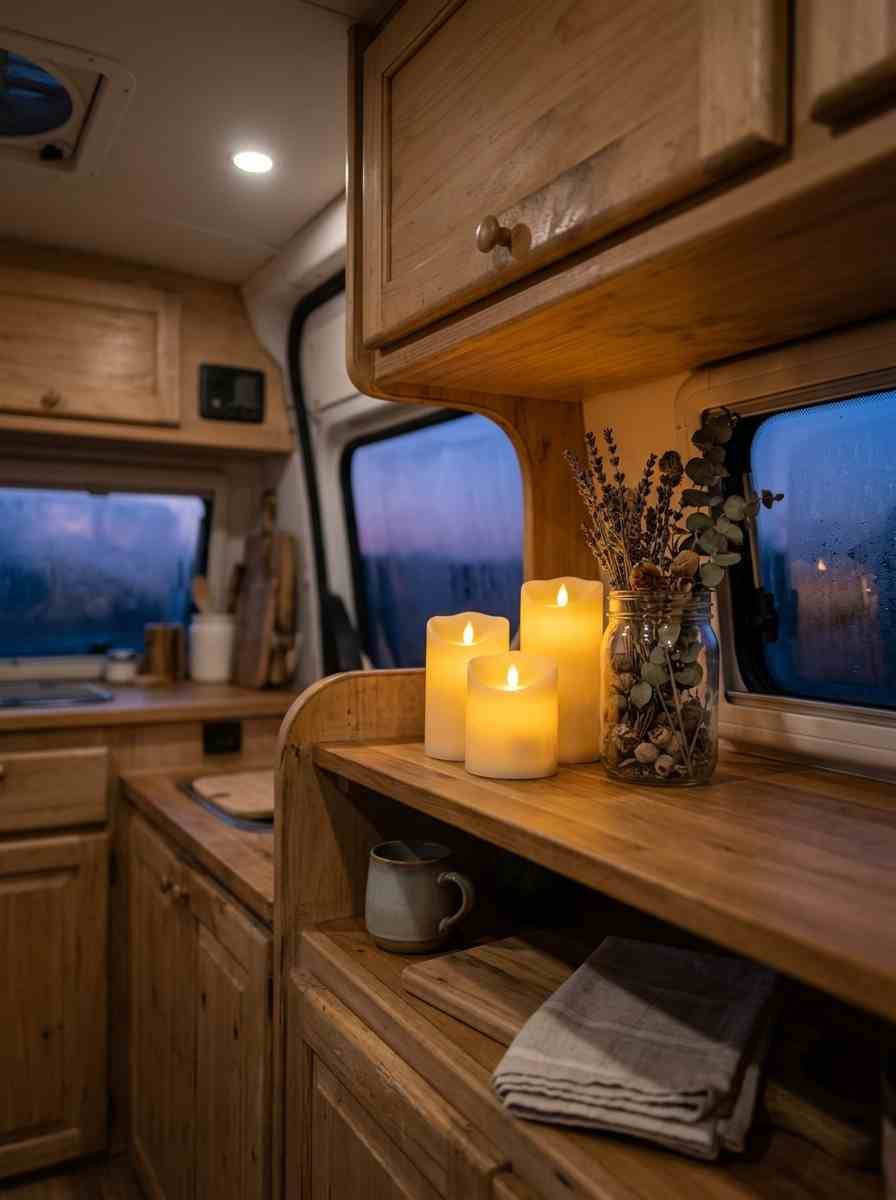
- Use battery candles on shelves and counters. Real flame and a moving vehicle are a bad combination, so don’t risk it.
- Install a dimmable reading light by the bed for evenings when the overhead is too much.
Storage that looks like decor
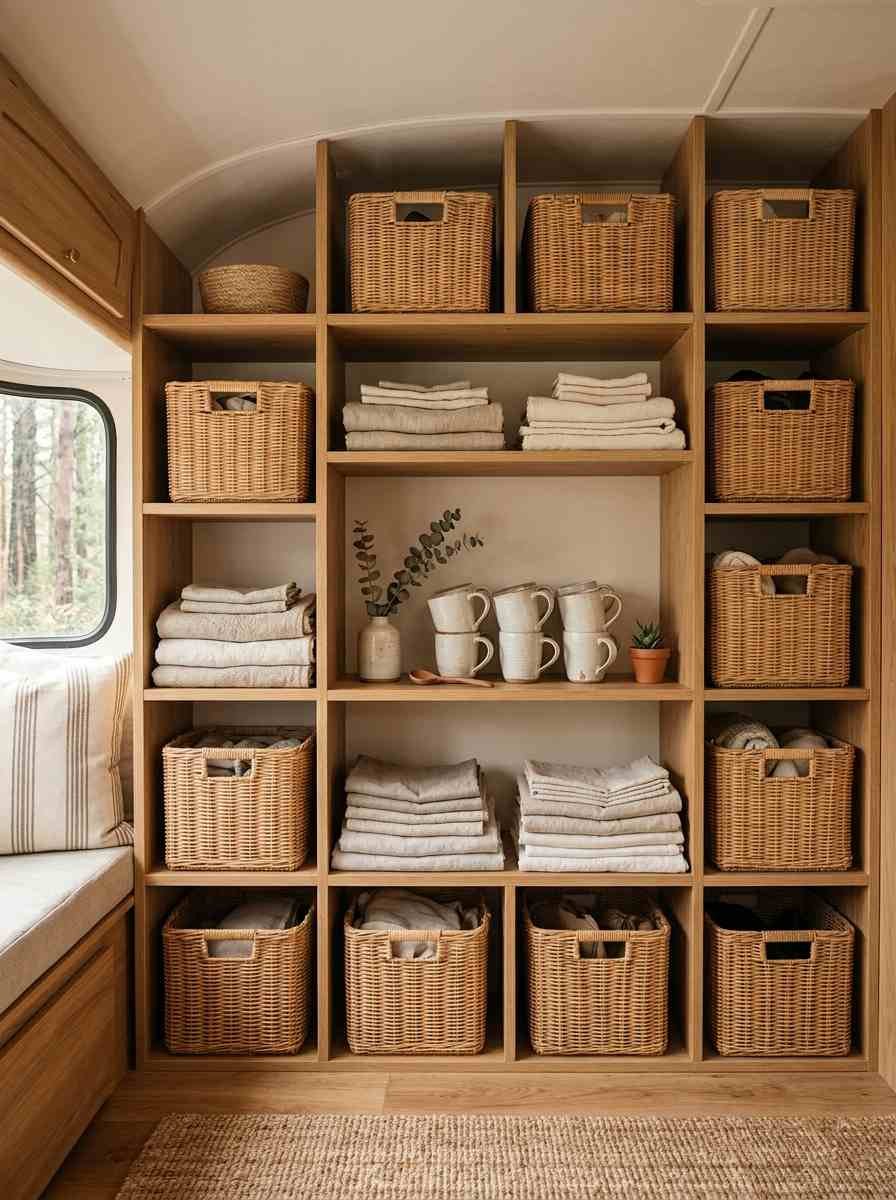
This is where a lot of boho camper builds fall apart. Baskets everywhere can look gorgeous or it can look like a thrift store exploded. The difference is restraint.
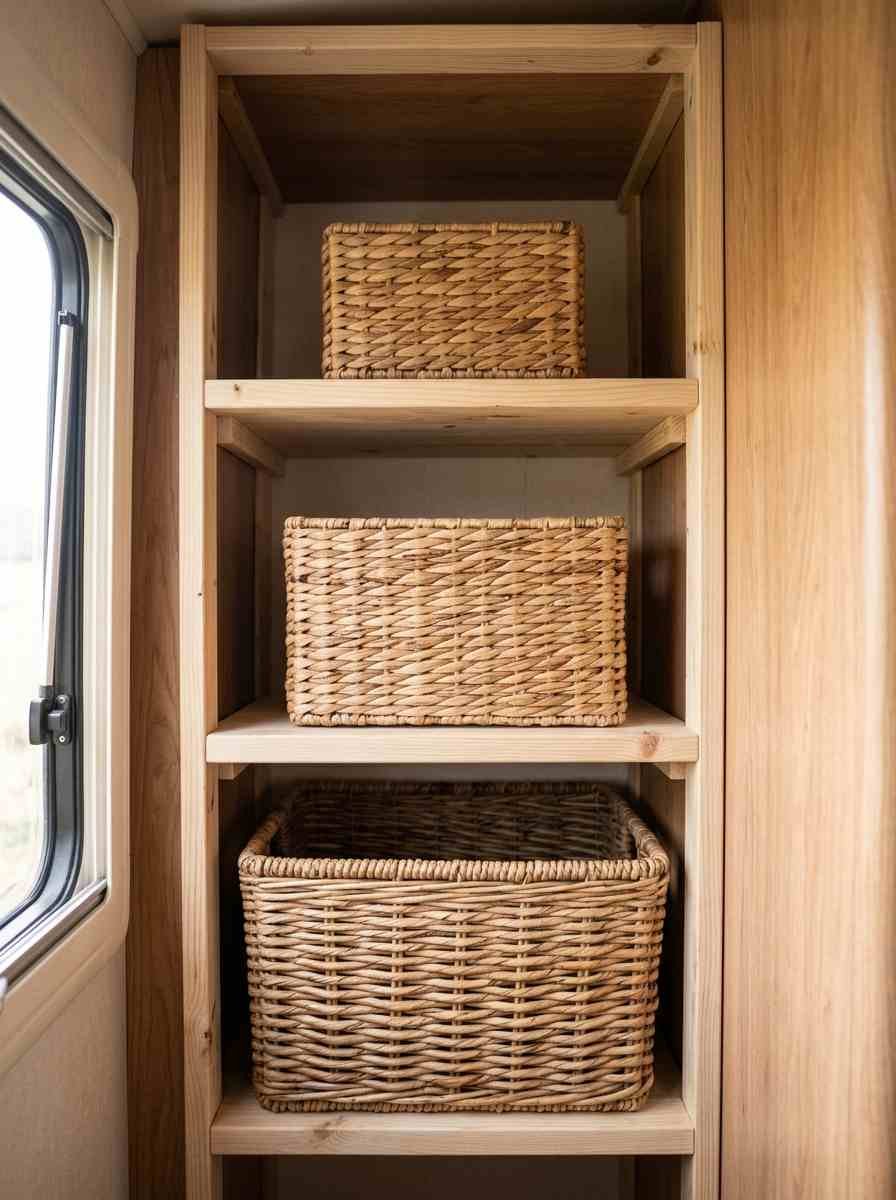
- Use two or three matching wicker baskets, not eight different ones, for open shelving.
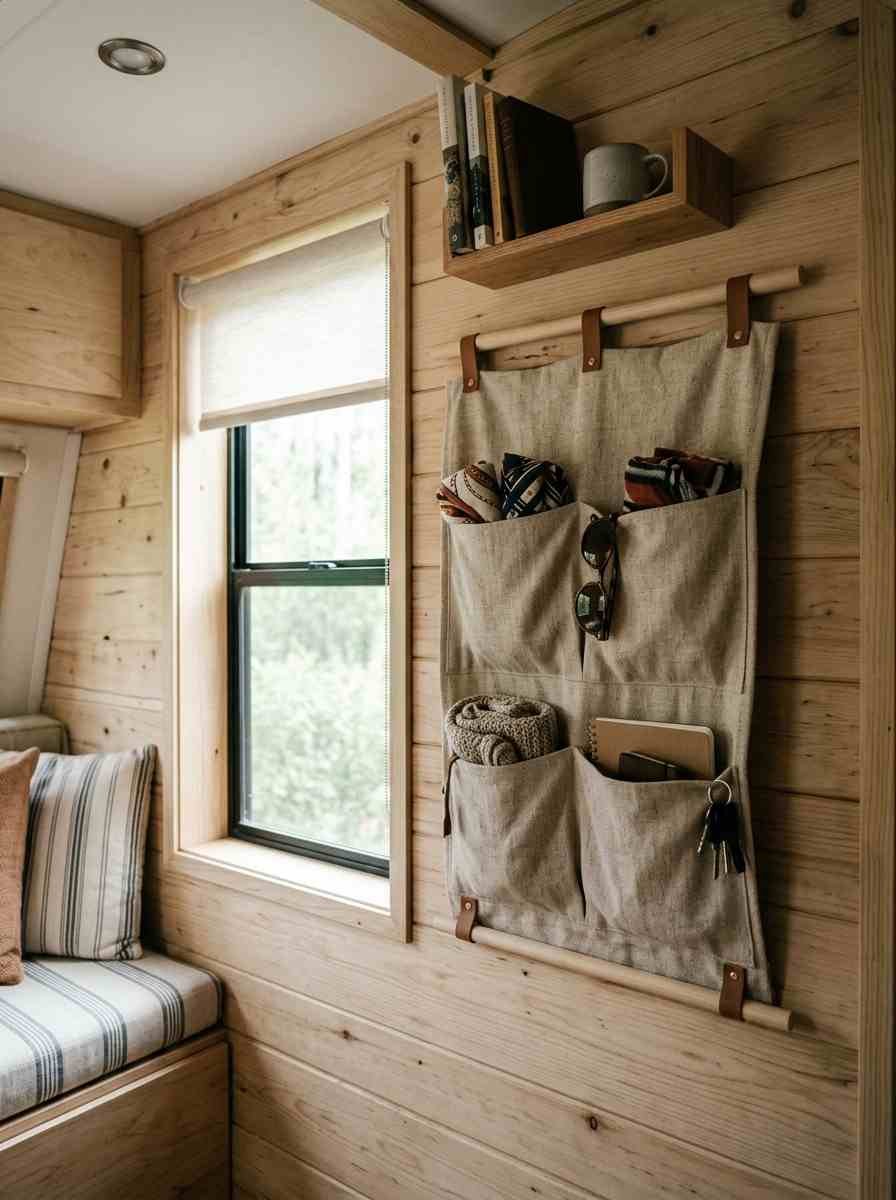
- Hang a fabric wall organizer made from canvas or linen instead of a plastic over-door caddy.
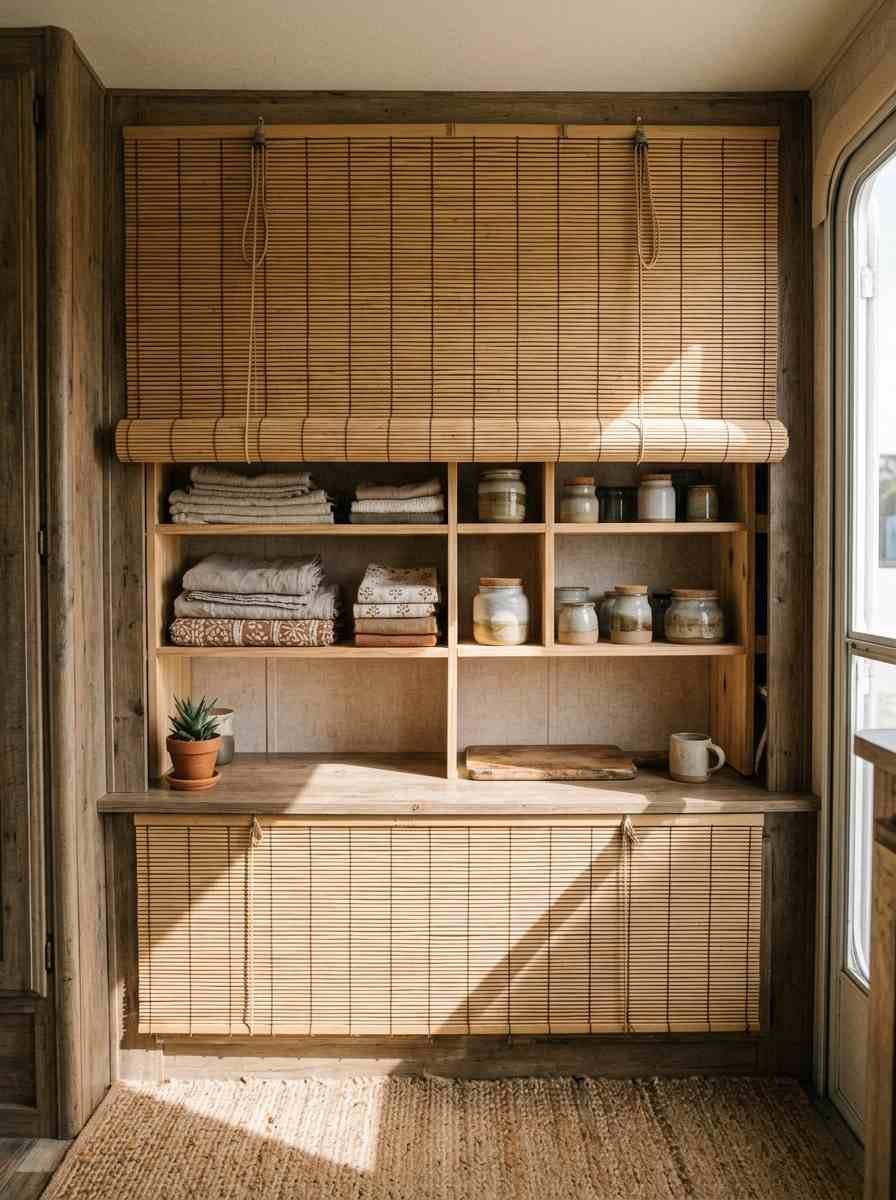
- Build a bamboo roll-shade panel that hides a shelf behind it. Function and looks in one piece.
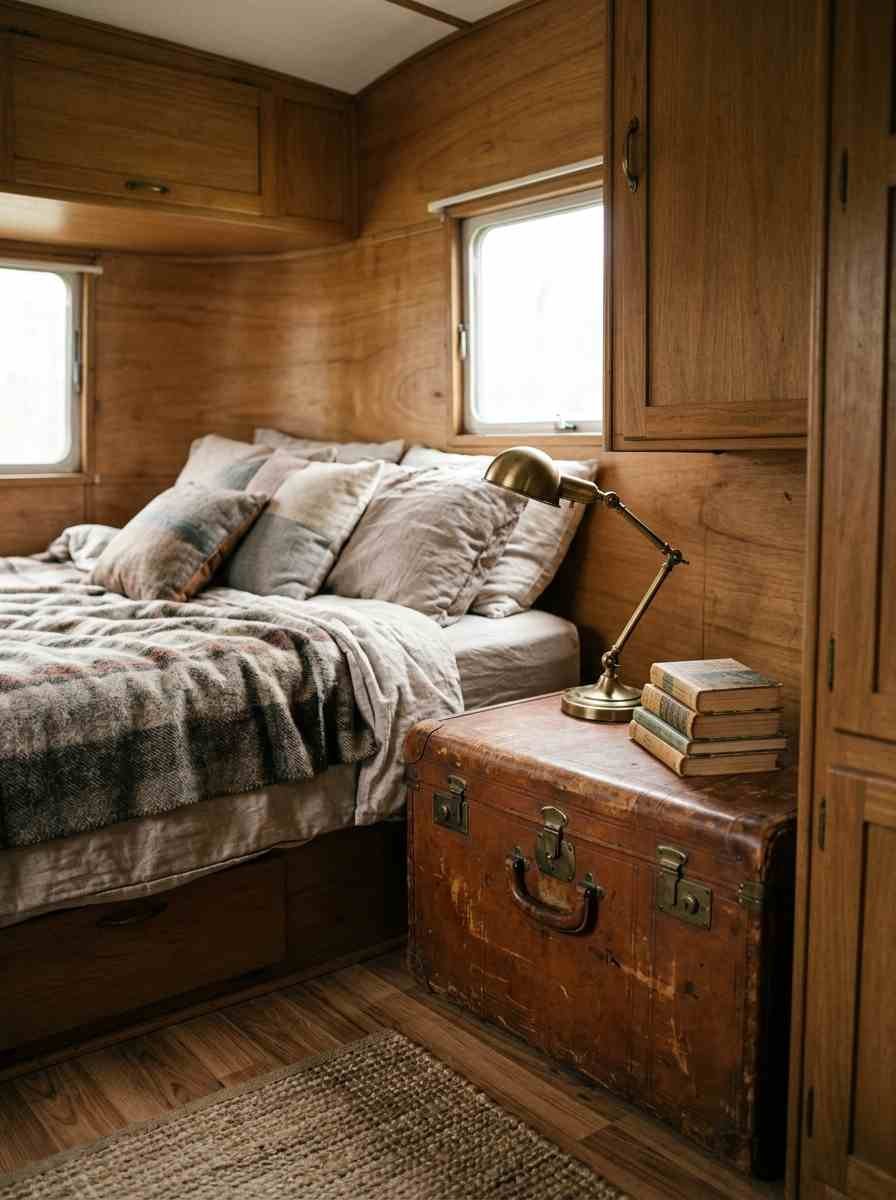
- Repurpose a vintage suitcase as a nightstand with hidden storage inside.
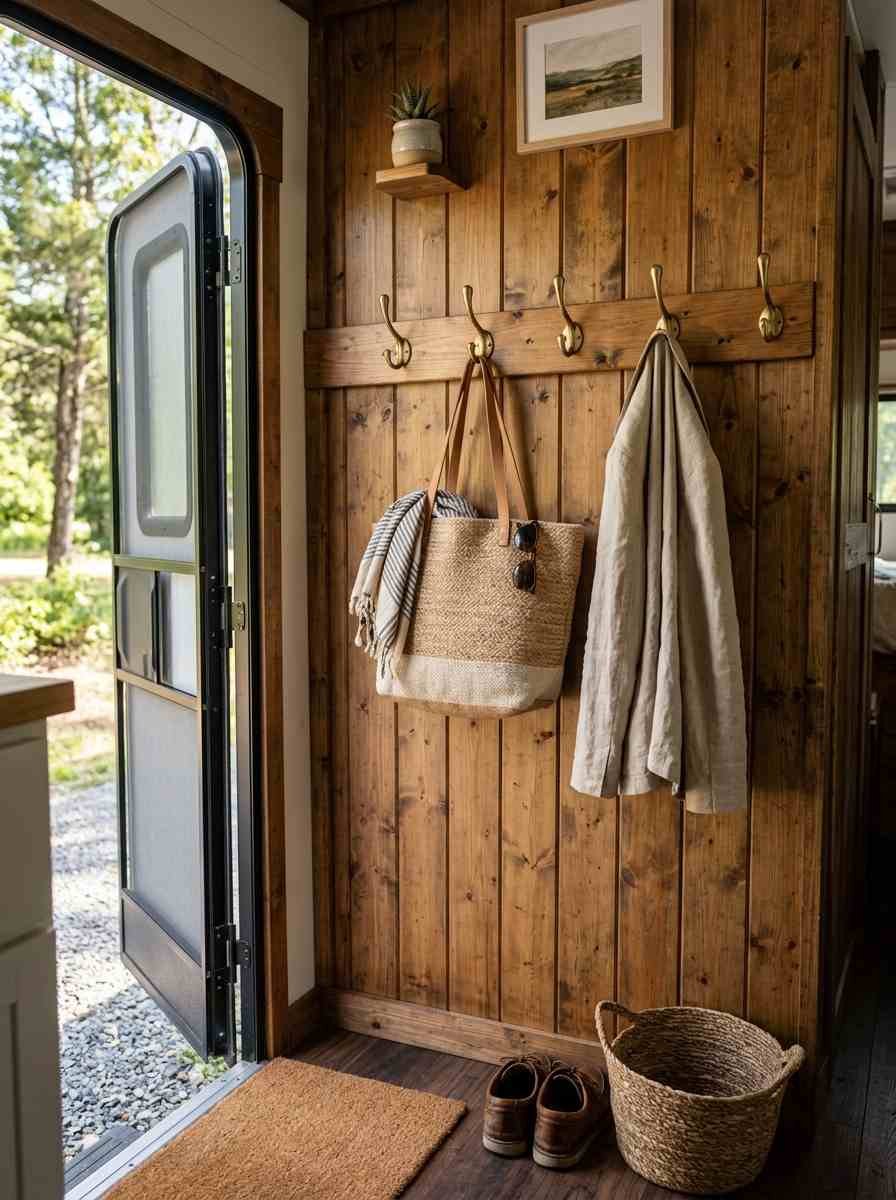
- Add hooks disguised as decor, like small brass hardware, for jackets and bags near the door.
| Idea category | Budget-friendly option | Splurge option |
|---|---|---|
| Textiles | Thrifted throw blanket, $8–15 | Handwoven kantha quilt, $80+ |
| Lighting | Battery fairy lights, $12 | Rattan pendant fixture, $60+ |
| Storage | Canvas hanging organizer, $20 | Custom built-in shelving, $150+ |
| Wall decor | DIY macramé, $10 in supplies | Artisan wall hanging, $100+ |
Natural materials and greenery
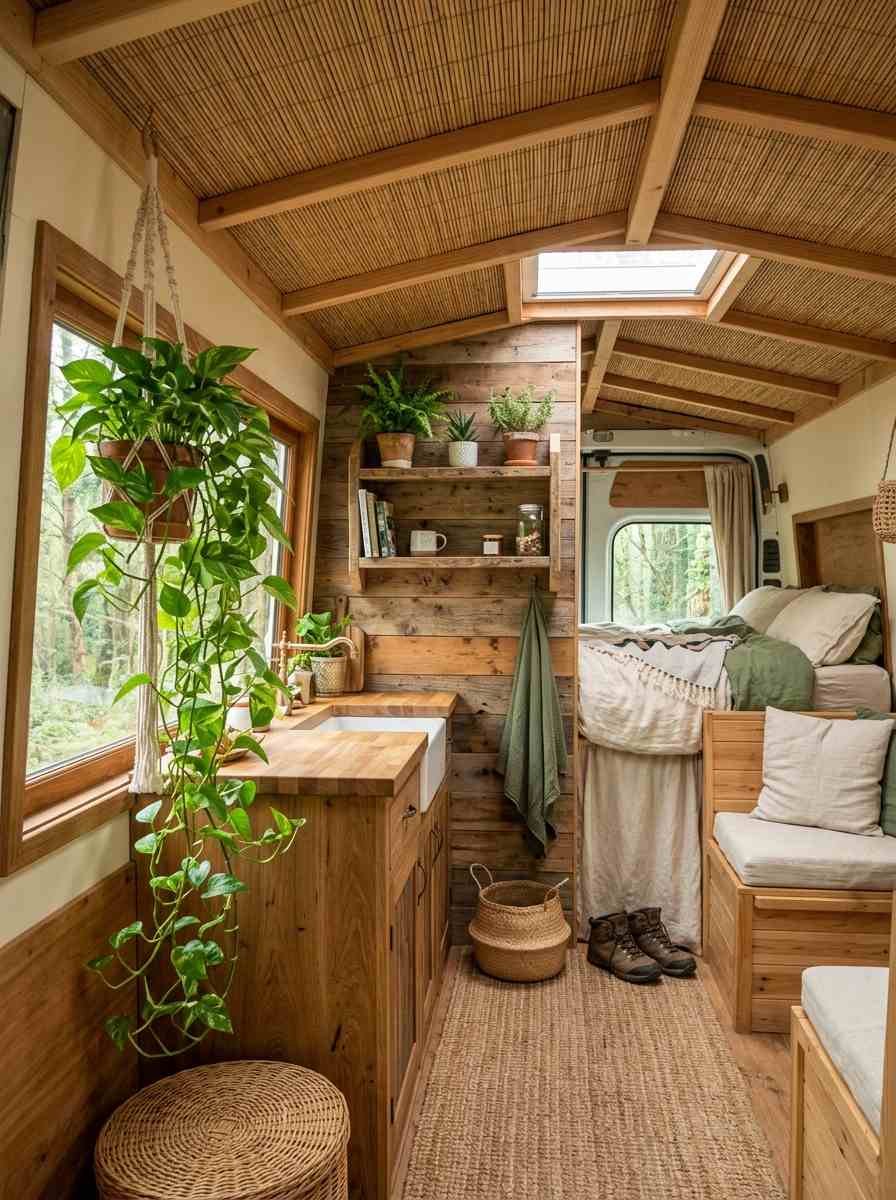
Plants and wood are what make boho feel alive instead of just patterned. This is also the category where people overdo it, so pace yourself.
- Add a trailing pothos in a hanging planter near a window. It tolerates low light and rough handling better than most houseplants.
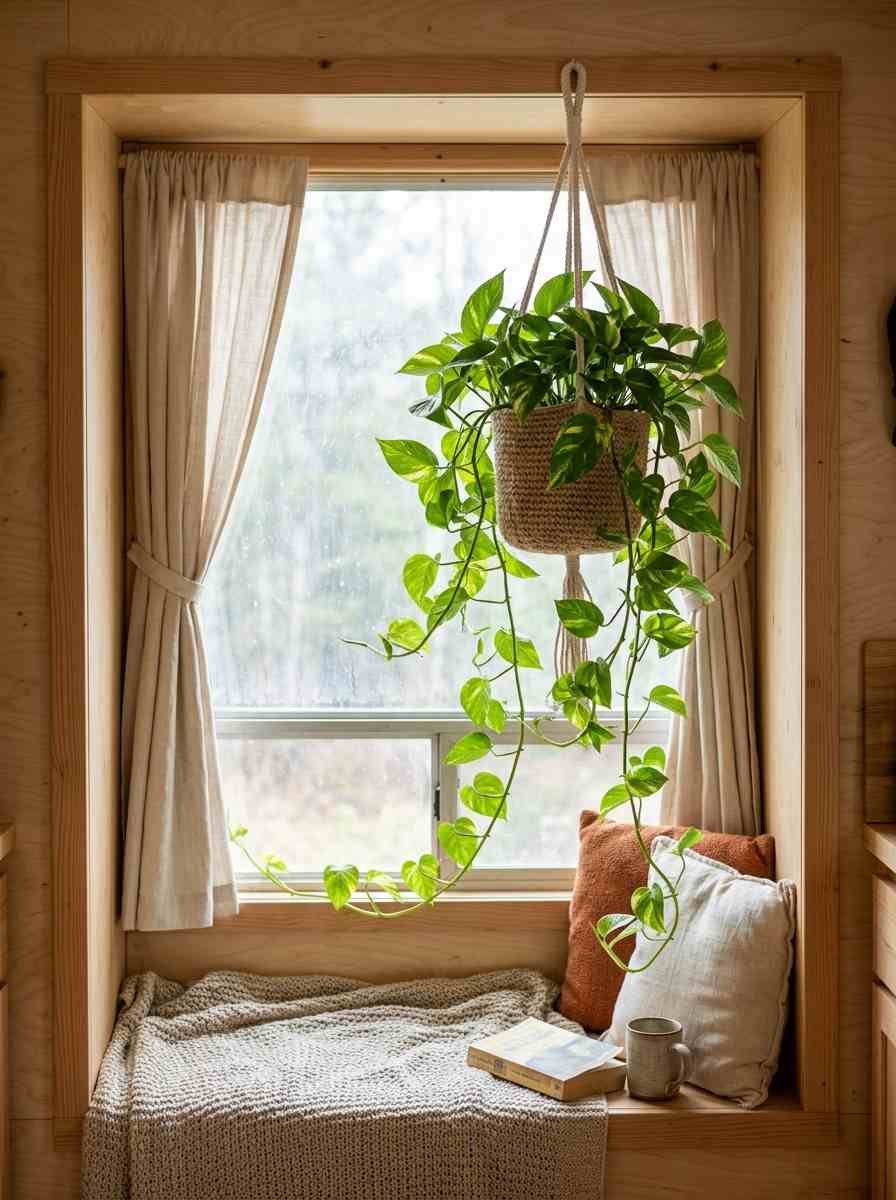
- Use dried pampas grass or lavender if you travel often. No watering, no wilting, still gorgeous.
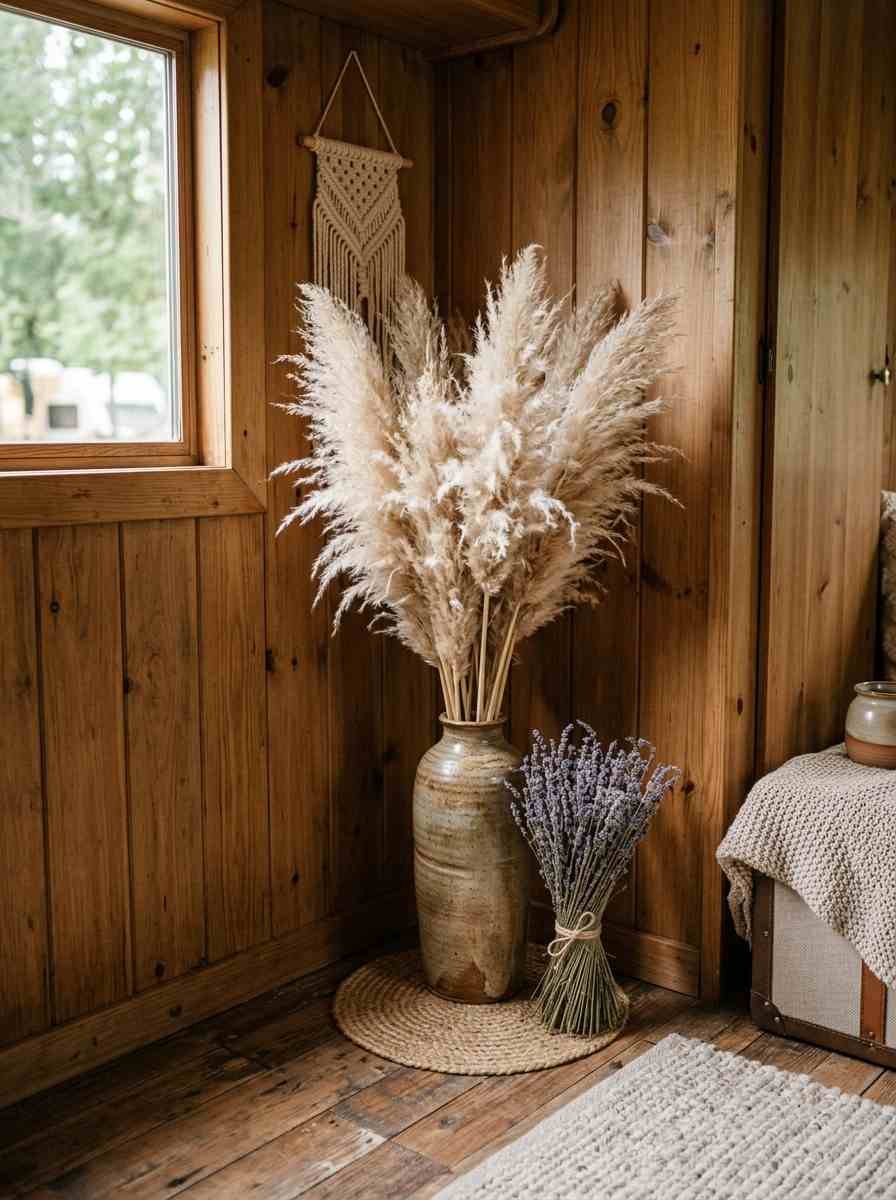
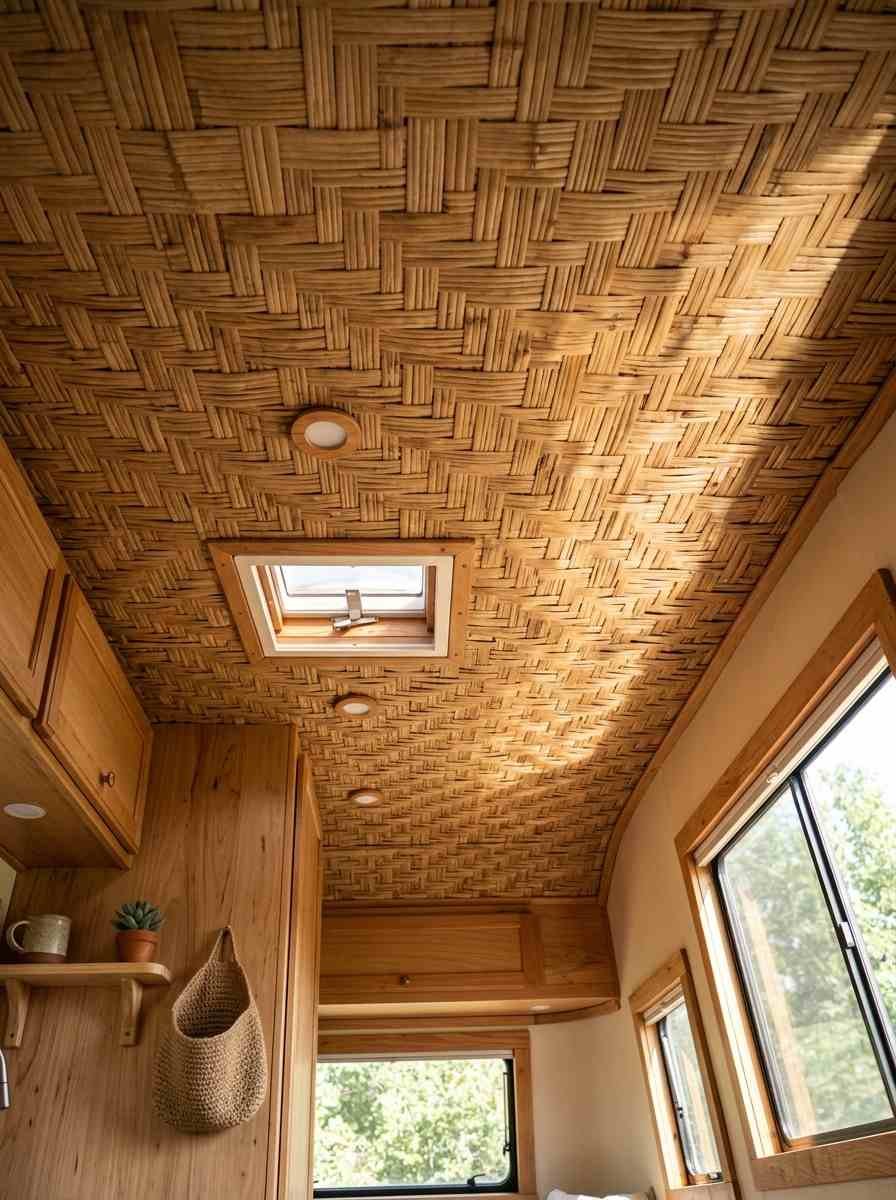
- Cover the ceiling in bamboo matting for warmth and texture overhead.
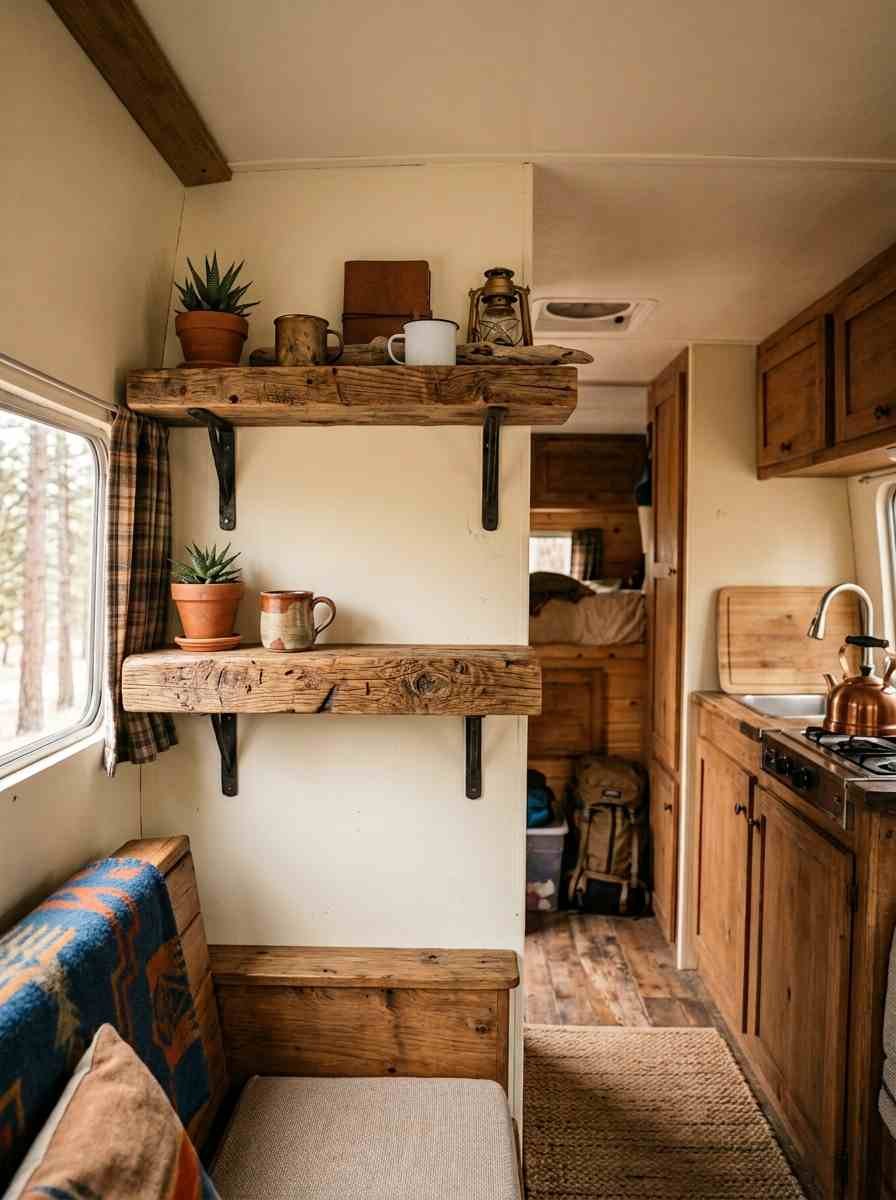
- Bring in reclaimed wood for a shelf or small table. Unfinished wood reads more authentic than anything stained glossy.
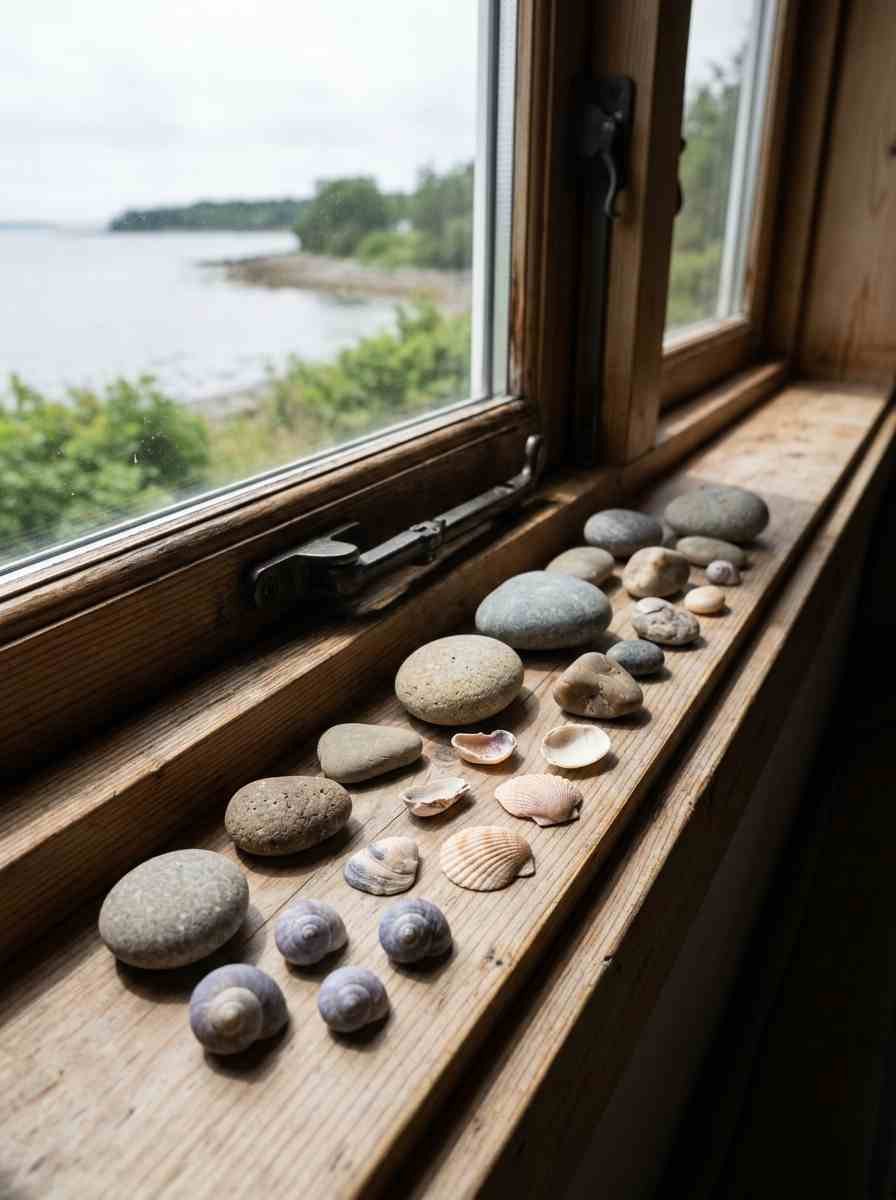
- Display stones or shells you’ve actually collected on your travels instead of buying decor pieces.
- This one’s genuinely my favorite because every object has a story attached to it.
Random thought, but this is also why I can never get behind fully matching furniture sets in any home, camper or otherwise.
A space that looks like it came from one catalog page has no memory in it. Boho is basically the opposite of that, which might be why it took over Pinterest boards in the first place.
Personal touches that make it feel like yours
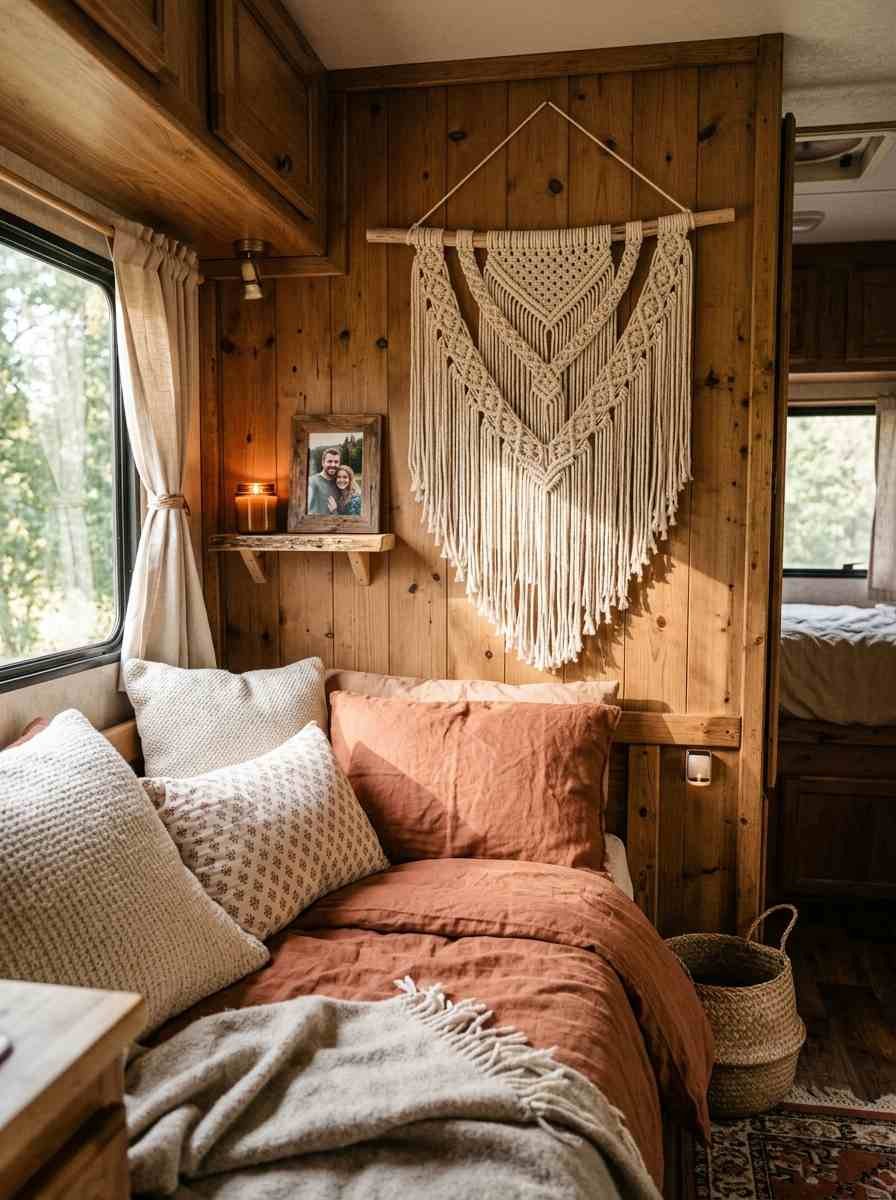
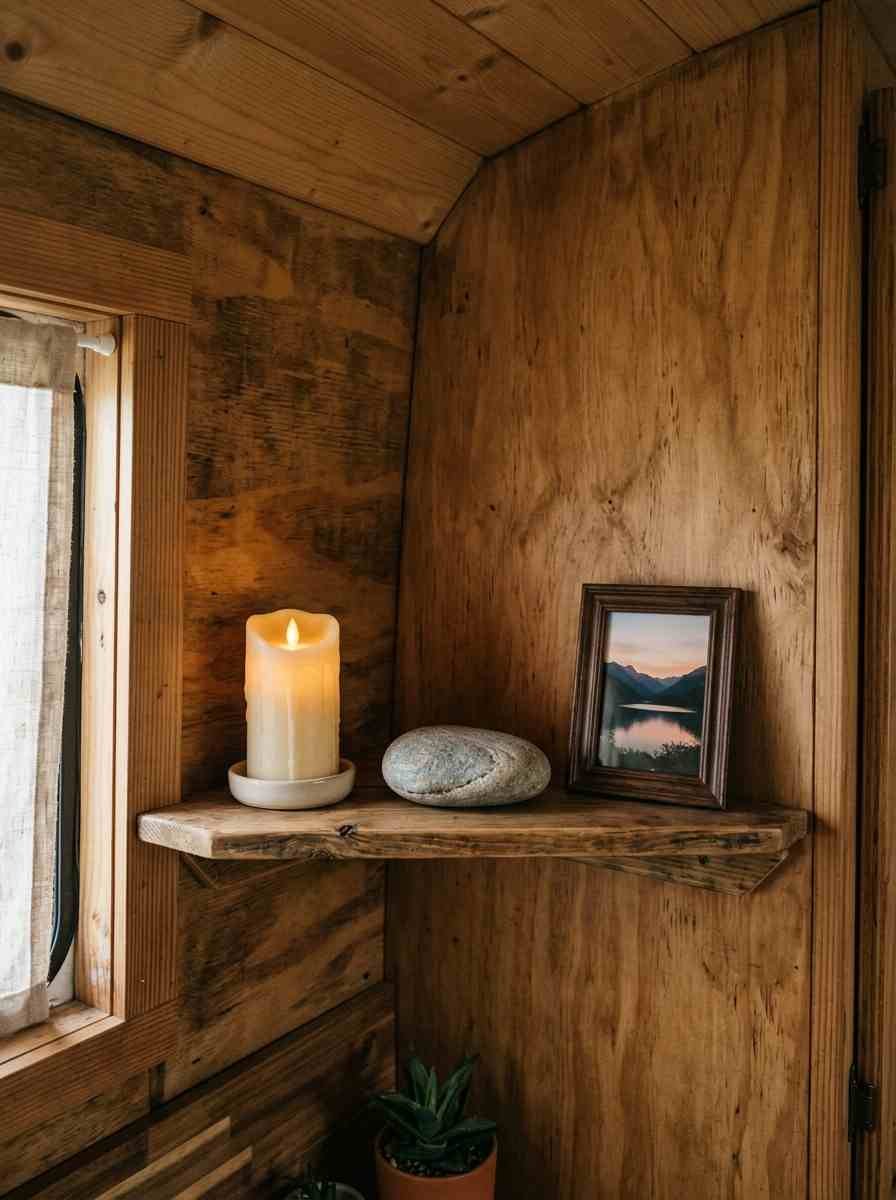
- Create a small altar or grounding shelf with a candle, a photo, or a smooth stone. Secure everything so it survives braking.
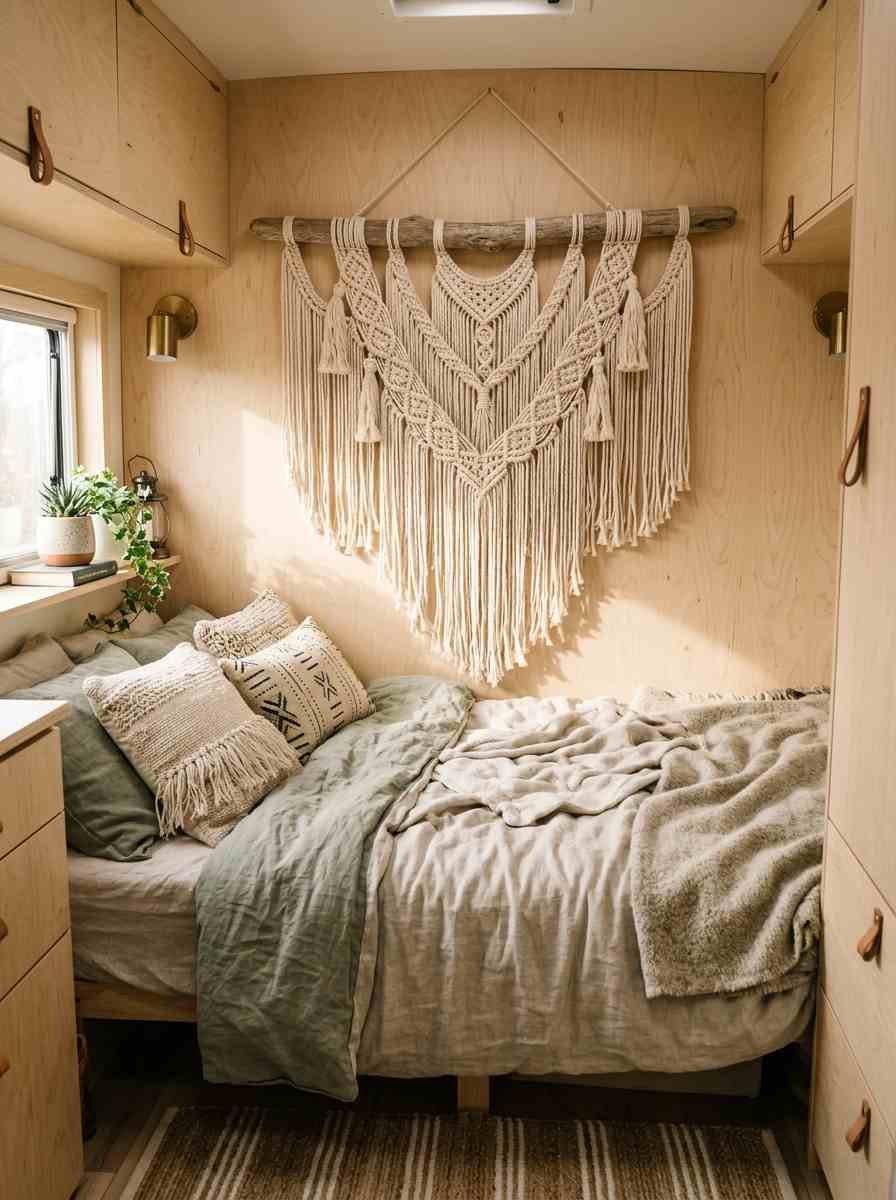
- Hang a macramé wall piece behind the bed. This is the single most requested boho camper detail I see, and for good reason, it softens every hard van line instantly.
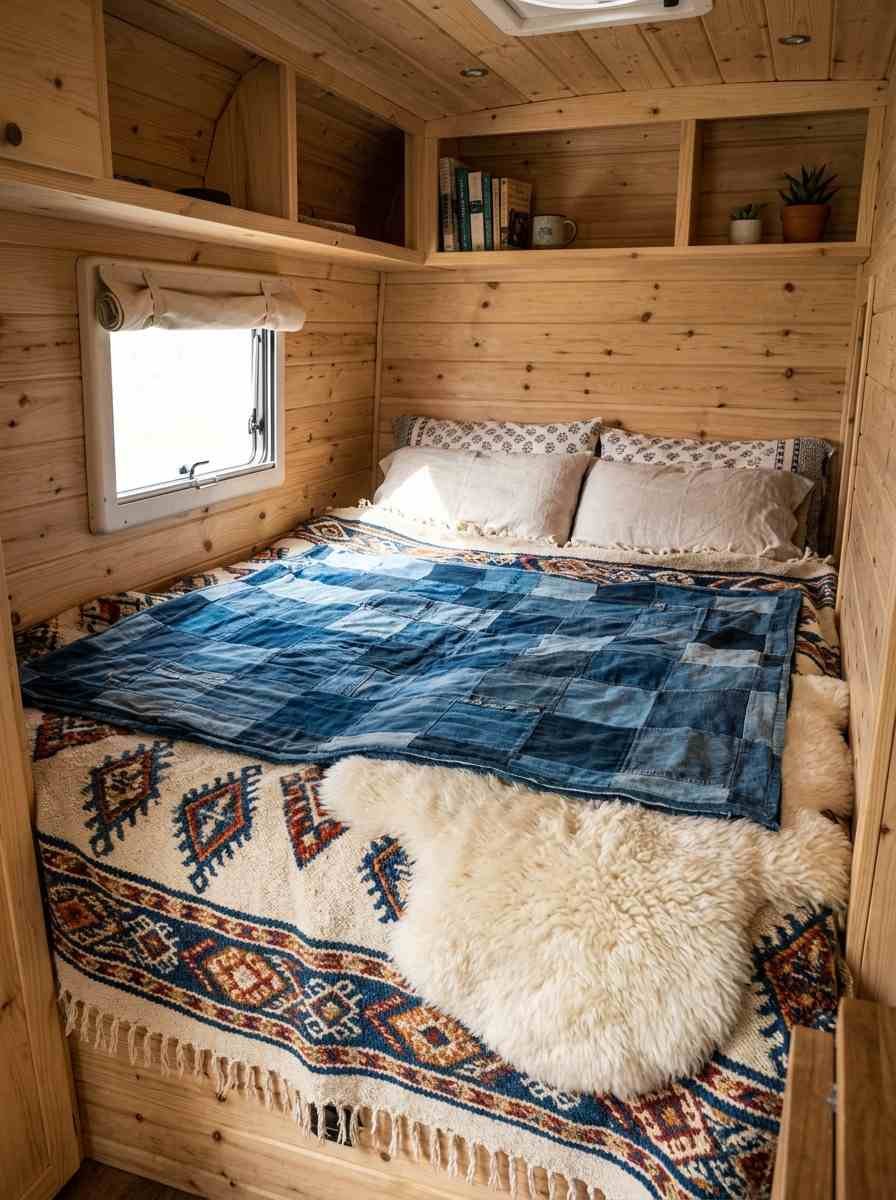
- Mix global textiles deliberately, a Moroccan blanket under a denim quilt topped with sheepskin, for instance. It sounds like it shouldn’t work. It does.
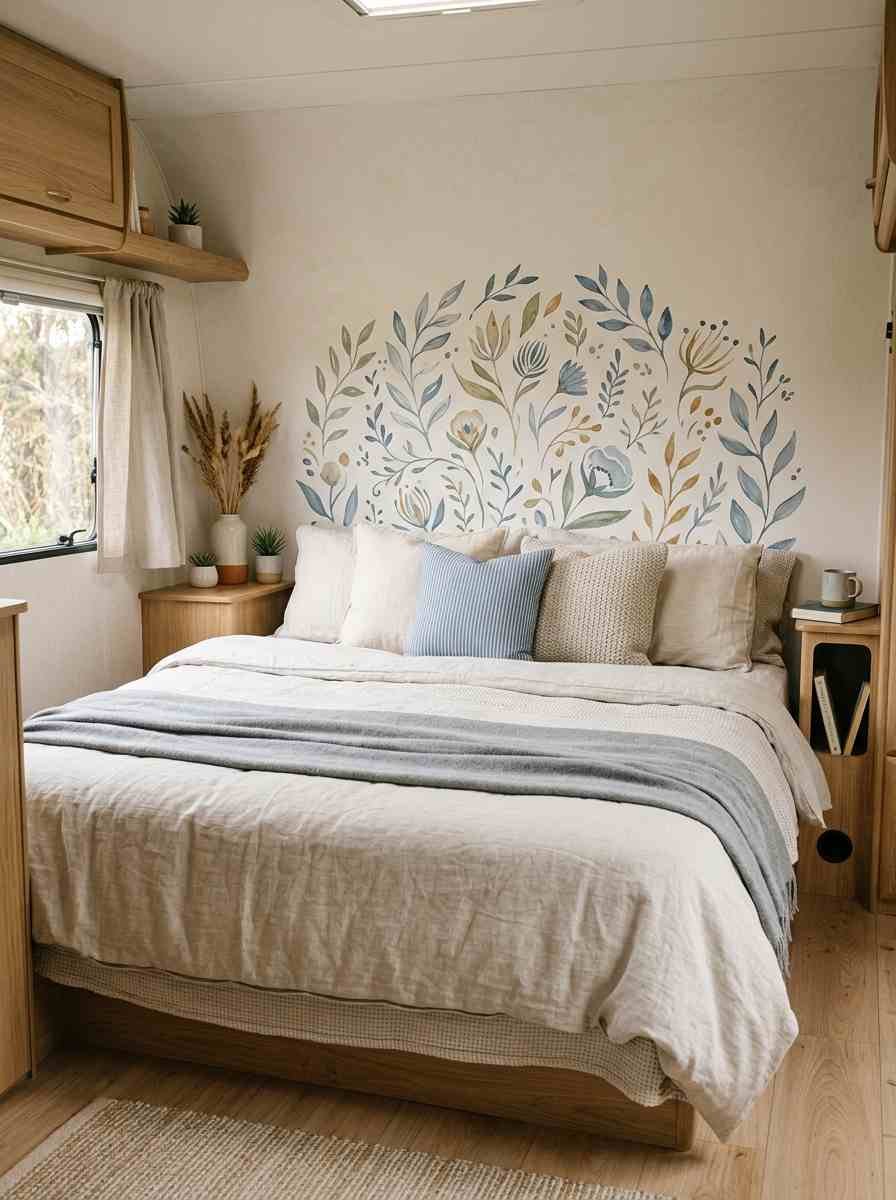
- Use removable wall decals for a “headboard” look with zero commitment and zero damage to the walls.
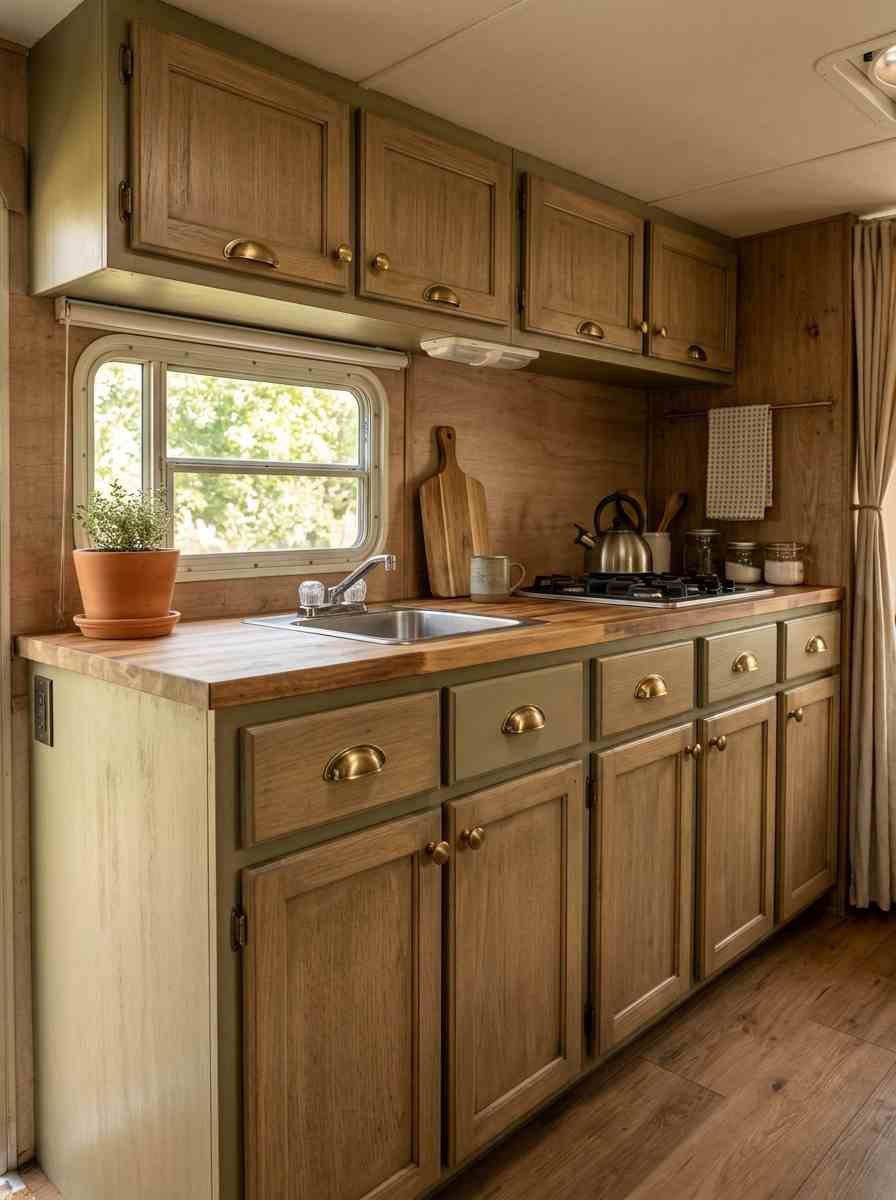
- Paint old cabinet hardware with gold or brass spray paint instead of replacing it.
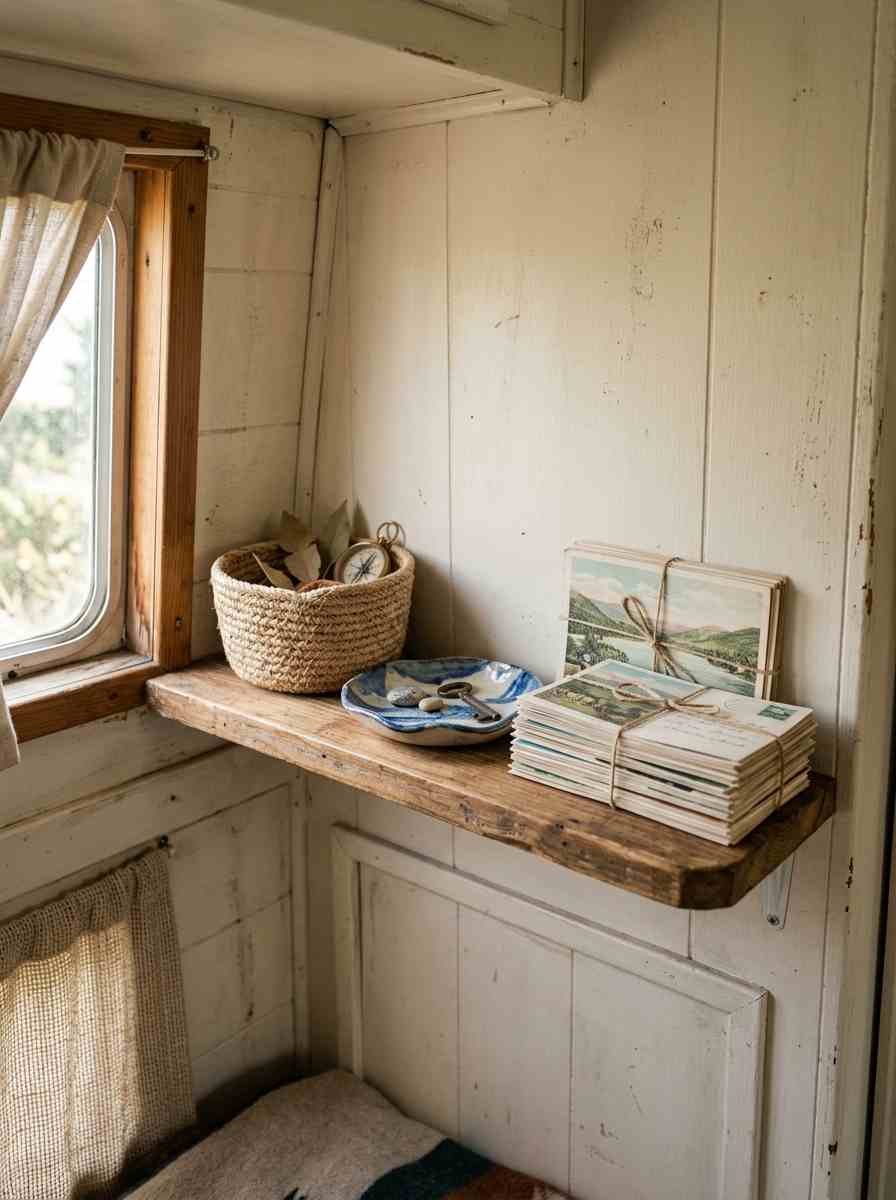
- Add a small gallery of trinkets from places you’ve actually been, postcards, ticket stubs, a coin from a market somewhere.
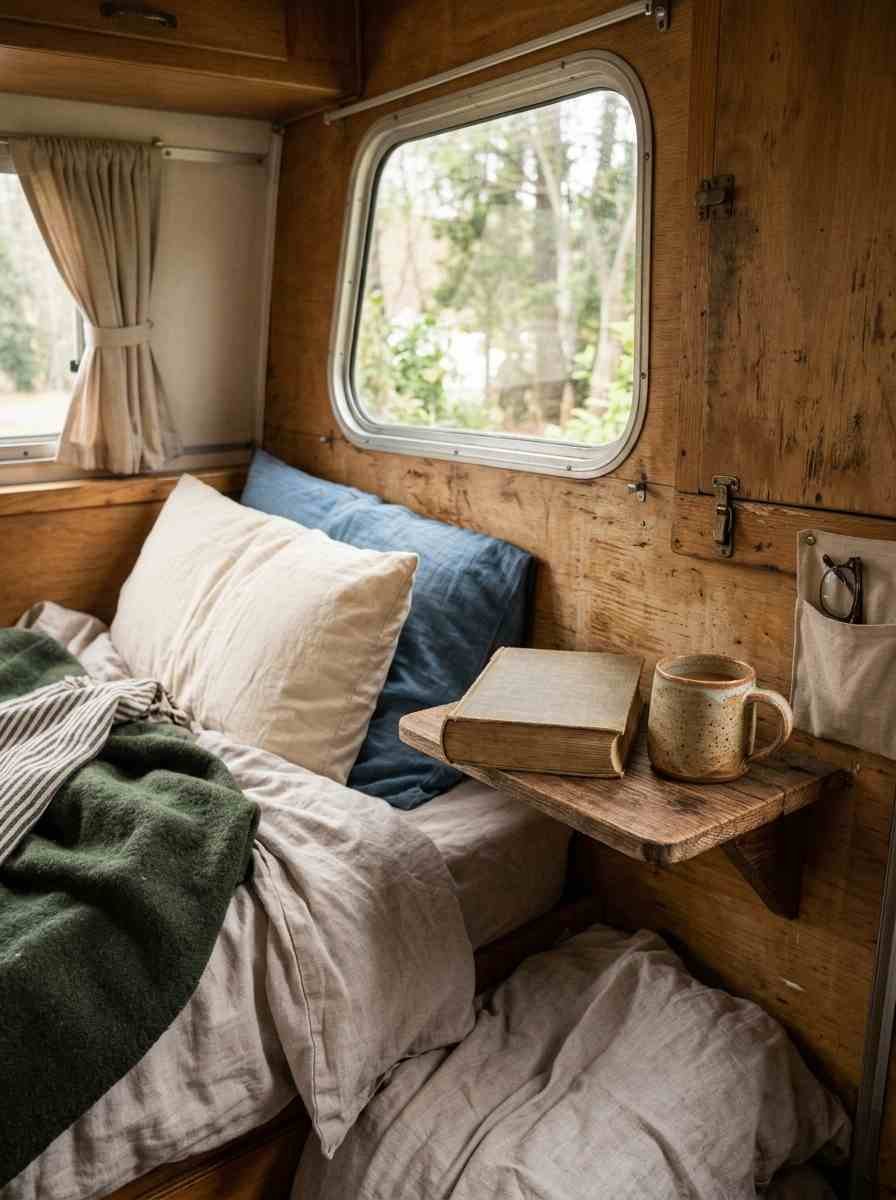
- Keep one “just for you” object somewhere visible, a book, a mug, a piece of art, that has nothing to do with camper life and everything to do with who you are outside of it.
Wow, looking at this list again, I realize almost none of these ideas require power tools. That’s kind of the whole point.
Boho camper style rewards patience and a good eye for thrift stores way more than it rewards a big renovation budget.
The dinette and kitchen corner
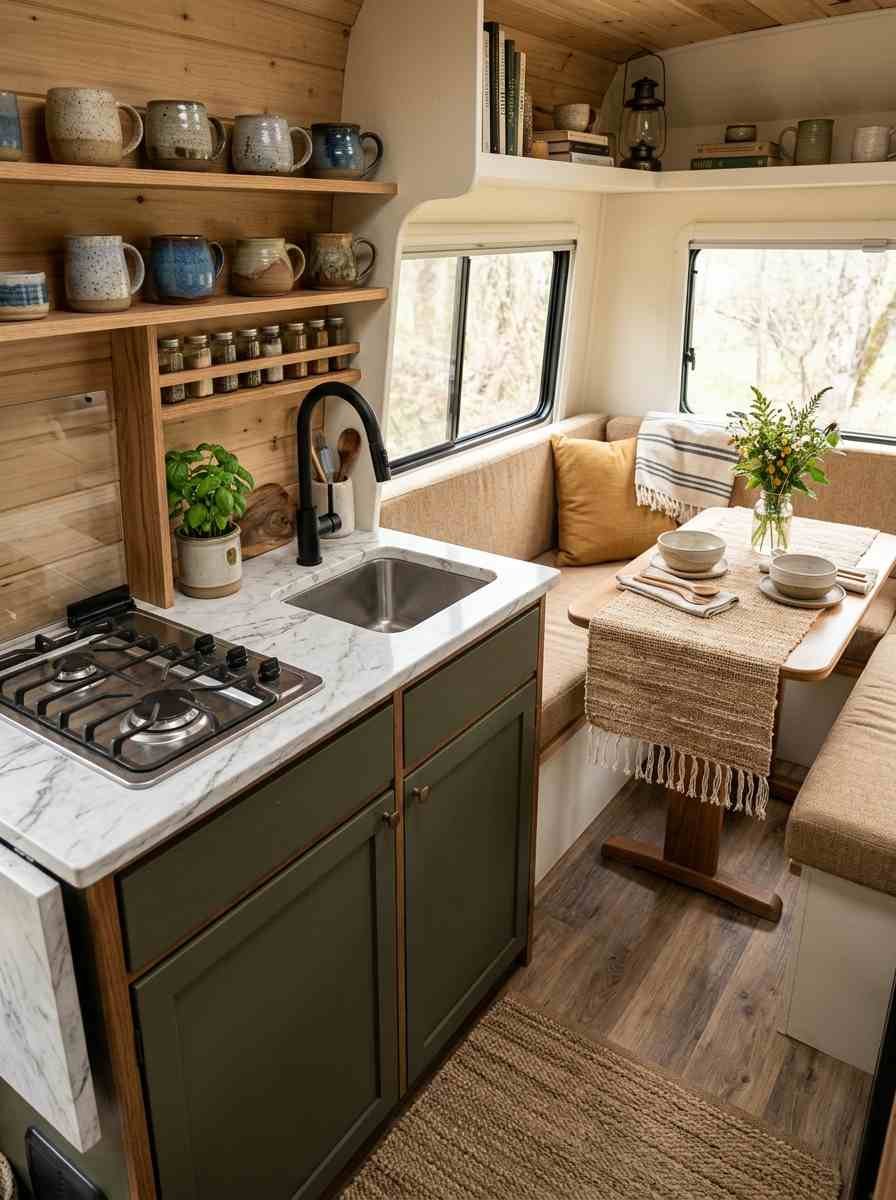
Most camper kitchens are tiny, boxy, and about as inspiring as a gas station bathroom. That’s actually good news, because it means small changes show up immediately.
- Swap the factory faucet for a brass or matte black one if your plumbing setup allows it. Costs more than you’d think, but it’s the first thing people notice.
- Add a woven placemat or table runner to the dinette instead of a plastic tablecloth. It photographs better and it’s easier to shake crumbs off outside.
- Use open shelving with a lip edge for mugs and spice jars instead of hiding everything behind cabinet doors. A row of mismatched ceramic mugs is basically free decor.
- Cover dated laminate counters with marble-look contact paper. I was skeptical this would hold up, but mine’s survived over a year of actual cooking and spills.
- Hang a small herb planter near a window if you cook often. Basil doesn’t love van life, honestly, but rosemary handles it fine.
A quick tangent, and I promise this connects back: I used to think camper kitchens had to stay purely functional because space is so tight.
Then I saw a build with a single terracotta pot of rosemary on the counter and nothing else extra, and it looked more finished than kitchens three times the size.
Sometimes one right object beats ten decent ones.
Choosing a color palette that won’t fight itself
Boho tolerates a lot of pattern mixing, but colors still need a backbone or the whole space reads as noisy instead of layered.
- Pick one dominant earthy tone (terracotta, rust, olive, or a warm cream) and let it repeat across at least three surfaces.
- Add one jewel tone as an accent, a deep teal cushion or a mustard throw, so the palette doesn’t go flat.
- Keep large surfaces (walls, ceiling, cabinetry) neutral. Save the boldest patterns for things you can swap out cheaply, like pillows and rugs.
- If you’re unsure where to start, pull your palette from one object you already love, a rug, a scarf, even a favorite mug, and build outward from there.
A few things I’d tell a friend before they start
- Don’t buy everything at once. The best boho spaces I’ve seen took months to build, piece by piece, because that’s what makes them feel collected instead of staged.
- Secure everything for driving. This one’s non-negotiable. Museum putty and adhesive strips are cheap insurance against a shattered lantern at highway speed.
- FYI, thrift stores restock on specific days (mine does Thursday mornings), so ask your local shop and time your visits.
- Don’t skip the practical stuff for the pretty stuff. A gorgeous macramé wall hanging next to a broken cabinet latch still looks unfinished.
If you want more real-world builds to study before you commit to a look, RV Inspiration’s roundup of renovated campers is worth a scroll, and Sandy Vans’ interior design guide has some solid layout tips if you’re still figuring out your floor plan.
FAQ
Do I need to gut my camper to get a boho look? No. Textiles, lighting, and a few natural material swaps get you 80% of the way there. Save the gutting for when the layout itself doesn’t work for you.
What’s the cheapest way to start a boho camper makeover? Start with thrifted textiles. A throw blanket, a couple of pillow covers, and a curtain swap can run under $50 and change the whole feel of the space.
How do I keep boho decor secure while driving? Museum putty, adhesive strips, and command hooks with clip rings handle most of it. Anything glass or breakable needs a dedicated, padded spot, not an open shelf.
Final thought
None of this needs to happen overnight, and honestly, it shouldn’t.
The campers that stop me mid-scroll are always the ones that look lived-in, not staged for a single photo. So pick one idea from this list, the cheapest one, and try it this weekend. Which one are you starting with?
