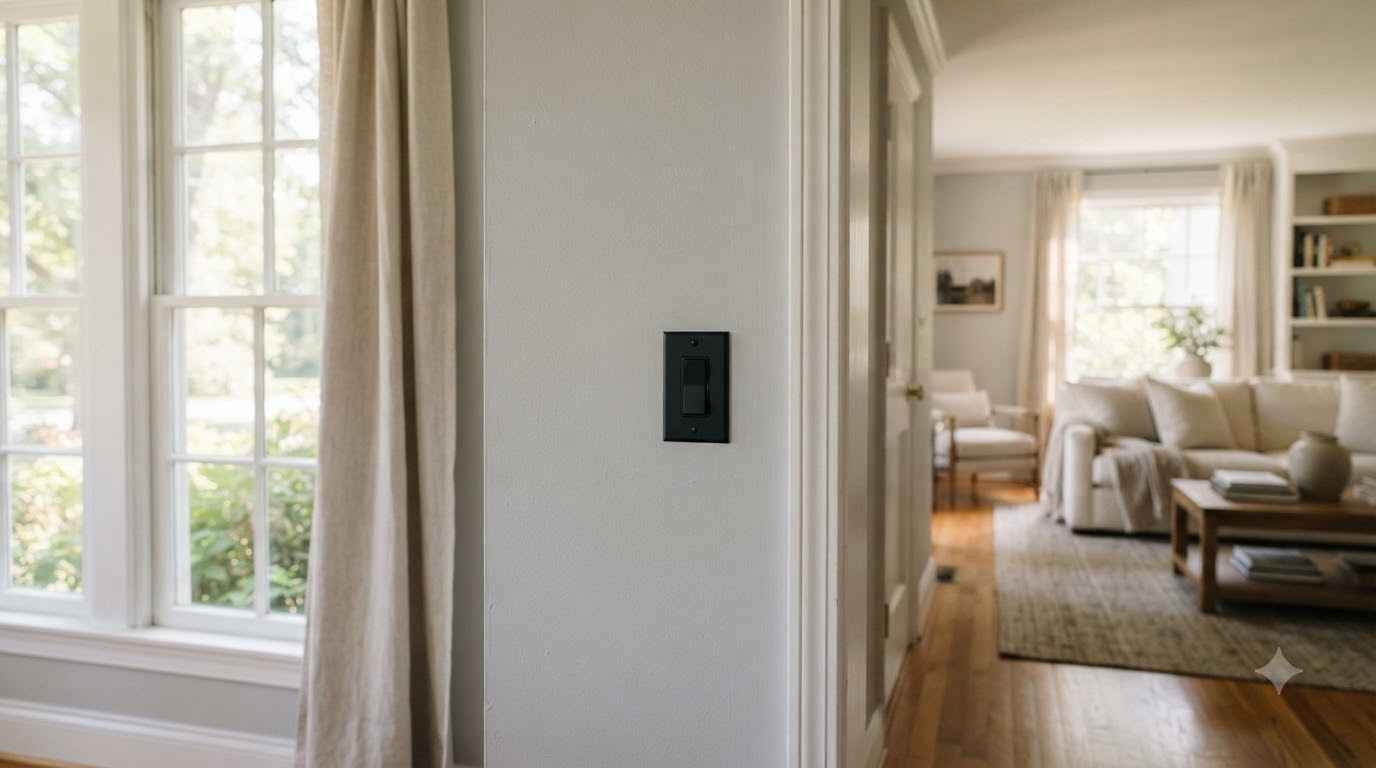
Light switch plates and outlet covers are the most ignored surface in your house. I mean that.
You’ll spend three weekends picking a paint color, agonize over throw pillows, then slap a boring beige plastic rectangle right next to your gorgeous new wall and call it done.
I used to be that person. Then I repainted my hallway a deep forest green and realized the switch plate looked like a dirty tooth stuck in the middle of it.
That’s the moment I got into wall plate painting, and honestly, it’s turned into one of my favorite cheap ways to make a room feel finished.
If you’re a Pinterest scroller who saves a hundred home decor pins a week but rarely acts on them, this one’s low-risk, low-cost, and genuinely satisfying.
Grab a coffee. Let’s get into 27 ideas that actually work.
Why bother painting your switch plates at all
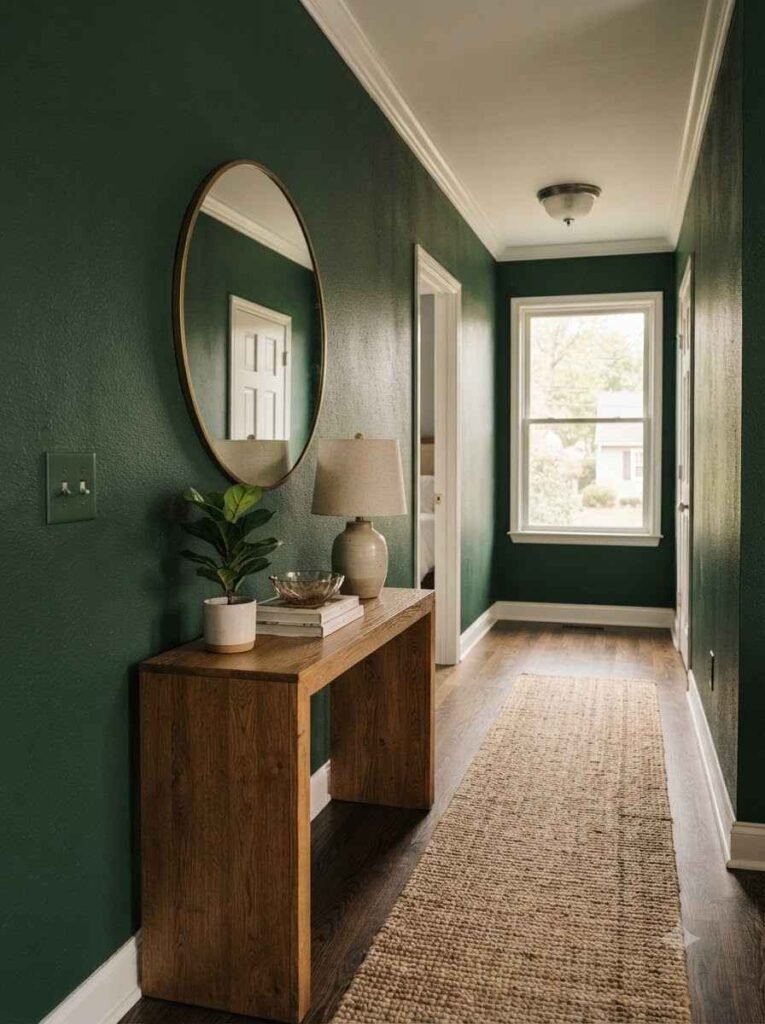
Here’s the thing nobody puts in the room makeover checklist: your outlet covers and switch plates are touched constantly, seen constantly, and almost never matched to your walls.
A can of paint costs less than a takeout order.
Your time investment is maybe 20 minutes per plate, including drying.
I’ve redone plates in three different homes now, and every single time, guests notice something feels “put together” without being able to say why.
That’s the plate. Small detail, big payoff.
A quick word of caution before you start: always turn off the breaker before removing any switch plate, even if you’re only painting the plastic cover and not touching wires.
Better Home Improvement has a solid explainer on basic electrical safety at home if you want a refresher before you pick up a screwdriver.
Classic and understated ideas
- Match the wall exactly. This is the safest move and the one I recommend to first-timers. Take a small paint sample to the plate and blend it in so well it practically disappears.
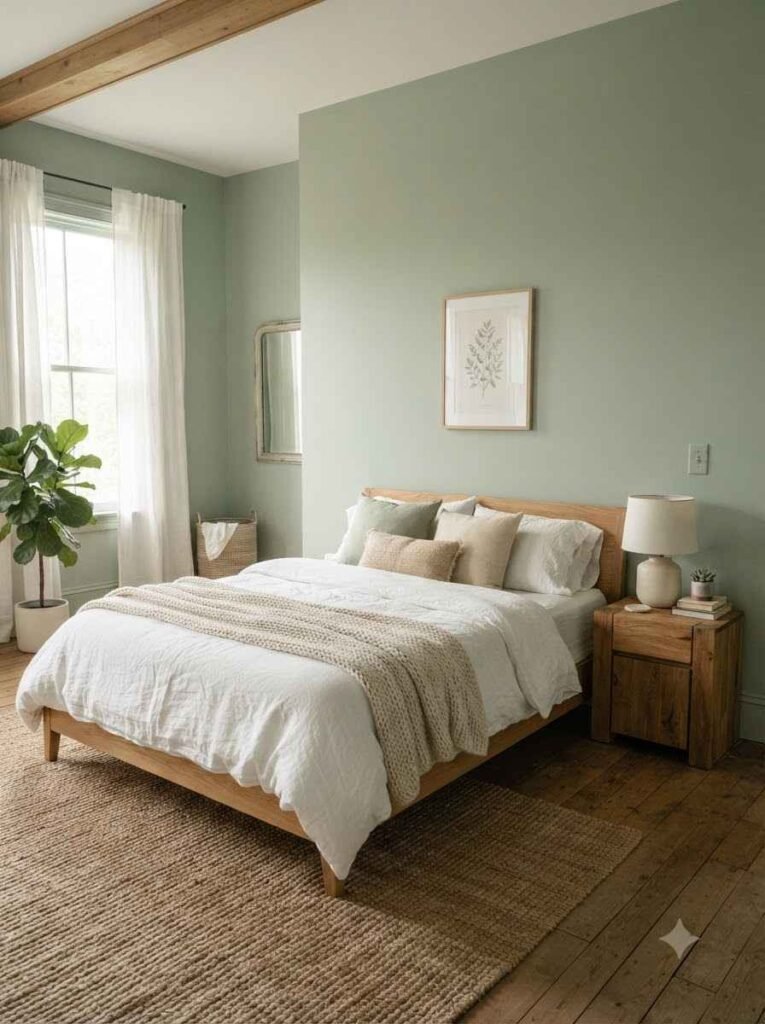
- One shade darker than the wall. A subtle tonal shift adds depth without screaming for attention.
- I did this in my bedroom and it reads almost like a design choice rather than an accident.
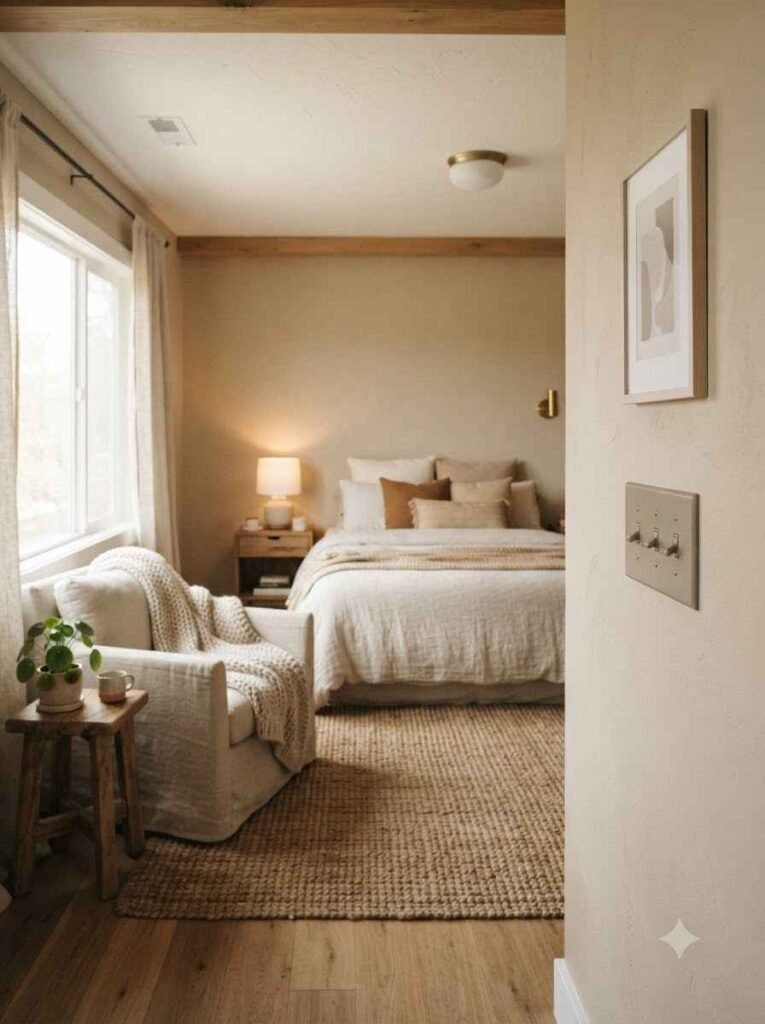
- Matte black for a modern look. Black plates against a white or light gray wall look surprisingly expensive. IMO this is the single most requested finish in modern farmhouse and minimalist homes right now.
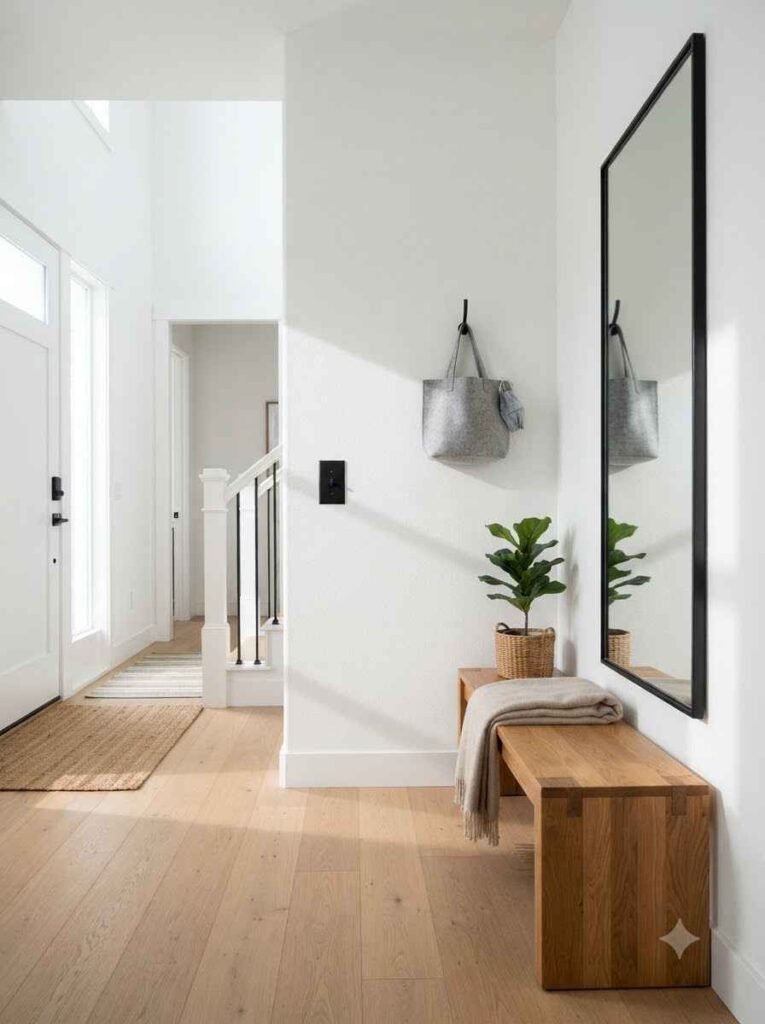
- Brushed brass effect. A few coats of metallic gold-brass paint over a primed plate mimics real brass hardware for a fraction of the cost.
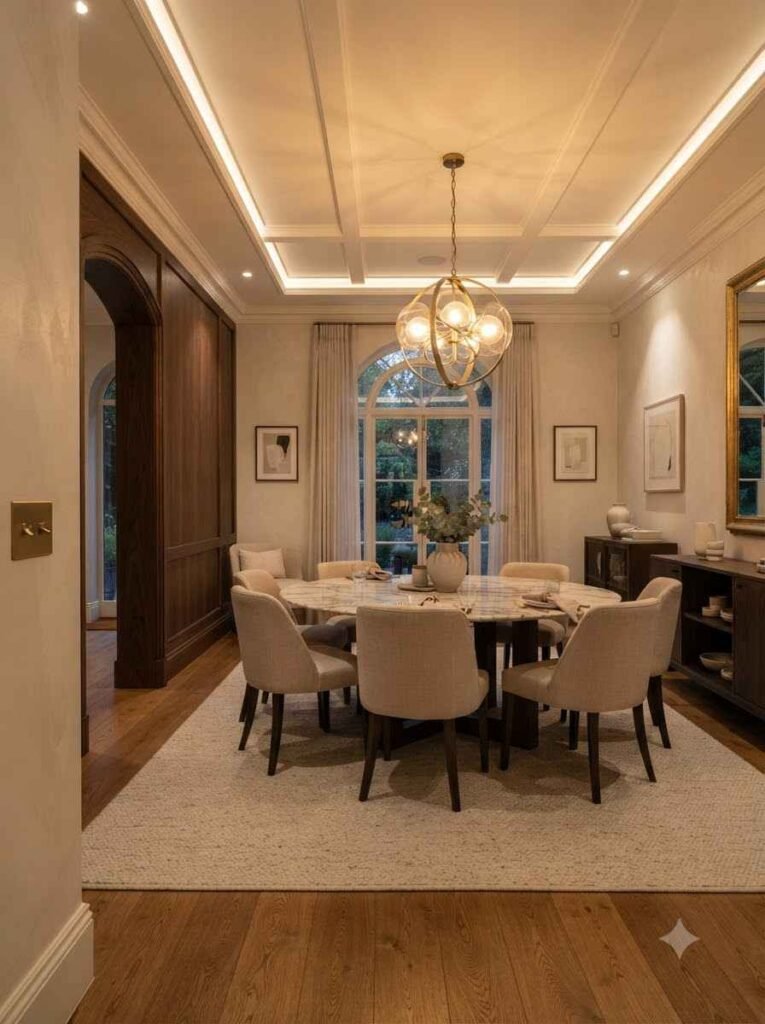
- Soft white on white walls. Sounds boring on paper, but a slightly warmer white than your wall color keeps things cohesive without looking flat.
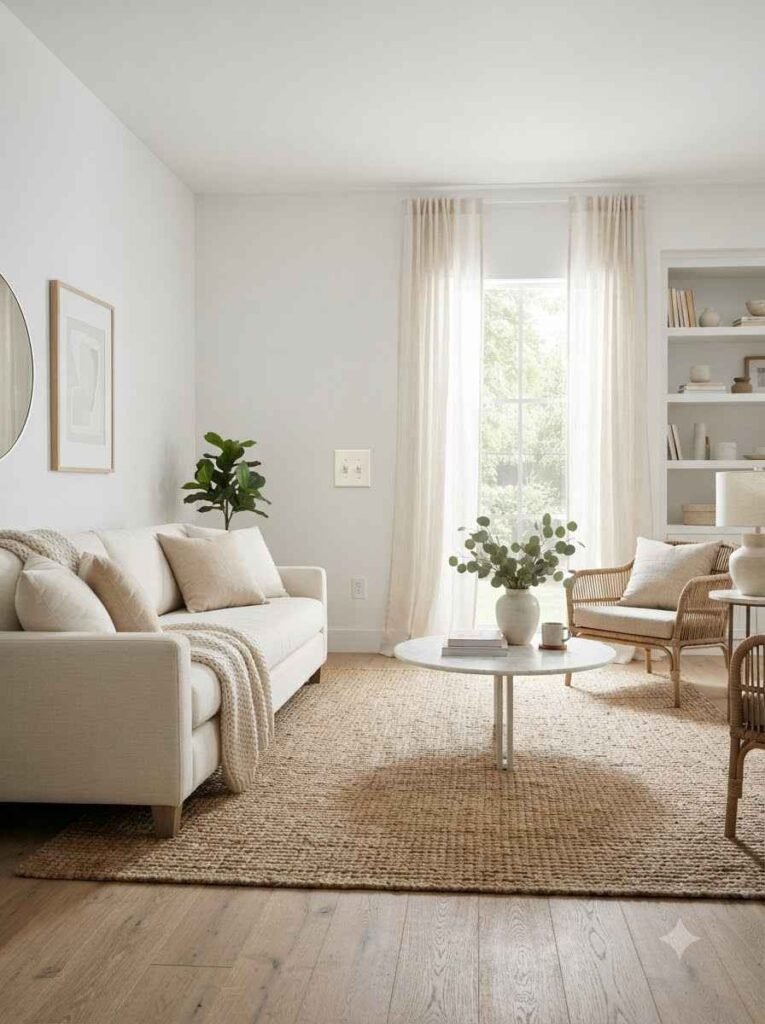
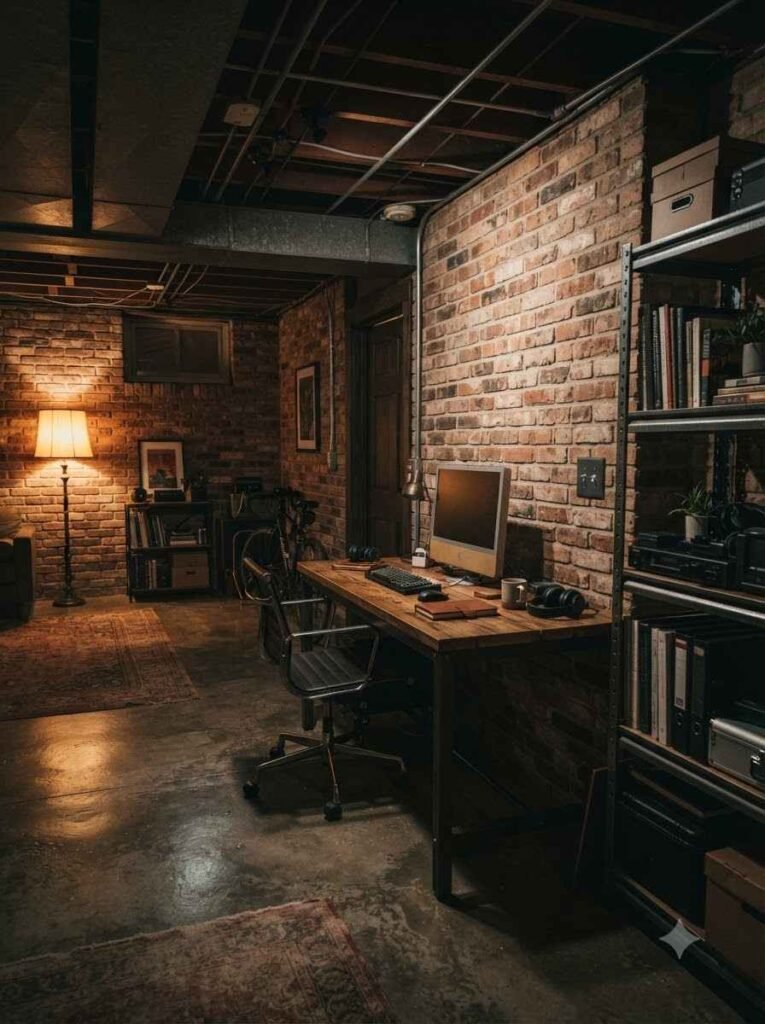
- Charcoal gray for industrial spaces. Works great in basements, garages converted into offices, or exposed-brick apartments.
Bold and colorful ideas
- Match your accent wall color. If you’ve got one bold wall, pull that exact shade onto the nearby plates for a pulled-together look.

- Ombre fade effect. Blend two coordinating colors across a single plate using a sponge. It takes practice, but it’s a genuinely striking detail piece.
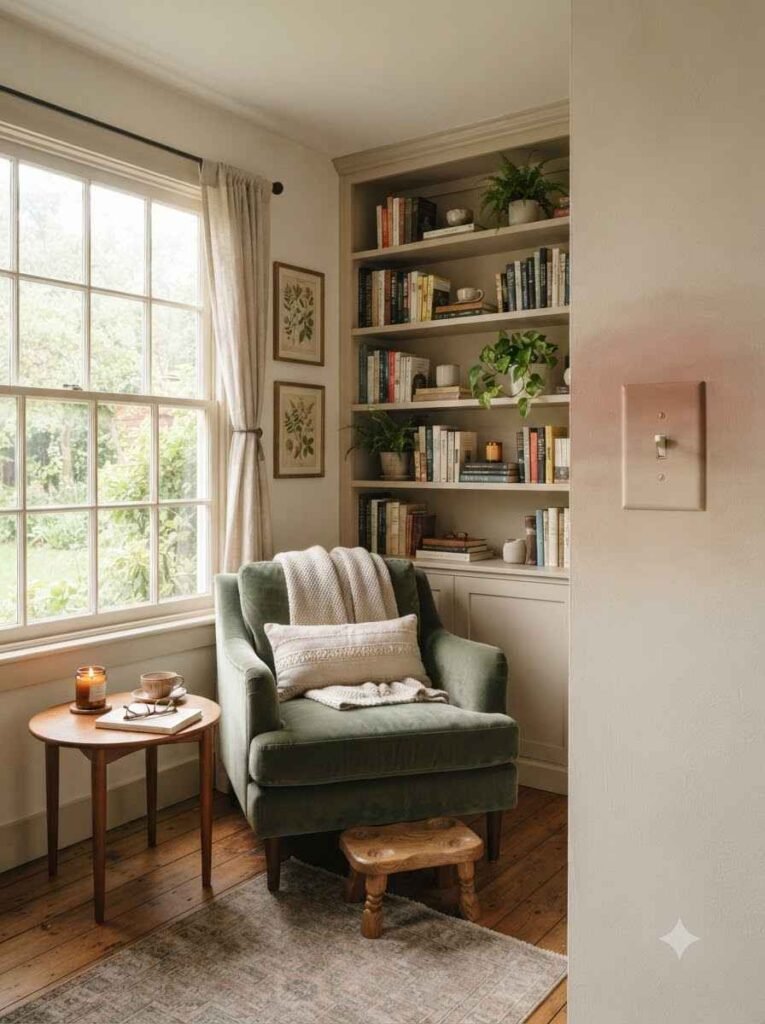
- Color-block by room. Pick a signature color per room, kitchen plates in a warm terracotta, bathroom plates in seafoam, and so on.
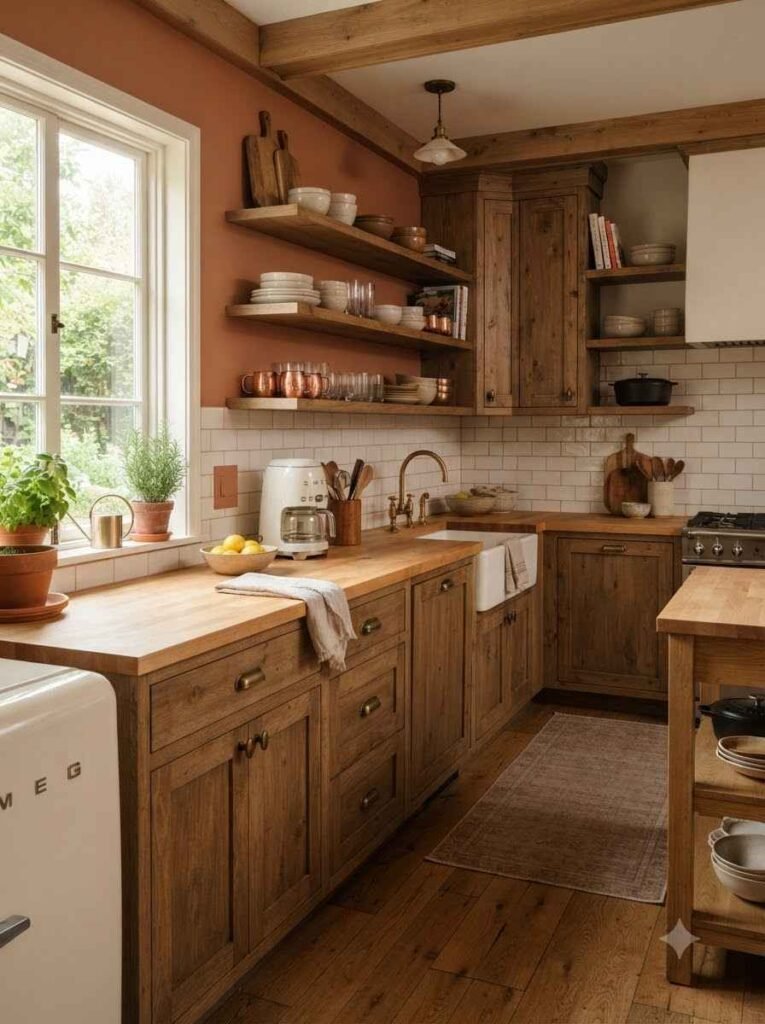
- Rainbow gradient for kids’ rooms. Kids love this one. It also makes teaching them which switch does what a lot easier.
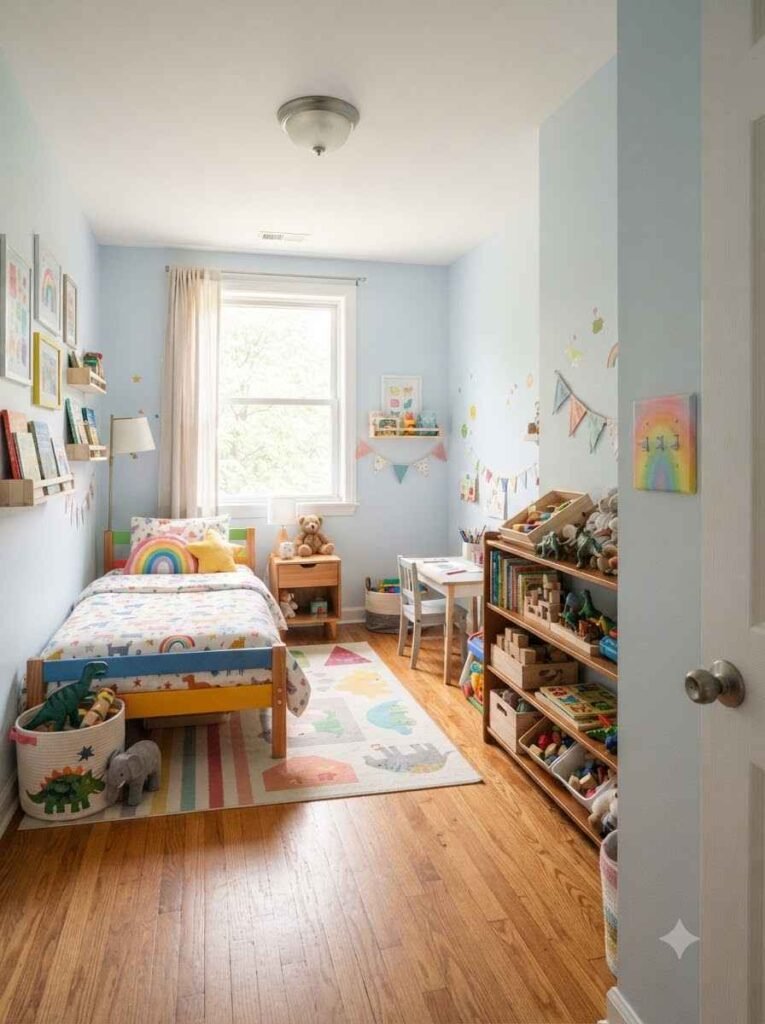
- Deep jewel tones. Emerald, sapphire, ruby. These read luxe against neutral walls and cost you nothing but a small paint sample pot.
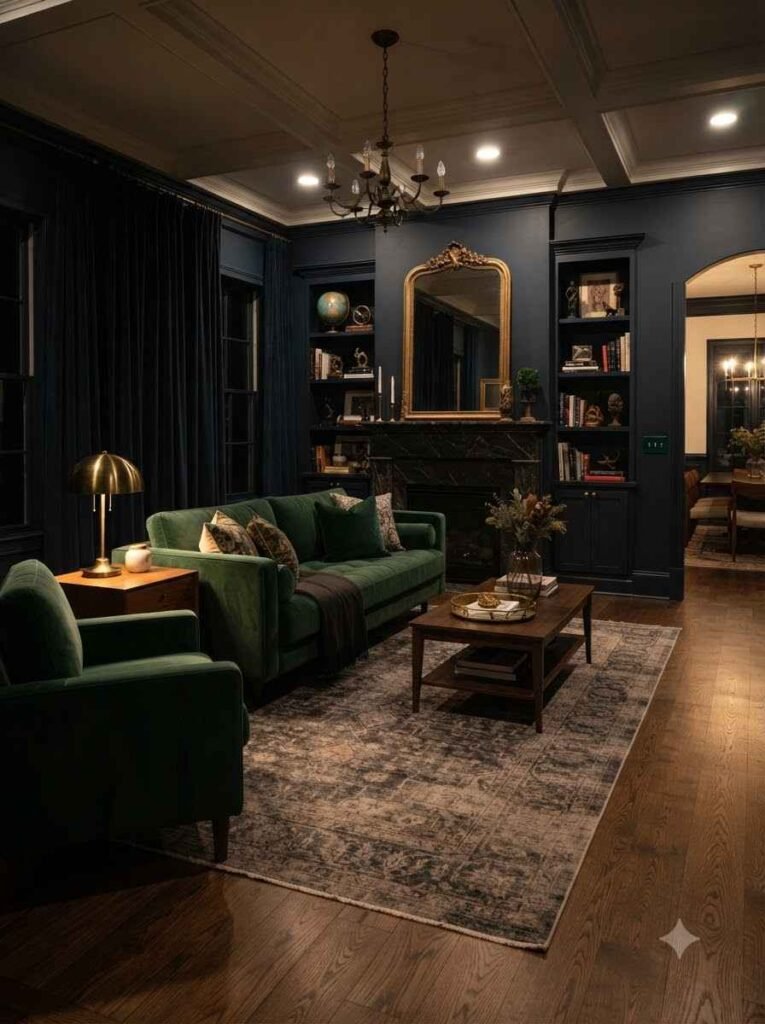
- Neon accents for a home office or studio. A single neon-painted plate near your desk gives a fun creative-space vibe without going overboard.
Pattern and texture ideas
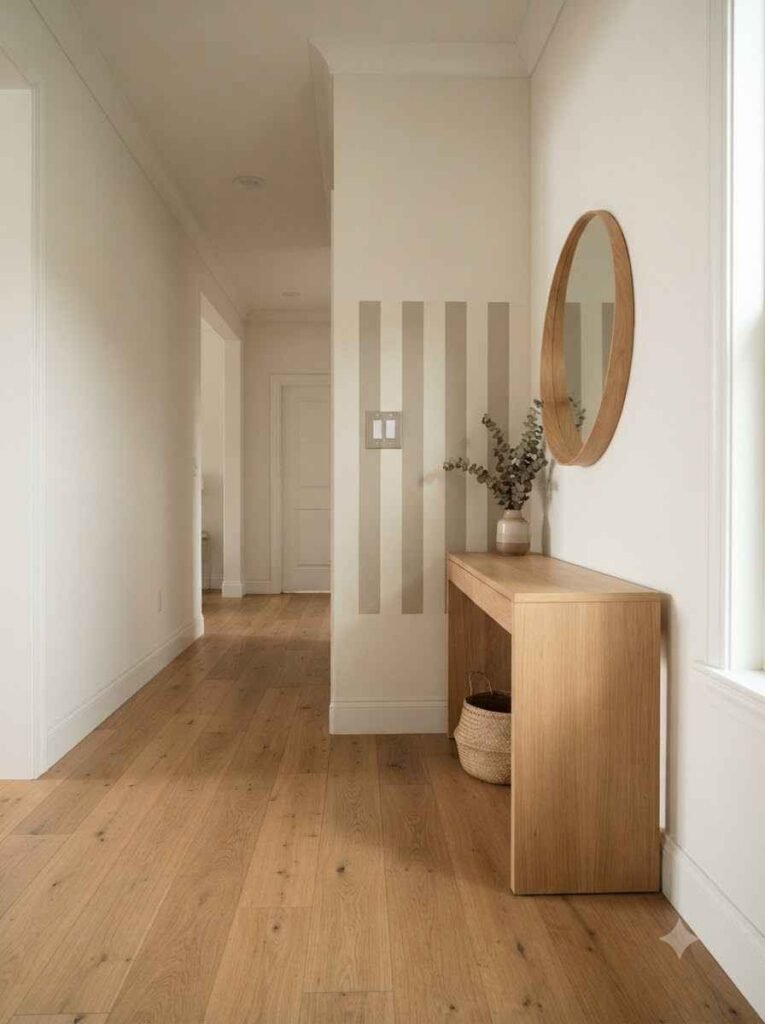
- Stripes using painter’s tape. Mask off even lines before painting for a clean, graphic look. This is one of the easiest patterns for beginners, honestly.
- Polka dots with a stencil or pencil eraser dipped in paint. Playful, cheap, and forgiving of small mistakes.
- Faux marble finish. A little practice with a feather or sea sponge and two contrasting paint colors gets you a surprisingly convincing marble look.
- Chalkboard paint plates. These double as functional. Leave quick notes, grocery reminders, or doodles right on your switch plate.
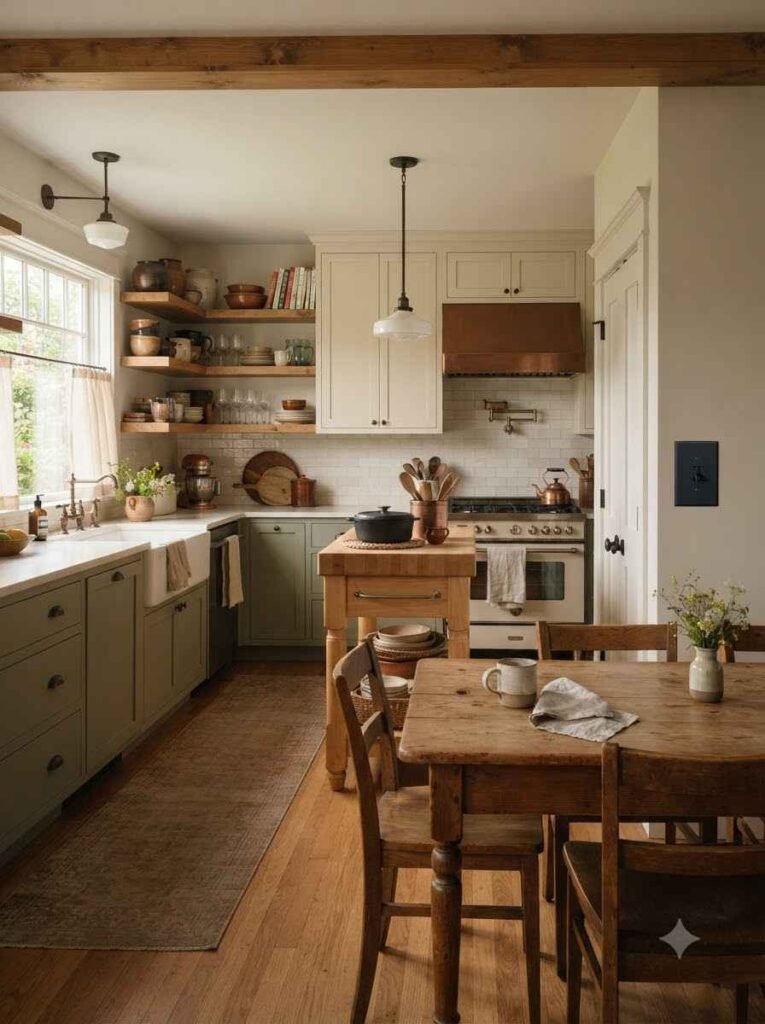
- Sponge-painted texture for a rustic cottage feel. Dab, don’t brush. The uneven texture is the whole point here.
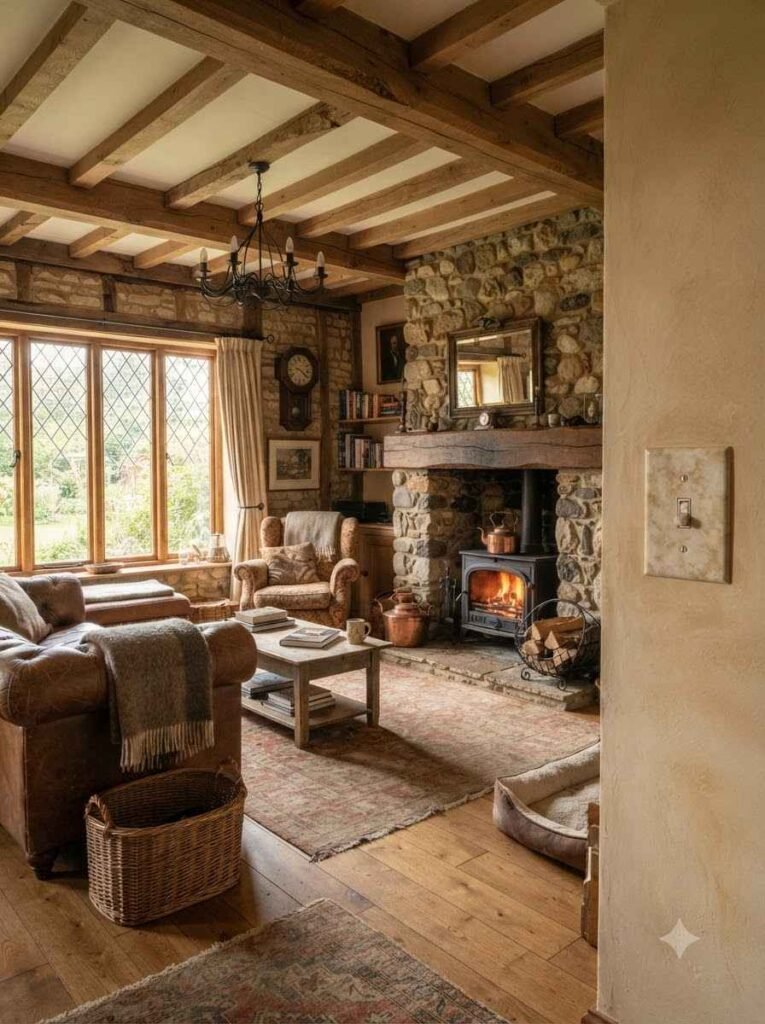
- Terrazzo-style speckles. Flick tiny dots of two or three colors over a base coat with an old toothbrush. This trend has been everywhere on design blogs lately, and it’s genuinely fun to execute.
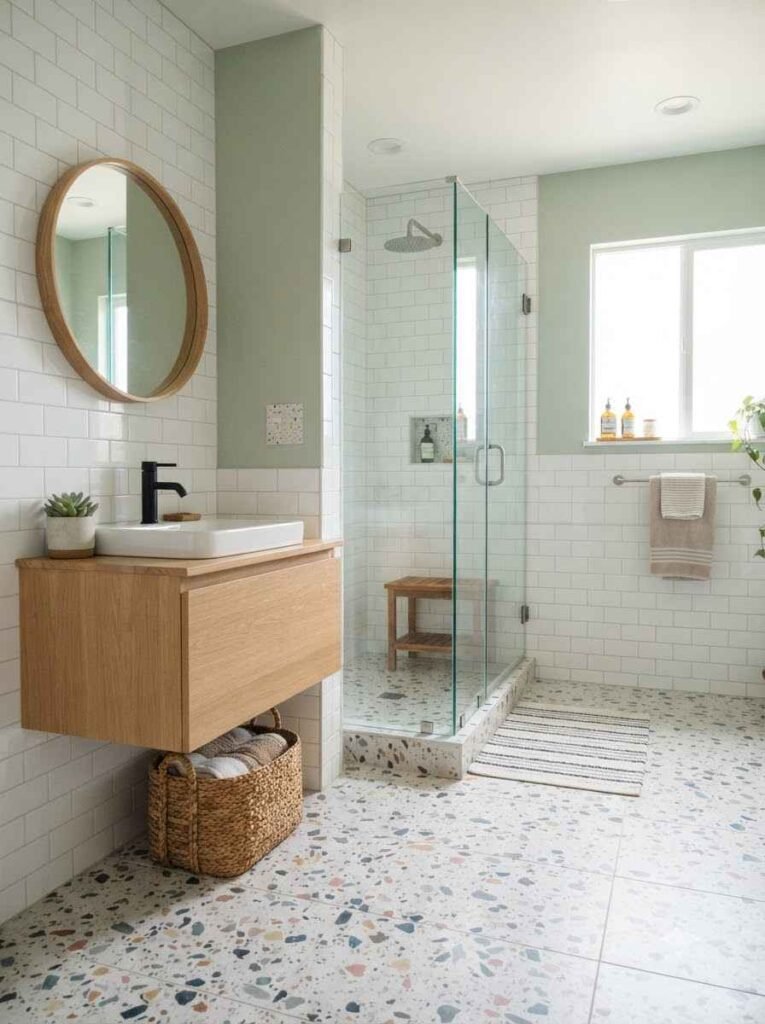
Themed and seasonal ideas
- Botanical hand-painted leaves. A single small fern or eucalyptus sprig painted in the corner of a plate adds a hand-crafted touch.
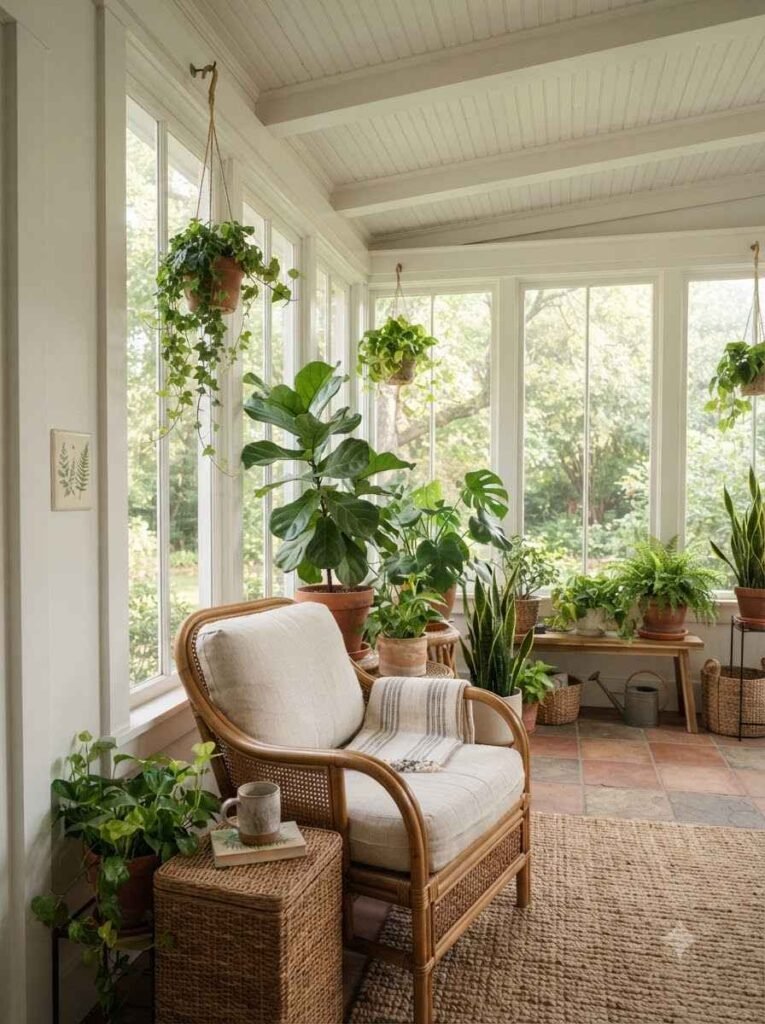
- Nautical stripes and anchors for coastal homes. Navy and white stripes with a tiny anchor stencil suit beach house decor perfectly.
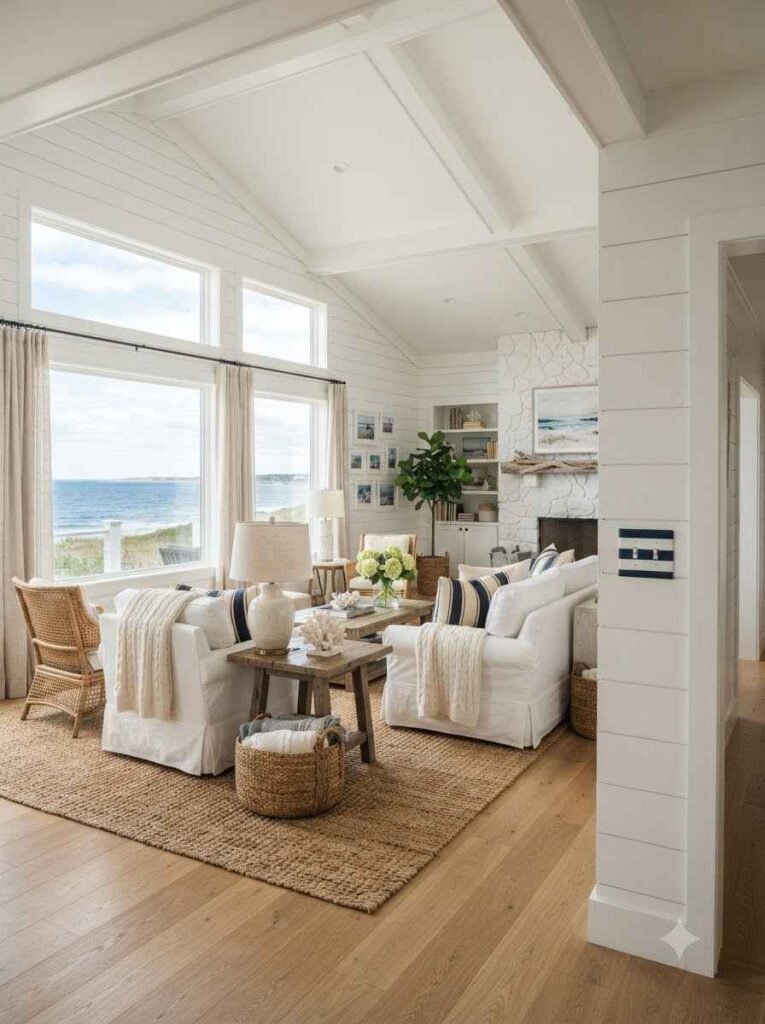
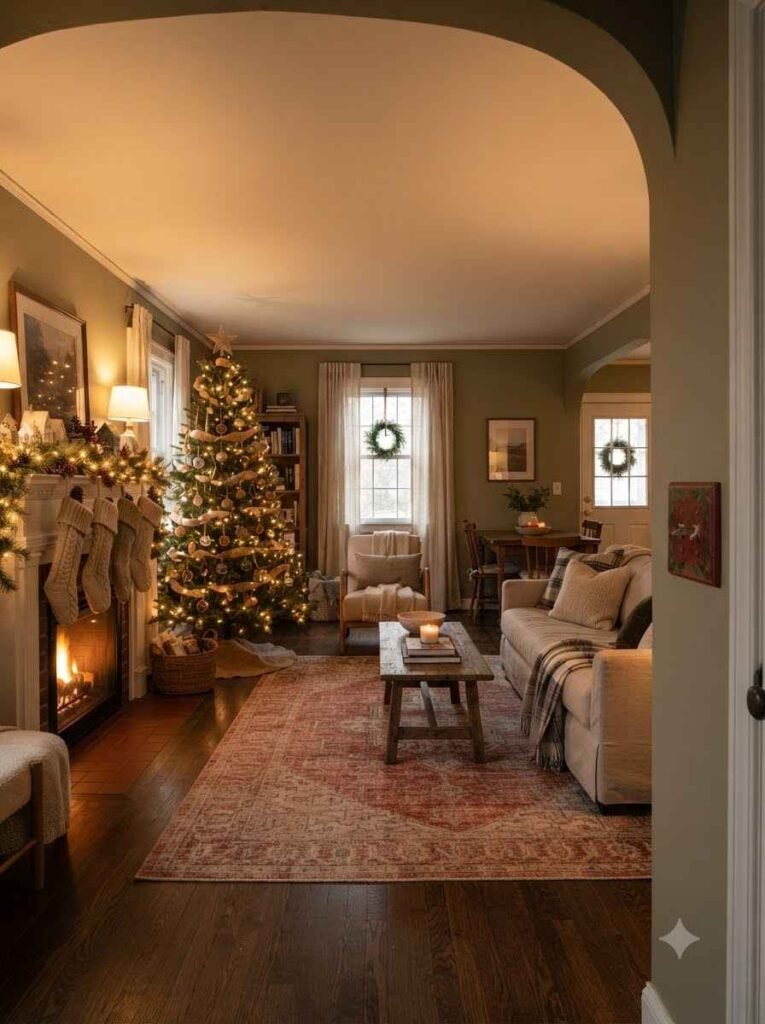
- Holiday swap plates. Keep a spare set painted in festive colors you can swap in for the season, then store the everyday ones.
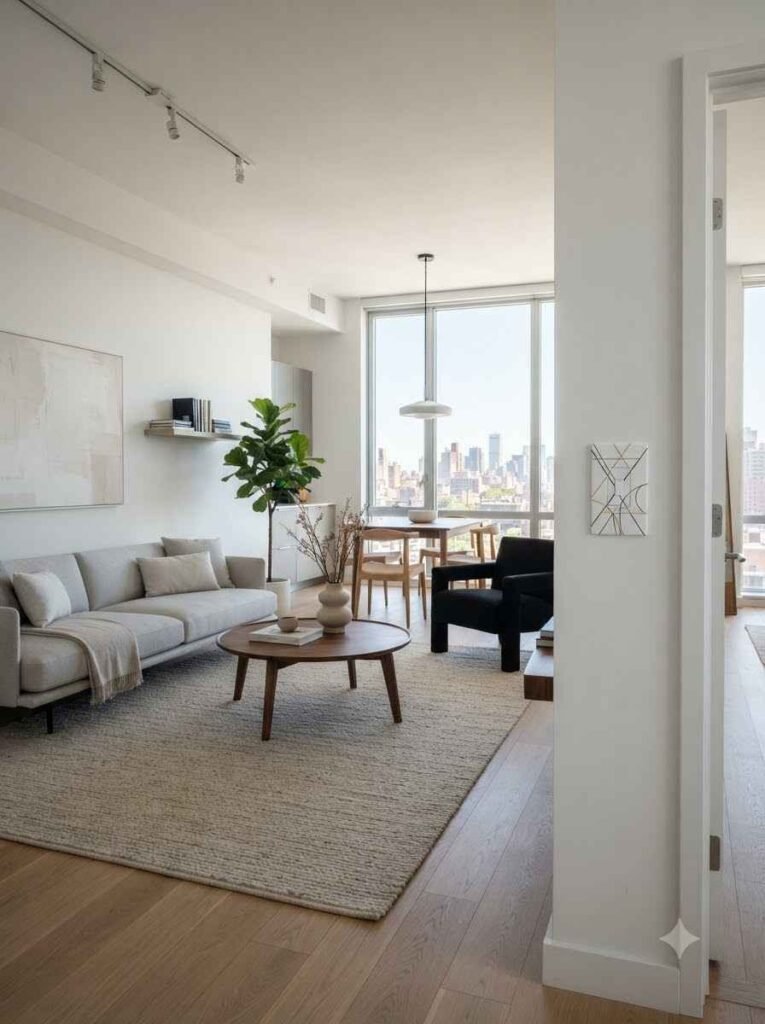
- Geometric line art. Thin gold or black lines forming simple shapes look sharp in modern apartments.
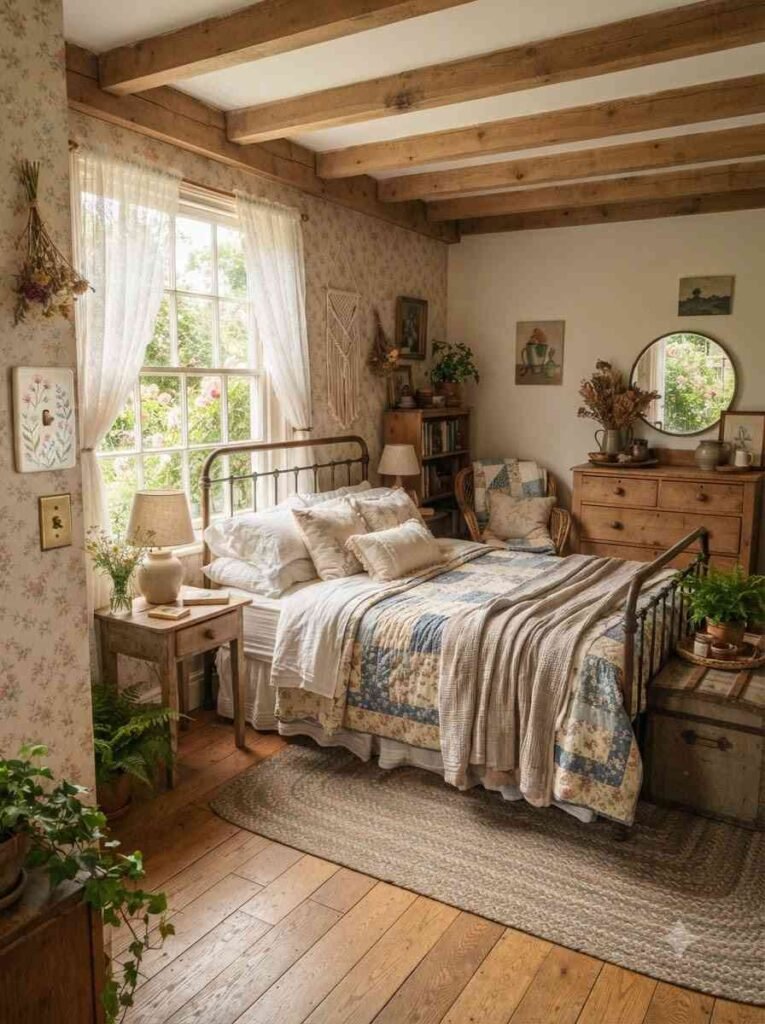
- Vintage floral transfers. Use a paint pen over a base coat for a delicate, cottagecore-inspired look.
Kids’ rooms and playful spaces
- Glow-in-the-dark paint outlines. A subtle novelty that kids genuinely notice at night. Mine thought I’d installed a nightlight.
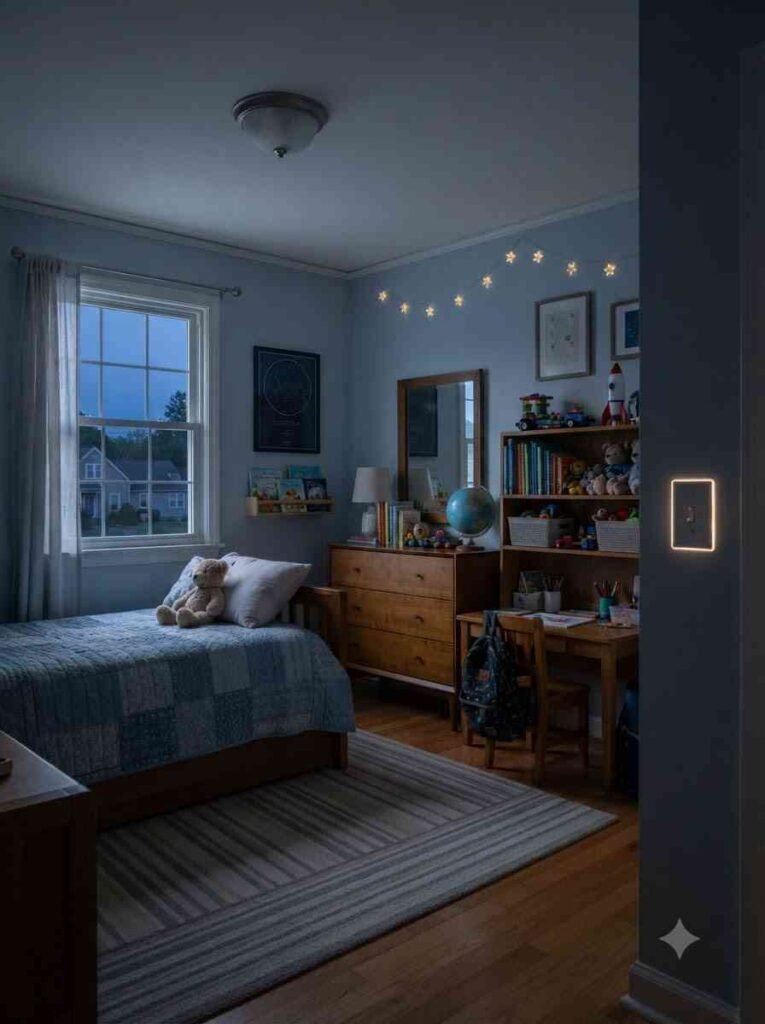
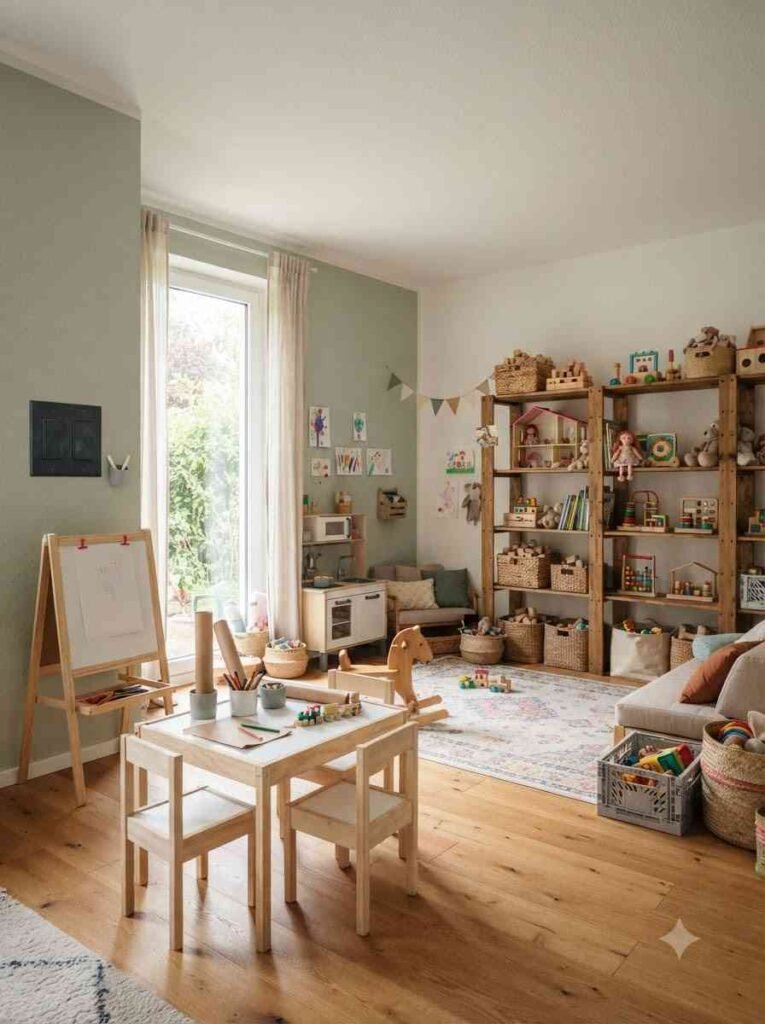
- Chalkboard plus washable paint combo. Let kids decorate their own plates and repaint whenever they get bored. It’s a rainy-day activity and a decor upgrade in one.
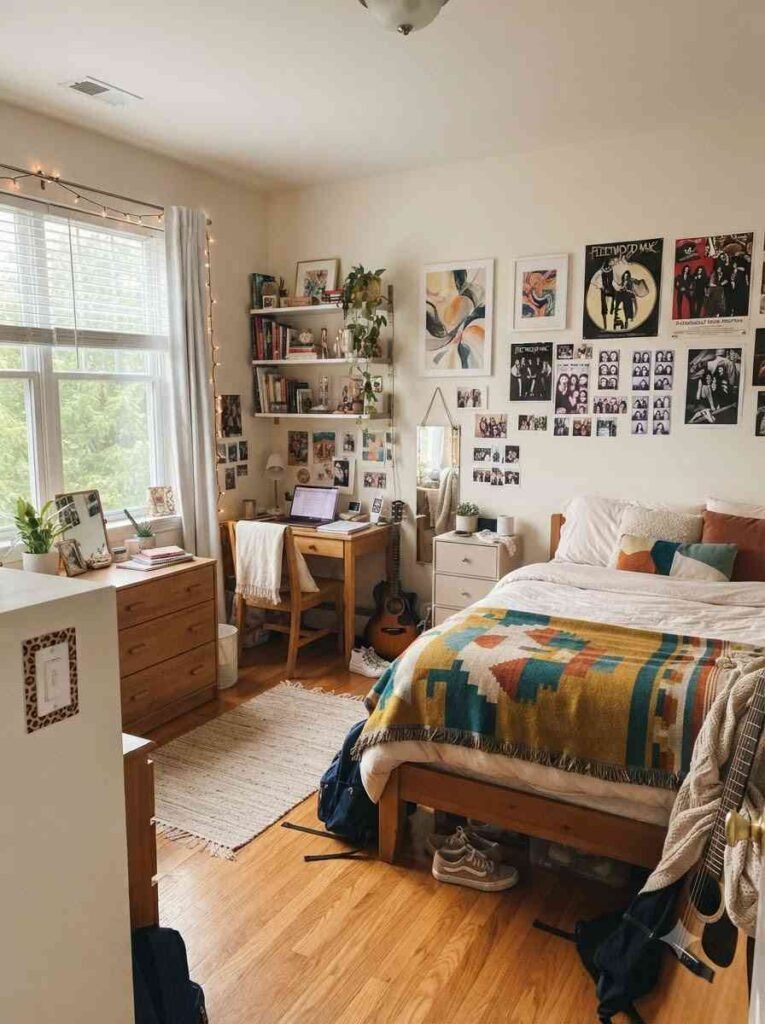
- Animal print accents. Small leopard or zebra print details work well in a playful nursery or teen room.
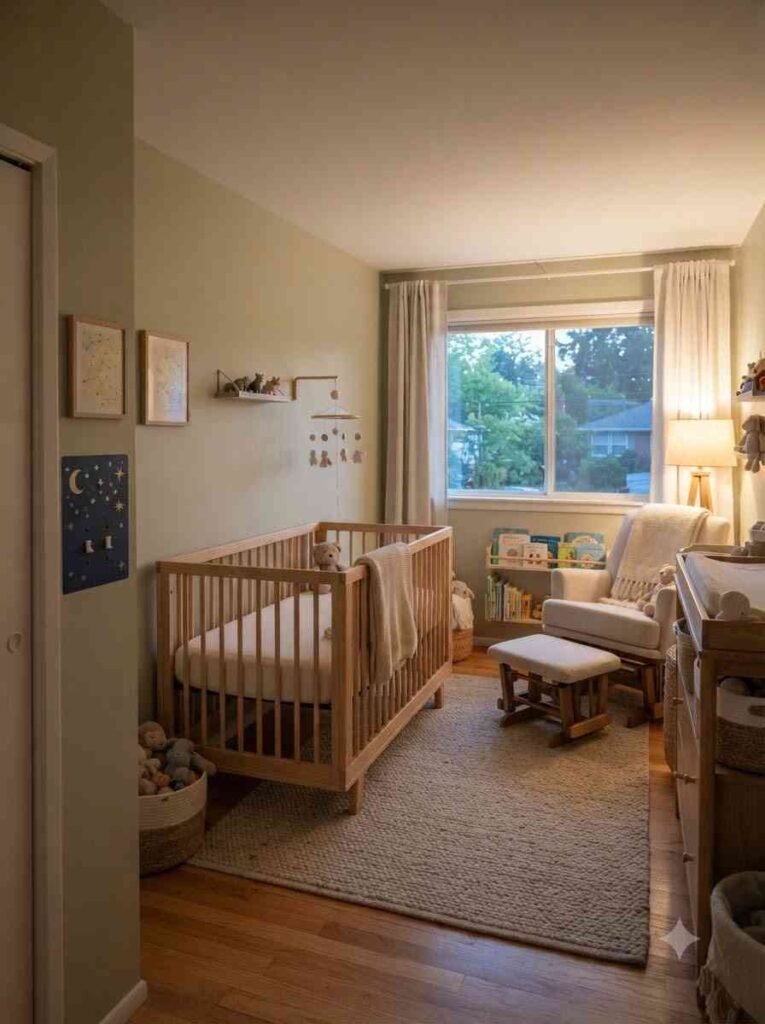
- Metallic star or moon stencils on a navy base. A nursery favorite that photographs beautifully for that Pinterest-worthy room reveal.
A quick reference table before you start painting
| Style category | Best for | Approx. drying time |
|---|---|---|
| Solid color match | Any room, beginners | 1 to 2 hours per coat |
| Metallic or faux finish | Living rooms, entryways | 2 to 3 hours per coat |
| Stencil or pattern work | Kids’ rooms, accent walls | 3 to 4 hours total |
| Chalkboard finish | Kitchens, home offices | 24 hours before first use |
Tools and materials that actually make a difference
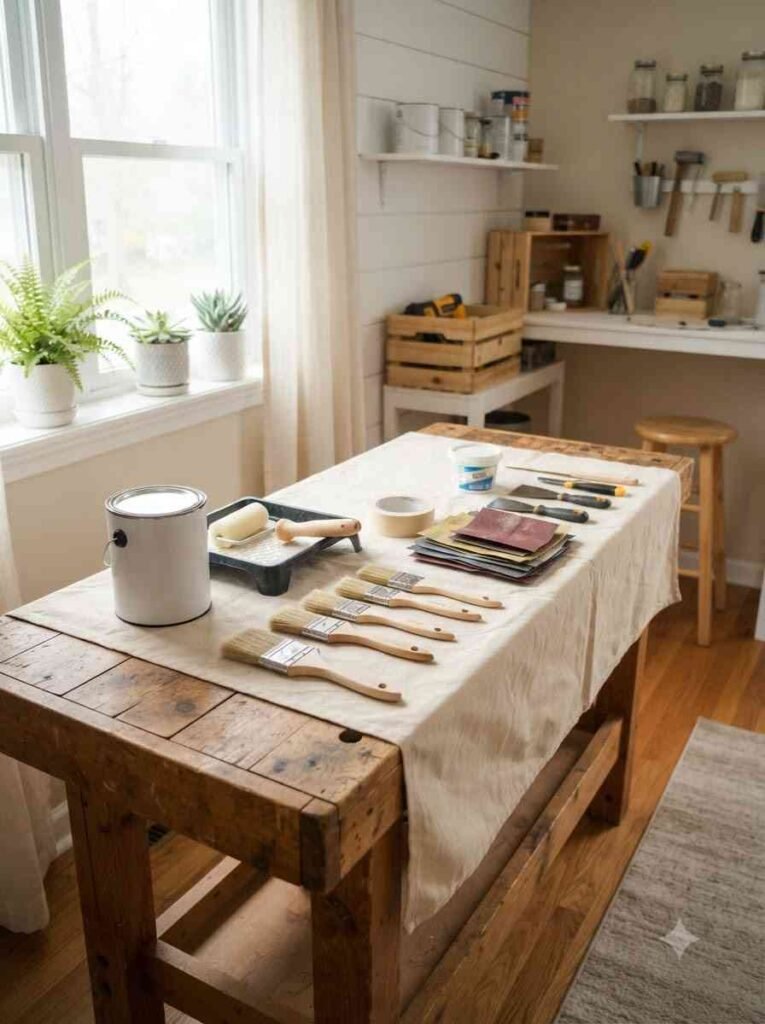
- Small foam rollers or artist brushes, not full-size paint rollers, since plates are tiny and you’ll waste more paint than you use otherwise.
- A primer suited for plastic, because regular wall paint peels off plastic switch plates within weeks without one. I learned this the hard way on my first attempt.
- Painter’s tape for crisp lines on stripes or geometric designs.
- A clear matte or satin sealant spray to protect your finish from fingerprints and everyday wear.
- Sandpaper, fine grit, to rough up the plastic surface slightly so paint actually grips.
A small side note that has nothing to do with painting technique: I once spent an entire Saturday color-matching switch plates instead of doing my actual to-do list, and I regret nothing. Sometimes the small, pointless-seeming projects are the most satisfying ones. Anyone else get weirdly absorbed in tiny home projects like this? 🙂
A few honest opinions before you commit
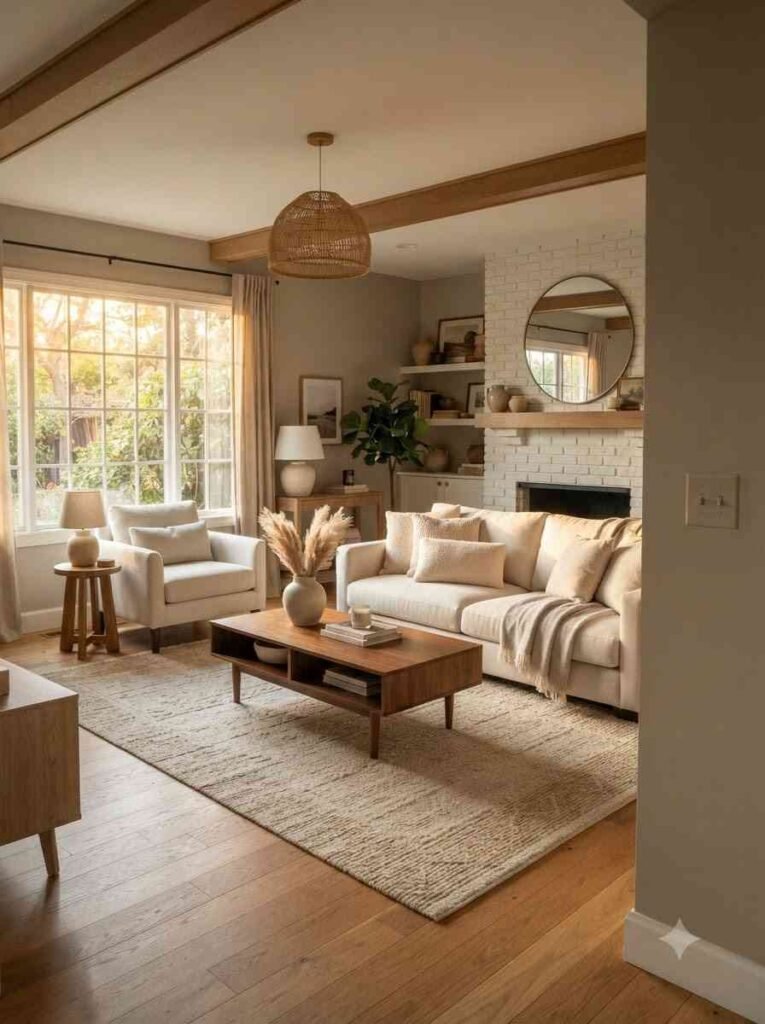
I genuinely think matte black is overrated in the sense that everyone’s doing it, but it still works because it’s a safe, foolproof choice for almost any wall color.
If you want your home to feel a little more like you and less like a catalog photo, go bolder.
The faux marble finish took me three tries to get right, and IMO it’s worth the frustration once you nail it.
Ever wondered why some homes feel instantly “finished” the second you walk in while others feel almost there but not quite?
A lot of the time it’s these small, easy-to-overlook details doing the heavy lifting.
This is insane when you think about how little a can of paint costs compared to the difference it makes.
For general paint durability guidance and picking the right finish for high-touch surfaces, Sherwin-Williams has useful product comparisons worth a look before you buy.
Frequently asked questions
Do I need to remove the switch plate before painting it? Yes. Painting around an installed plate leaves messy edges and gets paint on your wall or outlet. Turn off the breaker, unscrew the plate, and paint it flat on a covered surface.
Will painted plastic switch plates hold up over time? They will if you prime first and seal with a clear protective coat afterward. Skip either step and you’ll see chipping within a few months, especially near light switches that get touched often.
Can I paint metal switch plates the same way as plastic ones? Mostly, yes, though metal plates need a rust-inhibiting primer if they’re not stainless steel.
A quick check with your local hardware store staff on the right primer for your specific plate saves a lot of trial and error.
Final thought
Twenty-seven ideas is a lot to take in, so don’t feel like you need to overhaul every plate in your house this weekend.
Pick one room, pick one idea from this list, and just try it. What’s the one room in your home that’s been bugging you lately?
Save this post, grab a small paint sample, and go fix that one plate first. You might end up doing the whole house anyway.
