
Your backyard has potential you’re probably not using.
An L shaped covered patio is one of the smartest ways to unlock it — you get two distinct zones, natural flow between indoor and outdoor living, and a layout that actually fits how people move and gather.
I designed one for my own backyard three years ago and haven’t looked back.
Here’s everything you need to make yours work.
Why the L shape wins
Most rectangular patios end up as one big, undefined slab. People pile furniture in the middle and wonder why it feels awkward.
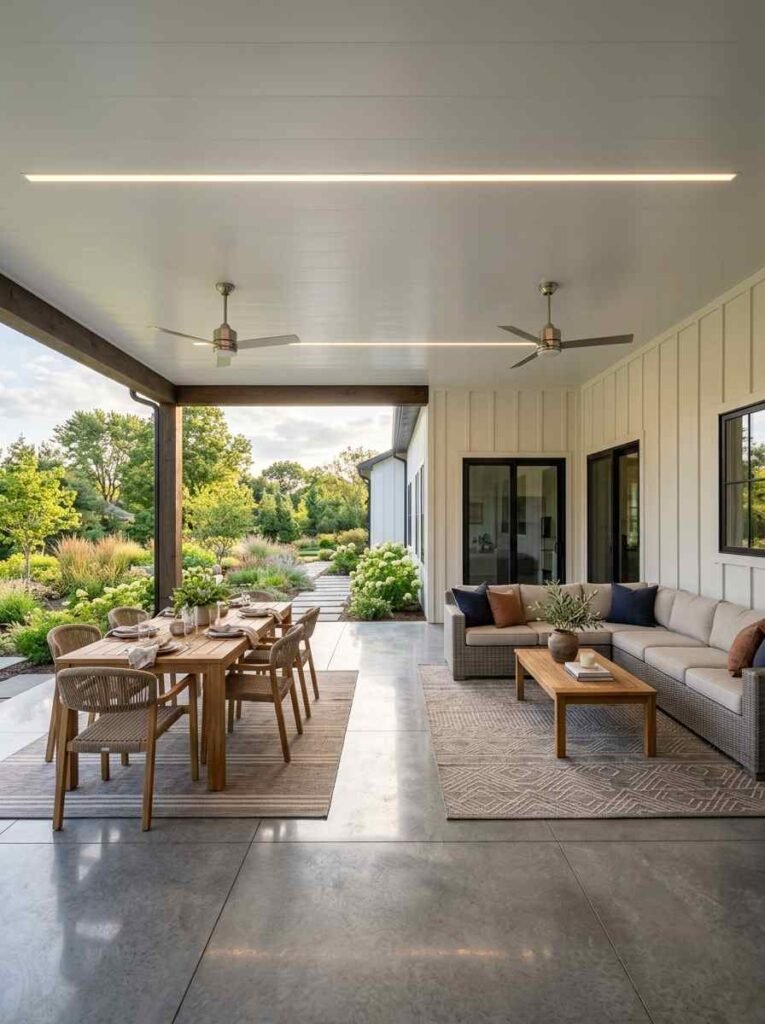
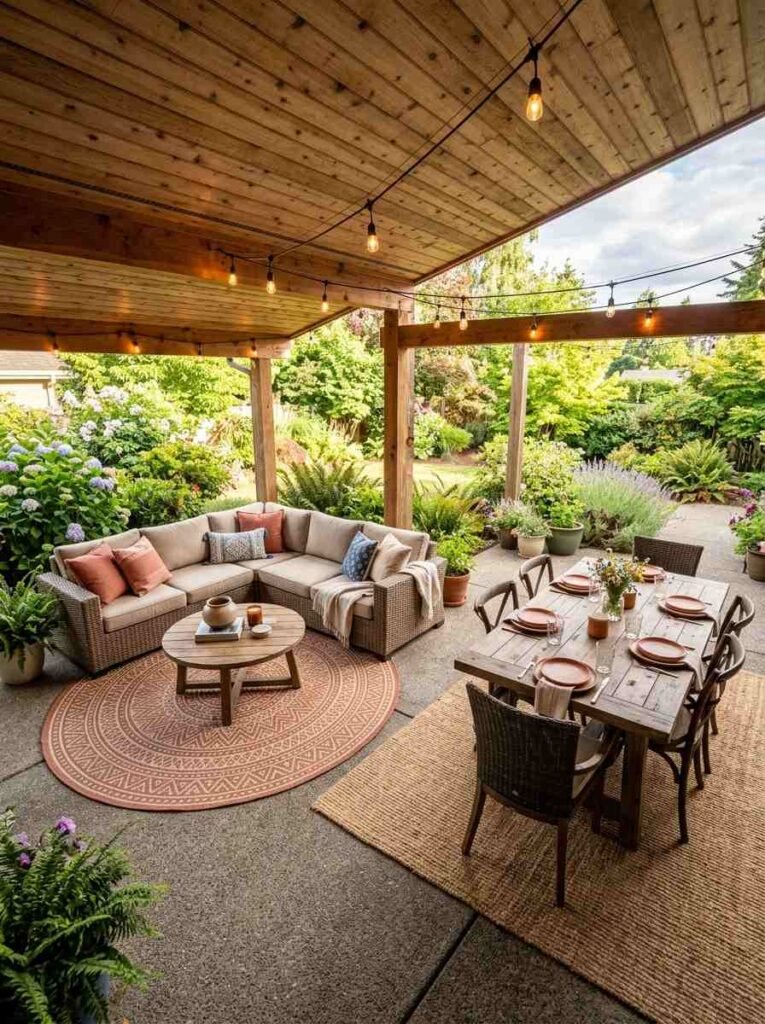
The L shape solves that by giving you natural room dividers without walls. One arm becomes the dining zone.
The other becomes the lounge area. Guests spread out instead of clumping together.
The corner is the secret weapon. That inside corner is the most sheltered, cozy spot on the entire patio. Put your seating there and you’ve basically built an outdoor living room.
Start with the right dimensions
Before you pick materials or furniture, get the proportions right. A lopsided L — one arm way longer than the other — feels unbalanced and wastes space.
The balanced L

Both arms roughly equal in length. Works best for square-ish backyards. Each zone gets equal weight, so neither area feels like an afterthought.
The asymmetrical L
One longer arm, one shorter. Great for narrow lots or when you need one zone to do more heavy lifting (like a big dining setup for a family of six).
The shorter arm handles overflow seating or a bar cart situation.
| Configuration | Best for | Typical arm ratio |
|---|---|---|
| Balanced L | Square lots | 1:1 |
| Asymmetrical L | Narrow/long lots | 2:1 or 3:2 |
| Extended L | Large properties | 3:1 |
| Compact L | Small yards | Equal, shorter arms |
Roofing options — and what they actually feel like
The roof makes or breaks an L shaped covered patio. FYI, this is where most people underspend and regret it.
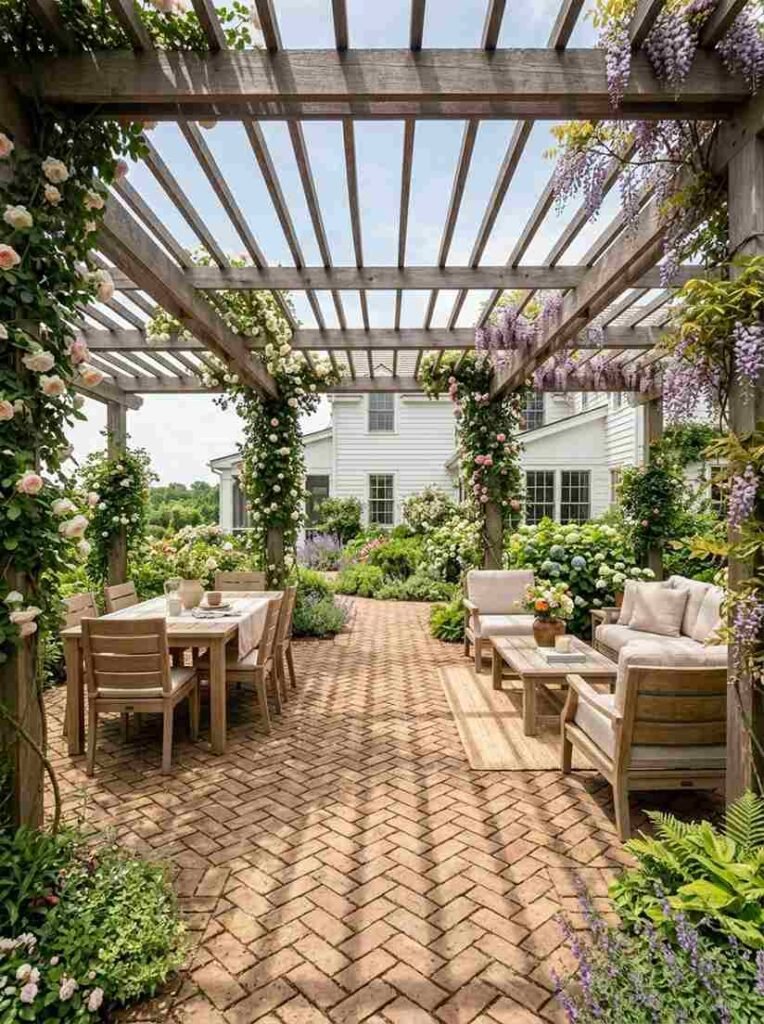
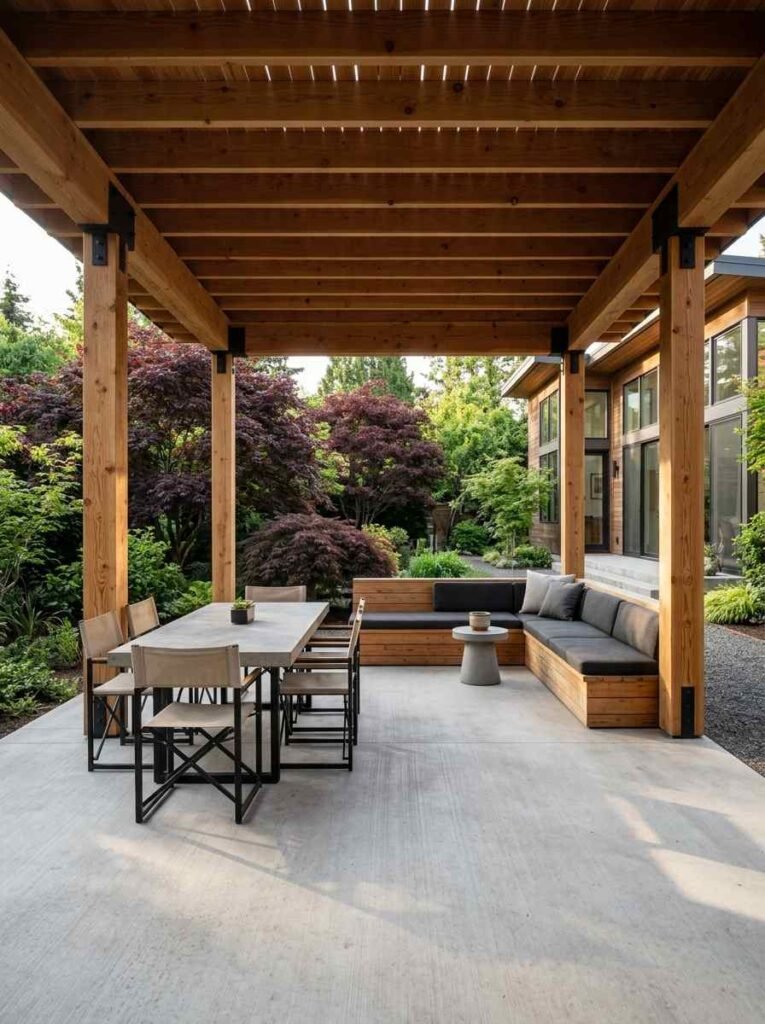
Attached pergola
A pergola with open rafters gives you shade without making the space feel cave-like. You still get sky.
Vines can grow up and over time it looks genuinely beautiful. The downside? No real rain protection. If you live somewhere that gets afternoon storms, this isn’t your answer.
Solid insulated roof panel
This is what I went with. Insulated aluminum panels keep the space 10–15 degrees cooler than a standard roof because they reflect heat instead of absorbing it.
They also handle rain completely.
The ceiling looks finished and clean, which matters when you’re trying to make it feel like an actual room.
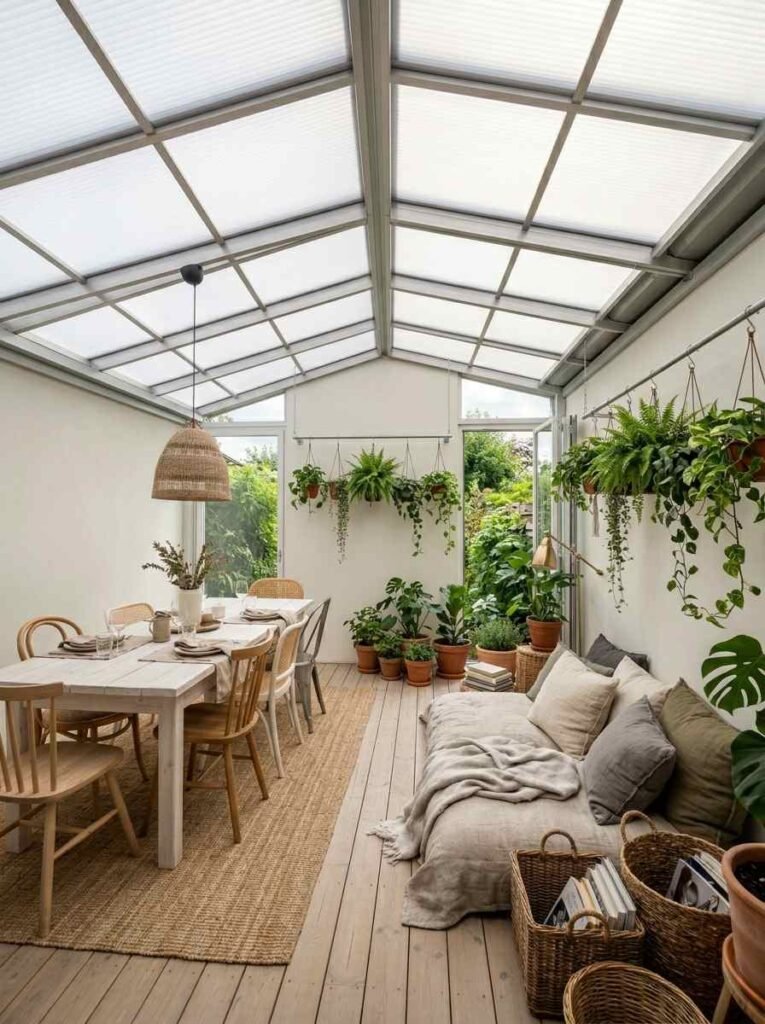
Polycarbonate roofing
Translucent panels that let diffused light through. The patio stays bright even on overcast days.
Good middle ground between open pergola and solid roof. Gets warm in direct afternoon sun though — plan for ceiling fans.
Combination approach
One arm gets solid roofing for the dining area (you don’t want rain on your dinner). The other arm gets a pergola over the lounge zone for that open, airy feel.
Best of both worlds, and the contrast actually looks intentional and designed.
20 design ideas worth stealing
Ideas 1–5: The naturalist palette
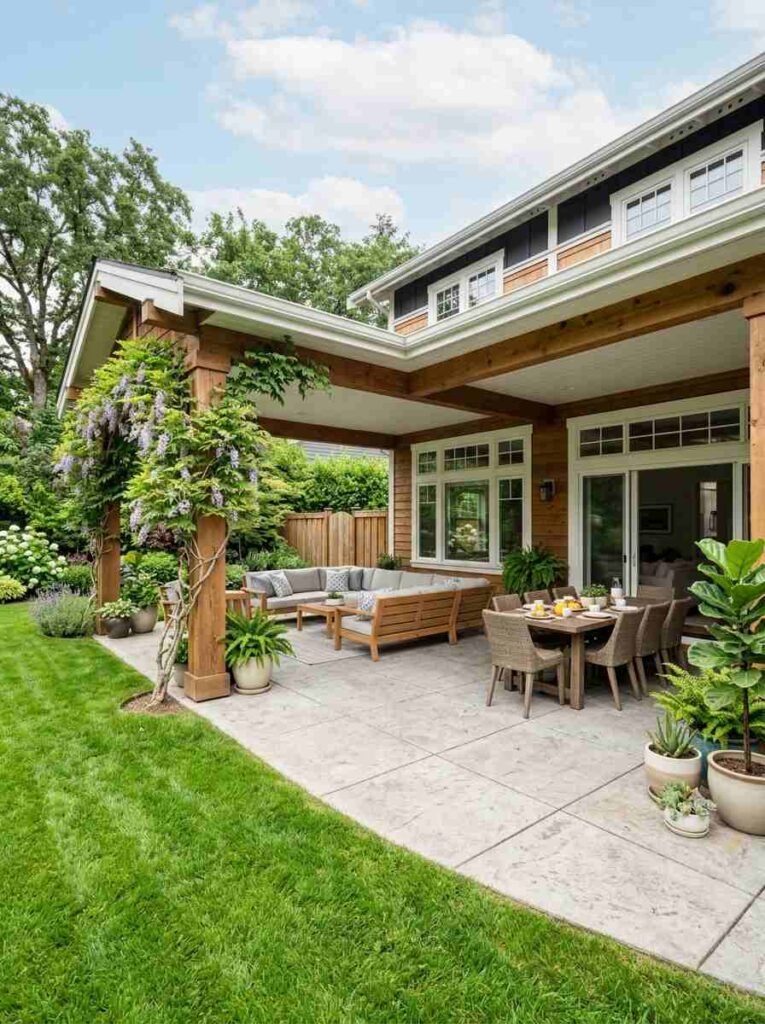
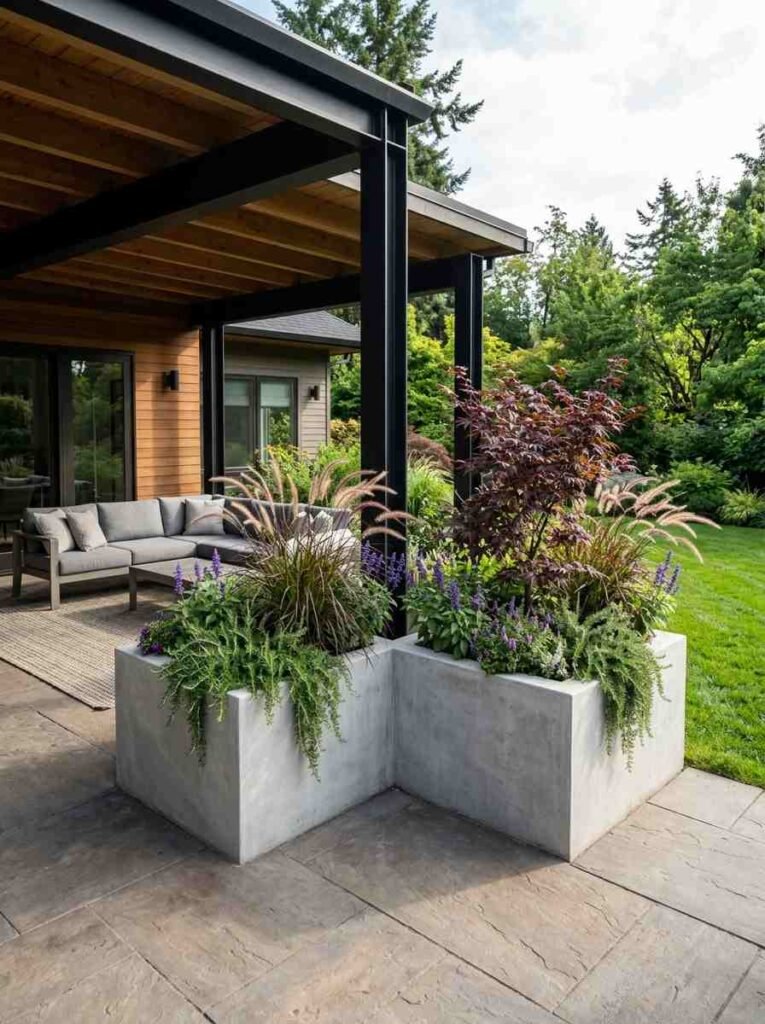
1. Cedar and concrete. Warm cedar posts, smooth concrete floor, simple black hardware. The contrast is clean without trying too hard.
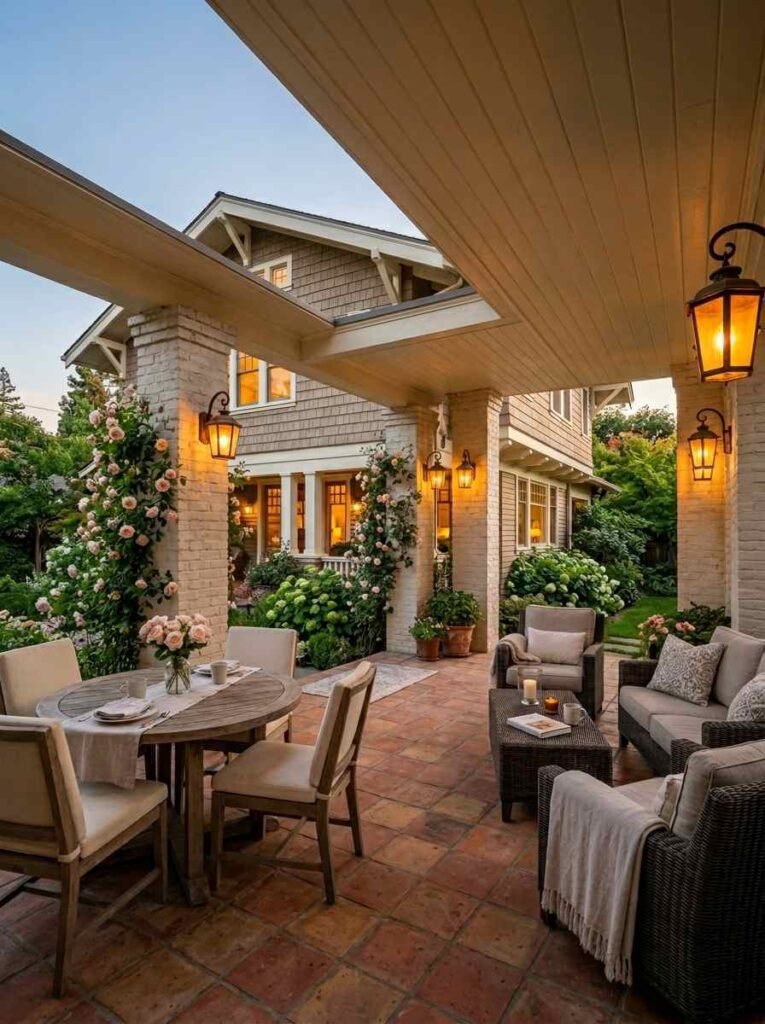
2. Limewashed brick columns. If your house has brick, carry it into the patio structure. Limewash the brick the same color as your exterior trim and it looks like the patio was always there.
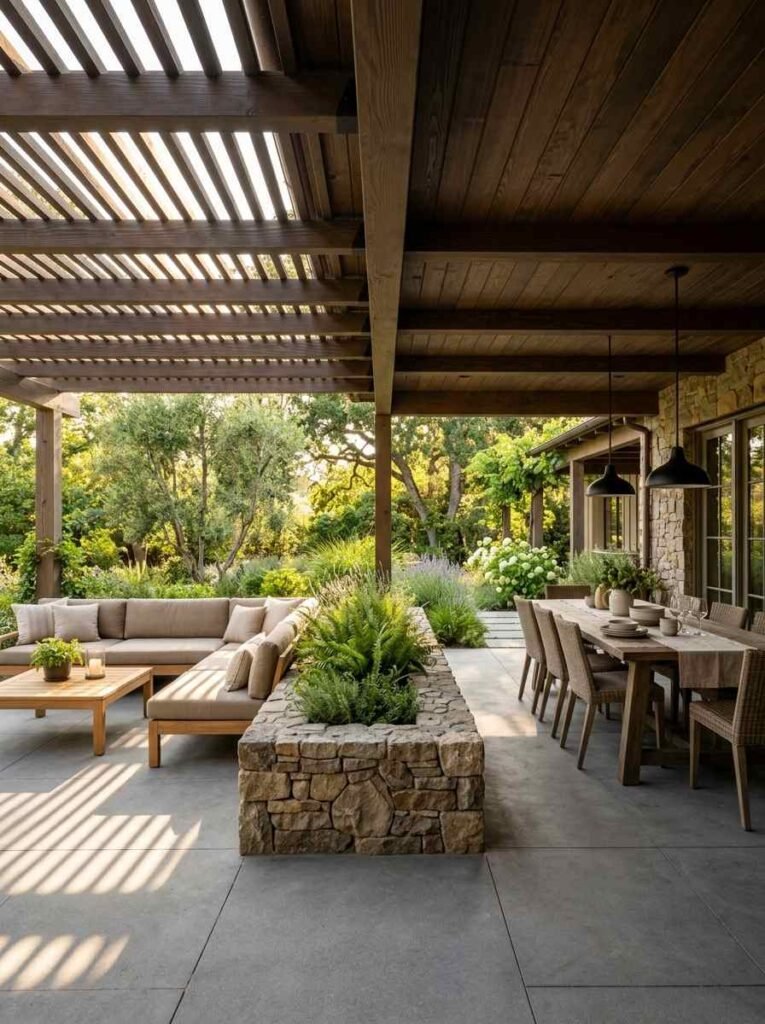
3. Reclaimed wood ceiling. Skip the white-painted tongue and groove. Reclaimed wood on the ceiling brings in warmth and texture that new lumber can’t fake.
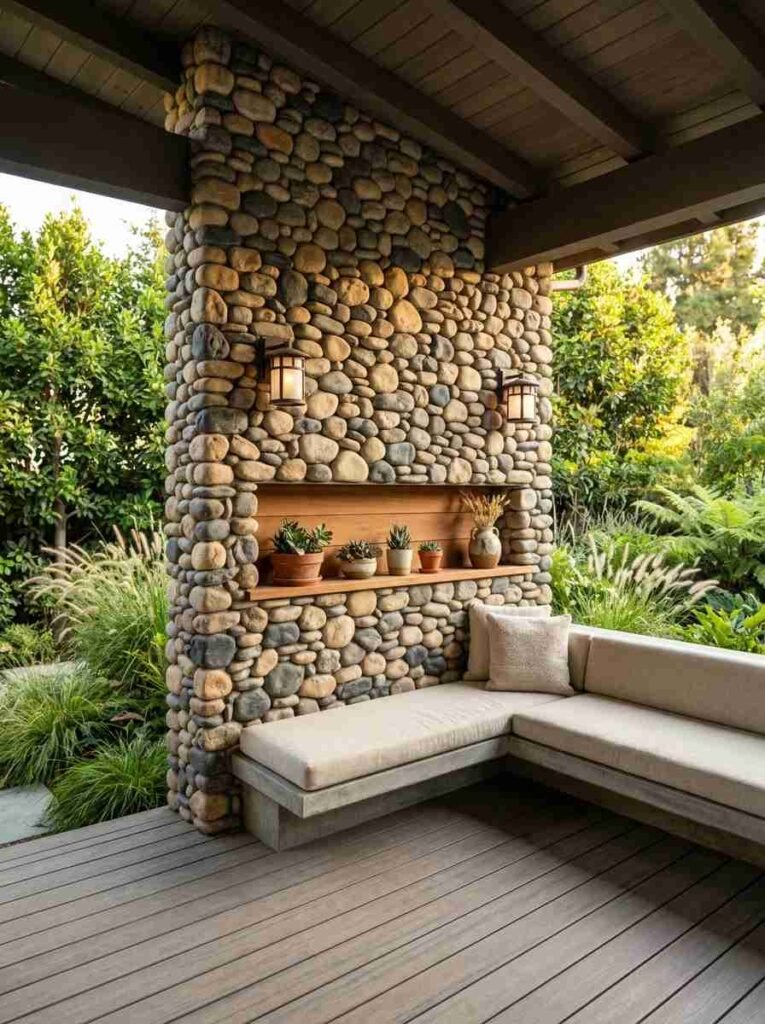
4. River stone accent wall. Use the interior corner of the L for a stacked stone feature wall. Adds privacy, softens the architecture, and gives you a place to hang outdoor lighting.
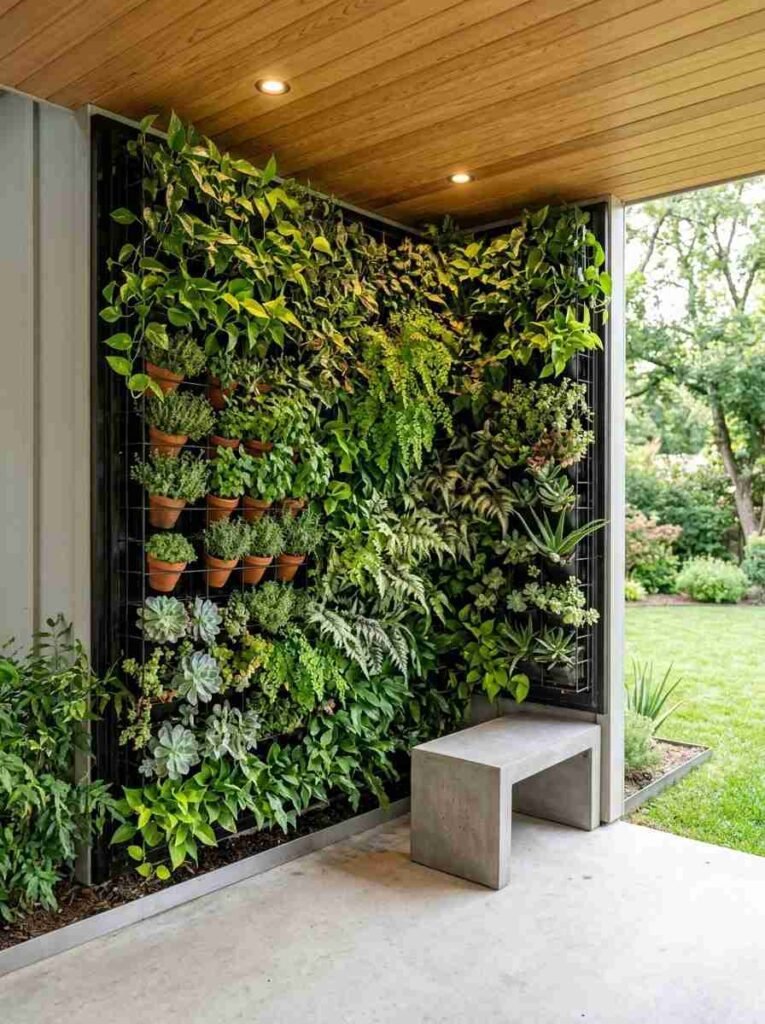
5. Living wall panel. Mount a vertical garden on the inside corner wall.
Herbs, succulents, or trailing plants — it doubles as a privacy screen and makes the space smell incredible.
Ideas 6–10: Functional zones done right
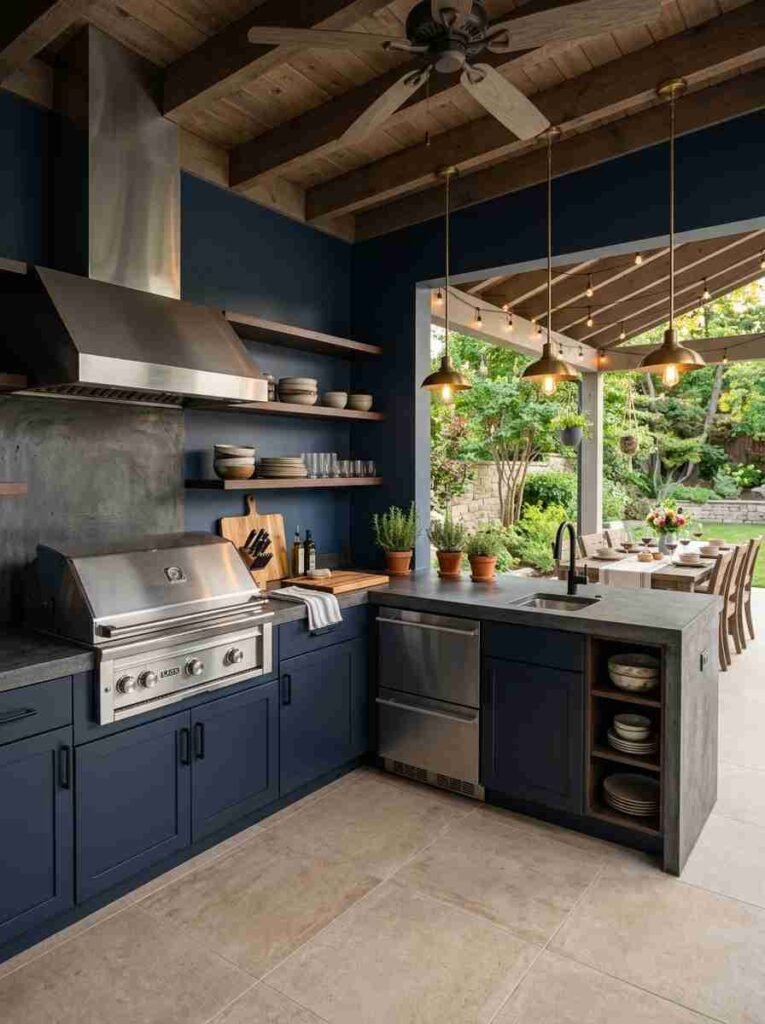
6. Outdoor kitchen in the corner. The inside corner of an L is the perfect spot for a built-in grill and prep counter.
You’ve got walls on two sides for mounting storage and a TV. It’s basically a kitchen triangle, except outside.
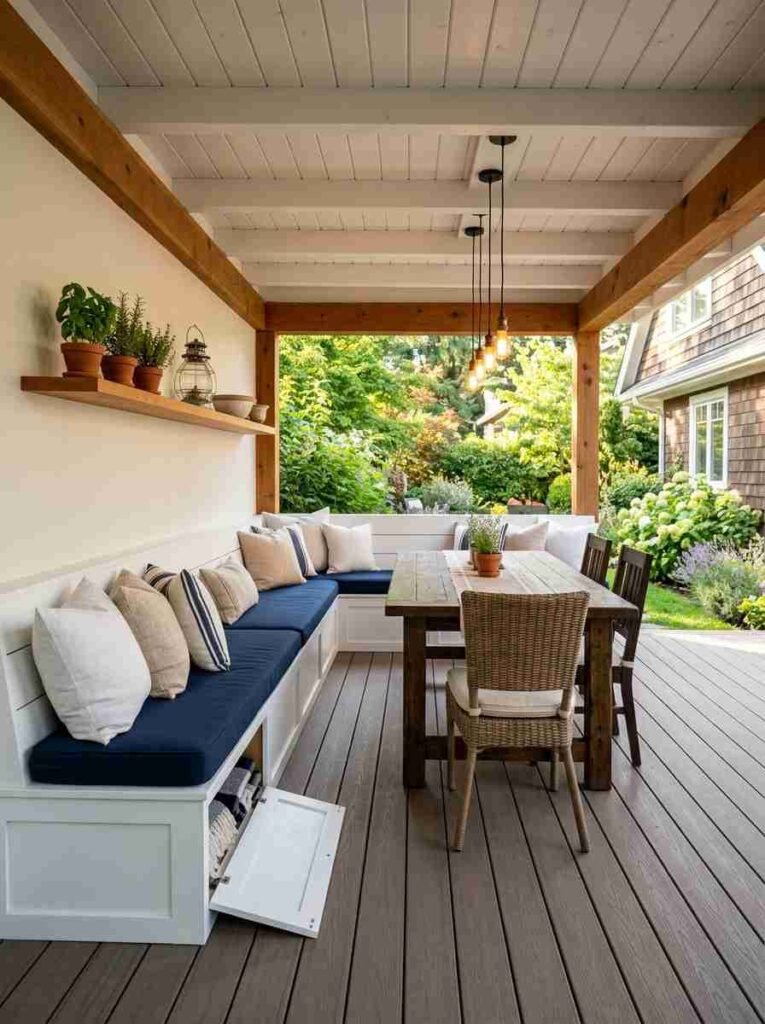
7. Built-in banquette seating. Along one arm, build a low bench with storage underneath.
Top it with outdoor cushions. You get seating for 8–10 people without bulky furniture eating up floor space.
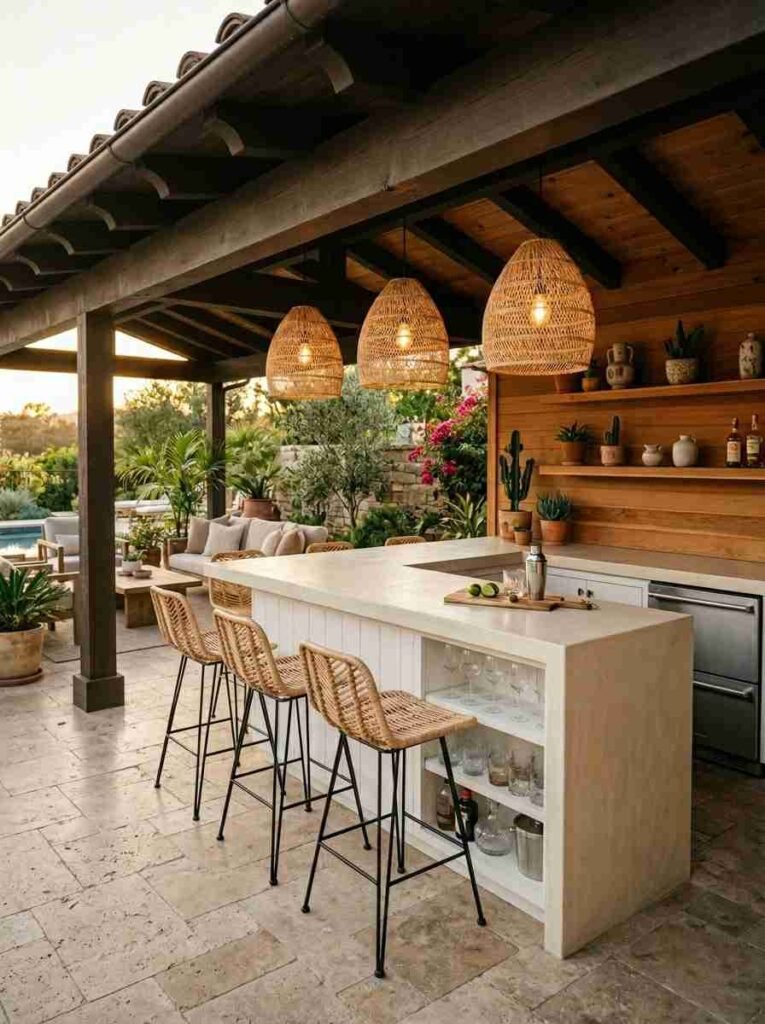
8. Bar and barstool zone. One short arm becomes the bar. A concrete countertop, under-counter mini fridge, and 4 barstools.
Guests stand here, mingle, and then move to the main seating area. It manages flow really well.
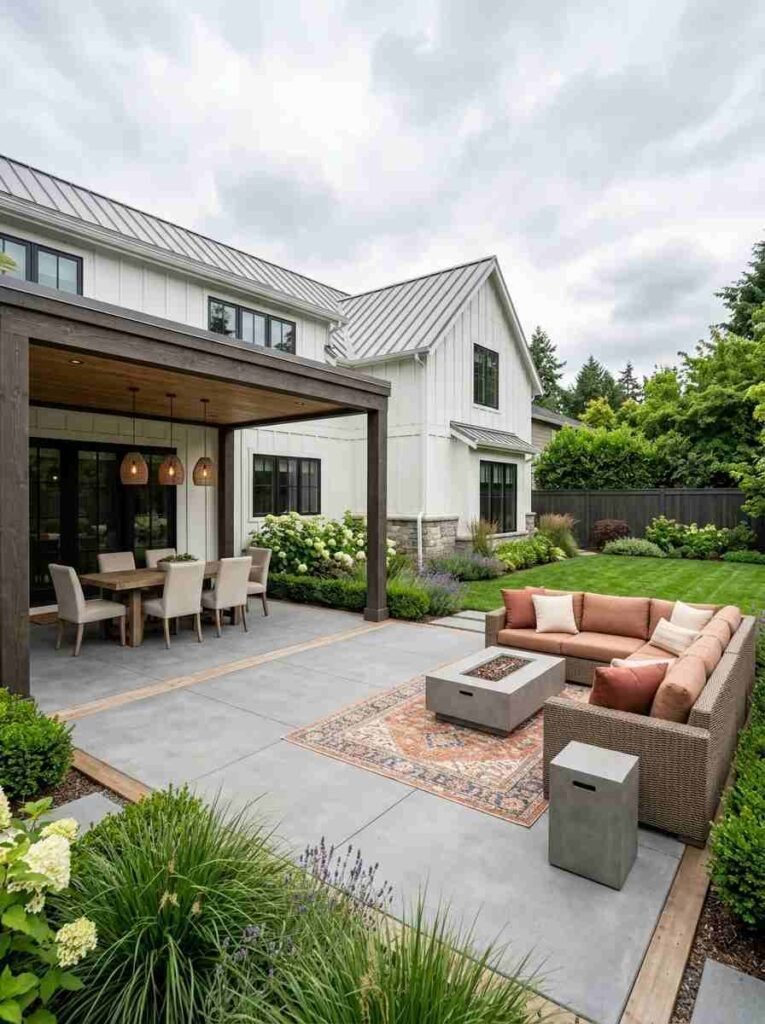
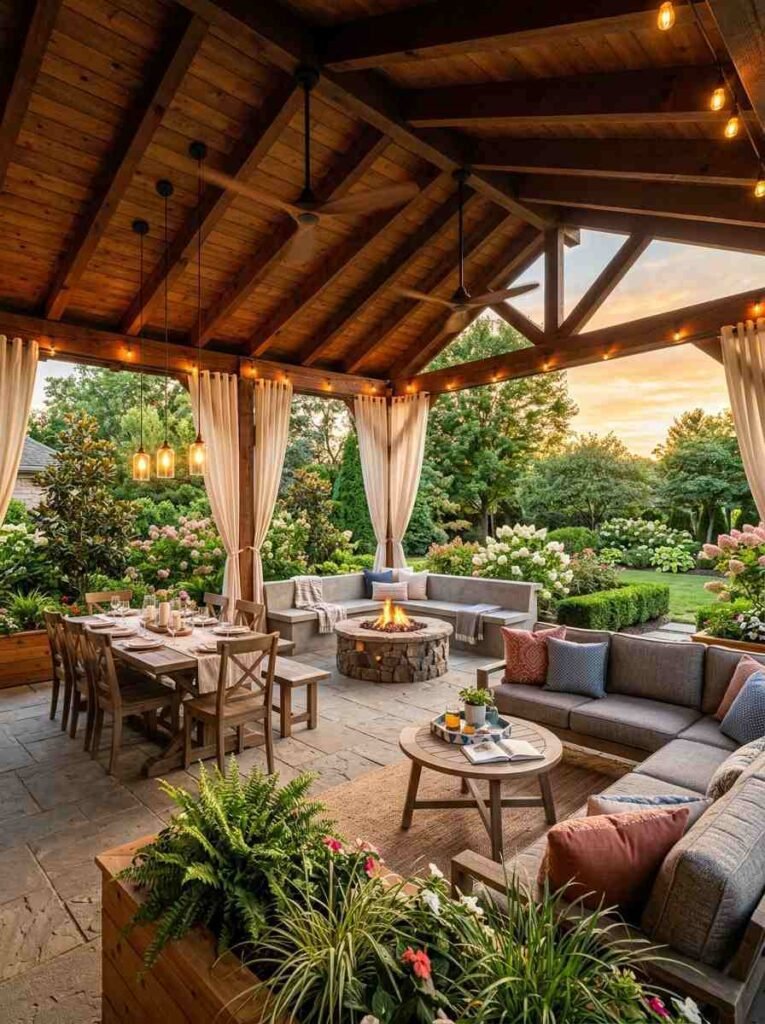
9. Fire pit integration. Drop a gas fire pit into the corner of the lounge zone. Built-in seating wraps around it on two sides. On cool evenings this becomes the best seat in the house.

10. Dedicated kids’ corner. One arm, slightly set back, with a low table and weatherproof toy storage.
Kids have their space and you can see them from the main seating area. Sanity-saving design, IMO 🙂
Ideas 11–15: Lighting that actually works
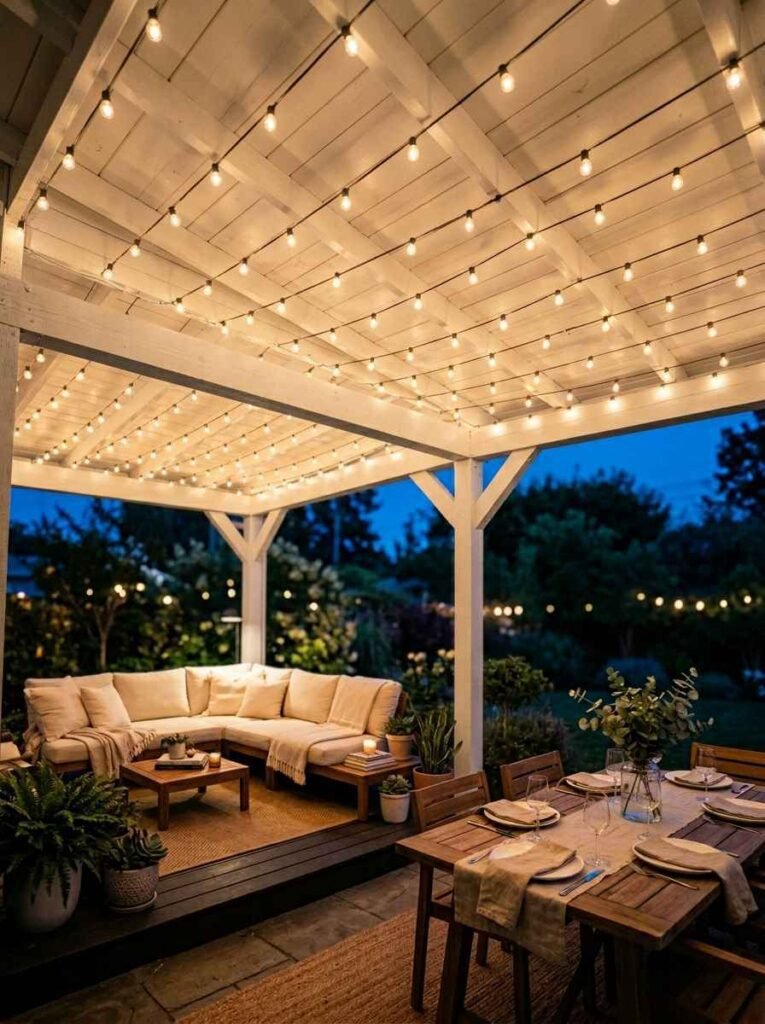
11. String lights overhead. Classic for a reason. Run them in a grid pattern across the ceiling of both arms and the whole patio glows at night.
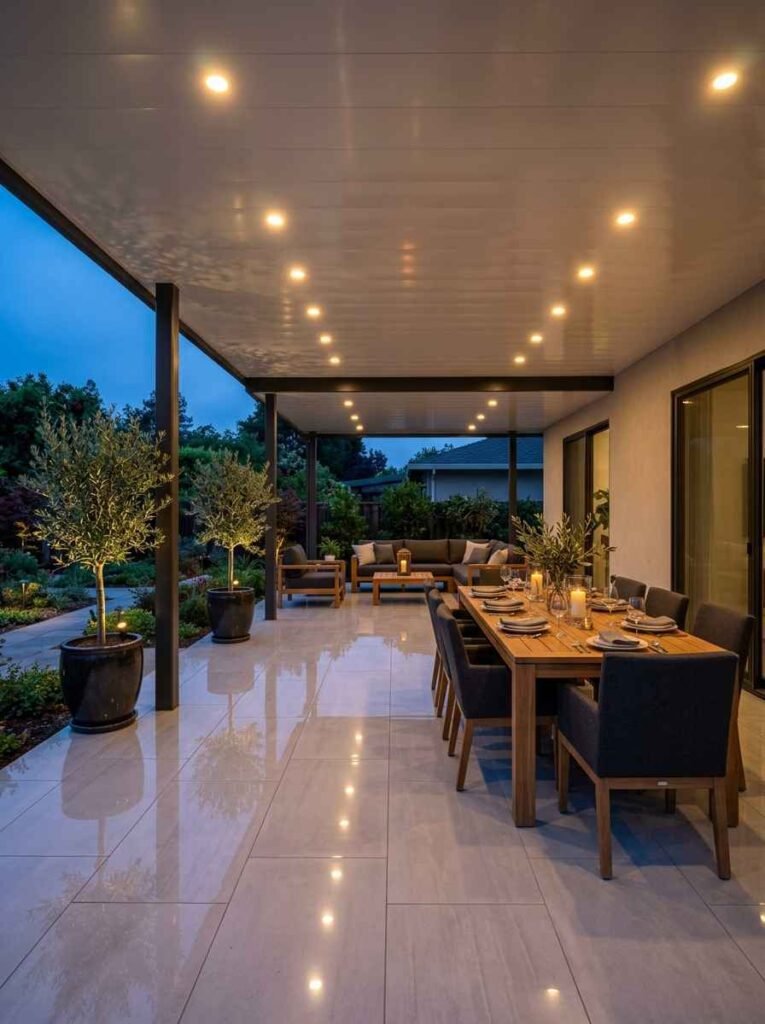
12. Recessed LED ceiling lights. Cleaner look, more functional for cooking and dining. Pair with dimmer switches so you can shift from bright dinner lighting to ambient glow.
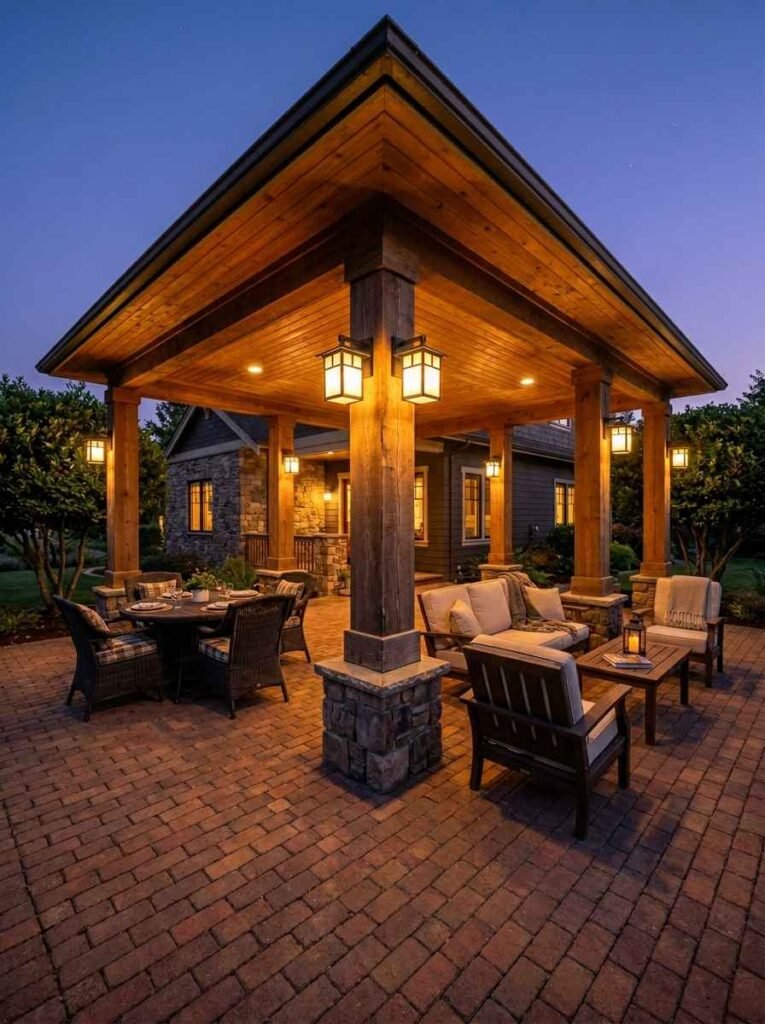
13. Post-mounted lanterns. Put a lantern on each column. It grounds the structure visually and gives warm, low light at eye level.
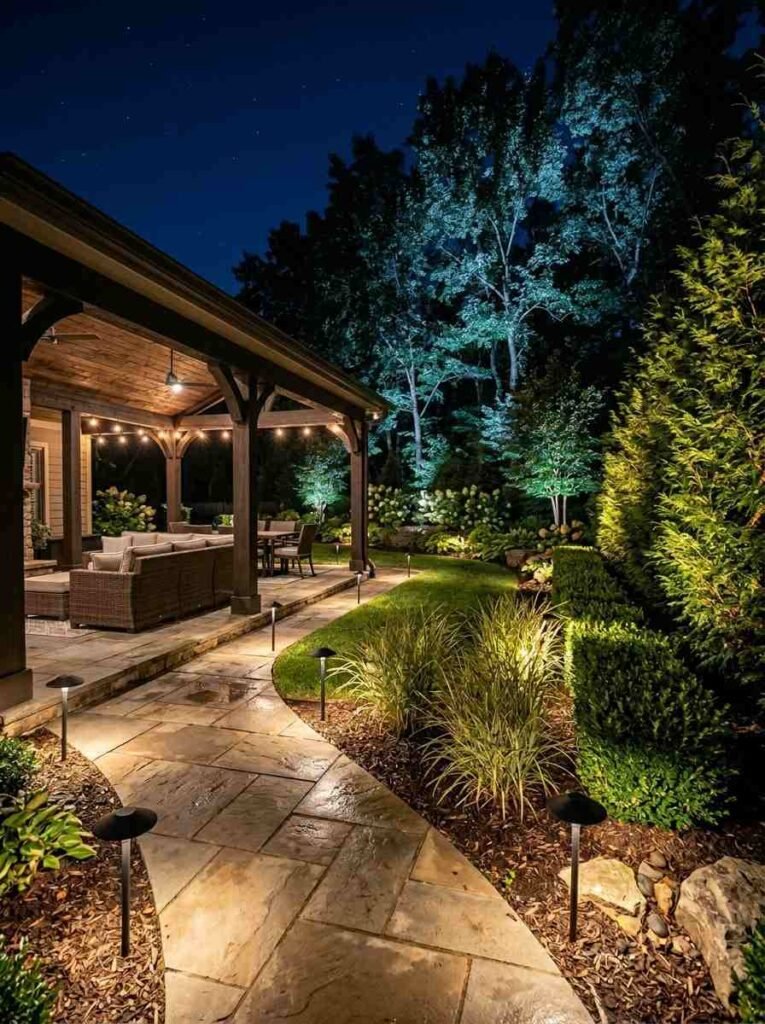
14. Landscape lighting along the edges. Uplights on surrounding plants, path lights along the patio edge. This makes the whole space feel bigger at night by lighting what’s beyond the roof.
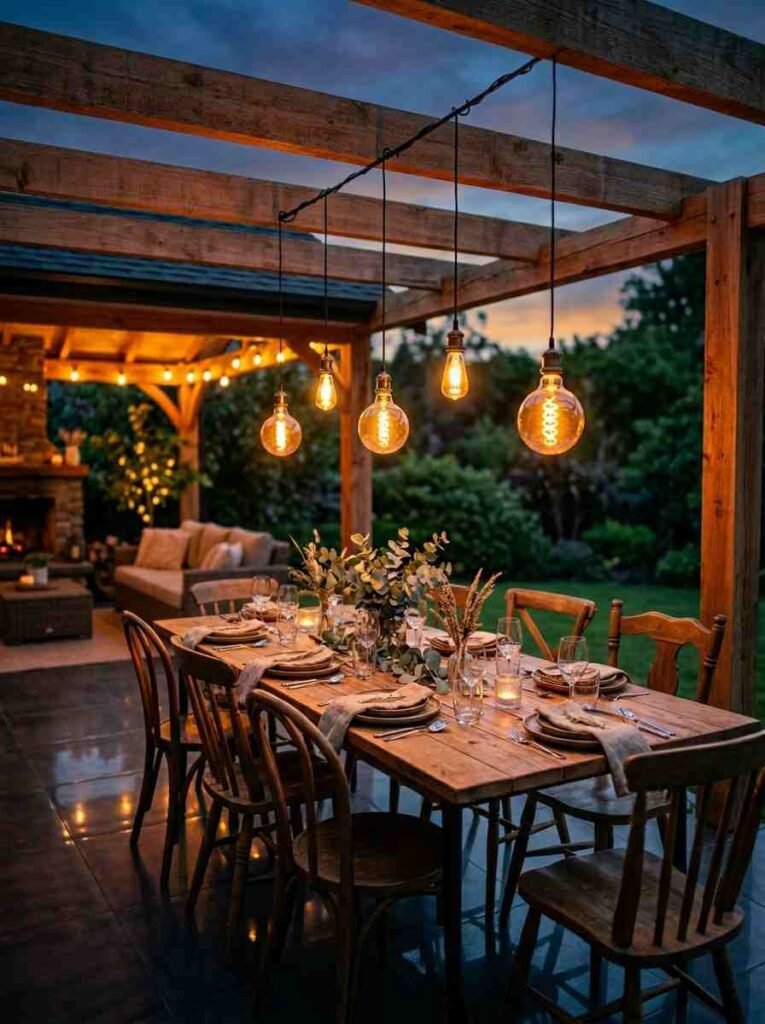
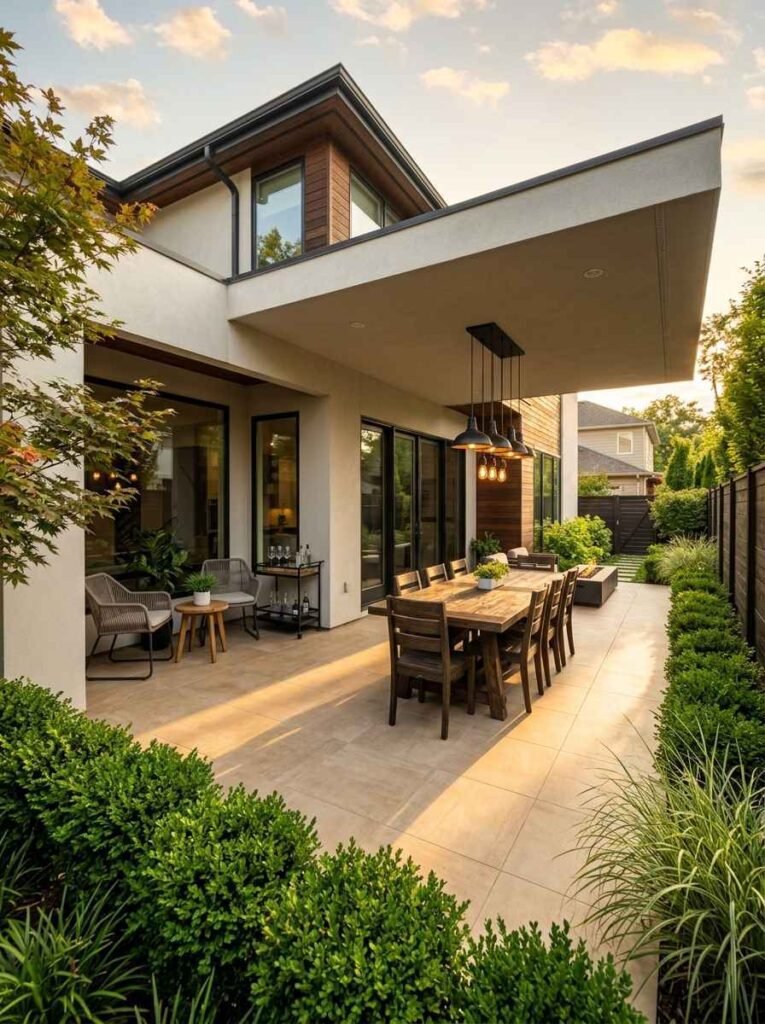
15. Edison bulb pendants over the dining table. Hang 3–5 pendants on a simple wire run. Low cost, big impact, and they photograph beautifully for anyone saving ideas to Pinterest 🙂
Ideas 16–20: Details that elevate the whole thing
16. Ceiling fans in both arms. Non-negotiable if you live somewhere warm. Two fans — one per arm — keep air moving and make the space usable in weather that would otherwise chase you inside.
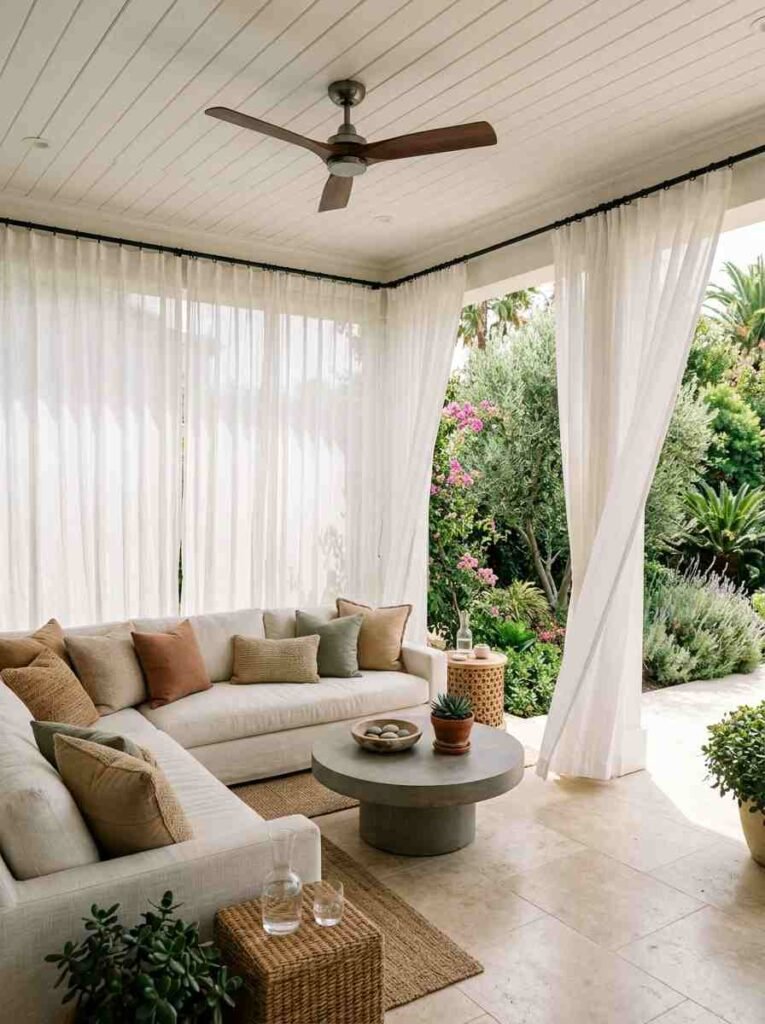
17. Outdoor curtains on the open sides. Sheer white curtains on the outer edges of the L give you privacy and softness without blocking light.
Pull them closed and the patio feels completely enclosed. Open them up and it disappears back into the yard.
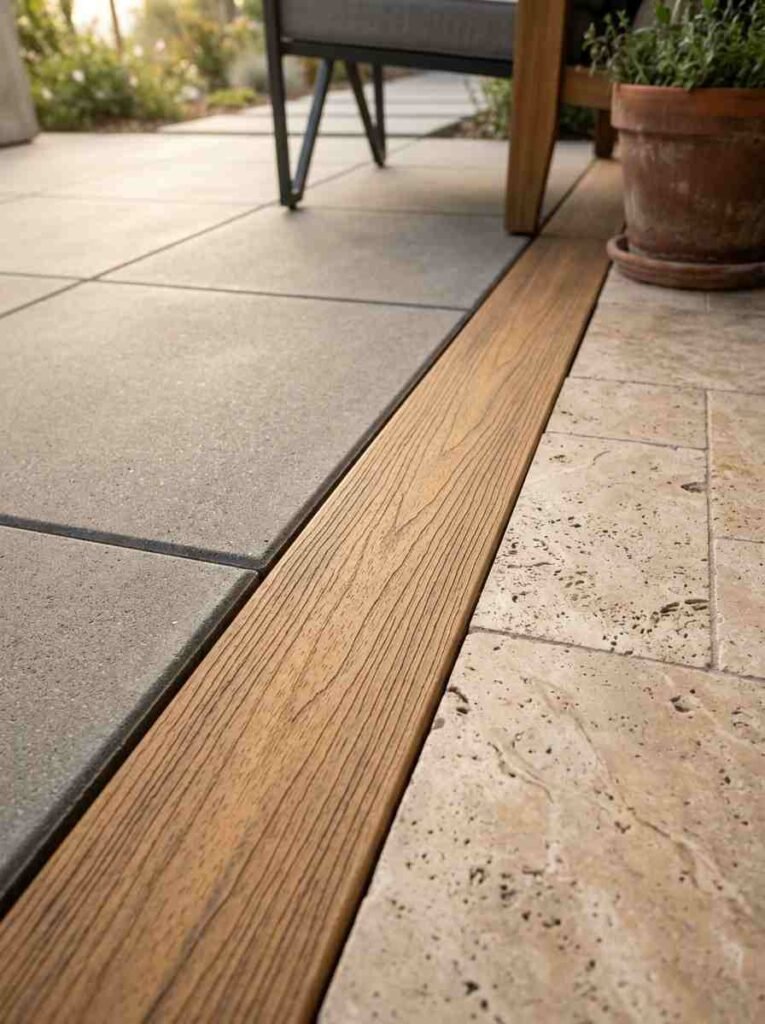
18. Matching tile on the floor and the house exterior. If your home has stone or tile, carry the same material onto the patio floor.
Creates a seamless visual connection between inside and outside.
19. Built-in planters at the corners. Frame the outer corners of the L with raised planters. Fills the space without furniture, adds green, and softens the hard edges of the structure.
20. Outdoor rug layering. Use two rugs — one under the dining table, one under the lounge seating.
Separate rugs reinforce the two-zone concept and make each area feel intentional rather than overflow.
Materials to use (and skip)
Flooring
Concrete pavers are the workhorse choice — durable, low maintenance, endless style options.
Porcelain tile looks stunning but gets slippery when wet (:/). Wood decking adds warmth but needs annual sealing.
If you’re in a rainy climate, textured concrete or composite decking is the move.
Structural materials
- Aluminum: Low maintenance, doesn’t rust, lighter weight. Good for the roof structure.
- Steel: Stronger, sleeker profiles, but needs powder coating to prevent rust.
- Wood: Warmest look, but requires more maintenance. Cedar and redwood hold up best.
- Composite lumber: The practical middle ground. Looks like wood, maintenance-free.
What to skip
Cheap pressure-treated pine for visible structural elements — it warps, splits, and turns gray fast.
Untreated softwood for anything horizontal where water can pool. And glass tile floors — they photograph beautifully and are a nightmare in real life.
The one thing most people get wrong
They plan the structure first and the lighting last. Lighting should be planned at the same time as the roof and posts — because once the roof is on, running conduit and wiring is expensive and messy.
Same goes for ceiling fans. Run the electrical rough-in before any ceiling panels go up. Your future self will genuinely thank your current self.
Before you build
A few practical things worth knowing:
- Most covered patios over a certain square footage require a building permit. Check with your local municipality before breaking ground.
- HOAs often have rules about roofline height and materials. Read the CC&Rs.
- If the patio attaches to the house, you’ll need a flashing detail where roof meets wall. This is where leaks happen if the contractor cuts corners.
- Consider drainage. Water should move away from the house, not pool in the corner of your L.
Put it together
An L shaped covered patio is one of the few backyard projects that genuinely changes how you live at home. The space pays for itself in family dinners, weekend hangs, and mornings with coffee that you’d otherwise spend inside.
Start with the proportions. Commit to the roofing early. Plan your electrical before anything gets enclosed. Then layer in the details — the lighting, the plants, the furniture — and you’ll end up with a space that feels designed, not assembled.
Pick 2–3 of the 20 ideas above that resonate and use those as your design anchors. Everything else fills in around them.