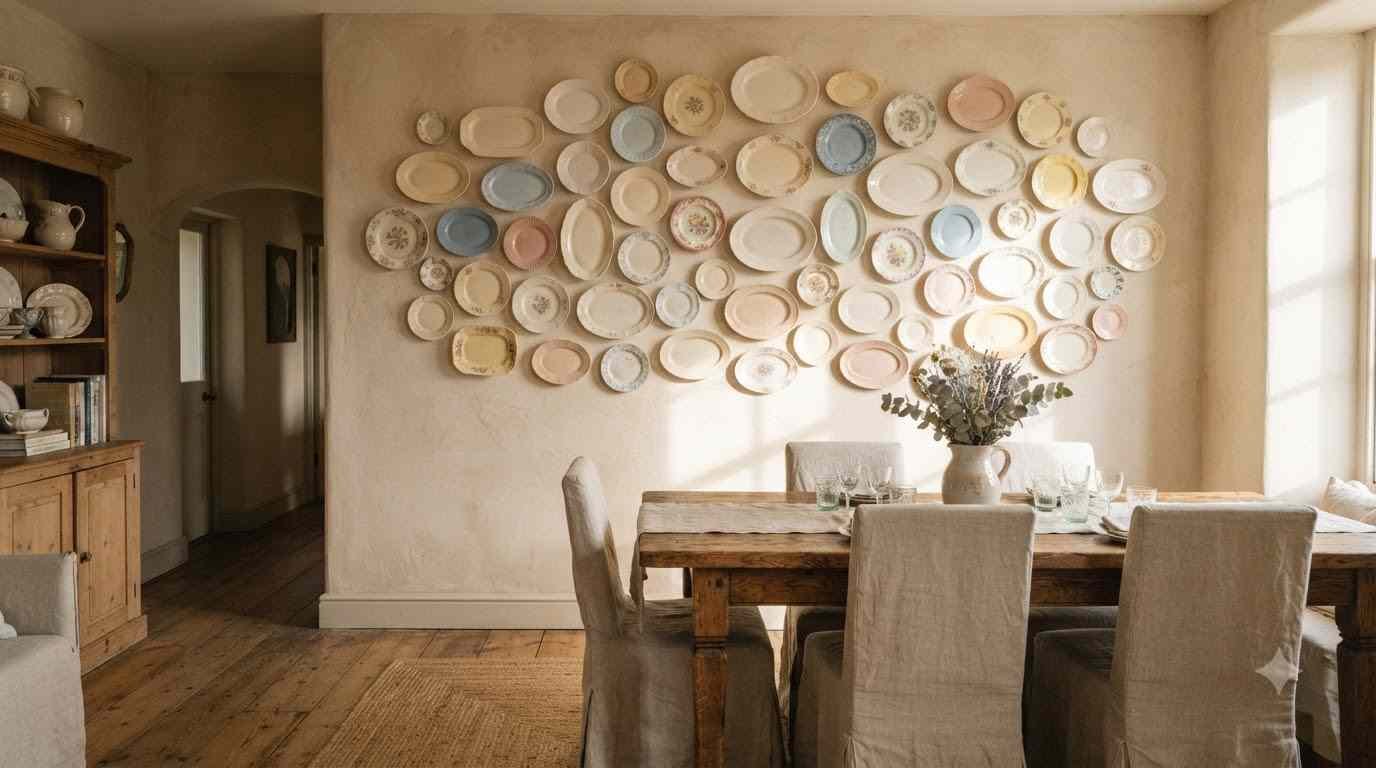
I hung my first plate on a wall about four years ago, and I got it wrong. The nail was too small, the plate was heavier than it looked, and it landed on my foot at 11pm.
Lesson learned. Since then I’ve hung close to 40 plates across three different homes, and I’ve picked up enough tricks (and made enough mistakes) to save you the bruised toe.
Plate walls are having a real moment again, and if your Pinterest boards look anything like mine, you’ve probably saved a dozen of them already without doing anything about it.
This guide fixes that.
Below are 22 ways to turn a stack of plates into a wall people actually stop and look at.
I write about home decor for a living, and plate walls come up more than almost anything else I cover.
People ask about them constantly because plates solve a problem art alone can’t: texture. A flat print or photo sits on the wall.
A plate sticks out, catches light differently depending on the time of day, and gives a room a bit of dimension that framed art just doesn’t.
Why plate walls actually work
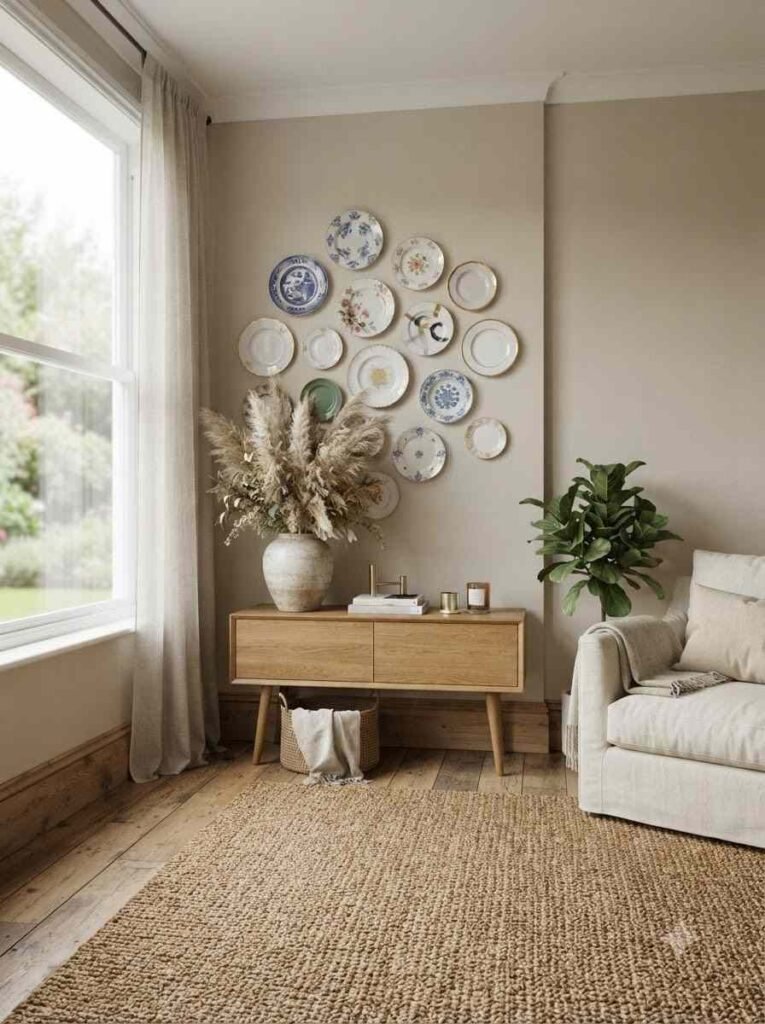
There’s a reason interior designers keep coming back to this idea instead of letting it fade into a trend graveyard.
Plates are cheap compared to art, especially if you’re thrifting them, and they come in an endless variety of shapes, colors, and textures.
They’re also forgiving. Hang a painting crooked and it’s obvious immediately.
Hang a cluster of plates slightly off-symmetry and it often reads as intentional, even charming. That’s not something you get with most wall decor.
One interior designer’s take stuck with me: Emma Sims-Hilditch’s guide on Homes & Gardens points out that the visible grips from traditional plate hangers can be touched up with paint or nail varnish to match the plate color, which is a small trick that makes a huge difference in how polished the final display looks.
What you need before you start
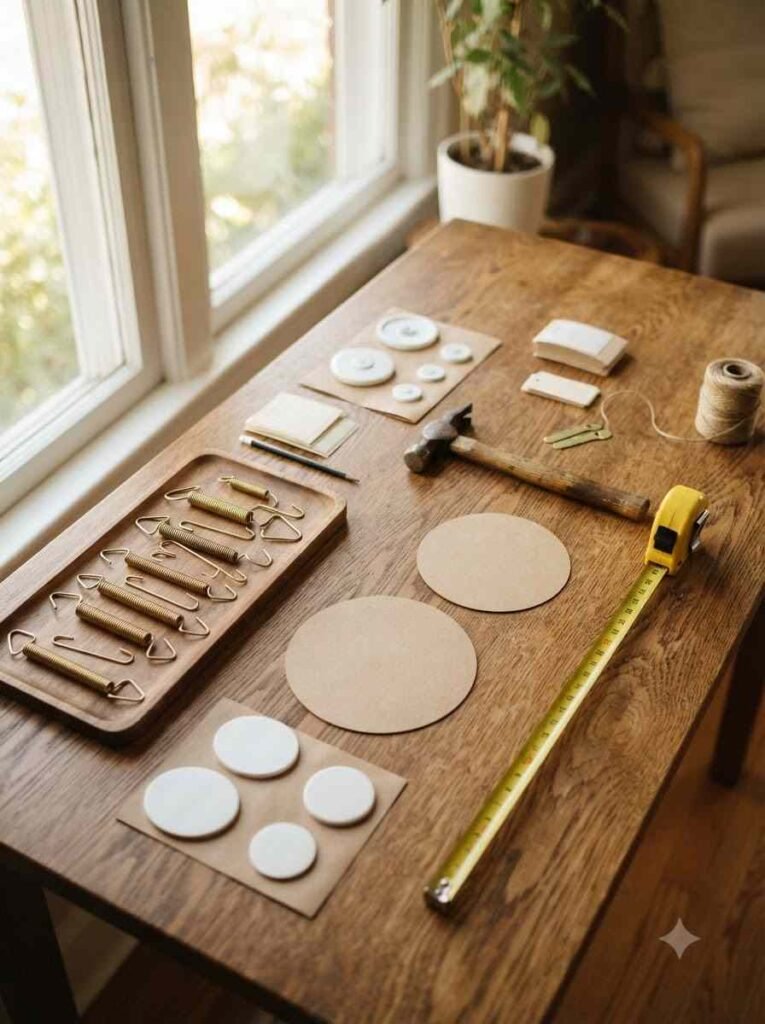
You don’t need much. A few basic supplies make the difference between a plate wall that lasts and one that ends up in pieces on your kitchen floor.
- Wire or spring plate hangers for standard round plates with a raised back rim
- Adhesive plate hangers for lightweight or irregularly shaped plates (great for renters)
- A picture hook rated for the plate’s weight, not just whatever’s in your junk drawer
- Painter’s tape and paper templates to plan your layout before a single nail goes in
That last one sounds tedious. It isn’t optional though.
Tracing your plates onto paper and taping the outlines to the wall first is the single best trick for avoiding a lopsided mess, and Home Depot’s plate-hanging guide walks through this template method step by step if you want the full breakdown.
Quick comparison: hanging methods
| Method | Best for | Wall damage | My honest take |
|---|---|---|---|
| Wire/spring hangers | Standard round plates | Small nail hole | Cheap and reliable, but the clips show a bit |
| Adhesive discs | Lightweight, flat-backed plates | None to minimal | Great for renters, but humidity can weaken the bond over time |
| Command strips | Small to medium plates | None | My go-to for rentals, though heavier plates need multiple strips |
| Drywall screw + D-ring | Heavier statement plates | Small hole, most secure | Best hold by far if you’re staying put long-term |
Command strips are genuinely my favorite for apartments.
I’ve used them to hang plates up to about 3 pounds without a single fall, and moving out doesn’t leave you patching holes. IMO, they’re the easiest entry point if you’ve never done this before.
Classic layouts that never go out of style
1. The symmetrical grid
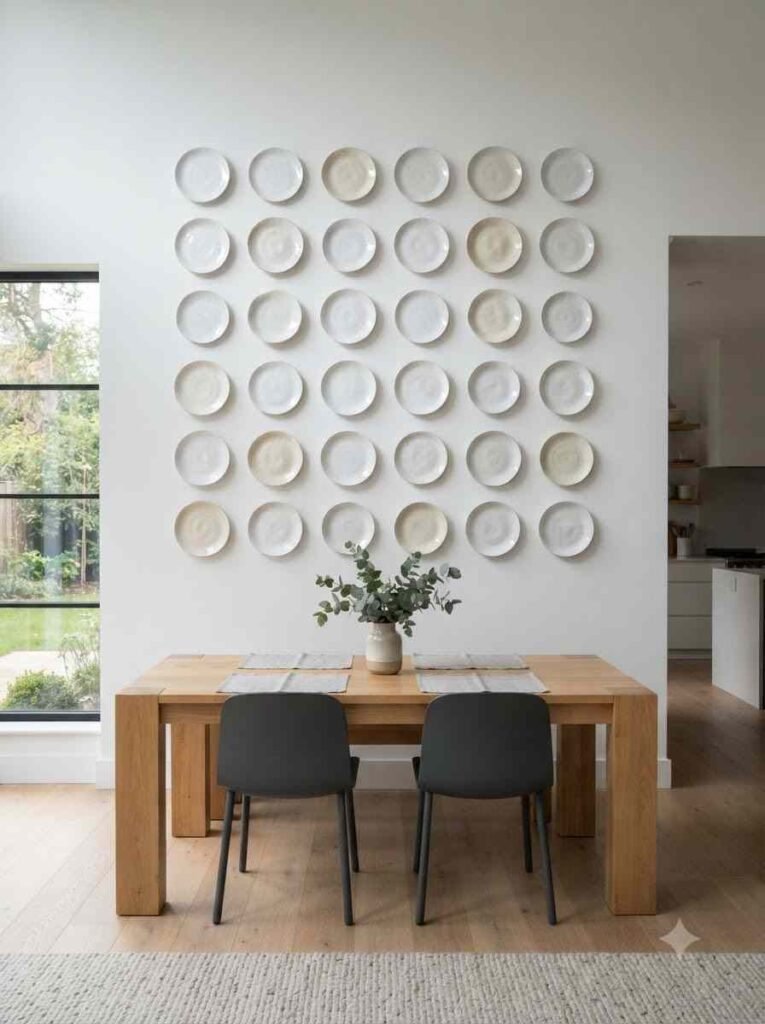
Rows and columns, evenly spaced, same size plates. It’s the safest option if you’re nervous about commitment, and it looks intentional even with a beginner’s toolkit.
2. The circular wreath
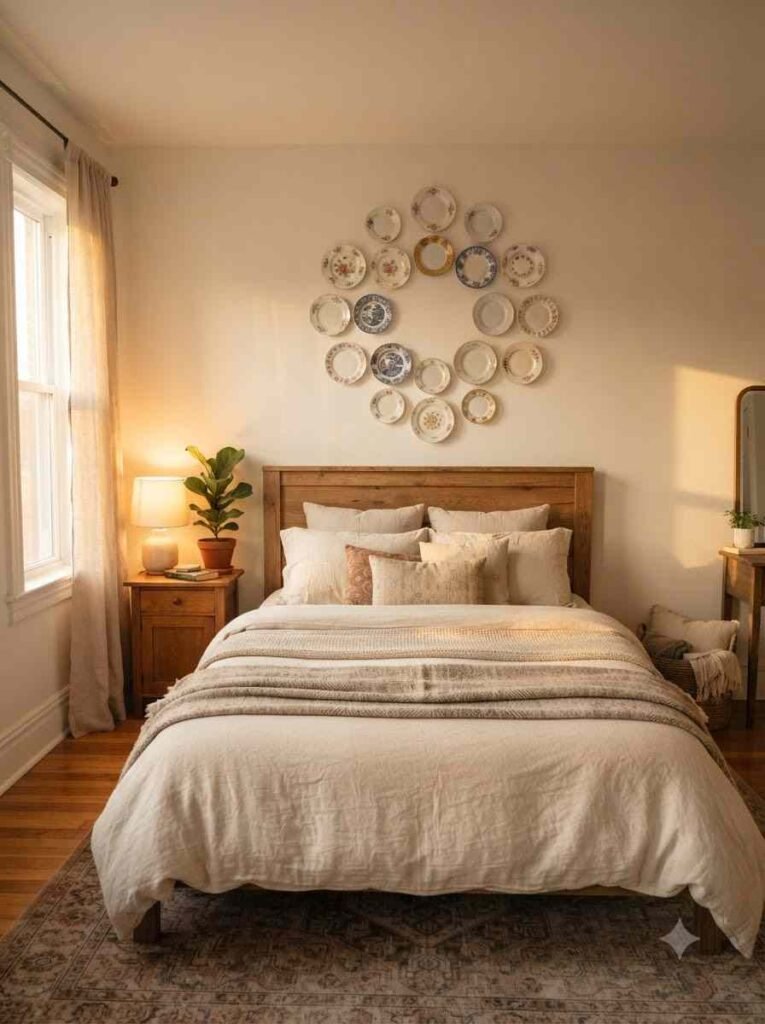
Arrange plates in a ring around a center point, like petals on a flower.
This works beautifully above a bed or sofa, and it reads as a single design object rather than a scattered collection.
3. The staircase climb
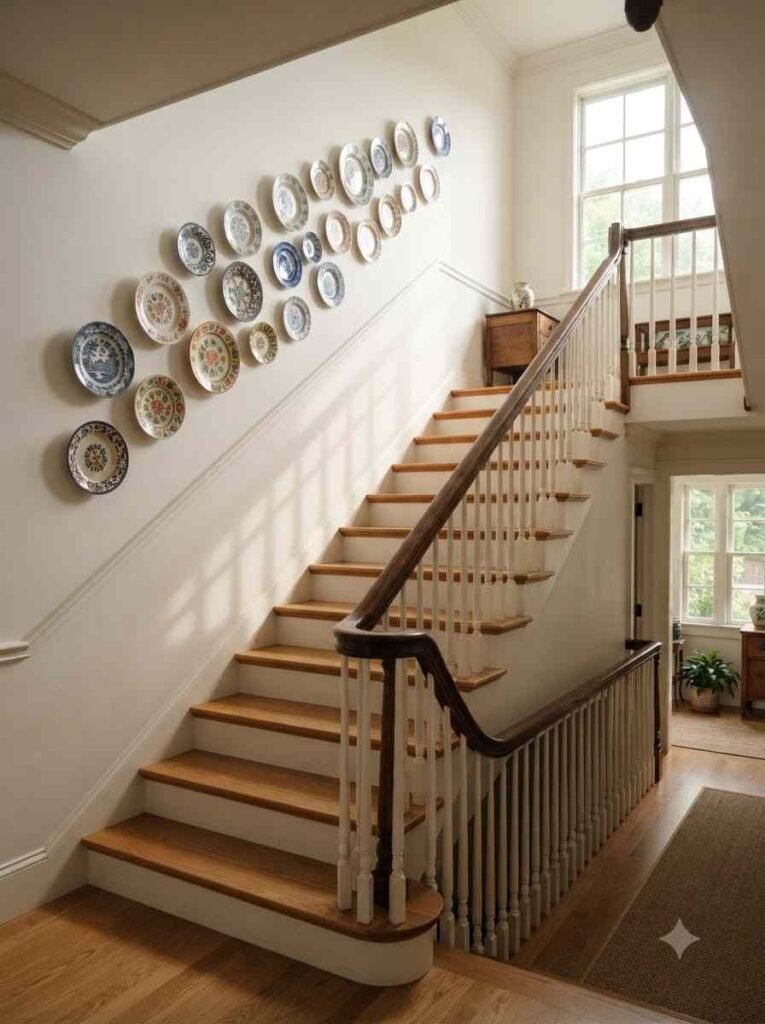
Follow the angle of your staircase with plates that increase or decrease in size as they climb.
I did this in a rental with a steep stairwell, and it’s still my favorite thing I’ve ever hung on a wall.
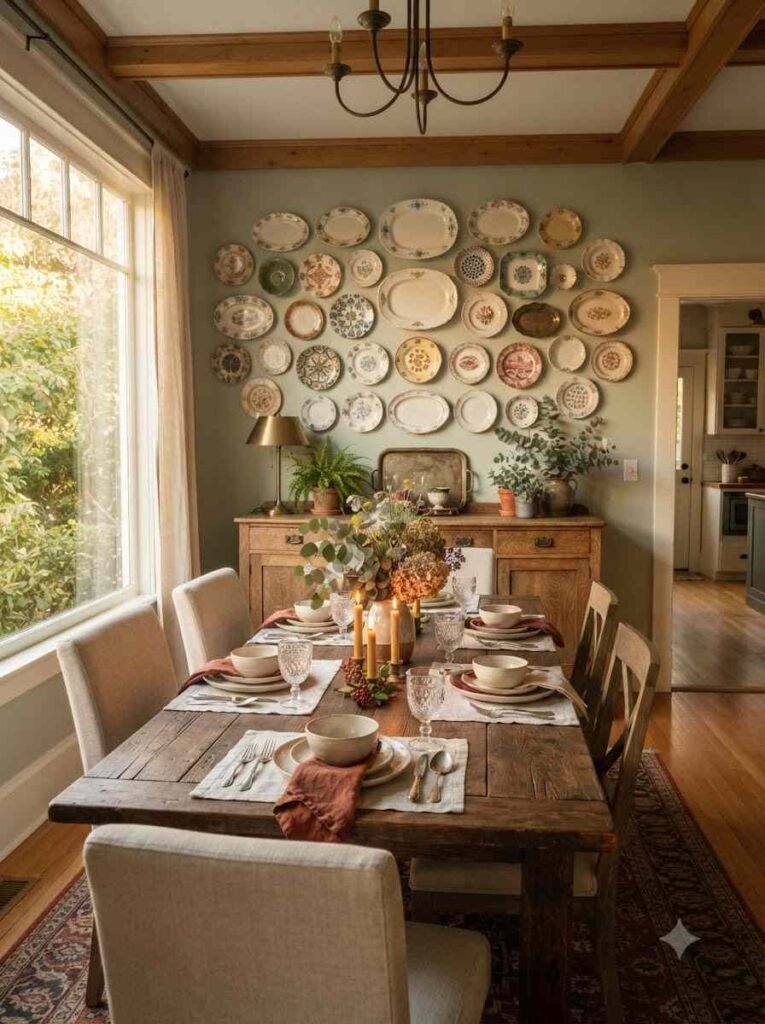
4. The vintage mismatch
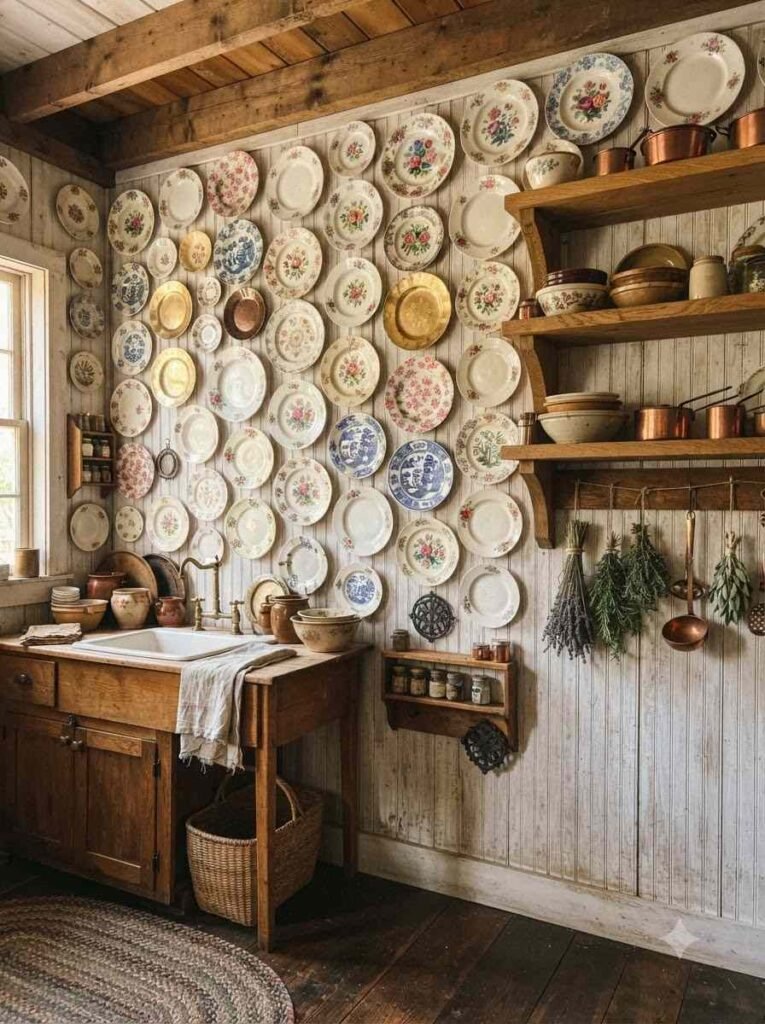
Grab every mismatched plate from thrift stores, grandma’s cabinet, and that one antique mall you swore you’d only browse.
Group them loosely by color instead of size. Ever wondered why grandma’s china looks so good out of context? It’s because nobody’s forcing it into a rigid grid.
5. The monochrome statement
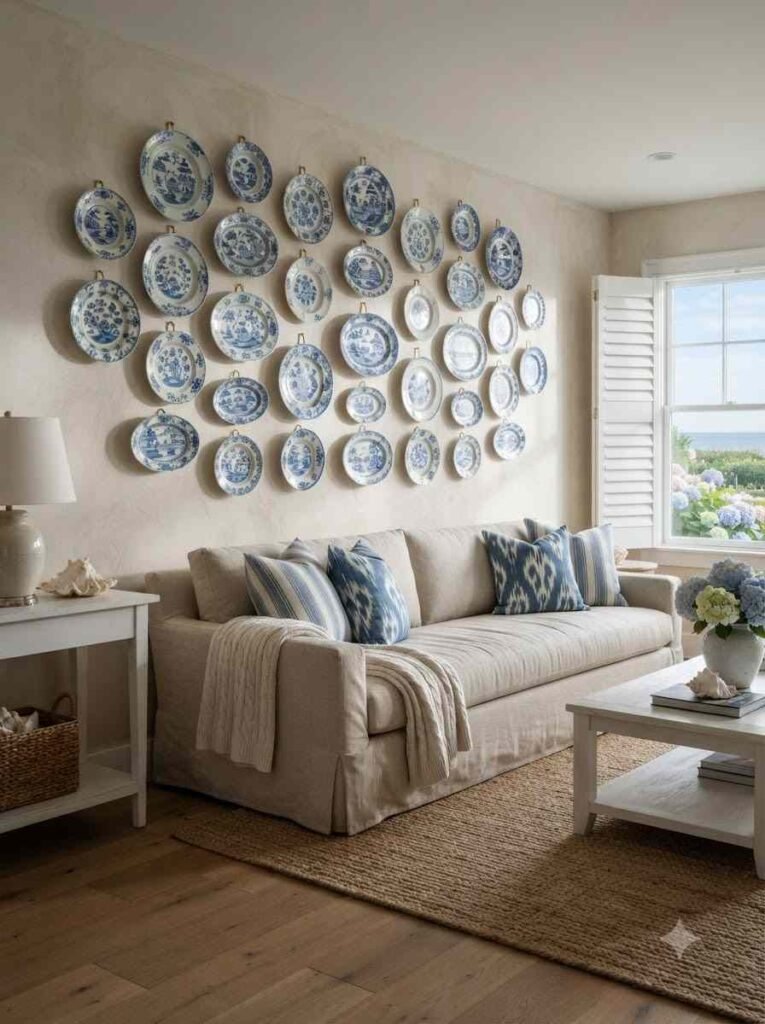
Pick one color family (all blue and white, all cream, all terracotta) and hang plates of varying sizes together.
This is the easiest way to make a wildly mismatched plate collection look curated.
Creative shapes and arrangements
6. The heart formation
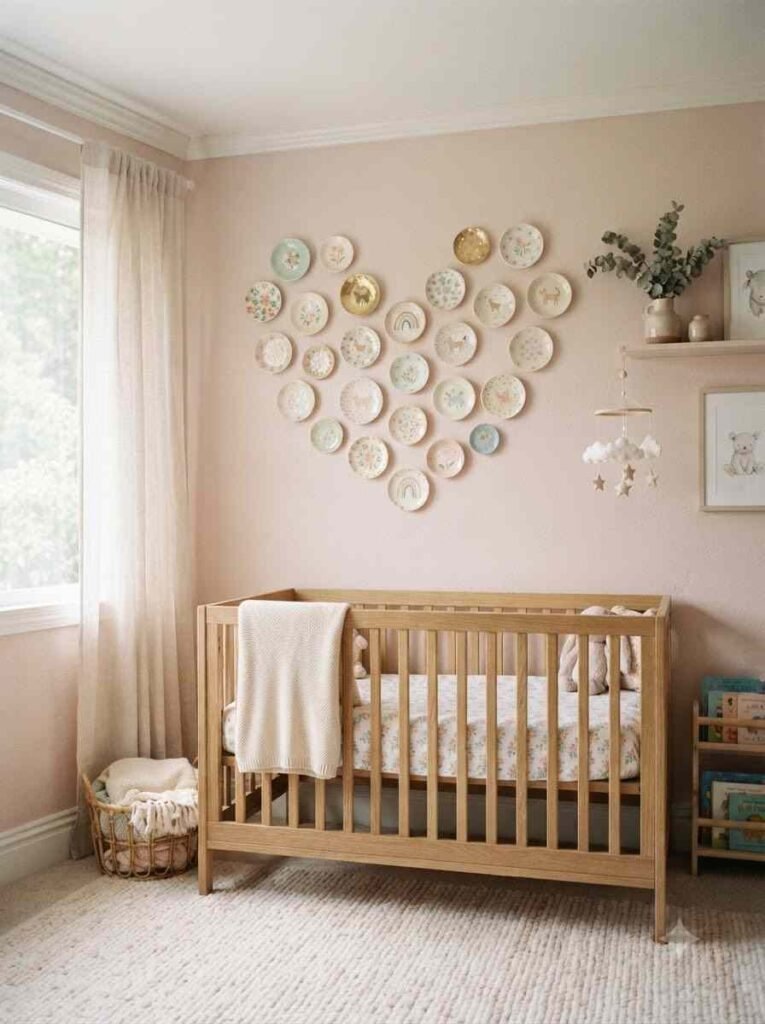
A sweet option for a nursery or a hallway leading to a bedroom. Keep the plates small and the palette soft, and don’t overthink the spacing.
Slightly imperfect actually looks more charming here.
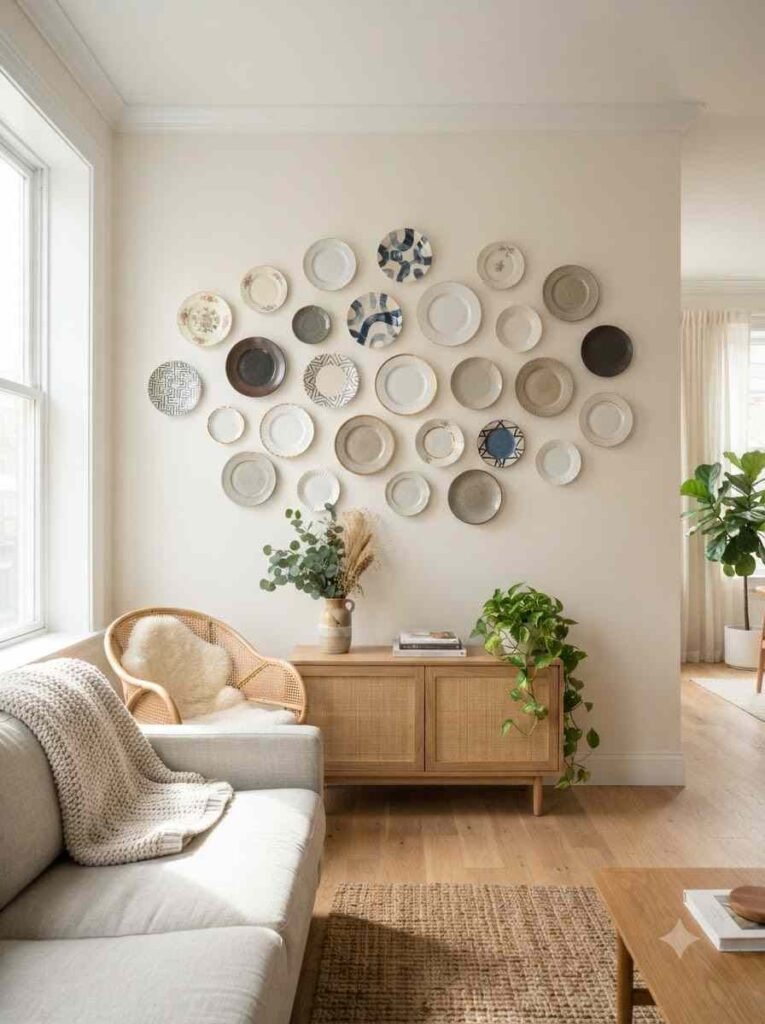
7. The organic scatter
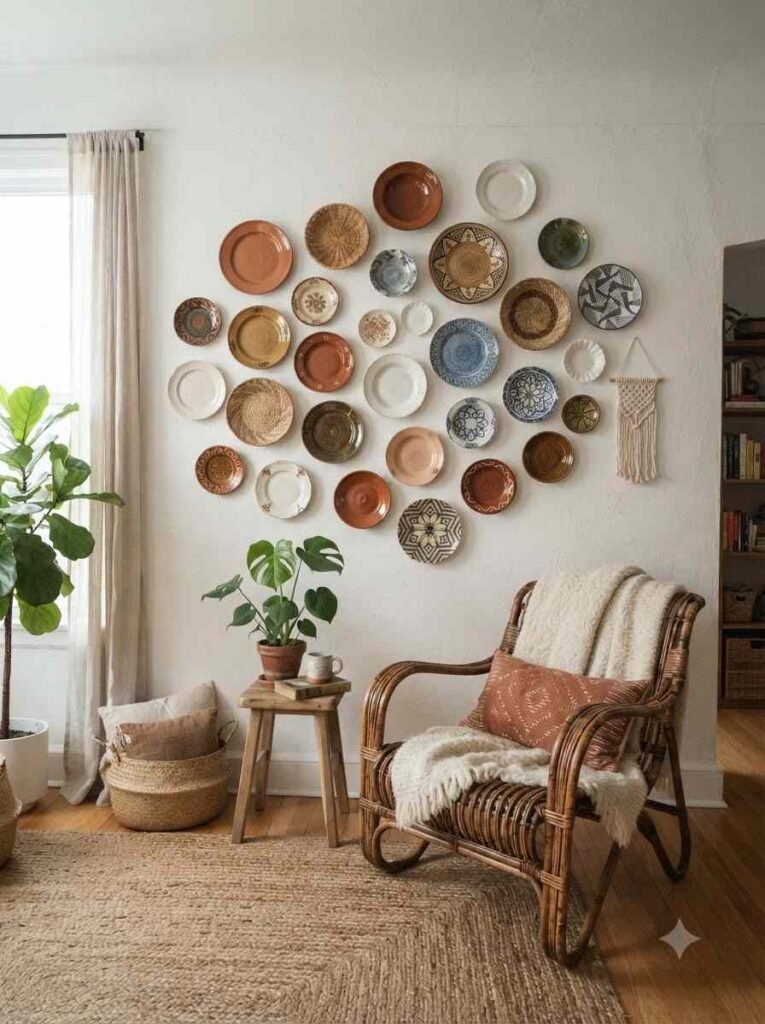
No grid, no symmetry, just plates placed where they feel balanced. This is harder than it sounds.
I’d recommend the paper template trick from earlier so you’re not eyeballing it directly on drywall.
8. The color gradient wall
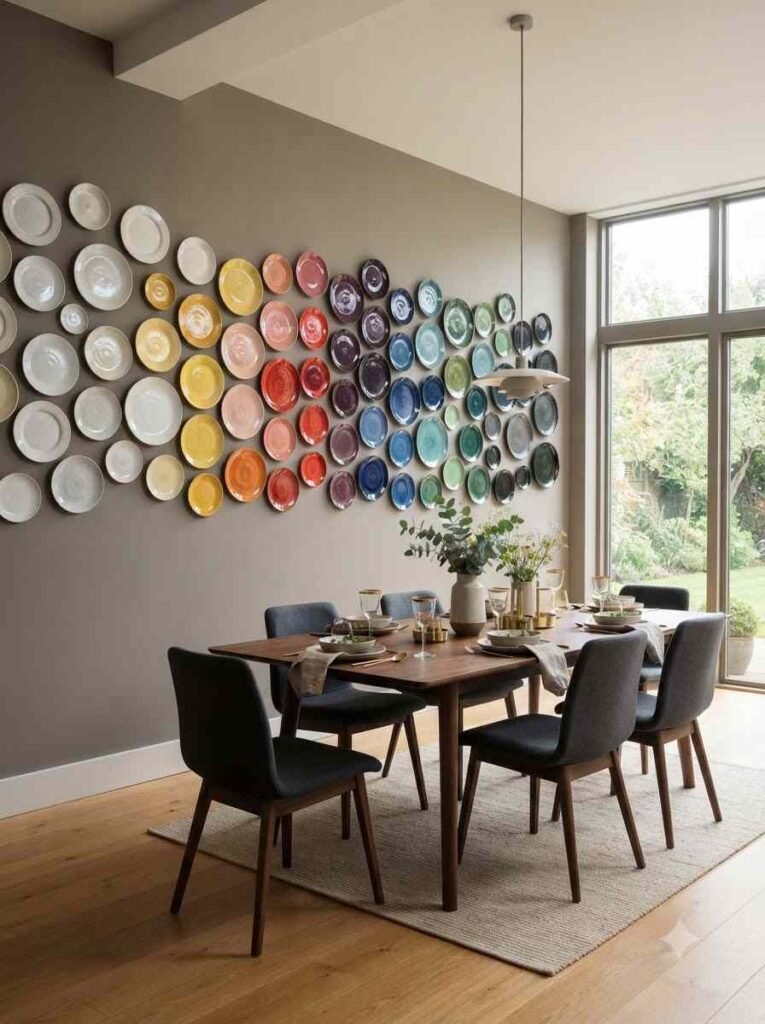
Order your plates from lightest to darkest, or arrange them across the rainbow if your collection allows it.
It’s a fun weekend project, and it photographs incredibly well for anyone building out a Pinterest board.
9. The wave pattern
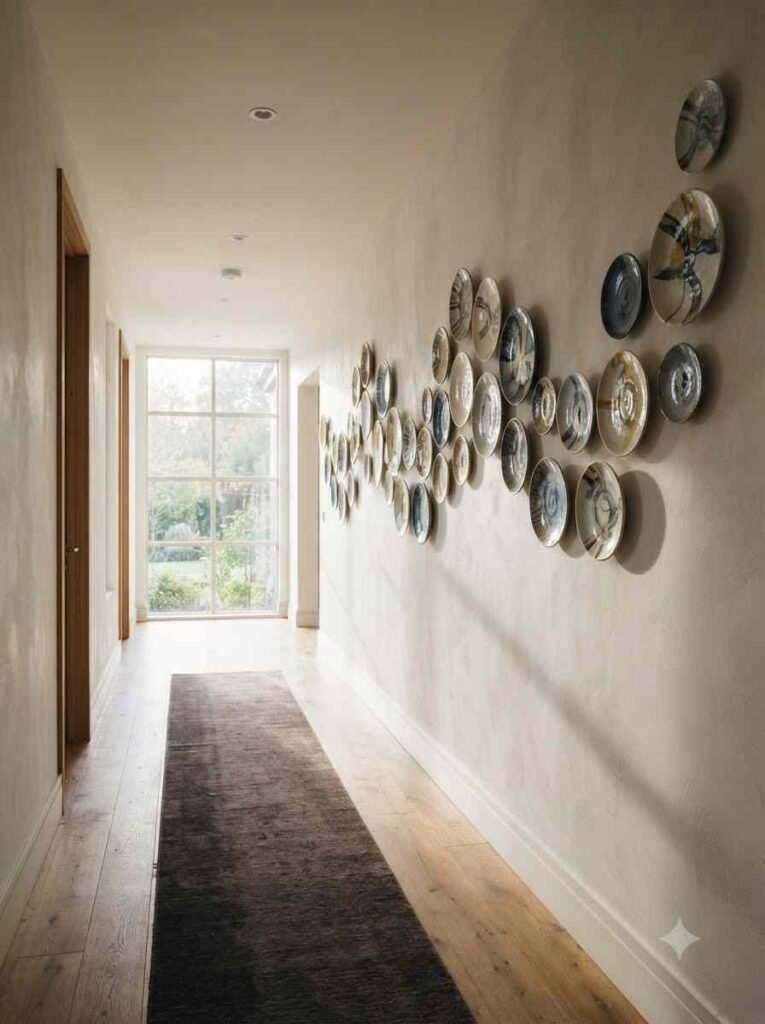
Instead of straight rows, let the plates dip and rise slightly, almost like they’re floating on water. It softens a very square room.
10. The single statement plate
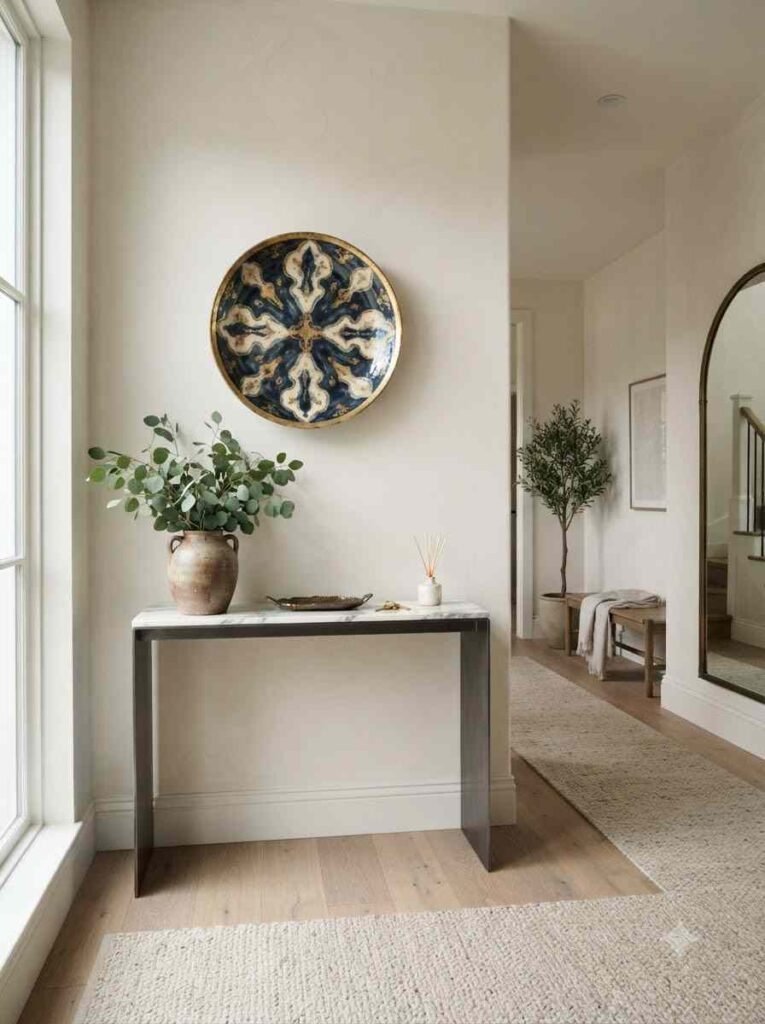
Sometimes less really is more. One large, striking plate above a console table can do more work than a wall full of small ones.
Mixing plates with other decor
11. Plates and framed art together
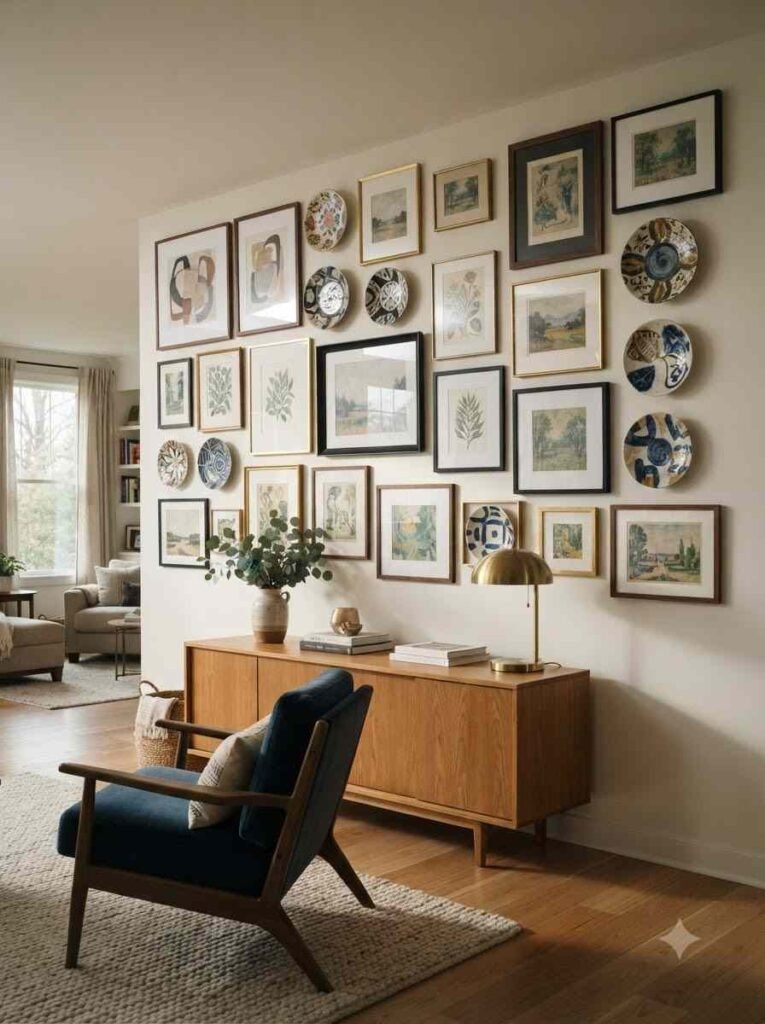
Break up a gallery wall by swapping in three or four plates among your framed prints. It adds texture that flat frames can’t provide on their own.
12. Plates with a mirror centerpiece
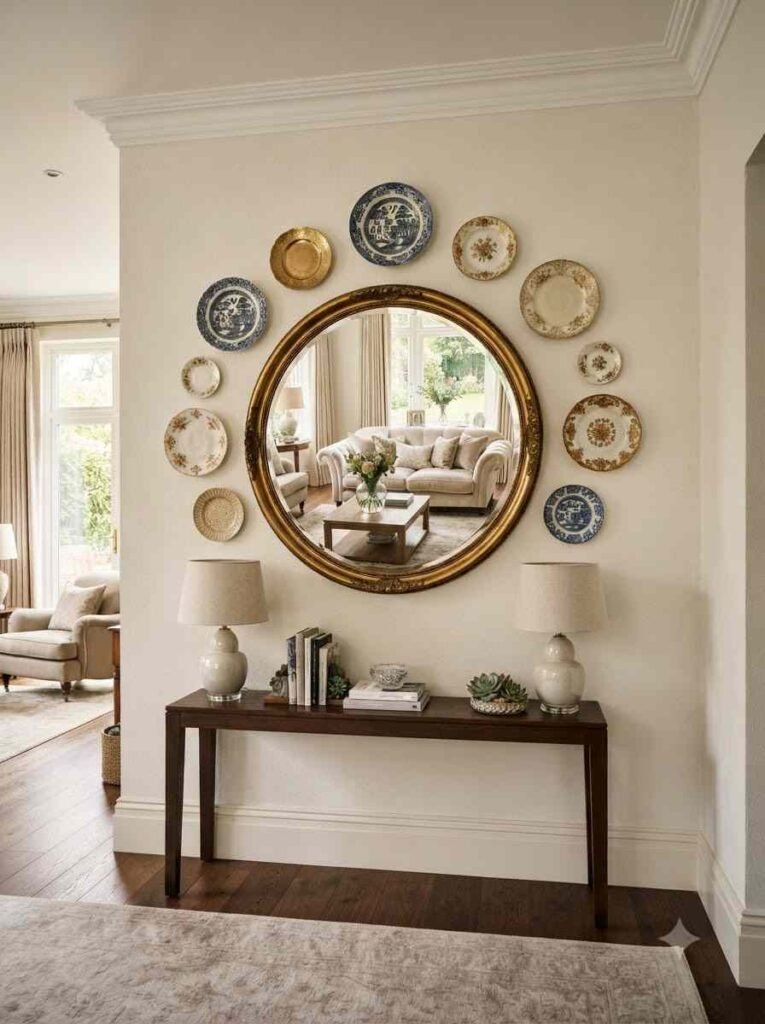
Hang a round or oval mirror in the middle and surround it with plates. The reflection adds depth, and it makes small rooms feel noticeably bigger.
13. Plates and dried florals
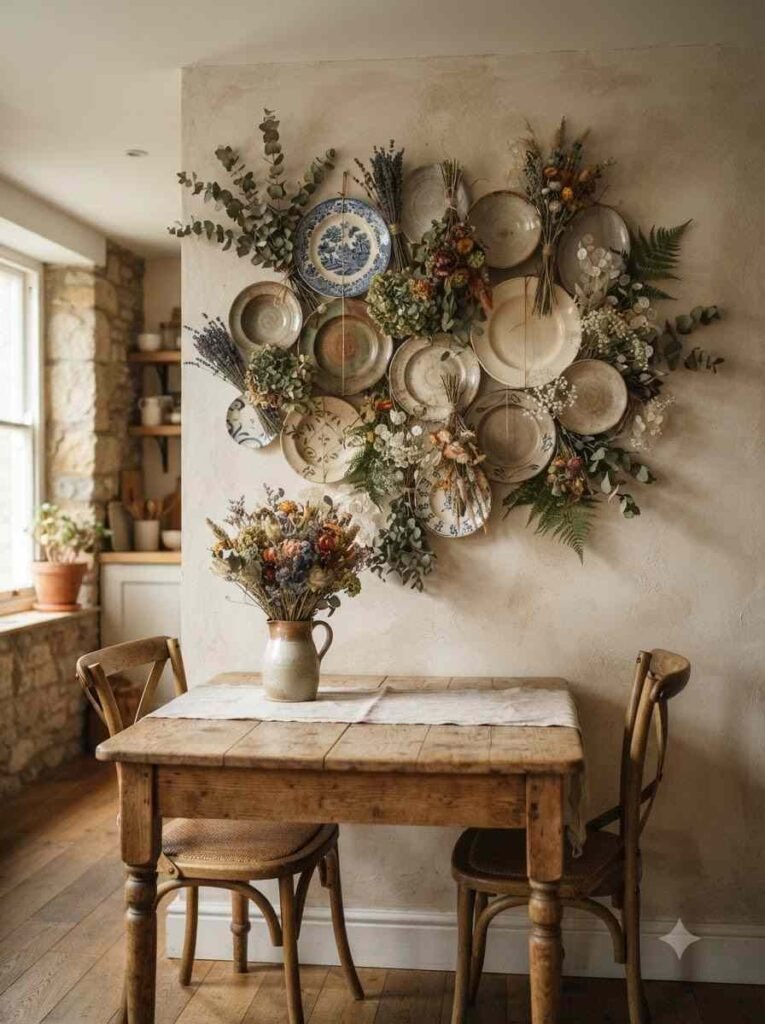
Tuck small dried flower bunches or eucalyptus stems between plates using tiny nails. This softens the hard edges of ceramic and adds a slightly rustic feel.
14. Plates layered over open shelving
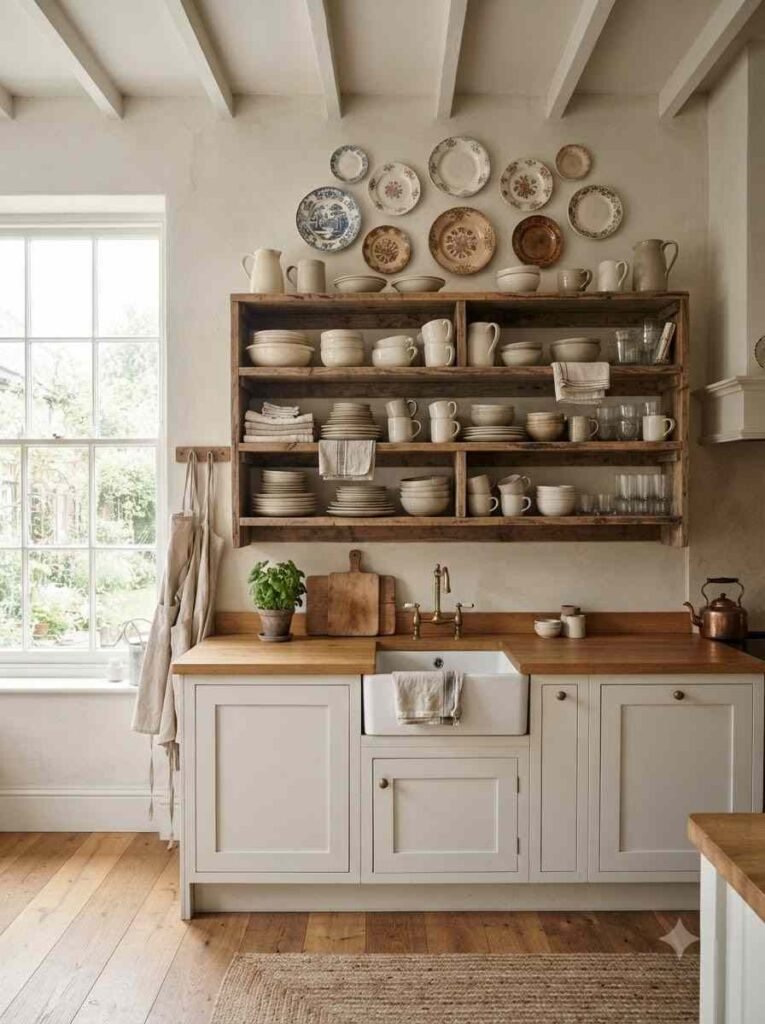
If you’ve got open kitchen shelves, hang a few plates on the wall just above them instead of stacking everything flat. It gives the eye somewhere to travel.
15. Plates with a wreath anchor
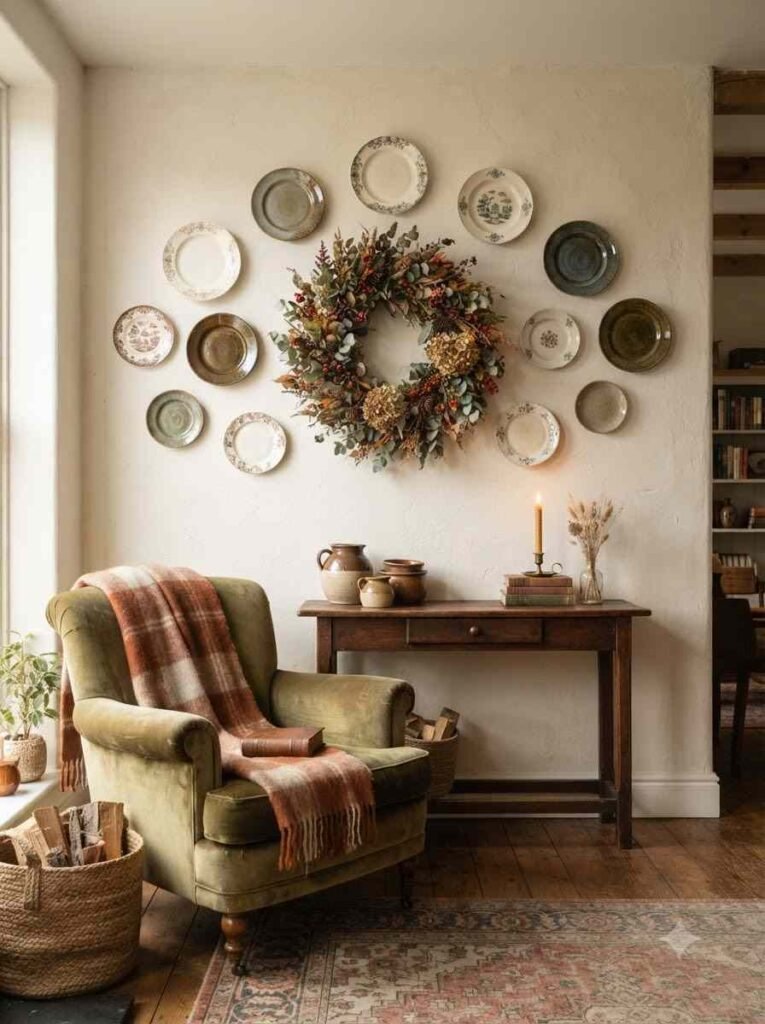
Center a seasonal wreath and build your plate arrangement outward from it. Swap the wreath for the holidays and keep the plates as your year-round base.
Room-by-room ideas worth stealing
16. The kitchen backsplash swap
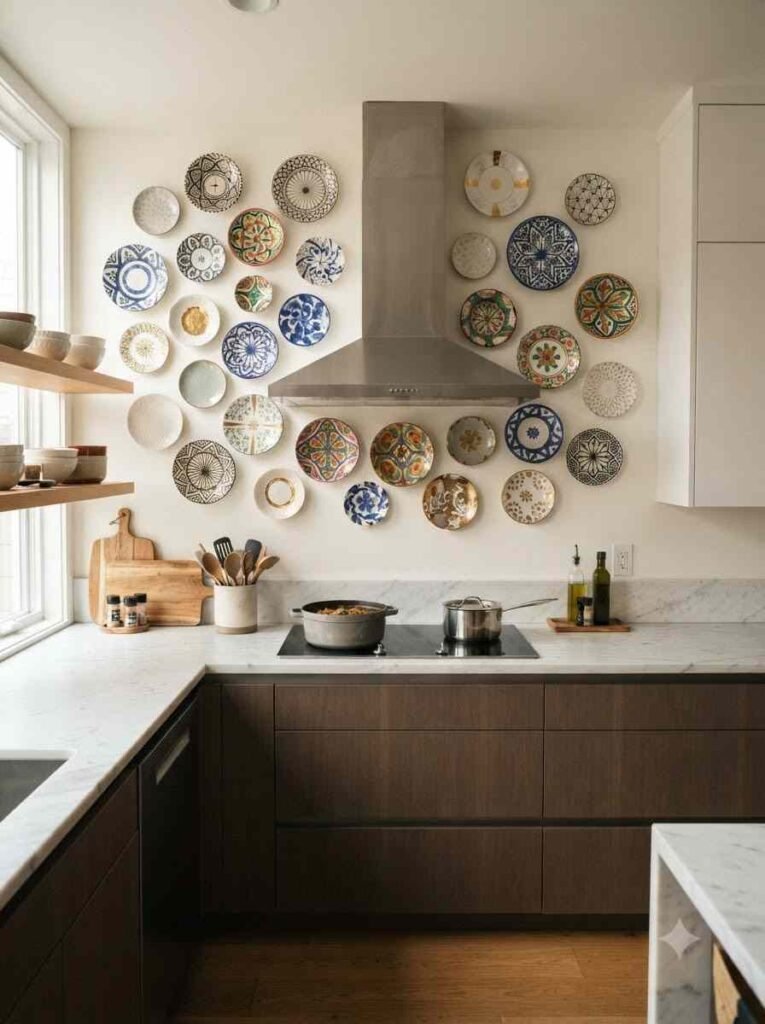
Instead of tile, hang a cluster of plates directly above your stove or counter (just keep them out of direct splatter range). This one gets compliments every single time I’ve done it.
17. The hallway runway
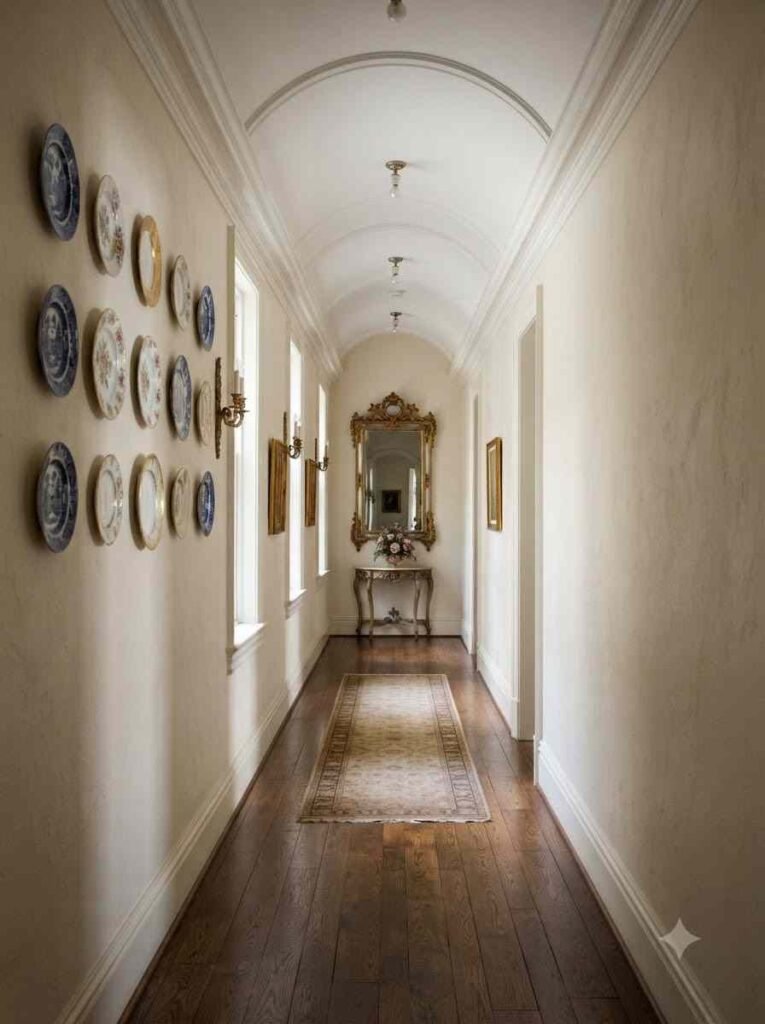
A long, narrow hallway is basically begging for a single-file line of plates leading the eye toward whatever’s at the end.
Works especially well with a mirror or piece of art as the destination point.
18. The bathroom accent
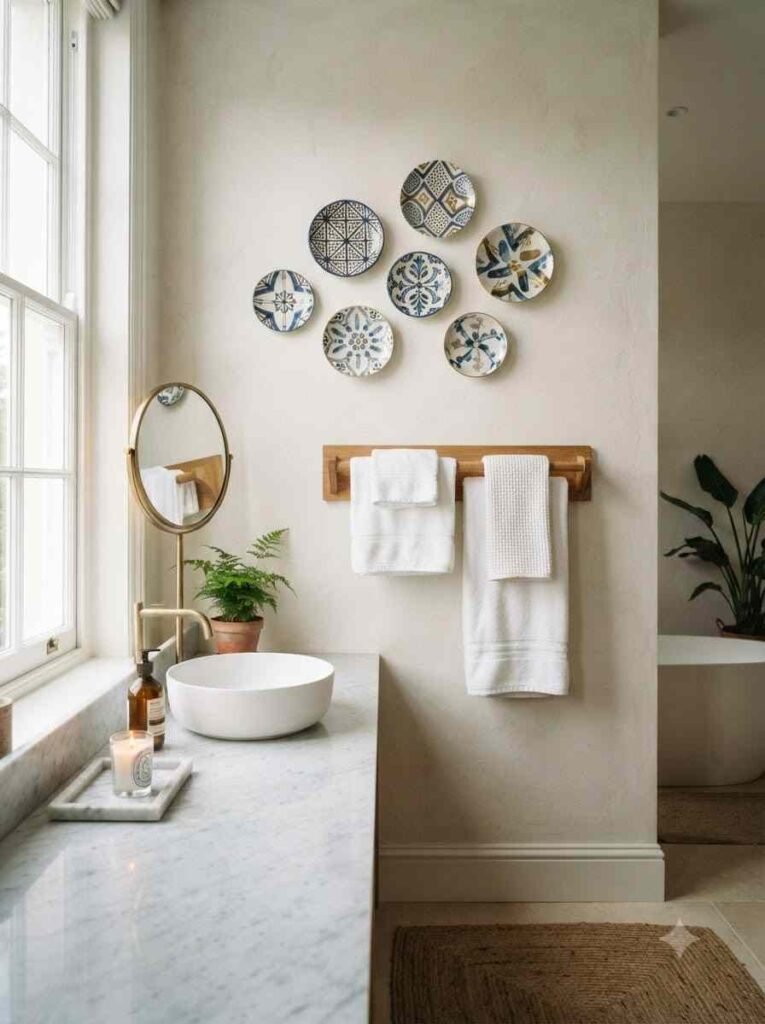
A small grouping of two or three plates above the towel rack adds unexpected personality to a room most people ignore when decorating.
19. The reading nook backdrop
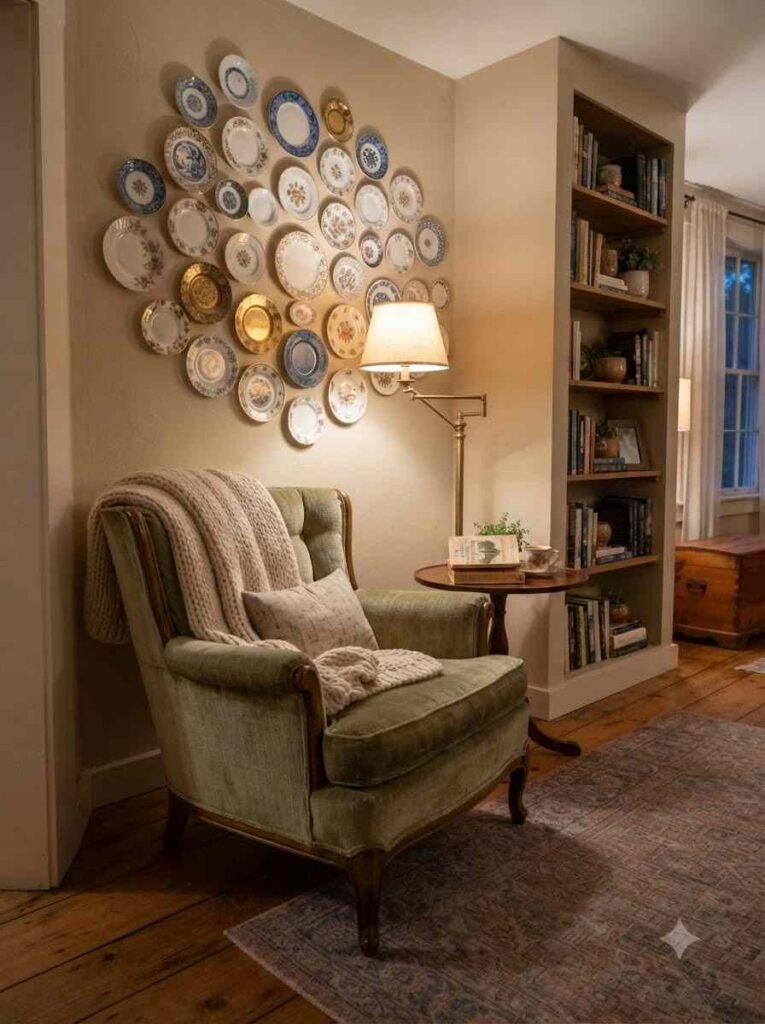
Behind a favorite armchair, a tight cluster of small plates creates a cozy focal point without competing with a bookshelf or lamp.
20. The dining room ceiling trick
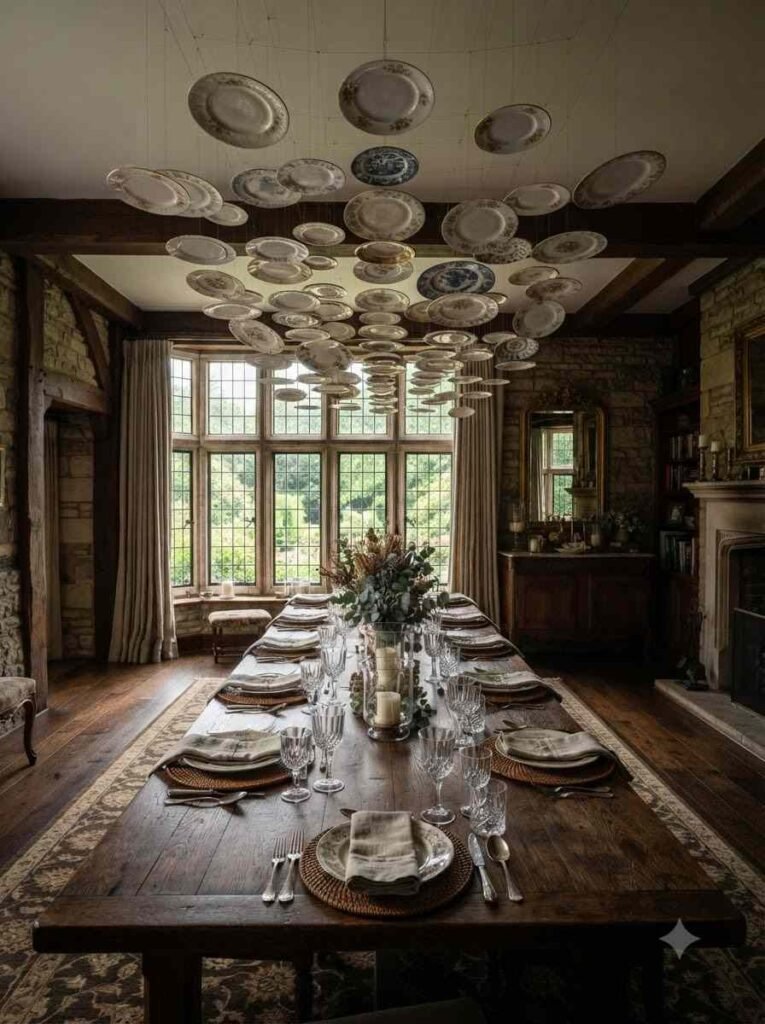
This one’s unconventional, and honestly kind of a flex: hang a few flat plates from the ceiling above your dining table using thin wire.
It’s a striking centerpiece if your ceiling height allows it and your guests won’t be reaching upward mid-meal.
For renters and commitment-phobes
21. The ladder-and-hook combo
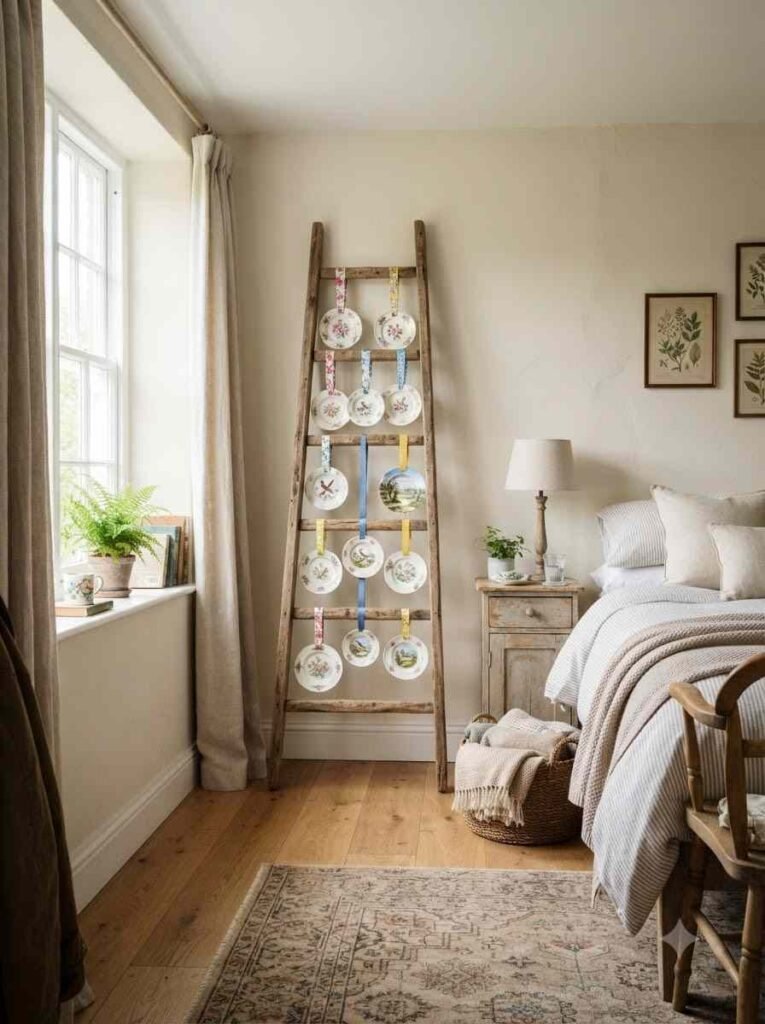
Lean a decorative ladder against the wall and hang a few small plates from its rungs using S-hooks or ribbon.
Zero holes, fully reversible, and it takes ten minutes.
22. The removable command-strip gallery
Build your entire layout using adhesive strips rated for the weight of each plate.
Homes & Gardens’ expert guide notes that these strips let you rearrange or take down the whole display without touching the wall underneath, which makes this the least stressful option if you’ve never hung a plate in your life.
A quick word of caution here: I’ve read reports (and had it happen to a friend) of adhesive discs losing their grip in humid conditions, especially in kitchens or bathrooms without great ventilation.
If you’re going the adhesive route in a humid room, check the weight rating twice and consider a backup nail for anything heavier than a dinner plate.
A few things I wish someone had told me
Measuring the plate correctly matters more than people think.
You measure across the back, rim to rim, not the front, because the hanger needs to clear any raised ridges.
Get this wrong and your plate hangs crooked no matter how careful you were with the wall.
Also, test your hanger’s grip before committing it to the wall. Squeeze it around the plate rim and give it a gentle tug. If it feels loose, size down. A plate crashing to the floor at 2am is not a sound you want to learn from personally (ask me how I know).
FYI, if you’re working with genuinely valuable or antique china, skip the adhesive methods entirely.
The removal process for some disc hangers involves soaking in water, and that’s not a risk worth taking with something irreplaceable.
FAQ
Do plate hangers damage the plates? Wire and spring hangers are generally safe for sturdy ceramic and porcelain, but they can scratch delicate glazes or antique finishes over time.
Adhesive discs avoid scratching but can leave a faint residue mark on the back of the plate after removal.
How do I arrange plates of different sizes without it looking messy? Start with your largest plate as the anchor point and build outward, alternating sizes as you go. Using paper templates taped to the wall first lets you shuffle the layout freely before anything is permanent.
Can I hang heavy or antique plates safely? Yes, but skip lightweight adhesive strips for anything over a pound or two.
A drywall screw with a D-ring, anchored properly into a stud where possible, gives the strongest hold for statement or heirloom pieces.
Final thought
Twenty-two ideas is a lot to choose from, and honestly, you don’t need all of them. Pick one layout that matches your space, grab five or six plates you actually love, and give yourself an afternoon.
So which one’s calling your name: the staircase climb, the ceiling trick, or something you’re already picturing on your own wall? Save this post, pin your favorite idea, and tell me in the comments which layout you’re trying first.
