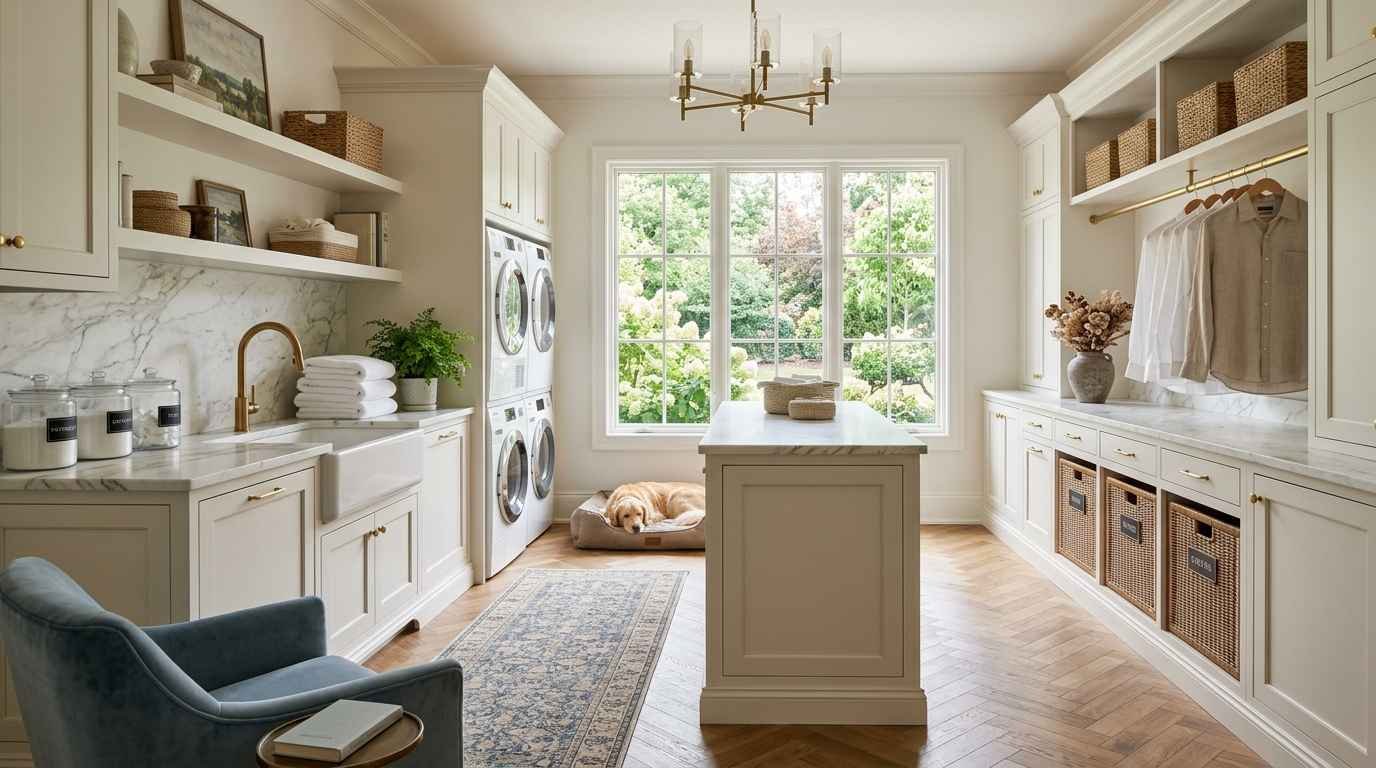
I used to think the laundry room was the one space in a house that didn’t deserve any love. Mine was a dark closet with a flickering bulb and a shelf that held exactly one bottle of detergent and a lot of regret.
Then I redid mine, and everything changed. Folding laundry stopped feeling like a punishment.
Friends who came over for coffee somehow ended up standing in my laundry room, staring at the tile, asking who did it.
So here are 31 ideas I’ve either used myself, pinned a hundred times, or stolen from designers who clearly know something I don’t. Pull up Pinterest, start a board, and let’s get into it.
Start With the Bones: Color, Material and Layout Ideas
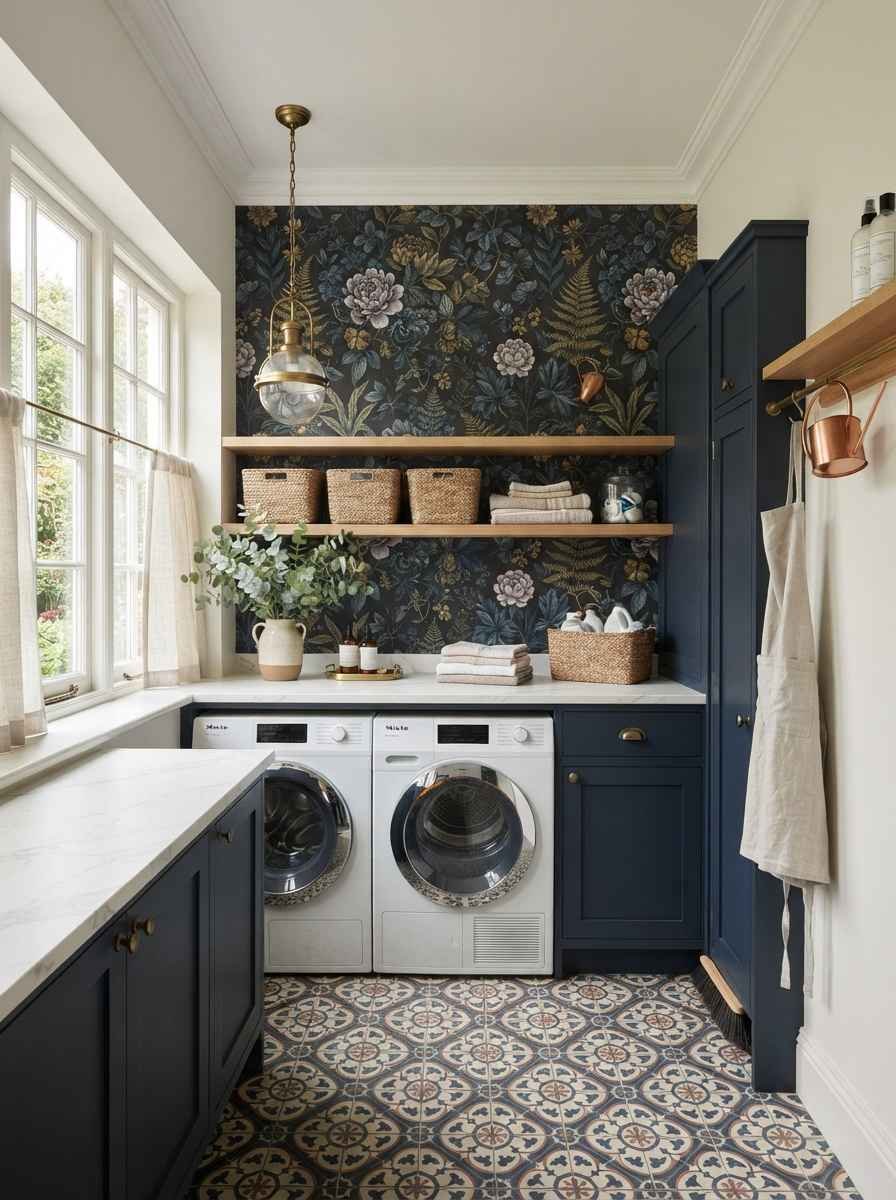
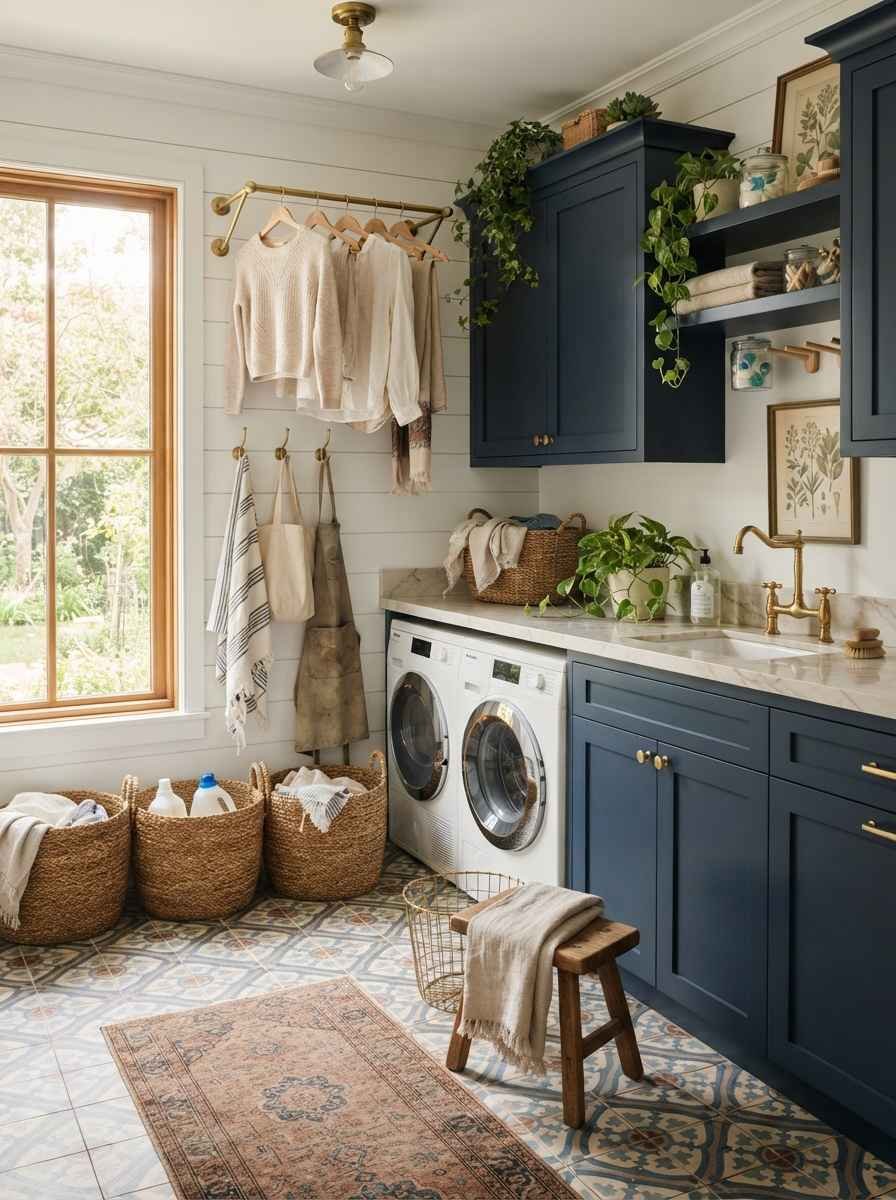
1. Go with a deep, moody paint color. Navy, forest green, or charcoal on the walls makes a small laundry room feel like a jewel box instead of an afterthought.
Sherwin-Williams has a great color visualizer tool if you want to test shades before committing.
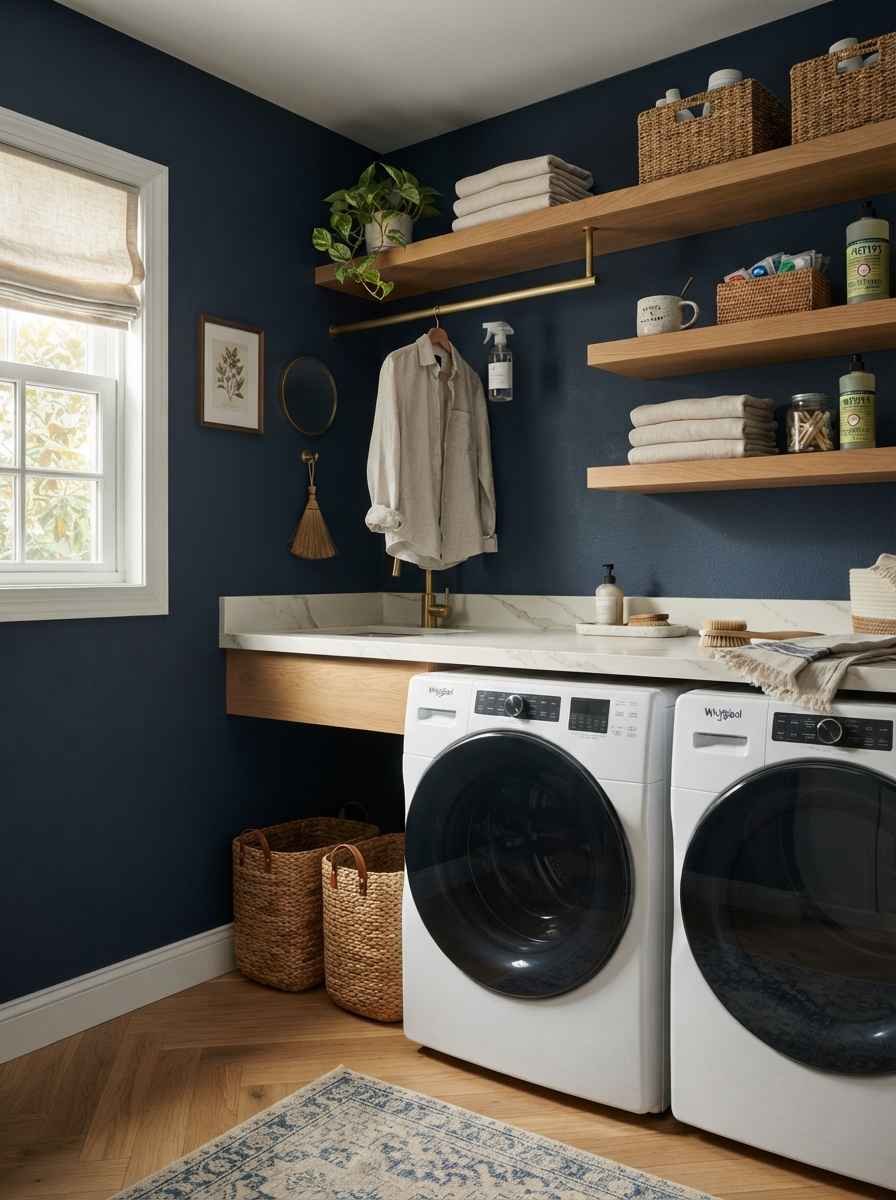
2. Use real stone or a convincing quartz countertop. A folding counter in marble or a marble-look quartz instantly reads expensive, even if the appliances underneath are 10 years old.
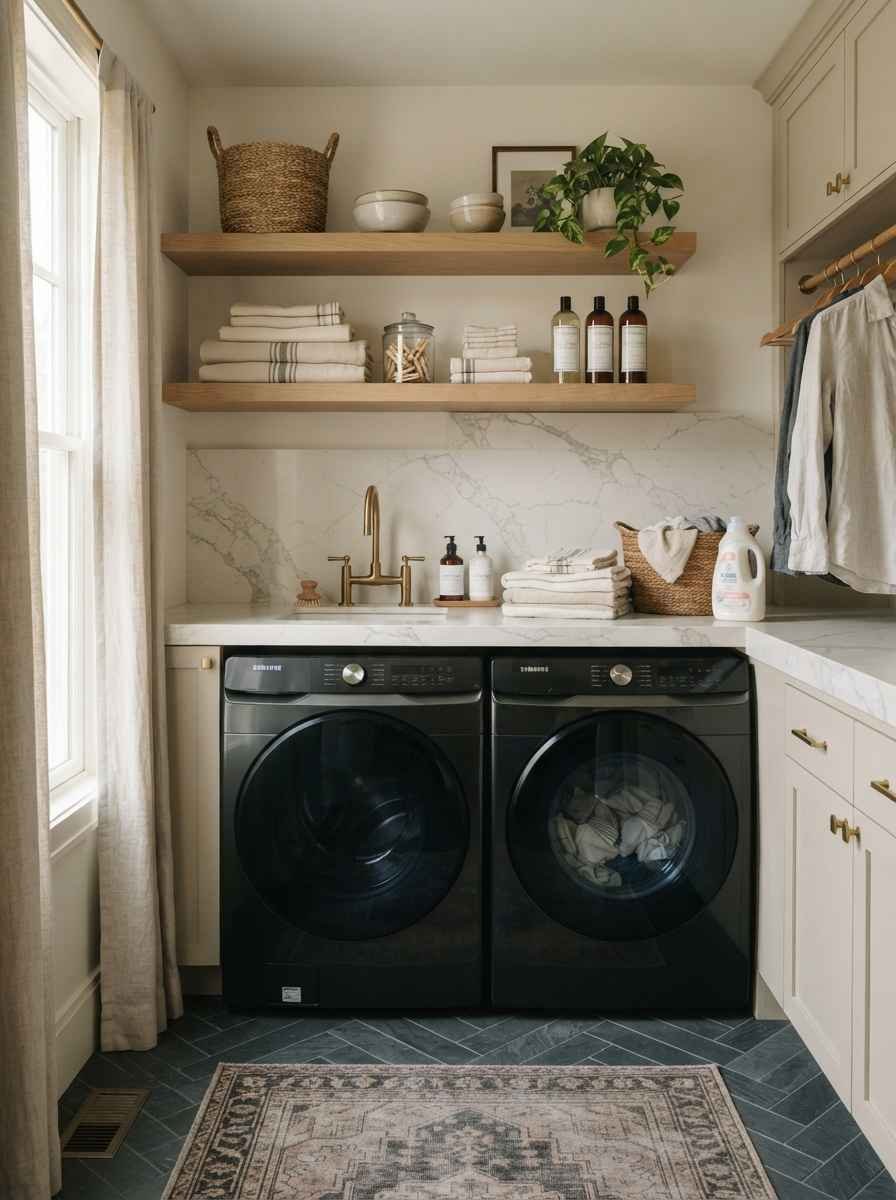
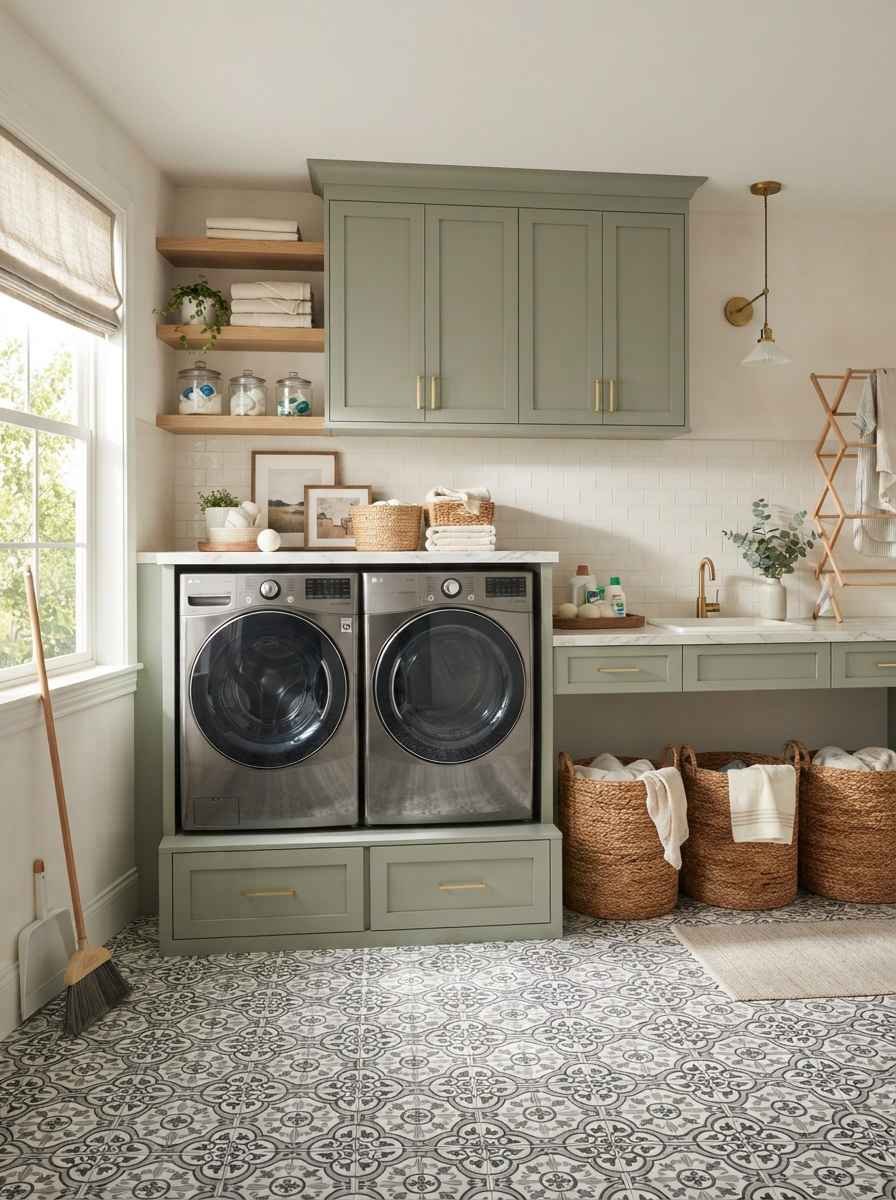
3. Install patterned cement tile on the floor. This is my personal favorite on this whole list. It’s the fastest way to make a laundry room look designed rather than default.
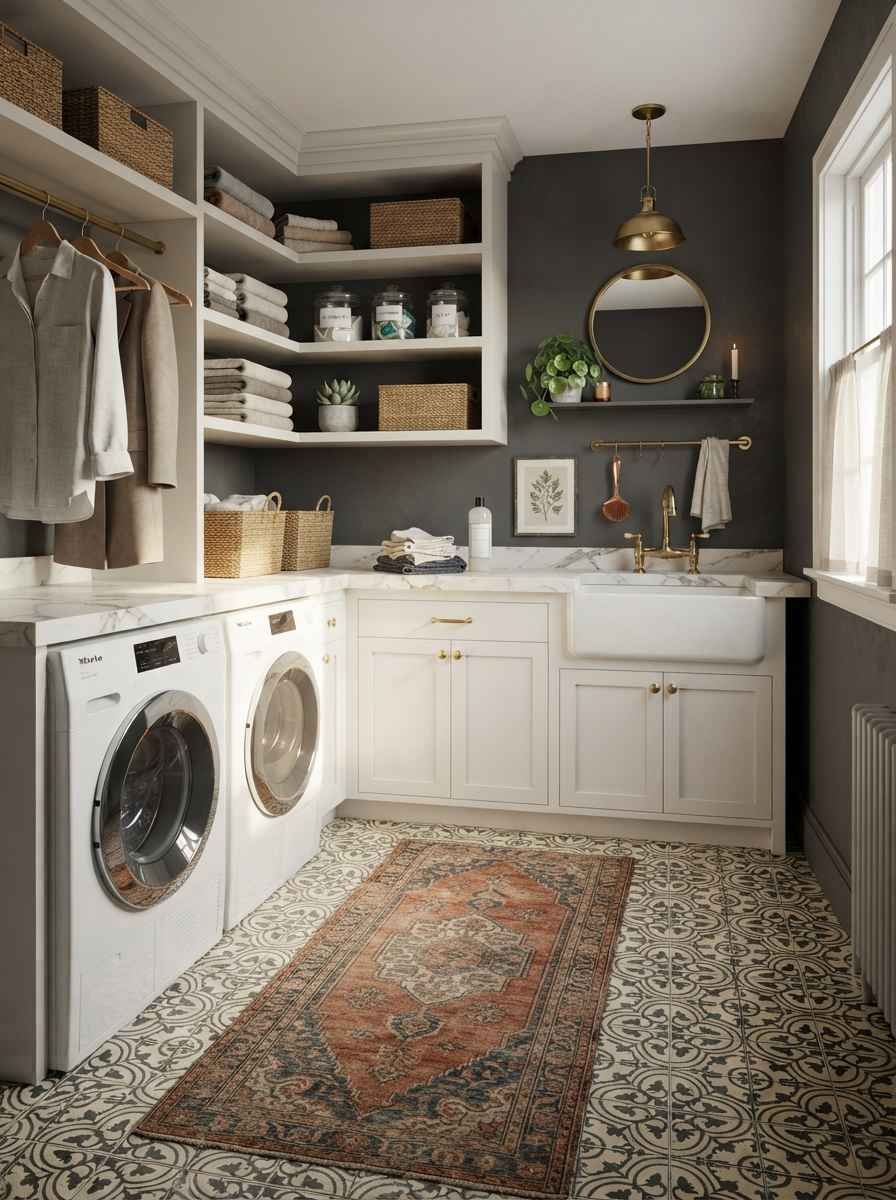
4. Skip the standard white cabinets. Try navy, sage, or even black shaker cabinets instead. White is fine. White is also what every builder-grade laundry room already has.
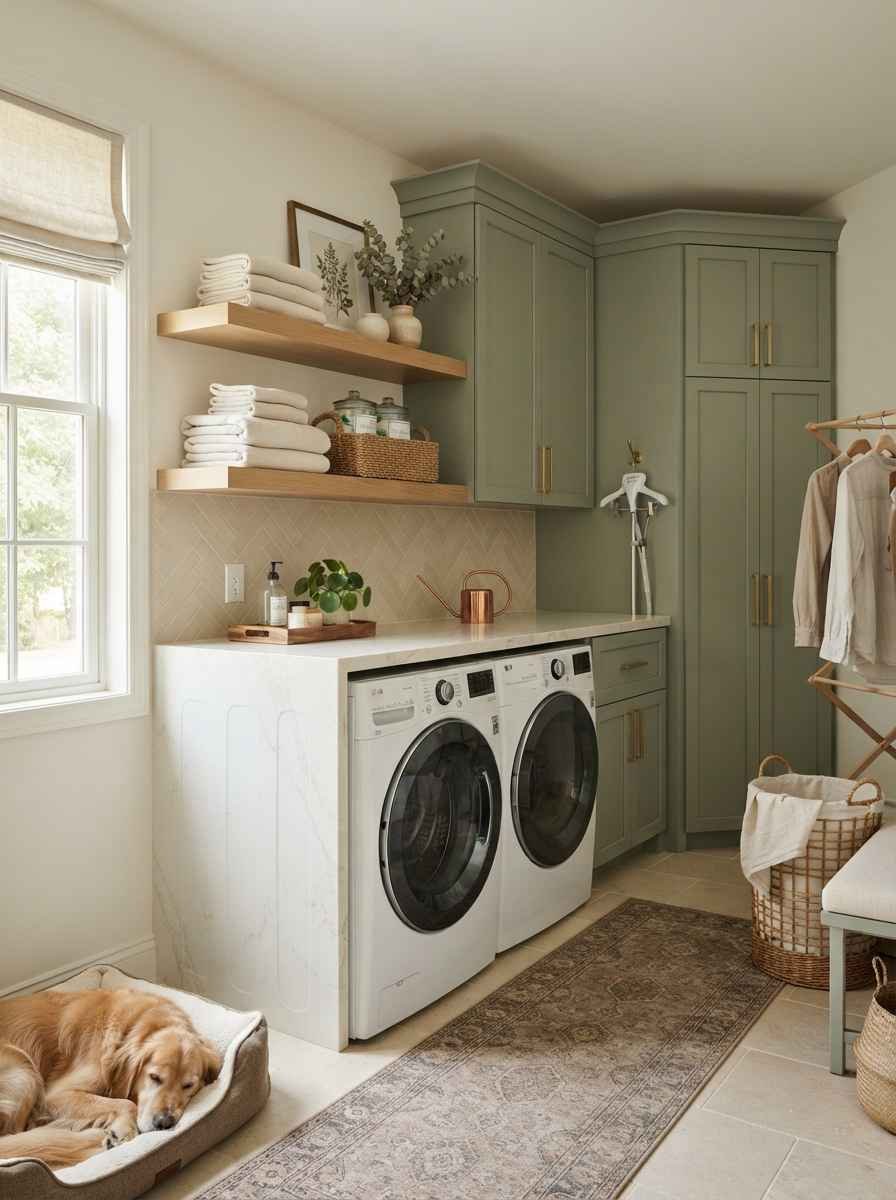
5. Add a runner rug. A vintage-style runner in a small space does more for the “expensive home” feeling than almost anything else on this list, and it costs under $150 in most cases.
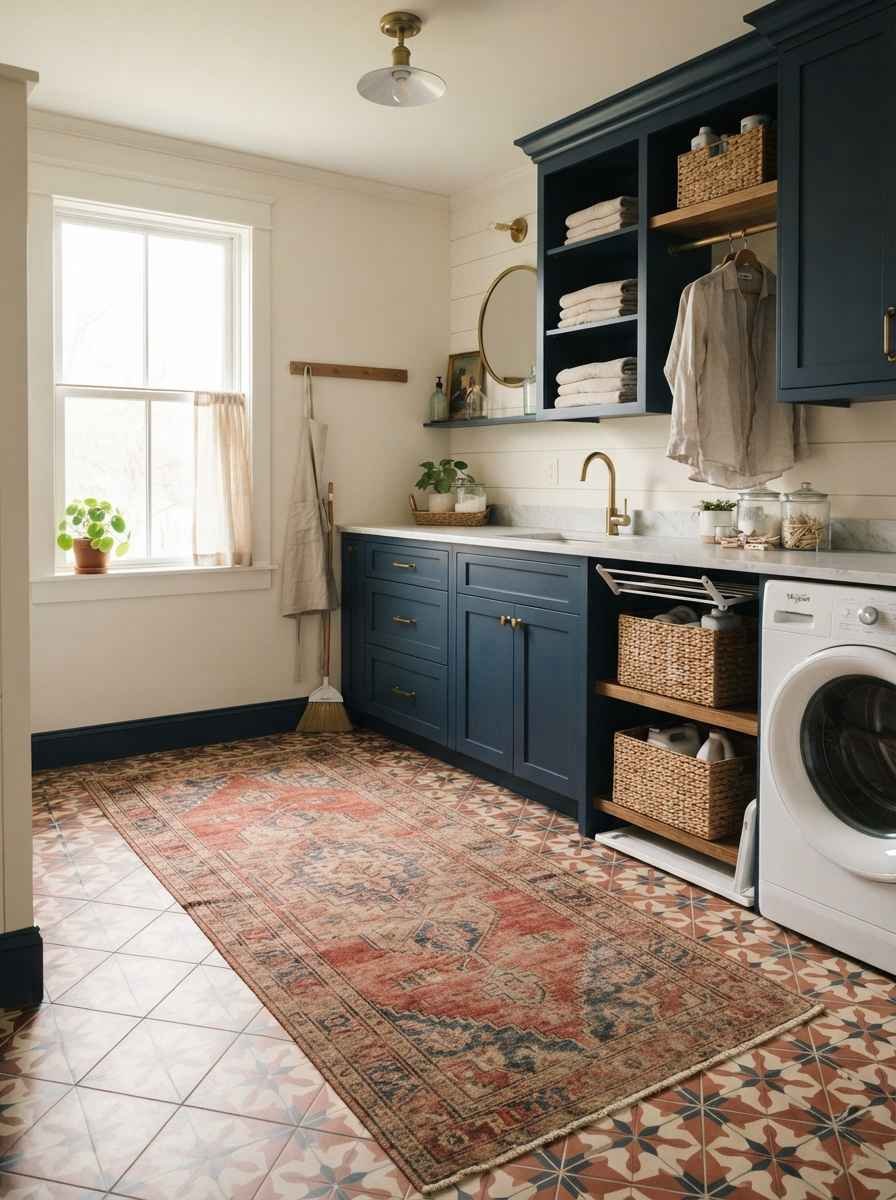
6. Hide the machines behind cabinet panels. Front-load washers and dryers can sit behind custom panel doors so the whole wall looks like built-in furniture instead of an appliance showroom.
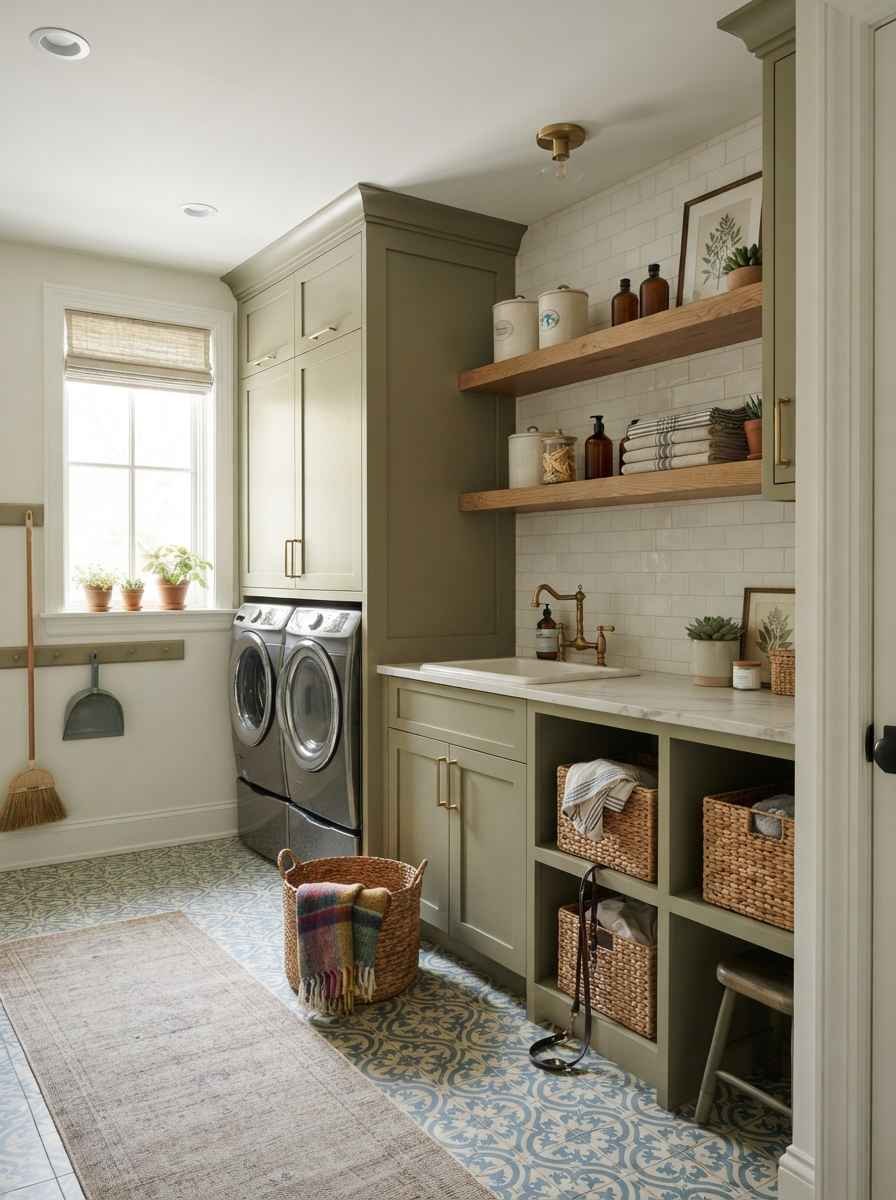
7. Frame the room with wide baseboards and simple crown molding. Builders skip this in utility spaces constantly. Adding it back is a small move with a big payoff.
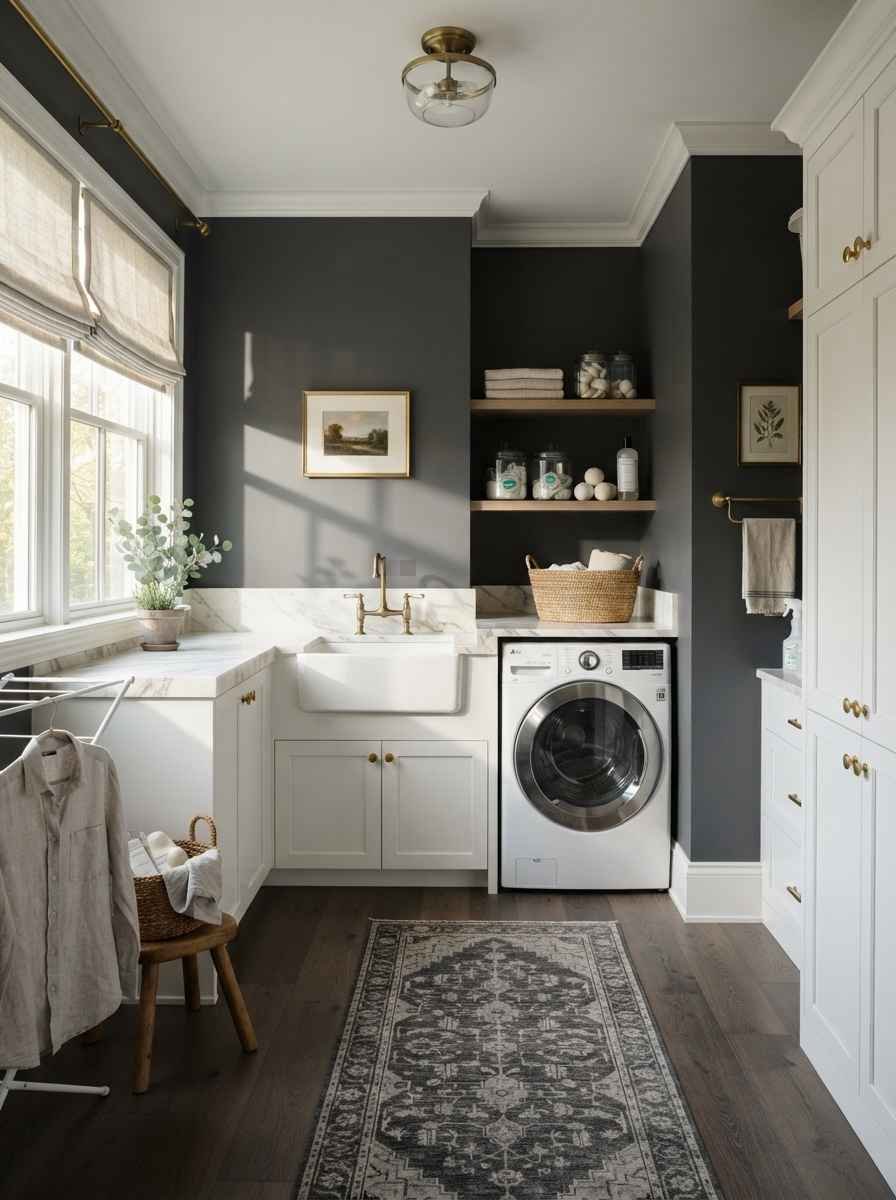
8. Use a single, bold wallpaper wall. One wall, not four. A busy botanical or geometric print on just the back wall keeps the room interesting without overwhelming a small footprint.
Storage That Actually Works
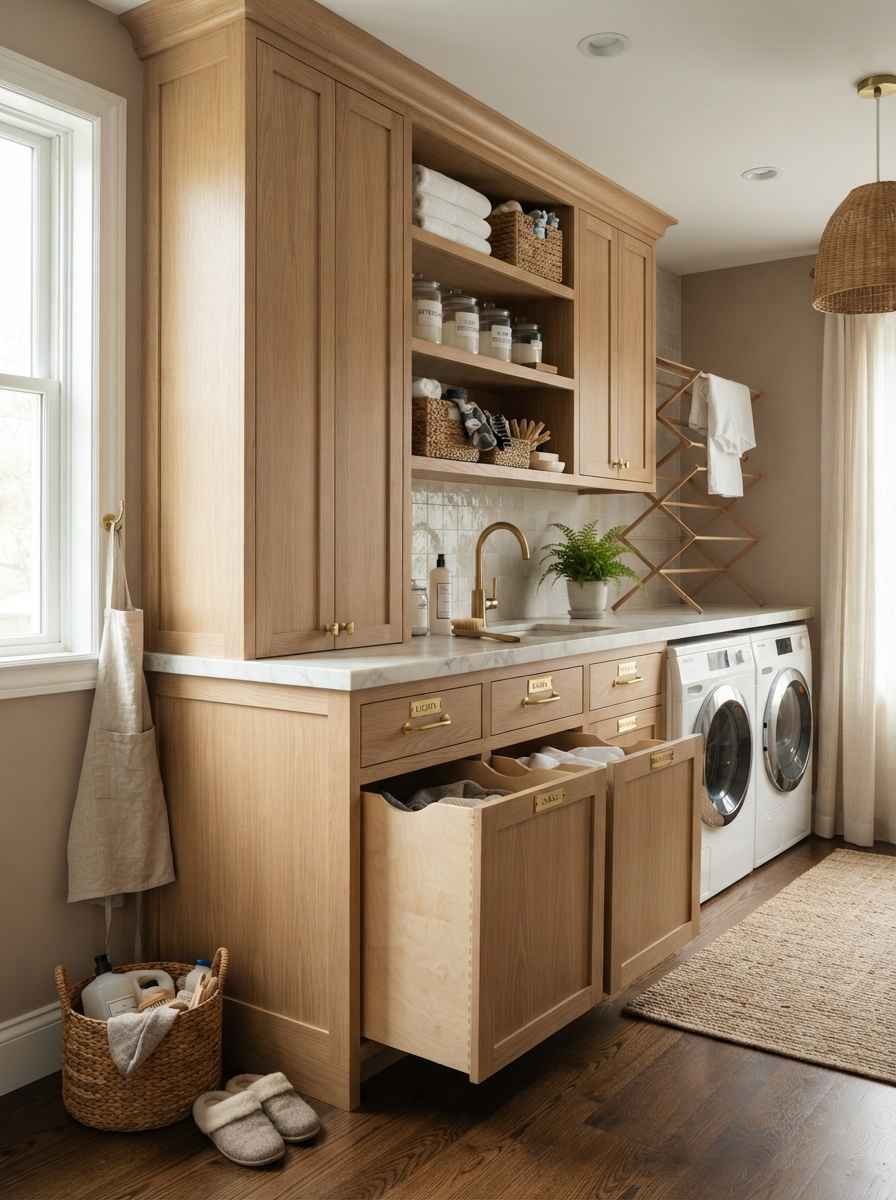
9. Build in a hamper system with pull-out bins. Sort lights, darks, and delicates before they even hit the machine. IMO this single change saves more time than any gadget I’ve bought.
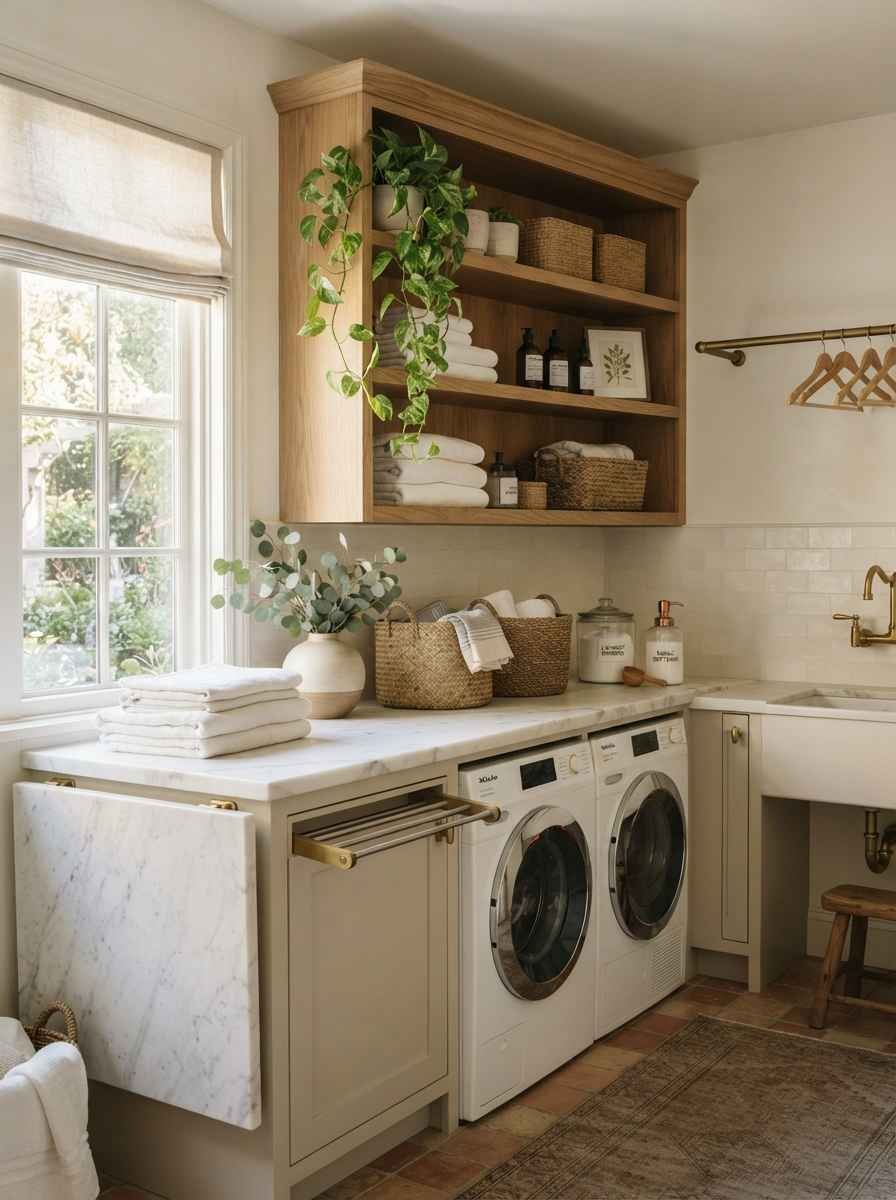
10. Add open shelving above the counter. Open shelves for baskets and folded towels look intentional. Closed cabinets everywhere can make a small room feel closed off too.
11. Install a rolling cart for detergent and supplies. It tucks under the counter and pulls out when you need it. Small apartments especially benefit from this one.
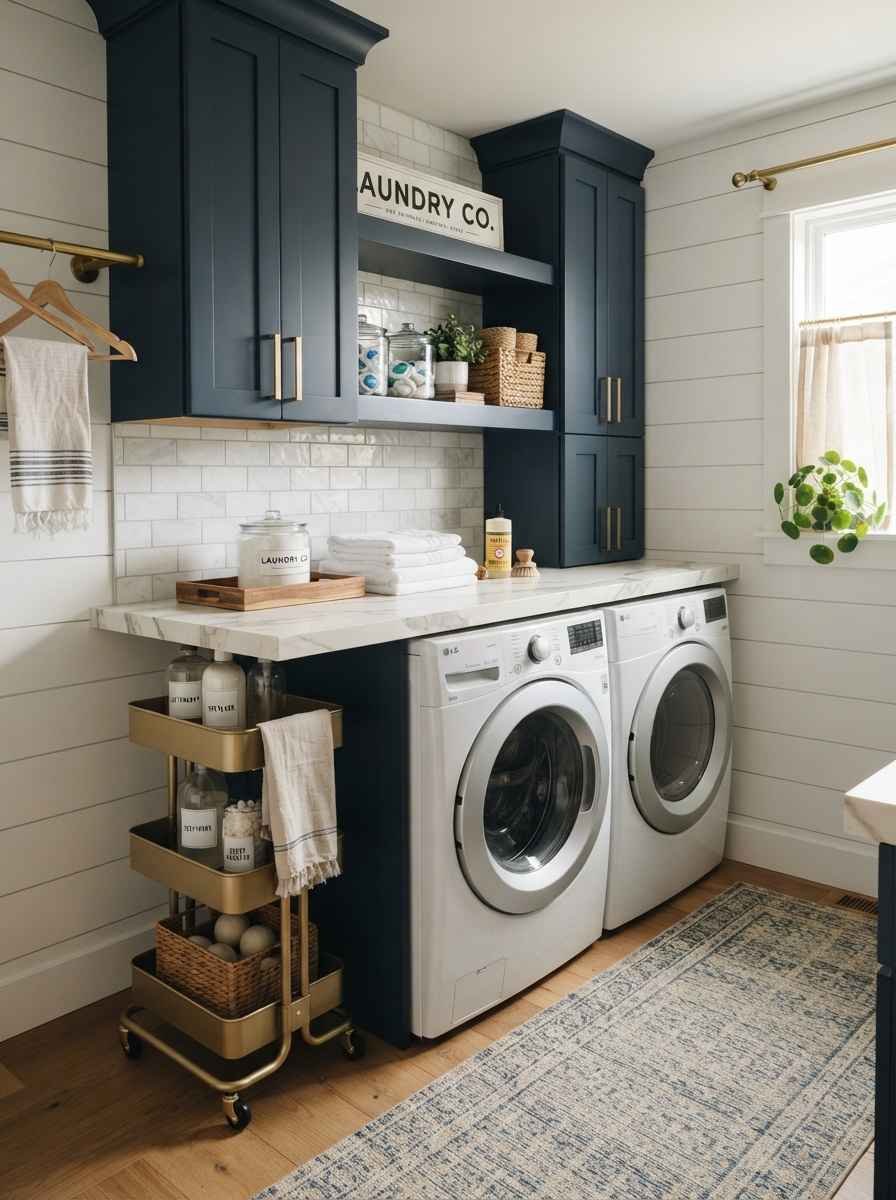
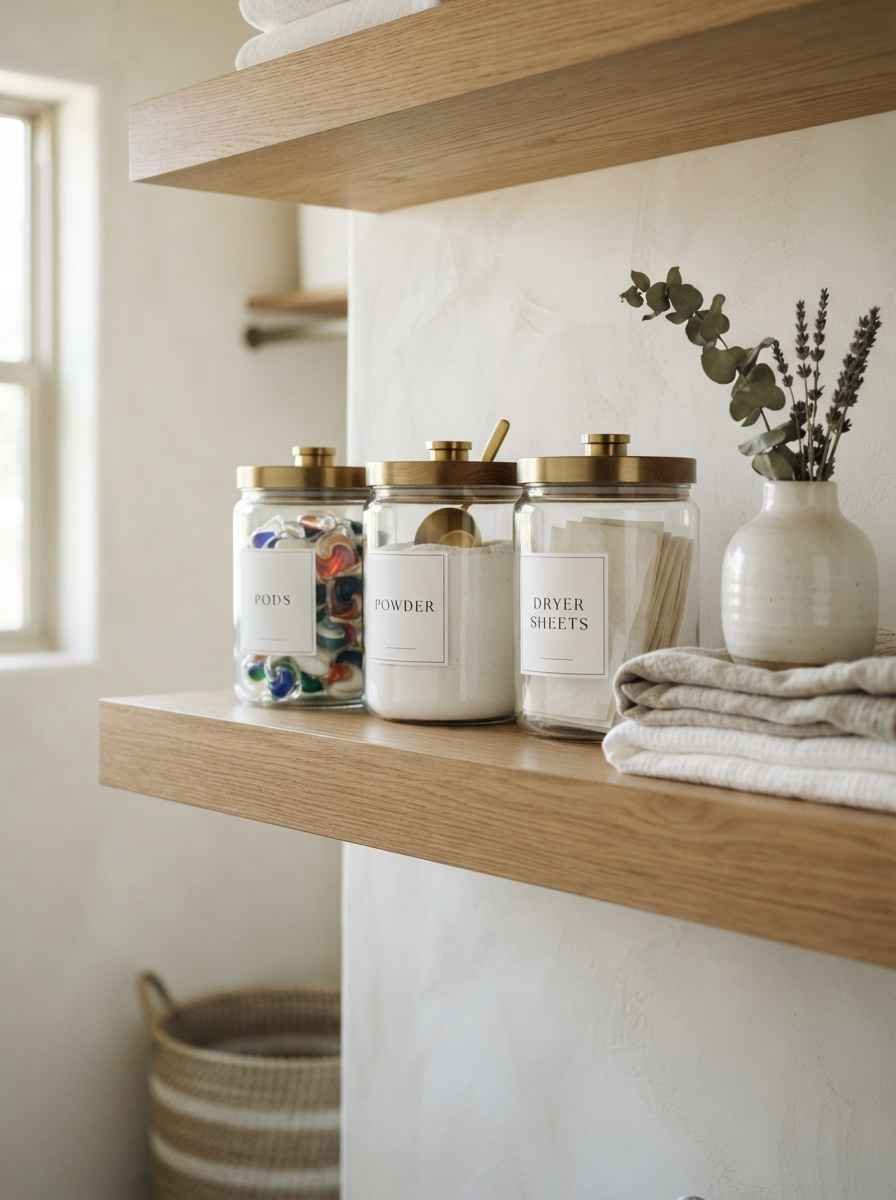
12. Use glass jars for detergent and pods. This is a classic Pinterest move for a reason. Glass jars with wood or brass lids look far nicer than plastic jugs sitting on a shelf.
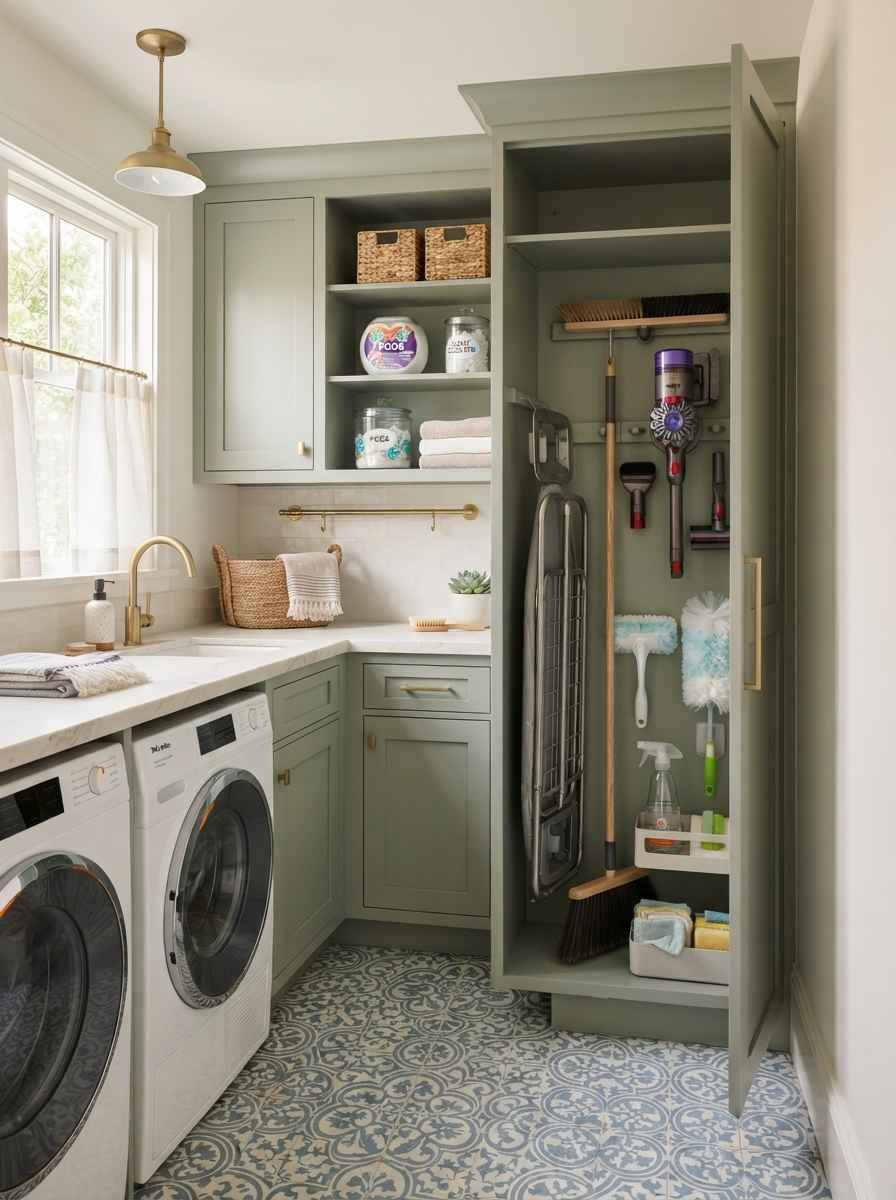
13. Add a slim vertical cabinet for ironing boards and mops. Every laundry room needs a place for the tall, awkward stuff. A narrow pull-out cabinet solves it without eating floor space.
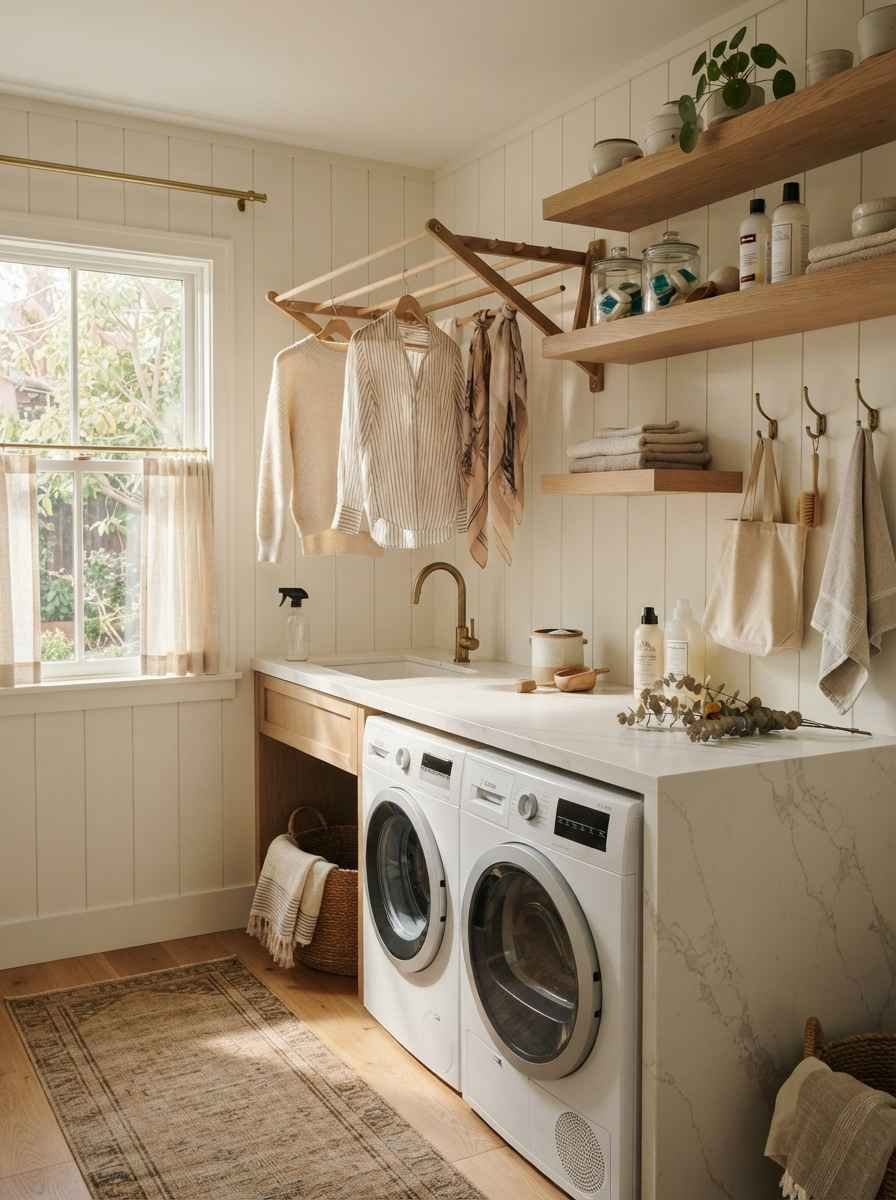
14. Install a built-in drying rack that folds flat against the wall. You use it, you fold it away, and the wall looks clean again. No more sweaters draped over doorknobs.
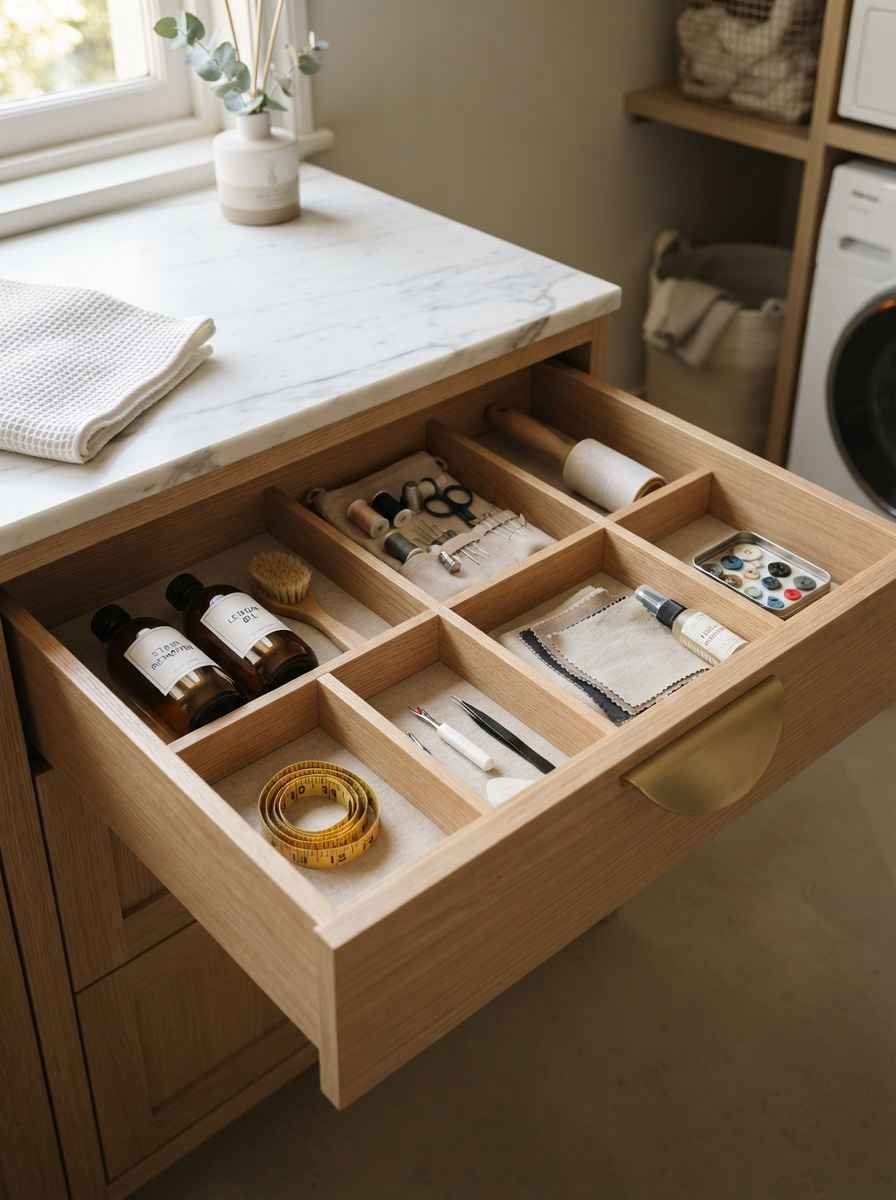
15. Add a small drawer specifically for stain removers and sewing supplies. Sounds boring. It’s genuinely one of the more useful additions once it’s there. You’ll wonder how you lived without it.
Lighting and Fixtures Worth the Splurge
16. Swap the builder-grade flush mount for a real light fixture. A brass flush mount or a small pendant changes the entire mood of the room for around $80 to $200.
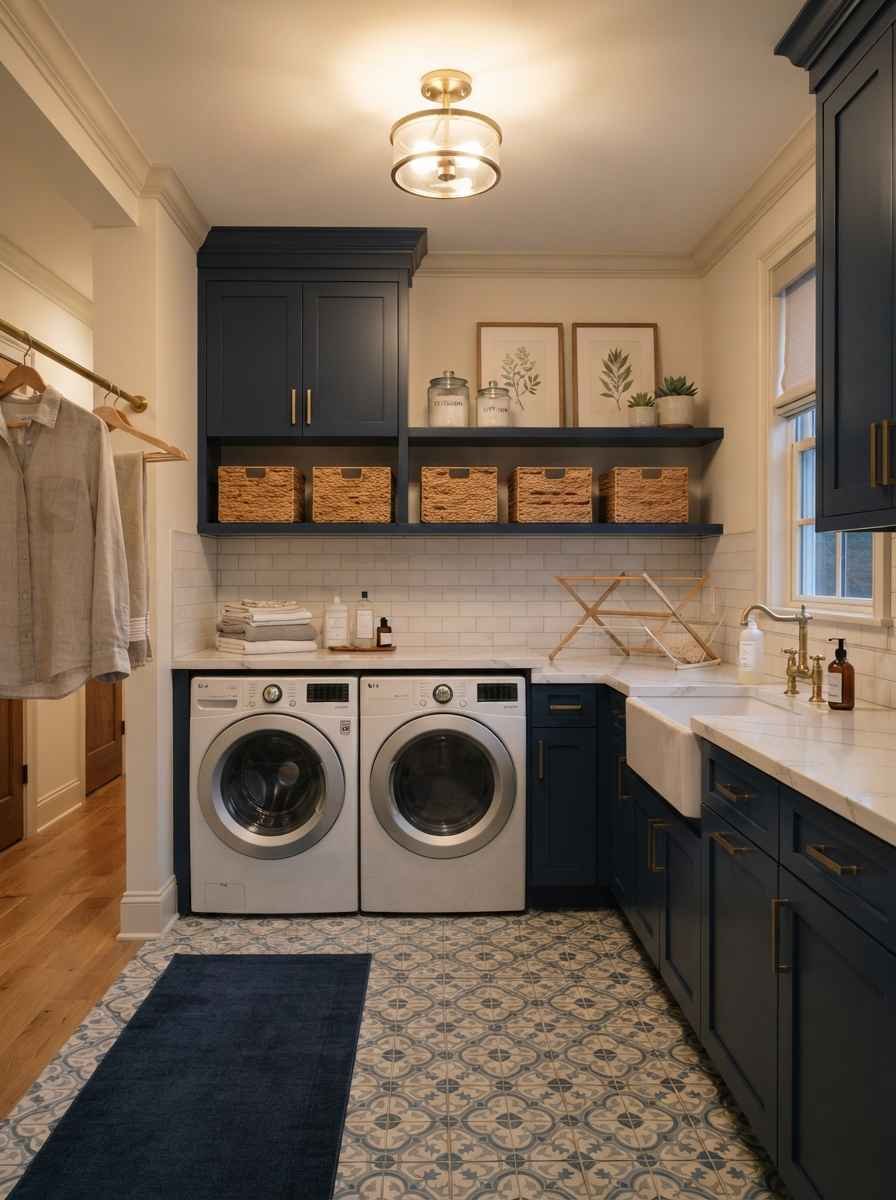
17. Add under-cabinet lighting over the folding counter. You need actual task lighting when you’re checking a shirt for stains, not just ambient glow from across the room.
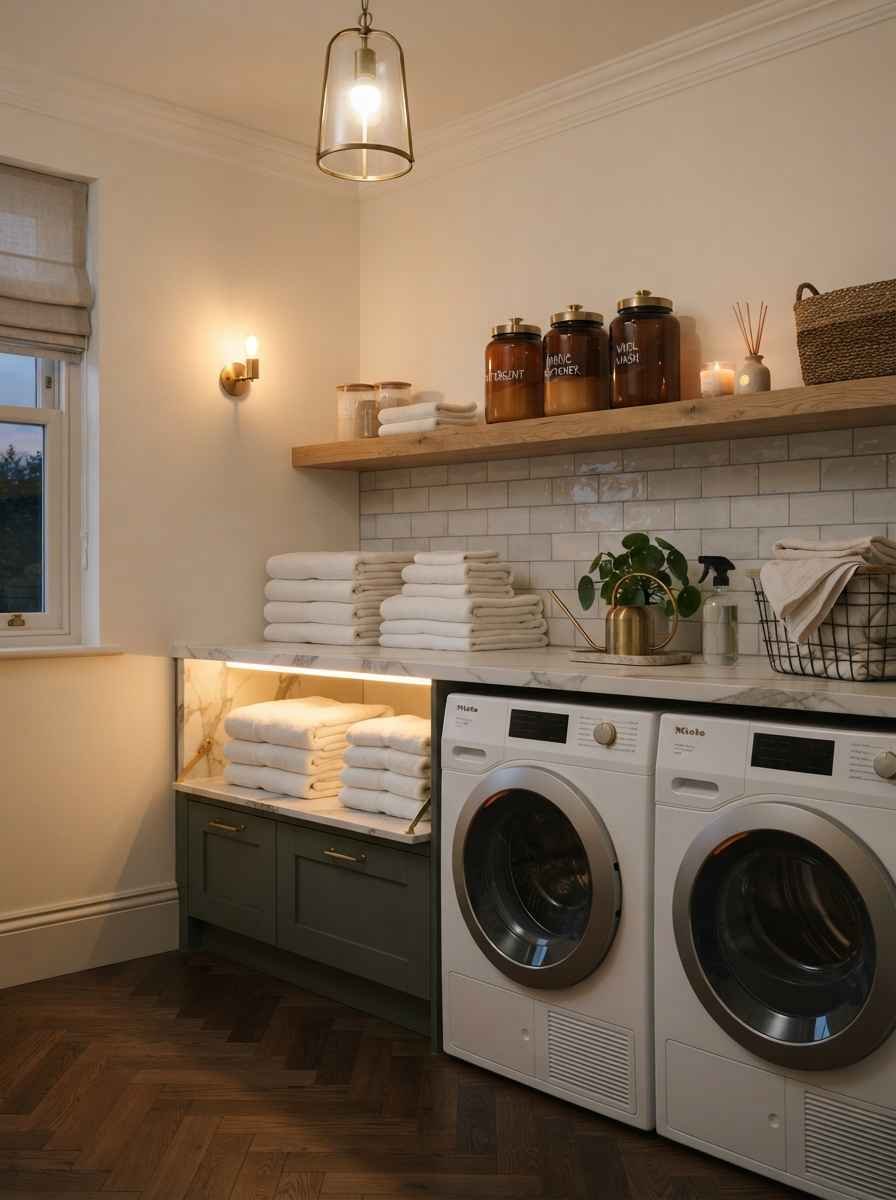
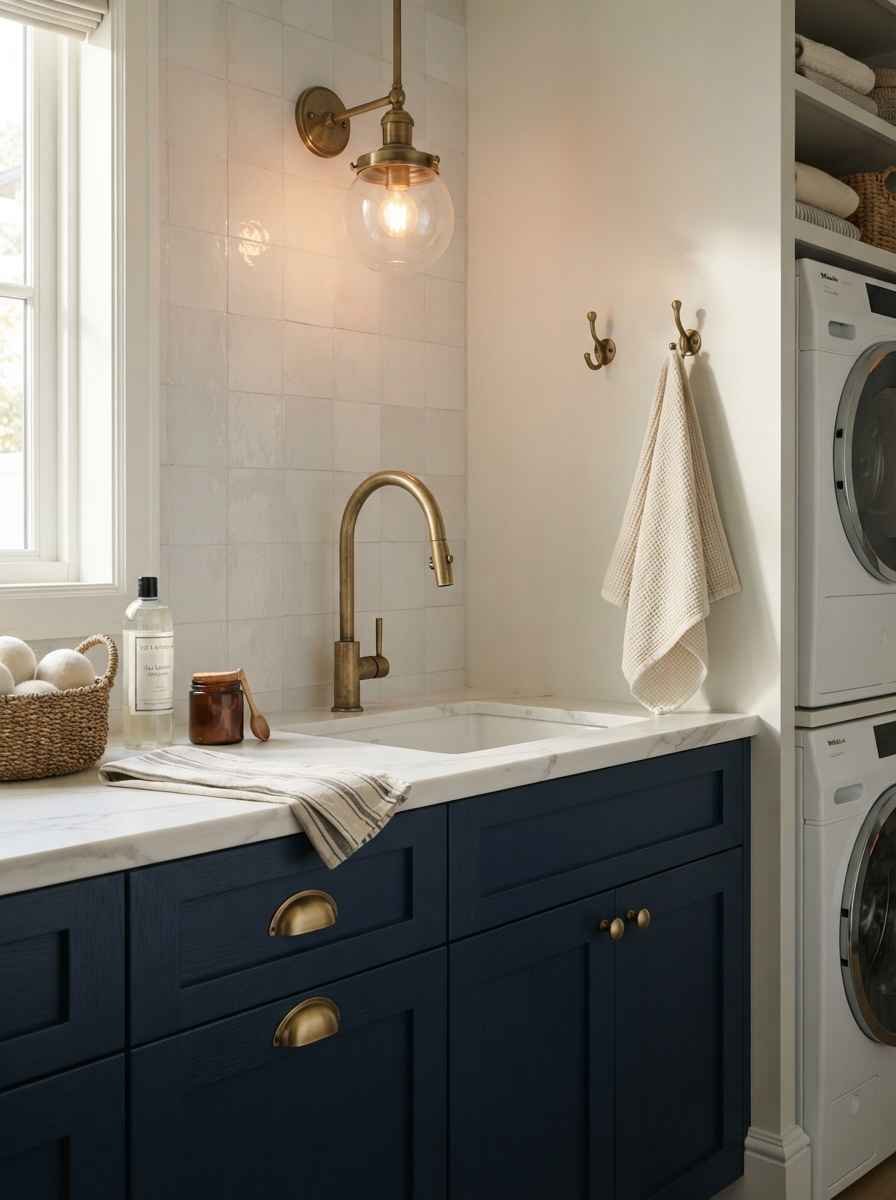
18. Install a statement faucet at the utility sink. Brass or matte black faucets in laundry rooms have become one of the more popular Pinterest searches, and it’s easy to see why. It’s a small fixture that punches way above its price.
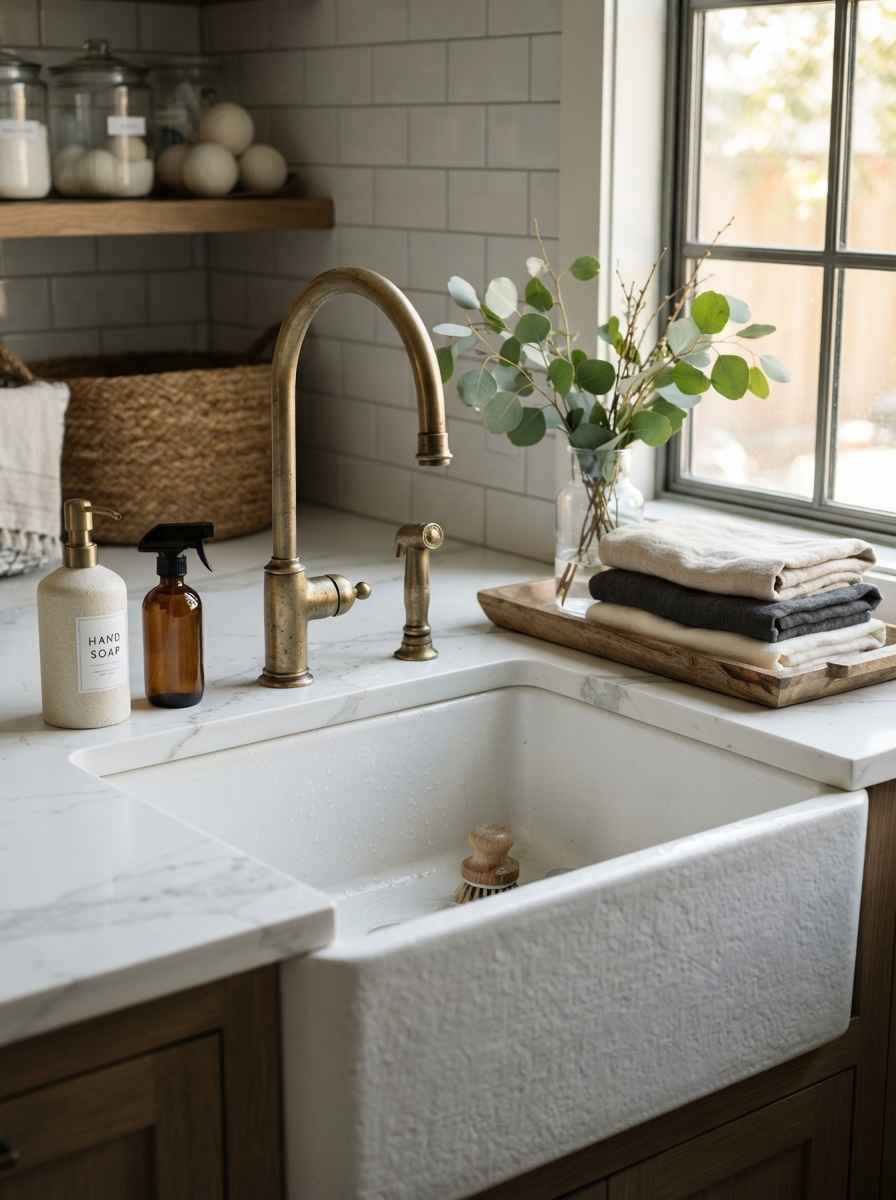
19. Use dimmable lighting if the room has a window. Laundry rooms with natural light deserve dimmers so the space can feel bright during the day and cozy in the evening.
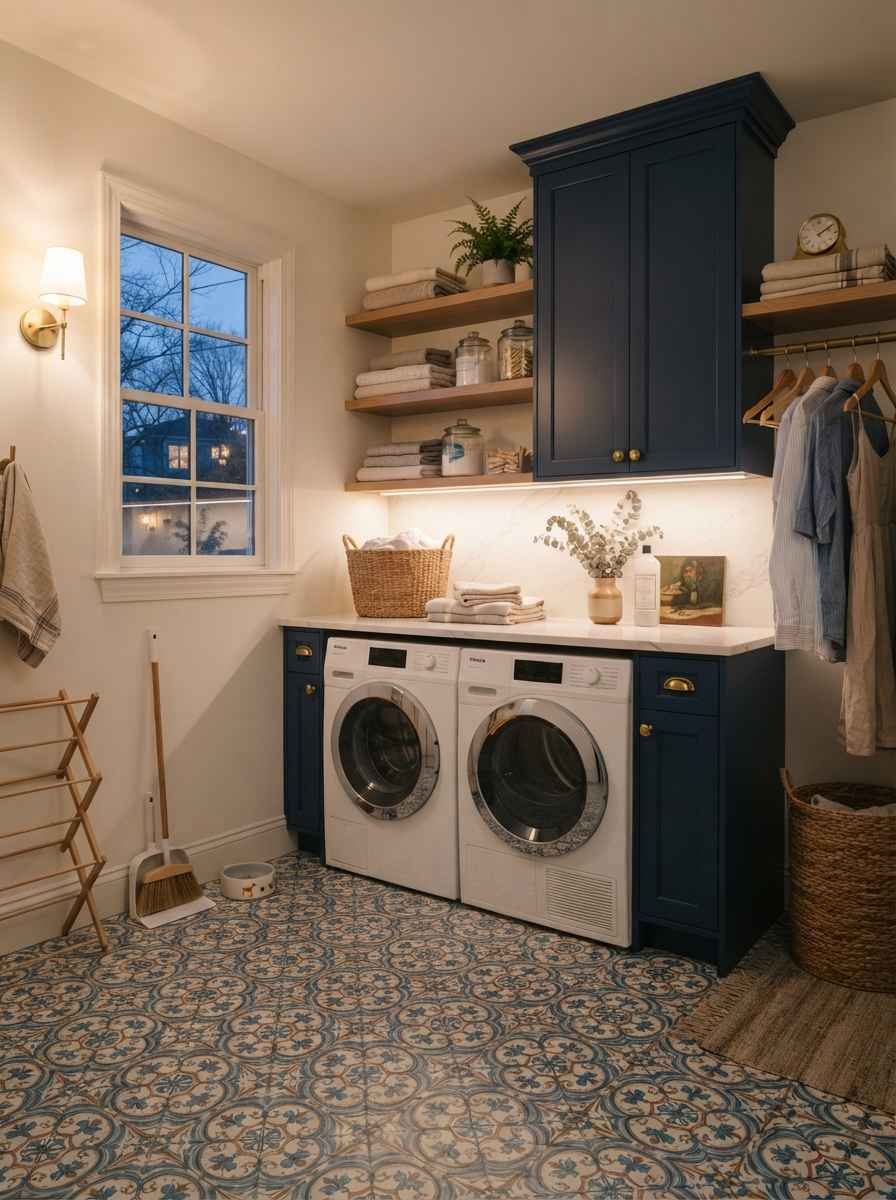
20. Add a wall sconce next to a mirror if you’re building in a changing area. Some newer luxury builds include a mudroom-laundry combo with a mirror for a quick outfit check before heading out. A sconce there does double duty.
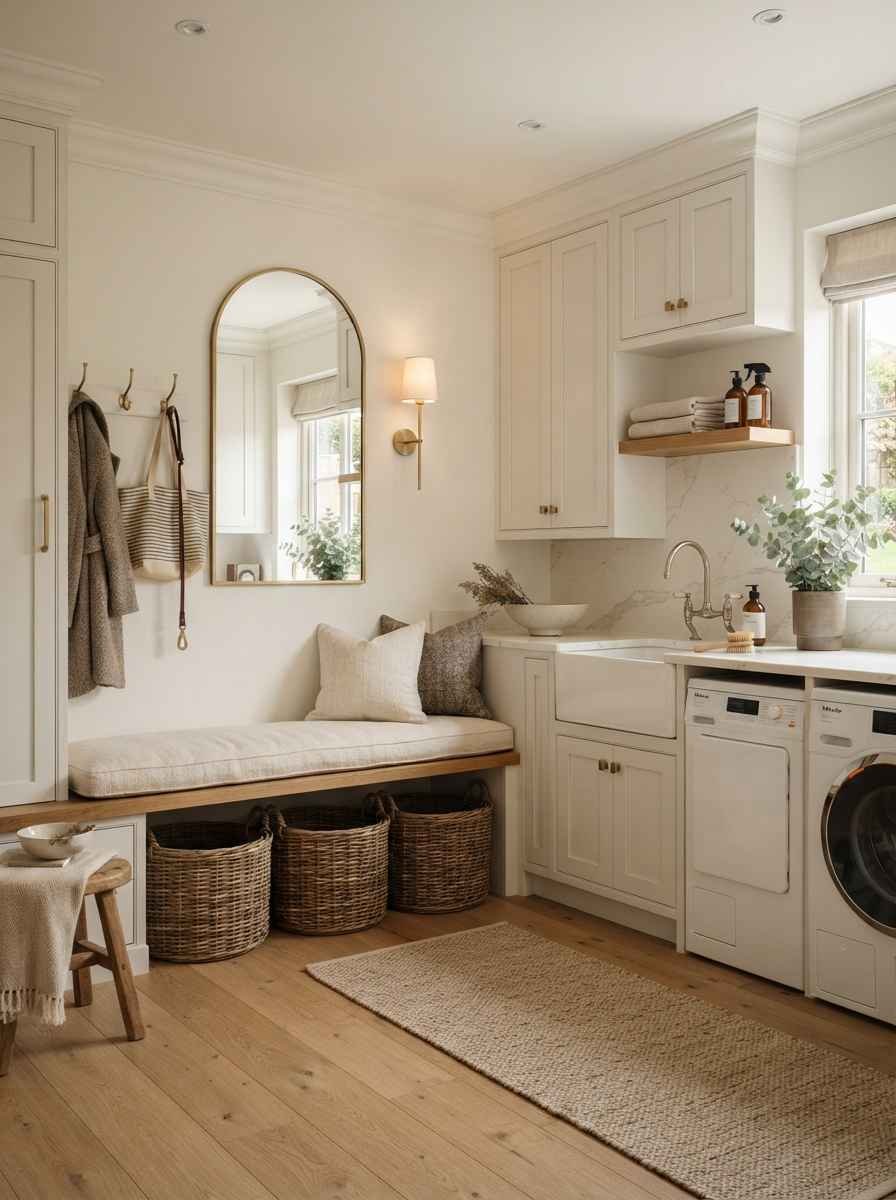
21. Choose brushed brass or unlacquered brass hardware throughout. Cabinet pulls, faucet, and light fixture in the same warm metal tone tie the whole room together without much effort.
Function Meets Beauty: Layout and Workflow Tweaks
22. Put the washer and dryer on pedestals. This raises the appliances to a comfortable height so you’re not bending over every load, and it adds hidden storage drawers underneath.
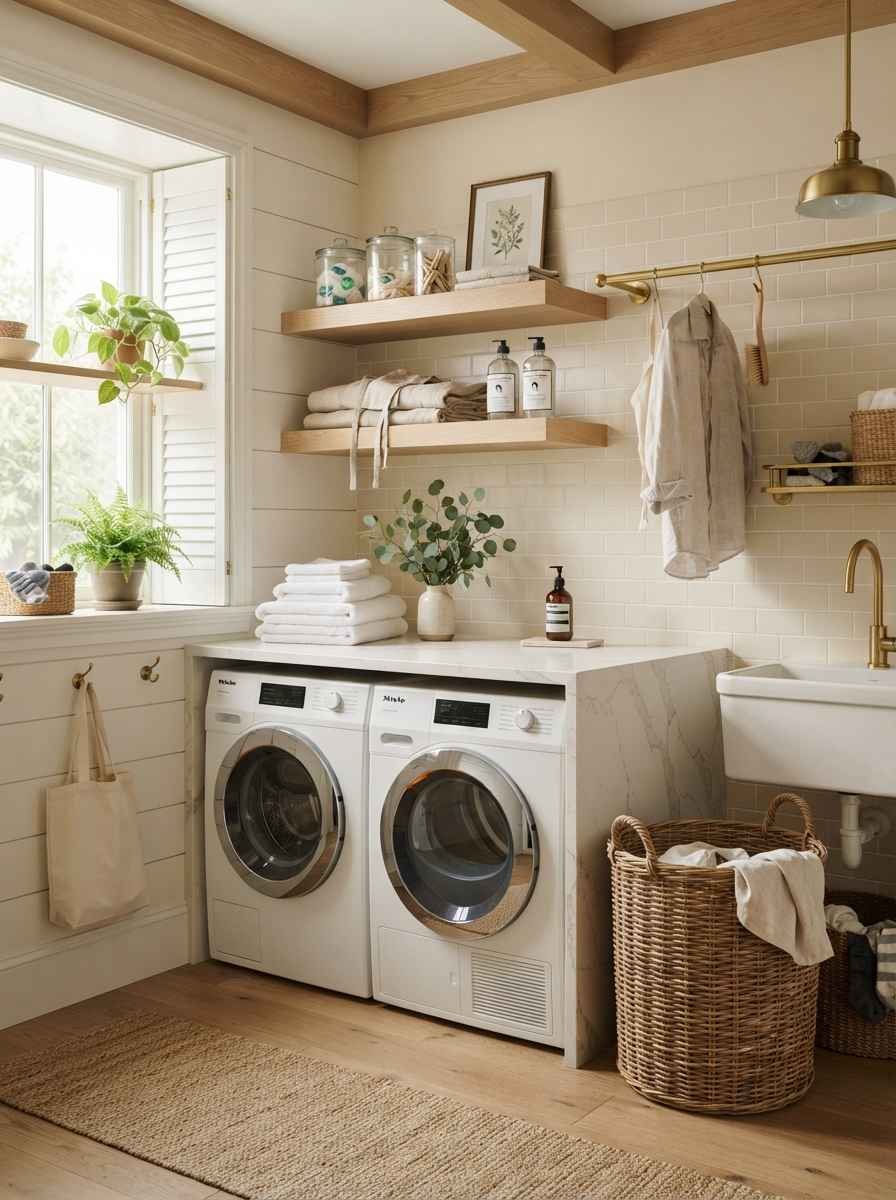
23. Create a dedicated folding zone, even if it’s just 24 inches of counter. A real work surface changes how you use the room daily. Skip this and you’ll fold laundry on your bed forever.
24. Add a small television or a speaker if the room doubles as a chore hub. This sounds unnecessary until you’ve spent 45 minutes folding towels while watching something. Then it becomes essential.
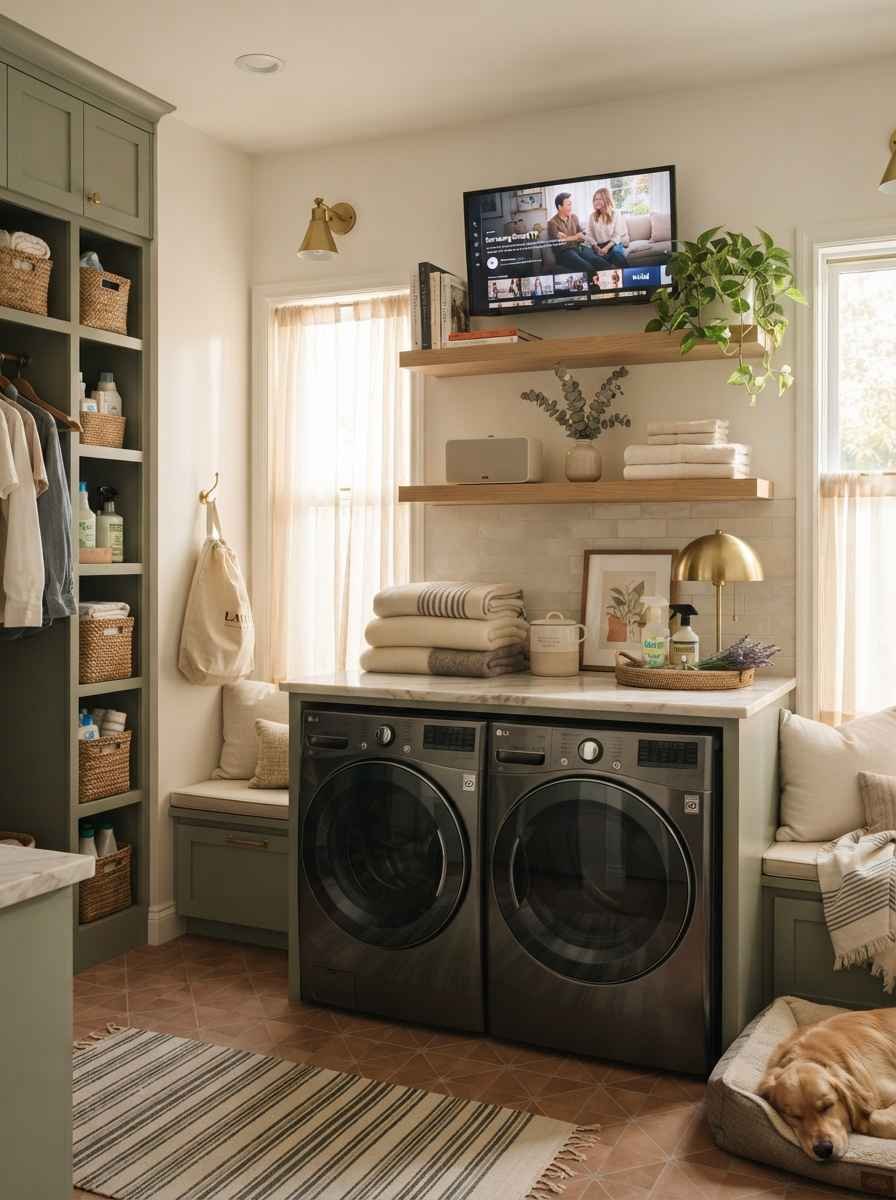
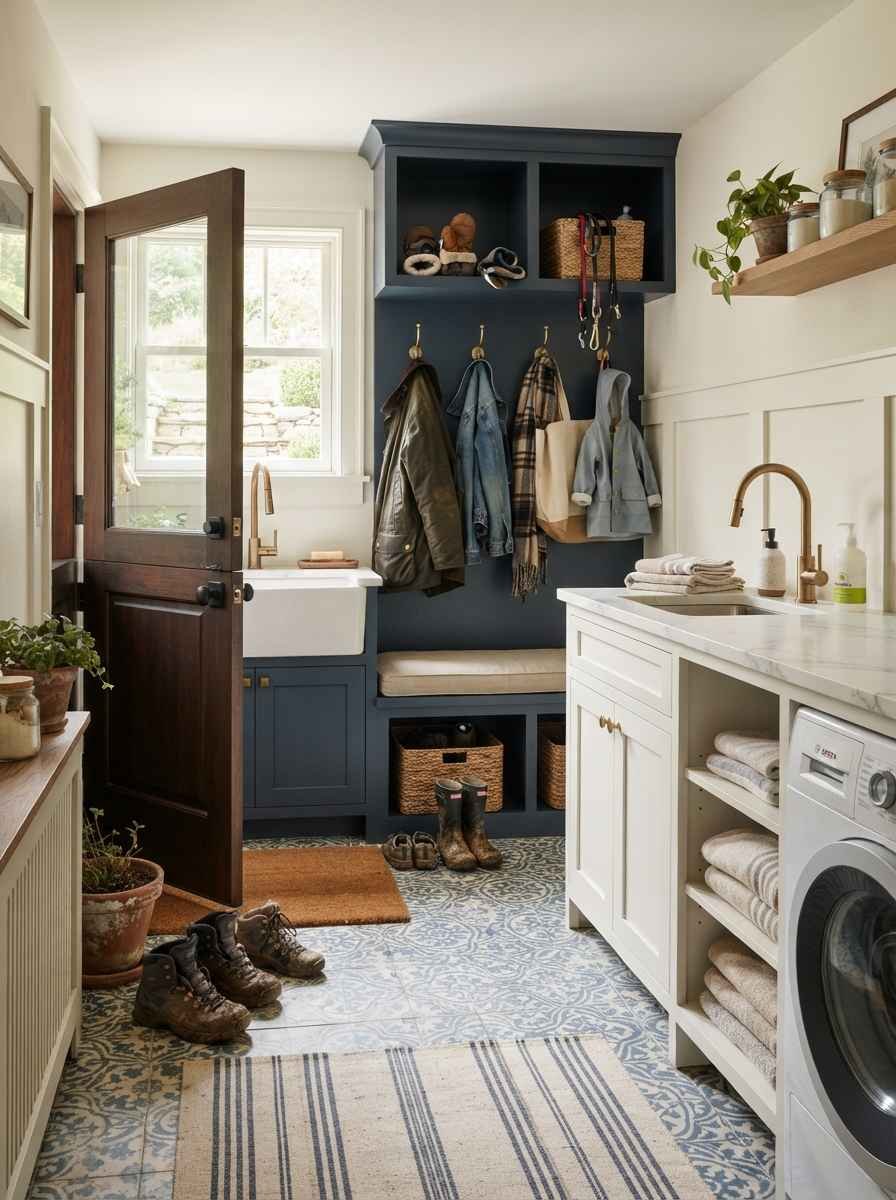
25. Position the utility sink near the door if the room connects to a mudroom. Muddy boots and wet dog towels need somewhere to land before they touch your actual floors.
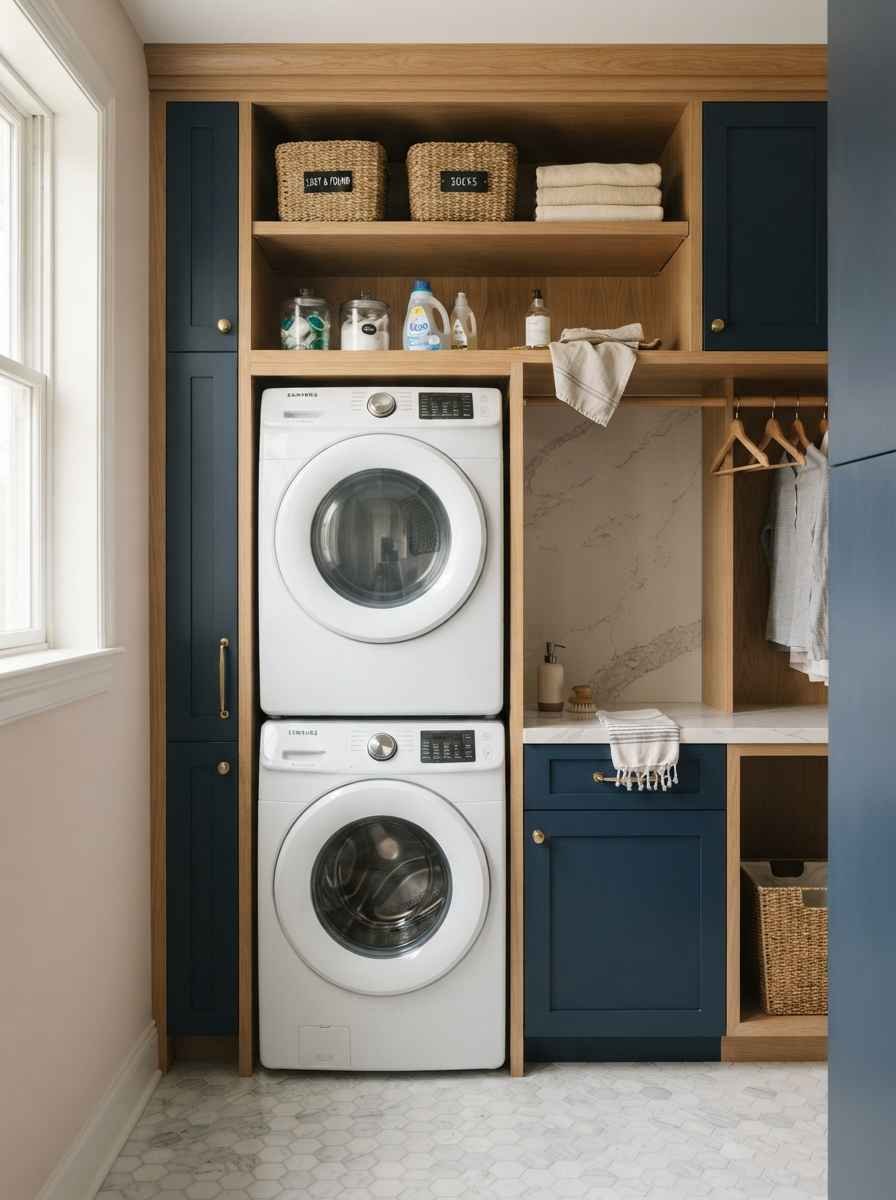
26. Use a stacked washer-dryer setup if square footage is tight. This one’s a personal opinion, but I think stacked units in a narrow closet look far more intentional than a side-by-side pair crammed into a space that’s too small for them.
The Little Touches That Make It Feel Expensive
27. Hang art, even in the laundry room. A small framed print above the folding counter tells your brain this room matters too, not just the living room and kitchen.
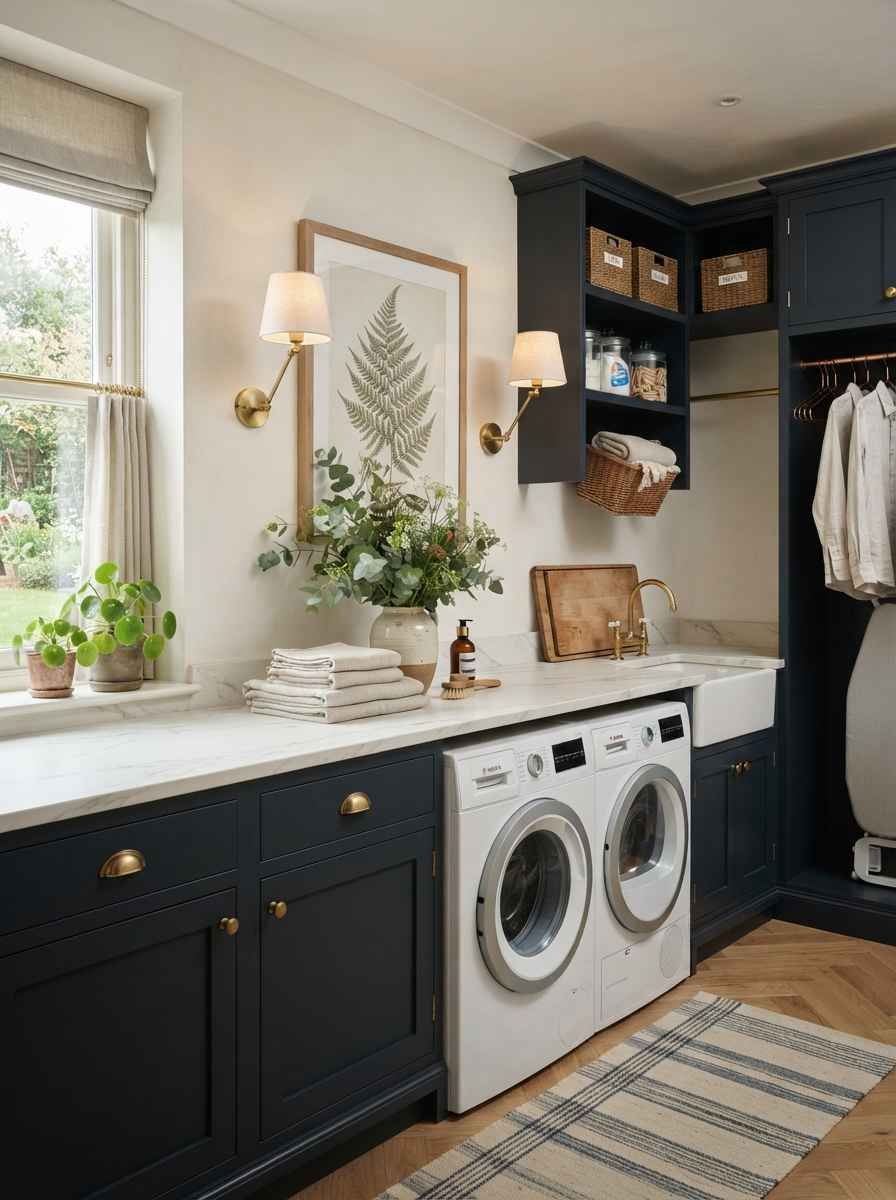
28. Add fresh greenery or a faux plant that tolerates humidity. A trailing pothos on top of the cabinets softens all the hard surfaces in the room.
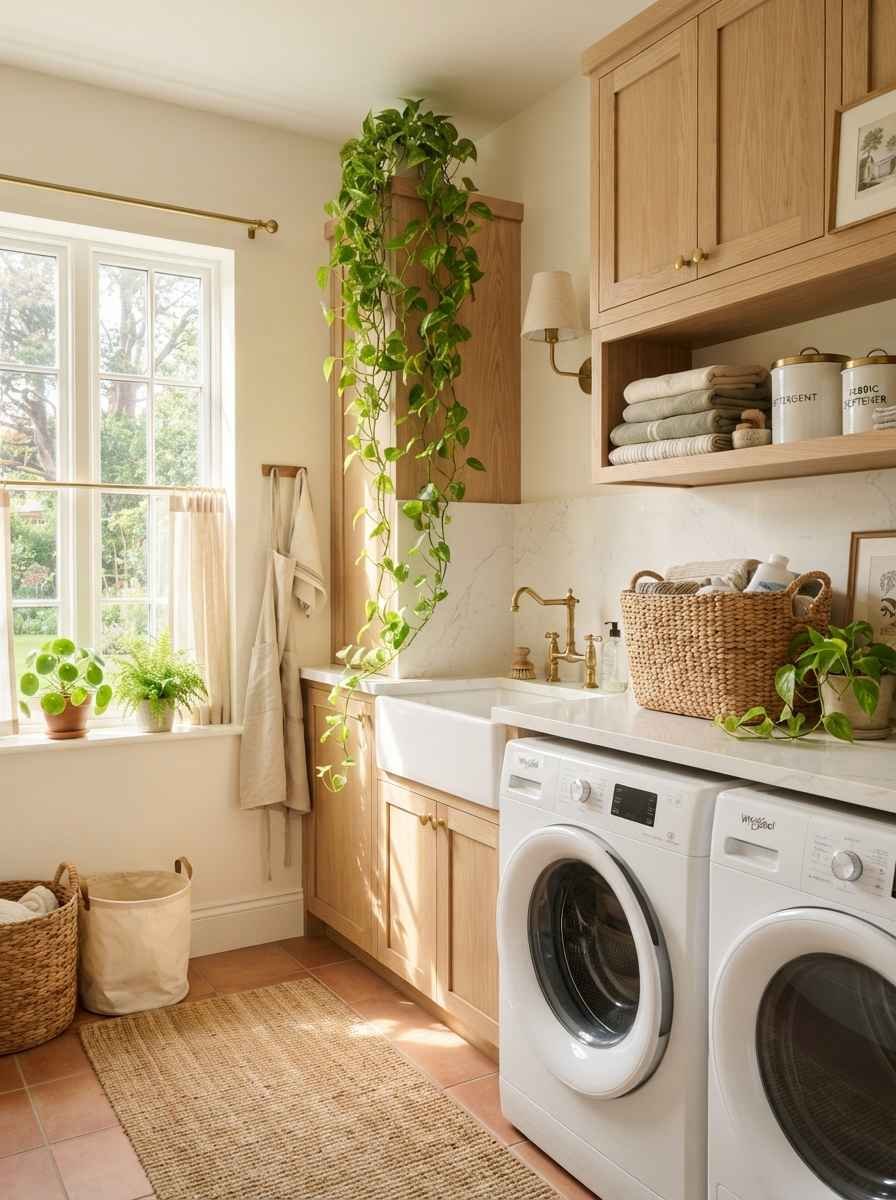
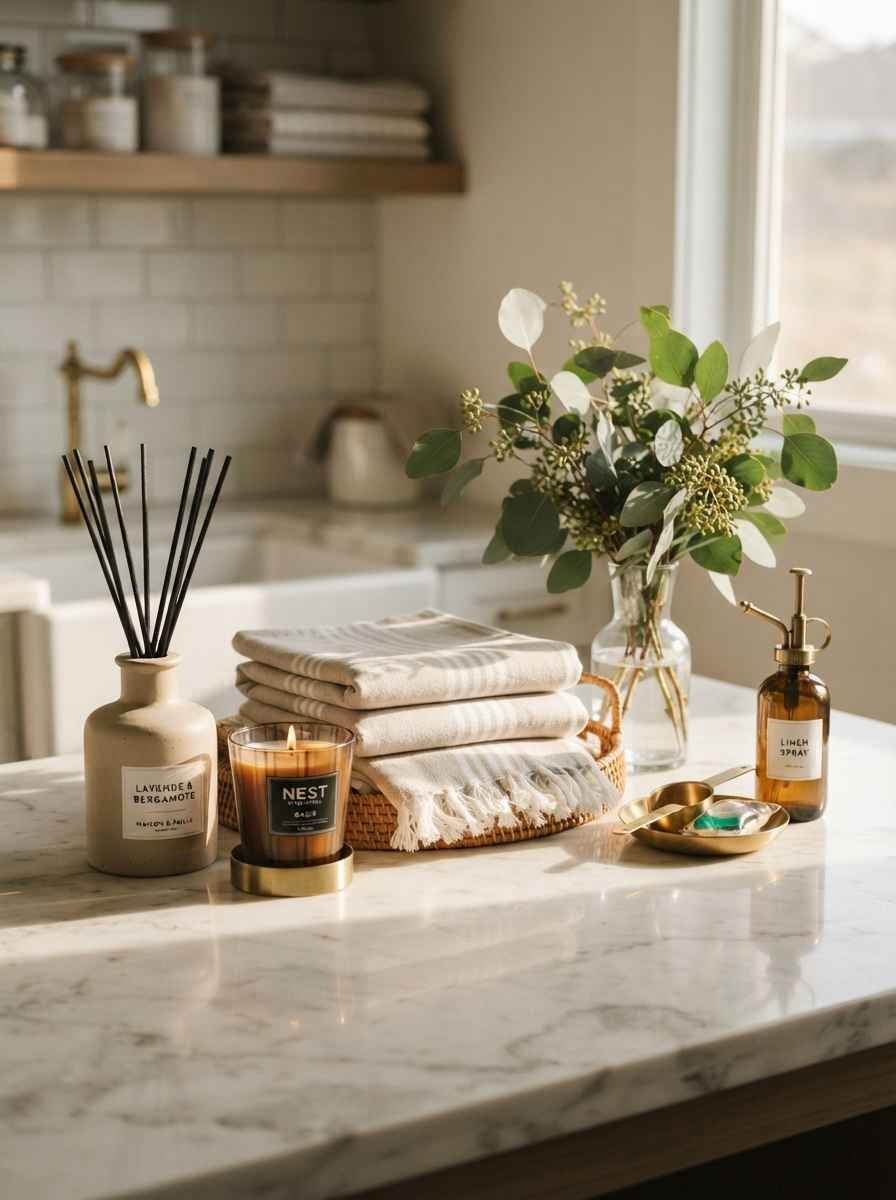
29. Use a scented drawer liner or a small diffuser. Wow, this one’s simple, but it genuinely changes how the room smells and feels every single time you walk in.
30. Label everything with matching labels. Baskets, jars, bins, all labeled in the same font and material. This is peak Pinterest energy and it works because it looks curated instead of thrown together.
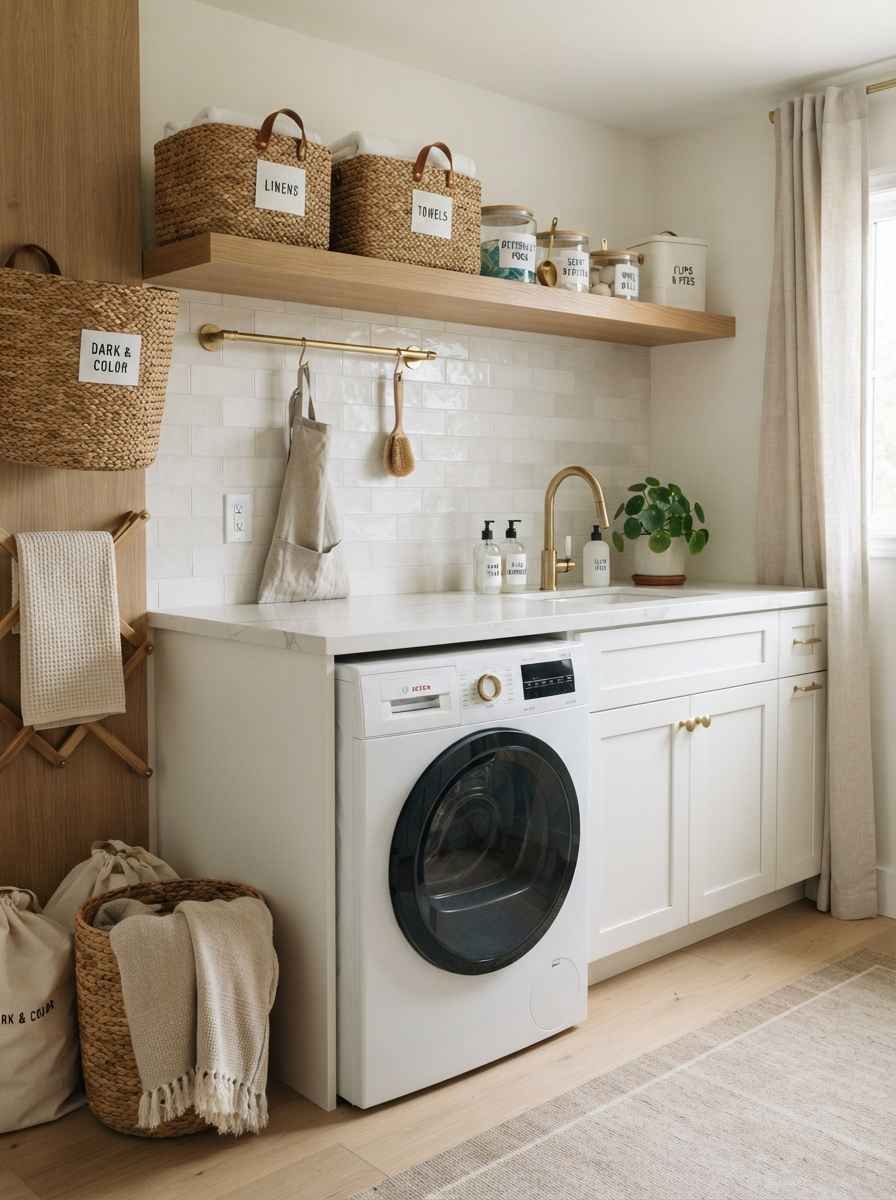
31. Add a wall-mounted drying line or hooks for delicates. Cast iron or brass hooks along one wall give you somewhere to hang a wet sweater without it looking like clutter.
I’ll be honest, I went down a rabbit hole researching cement tile patterns for about two hours last week and completely lost track of time.
Anyone else do that with home stuff, or is it just me? Anyway, back to the list.
Here’s a quick breakdown if you’re trying to figure out where to spend money first:
| Upgrade | Rough Cost | Effort Level |
|---|---|---|
| Paint + hardware swap | $50 to $300 | Low |
| New flooring (tile or vinyl) | $500 to $2,000 | Medium |
| Custom cabinet panels | $1,500 to $4,000 | High |
| Full layout reconfiguration | $3,000+ | High |
For more inspiration on mixing metals and textures in small utility spaces, The Spruce has some solid roundups, and Architectural Digest regularly features real designer laundry rooms worth studying for proportion and layout ideas.
A Few Quick Questions People Always Ask
Do I need a big room for any of these ideas to work? No. Most of what makes a laundry room feel luxury has nothing to do with square footage.
Paint, hardware, lighting, and a runner rug work in a closet-sized space just as well as a large one.
What’s the cheapest way to make a laundry room look expensive fast? Swap the light fixture and cabinet hardware, then add a runner rug. Those three changes alone cost under $250 combined and take an afternoon.
Should I hide my washer and dryer behind cabinet panels? Only if your budget allows it. It looks fantastic, but it’s also the most expensive item on this list.
Start with paint and lighting first, then decide if panels are worth it later.
This is genuinely one of my favorite home projects I’ve ever tackled, and I still catch myself walking past the room just to look at it.
Which idea are you starting with first, the tile, the paint, or the hardware? Save this post to your board and let me know once you’ve picked one.
