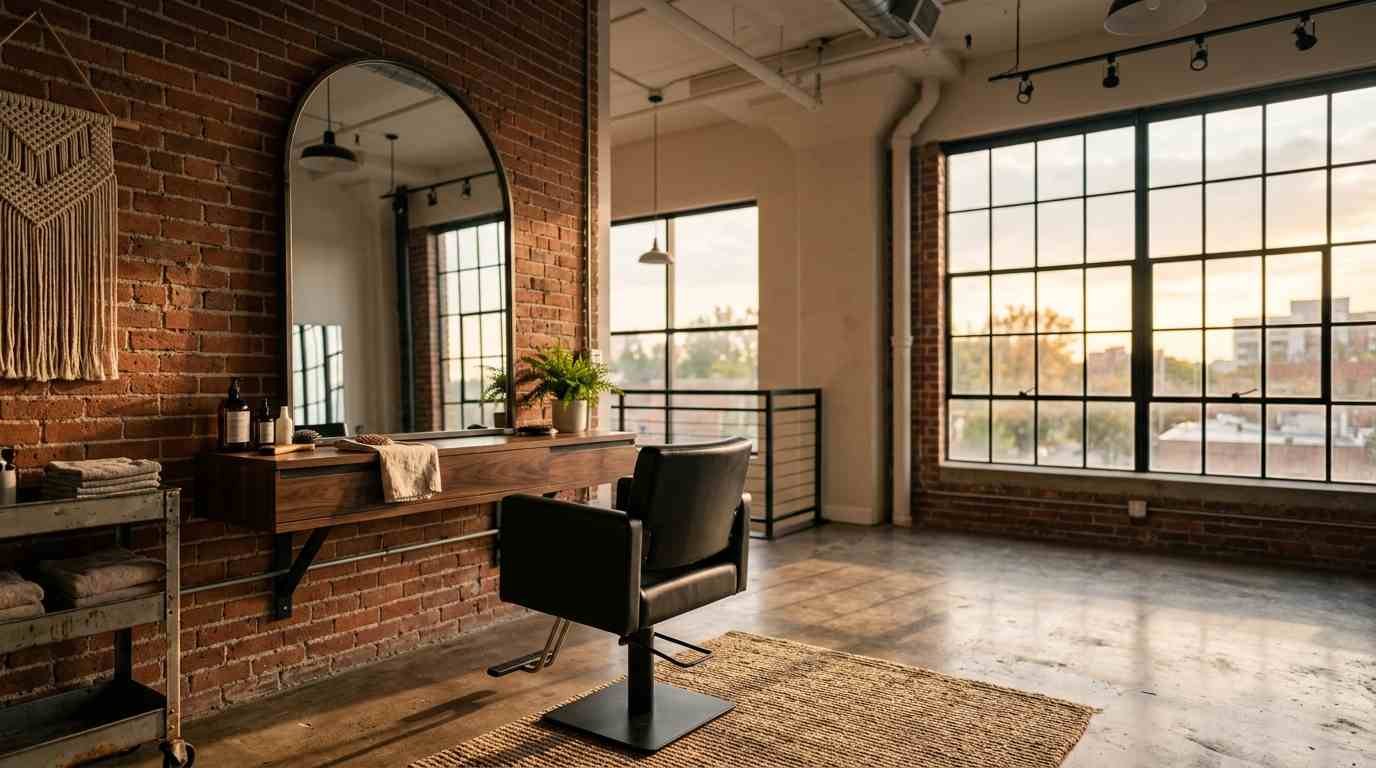
I’ve been pinning salon loft photos for three years now. Somewhere around pin number 400,
I realized I wasn’t just window shopping. I was actually building a mental blueprint for my own space.
If you’re a stylist with your own suite, or you’re saving screenshots for the day you finally get one, this list is for you.
No fluff, no filler. Just 29 ideas that stylists are actually using right now, plus a few I’d steer you away from (yes, really).
Layout ideas that don’t waste an inch
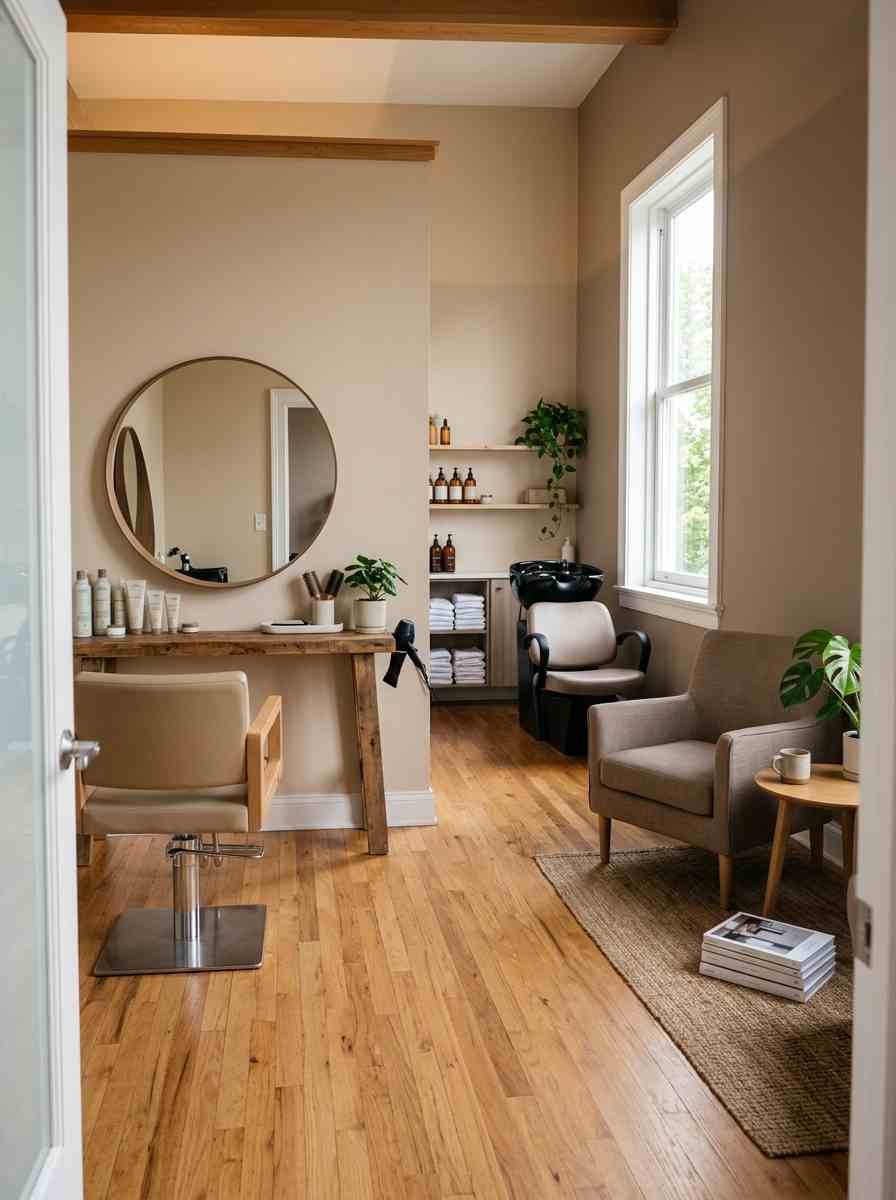
Small lofts live or die on layout. Get this part wrong and every other decor choice feels cramped.
Float your station off the wall. A wall-mounted or floating vanity keeps the floor clear and makes even a 100 square foot loft feel bigger.
It’s also easier to mop under, which matters more than anyone tells you when you’re mixing color five days a week.
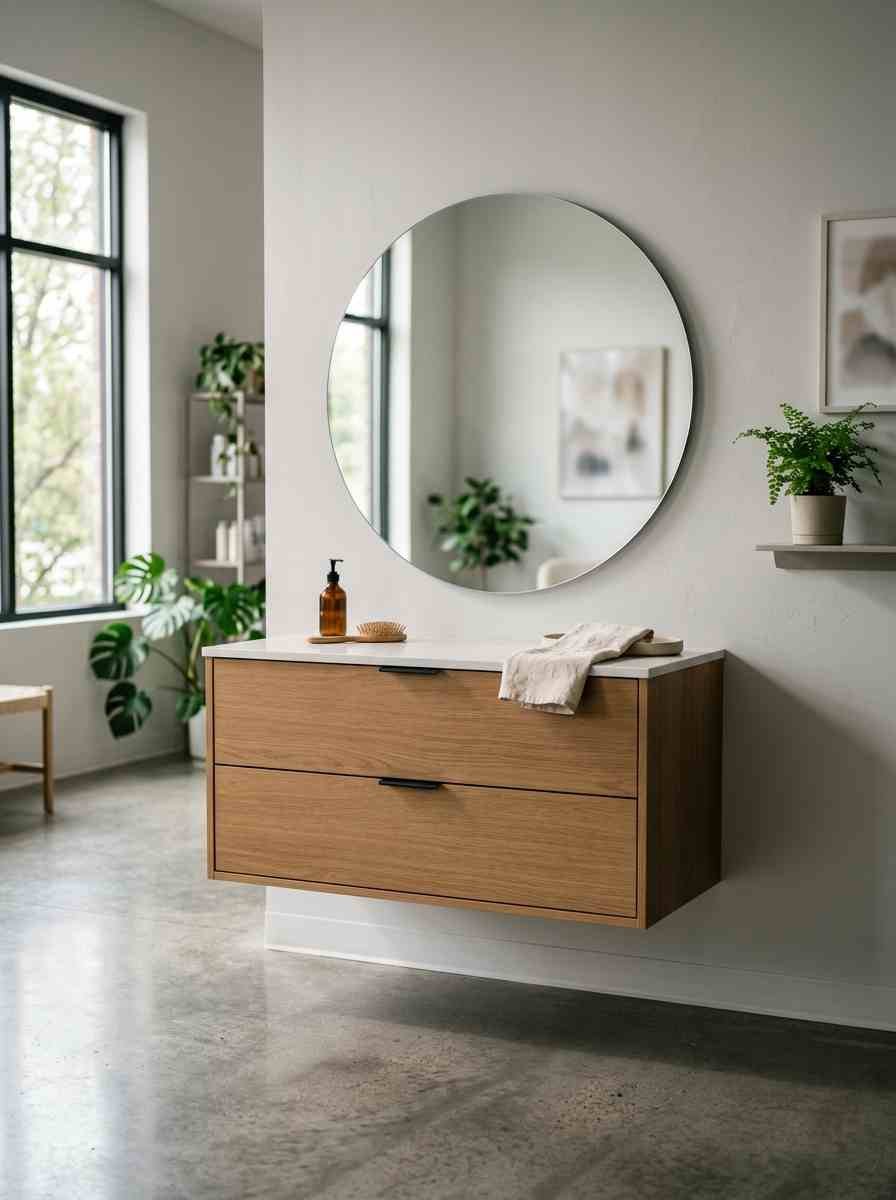
Zone your space with rugs, not walls. One rug for the styling chair, a different texture near the shampoo bowl.
Your eye reads it as two rooms without you losing an inch of square footage.
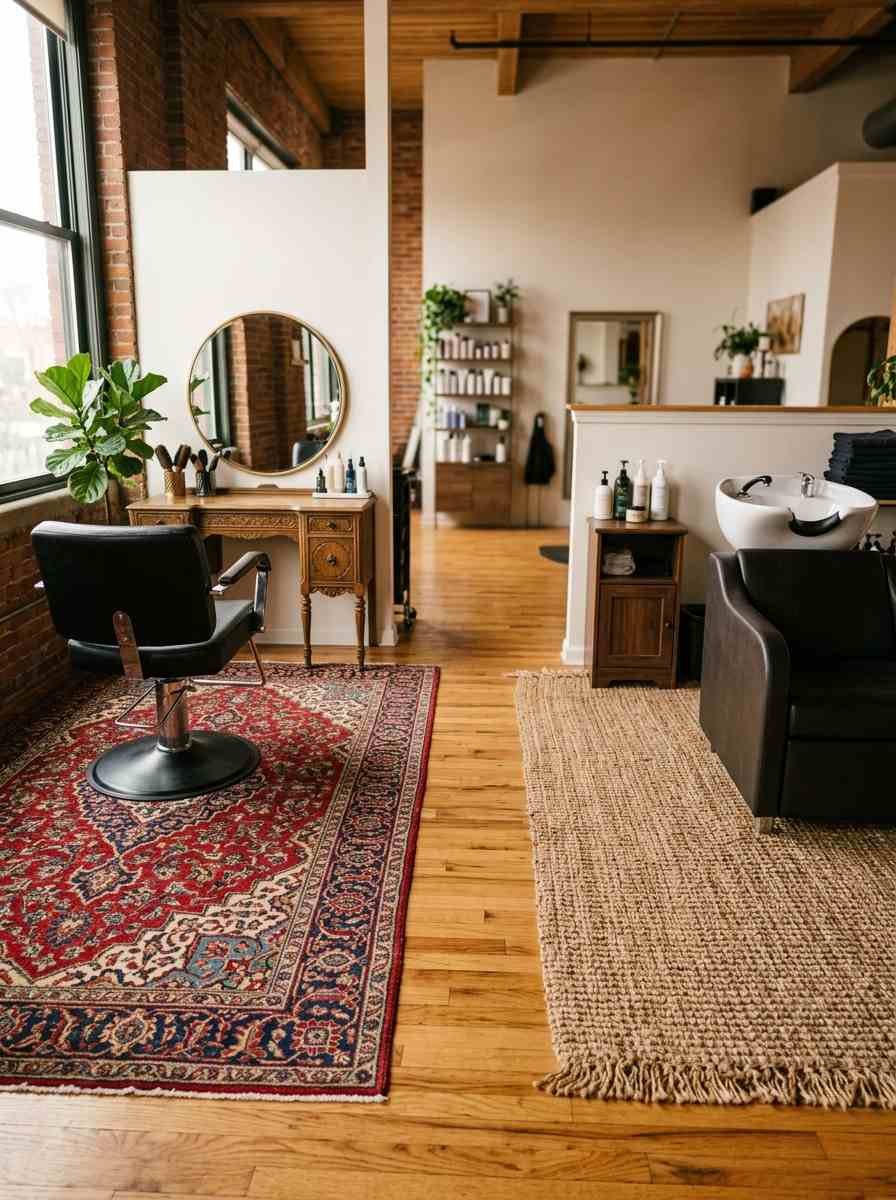
Angle your chair toward the window. Sounds small. Changes everything about how the room feels in photos and in person.
Natural light hits your client’s hair at an angle that flatters color work.
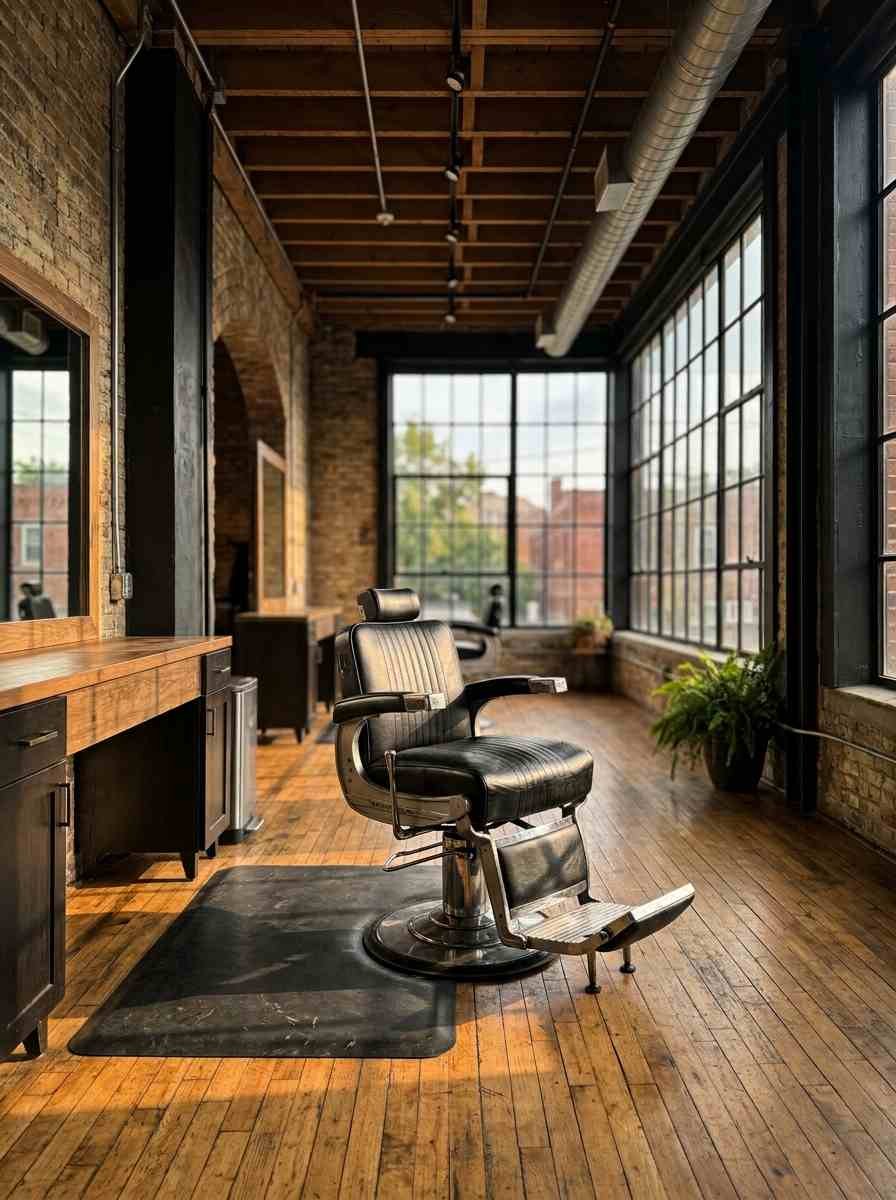
Go vertical with storage. Wall-mounted shelving above eye level for backstock, open shelving at arm’s reach for daily tools.
I learned this the hard way after tripping over a rolling cart for two years straight.
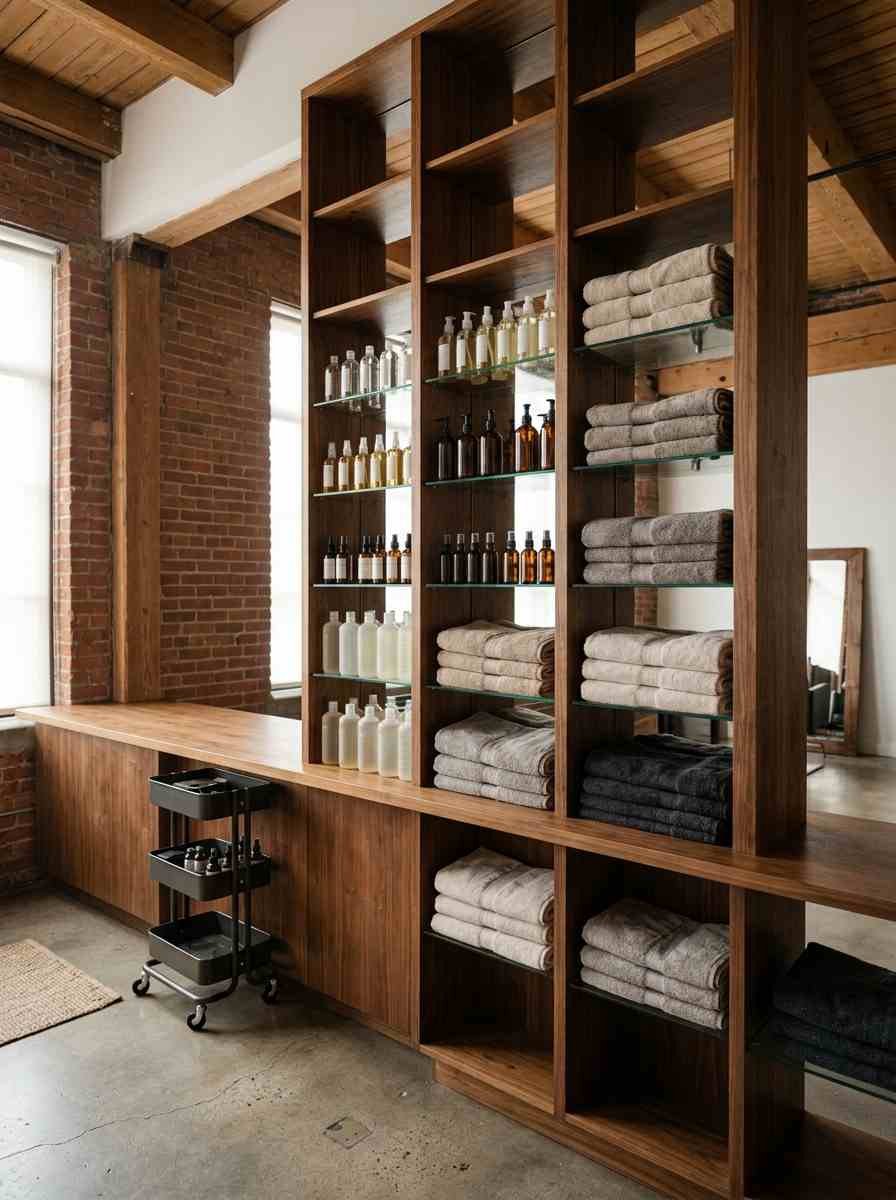
Keep your color bar separate from your client’s sightline. A narrow rolling cart with a curtain or a half-wall panel hides the mess without hiding you.
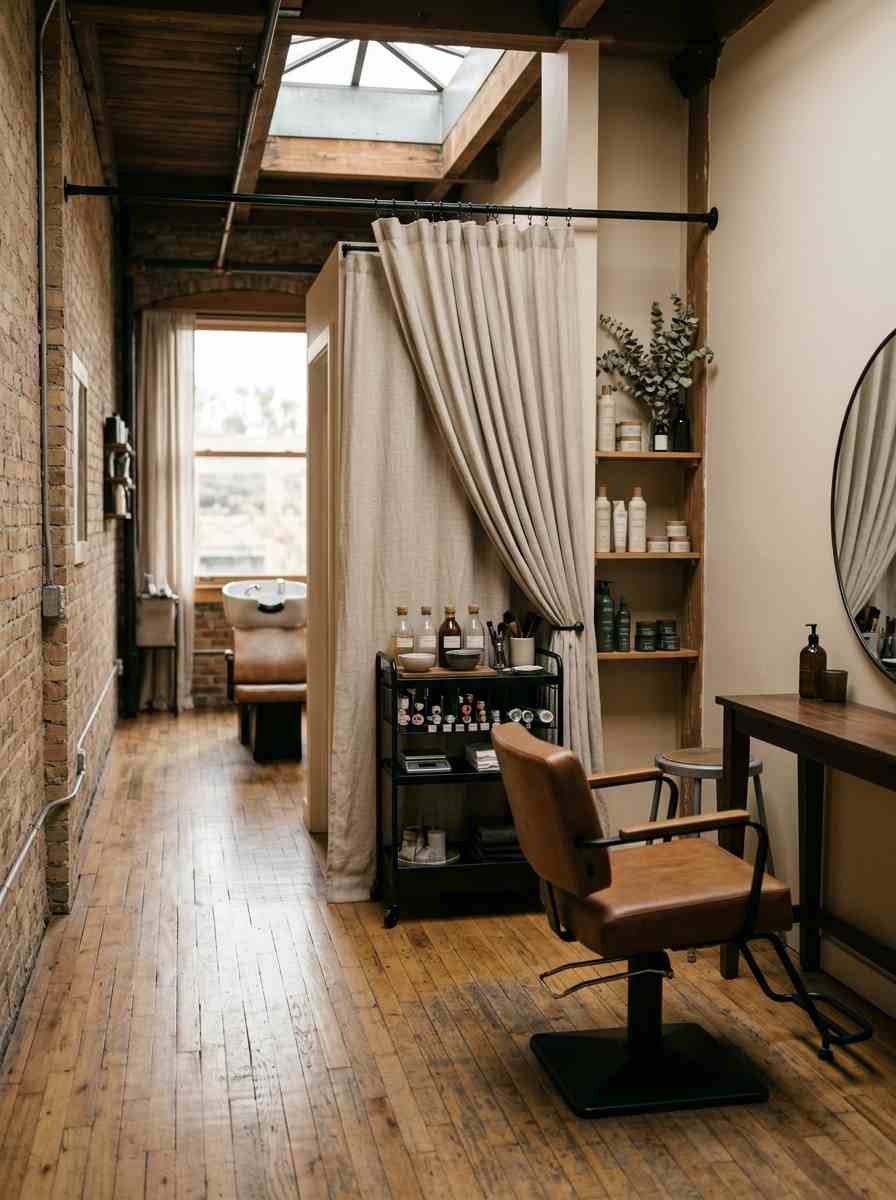
Use a curved or rounded reception nook instead of a square desk. Loft spaces are usually rectangular and boxy already.
A rounded piece softens the whole room.
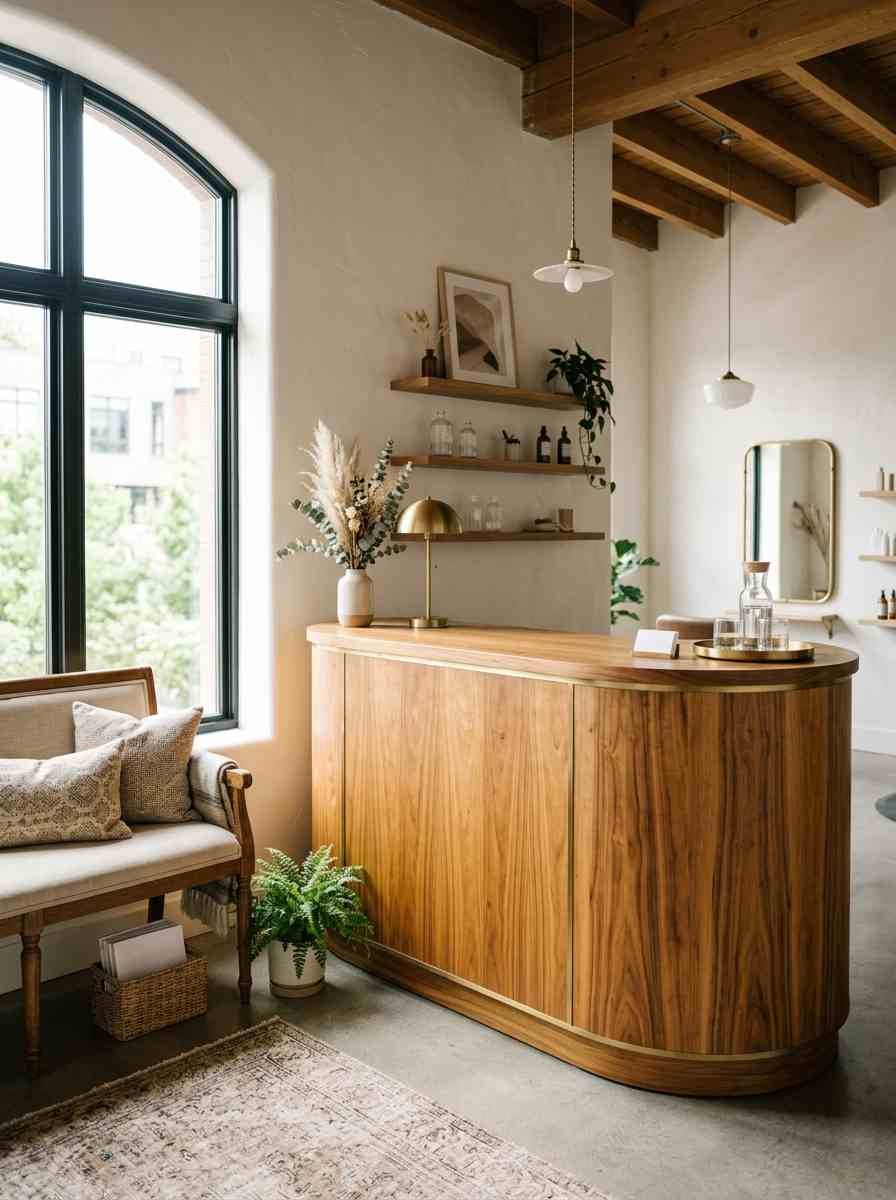
Color and lighting that photograph well
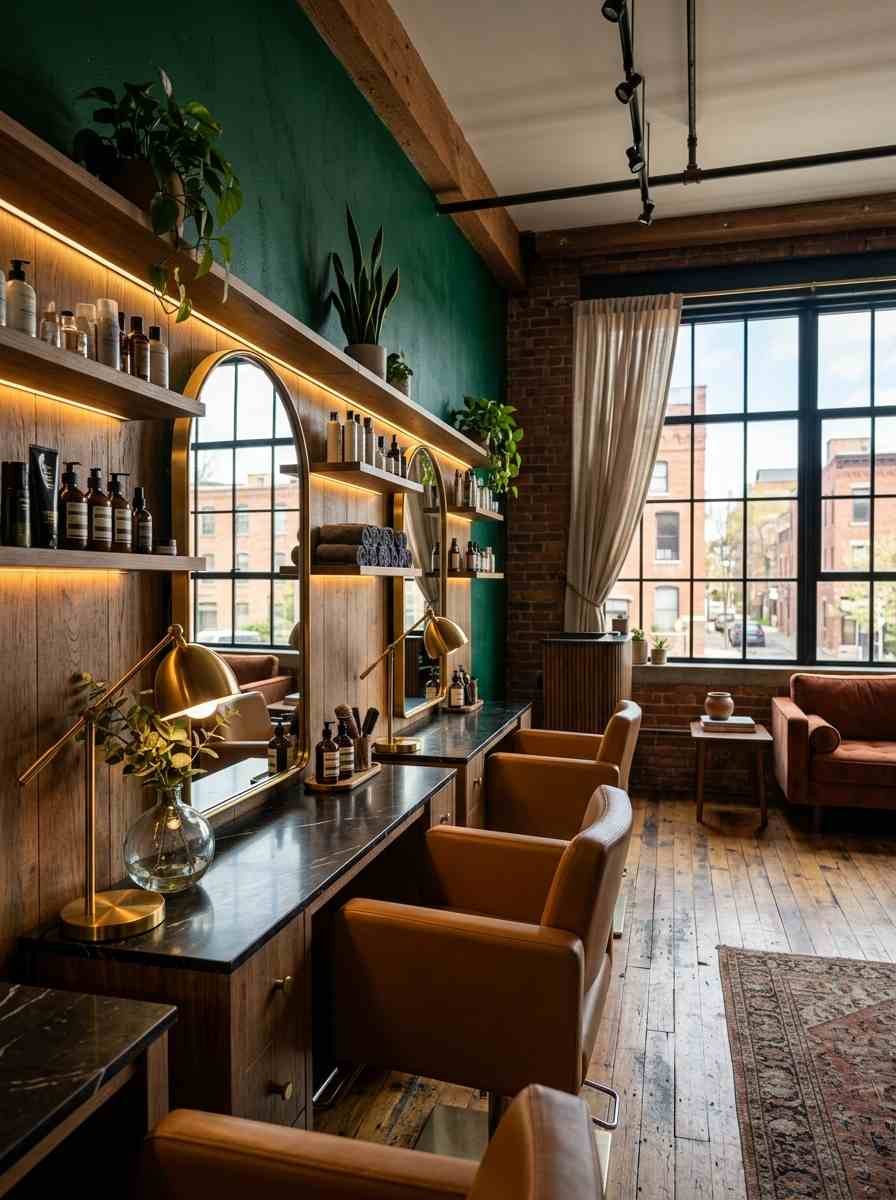
Pinterest users care about how a space looks in a photo almost as much as how it feels in person. IMO, lighting does more heavy lifting here than paint ever will.
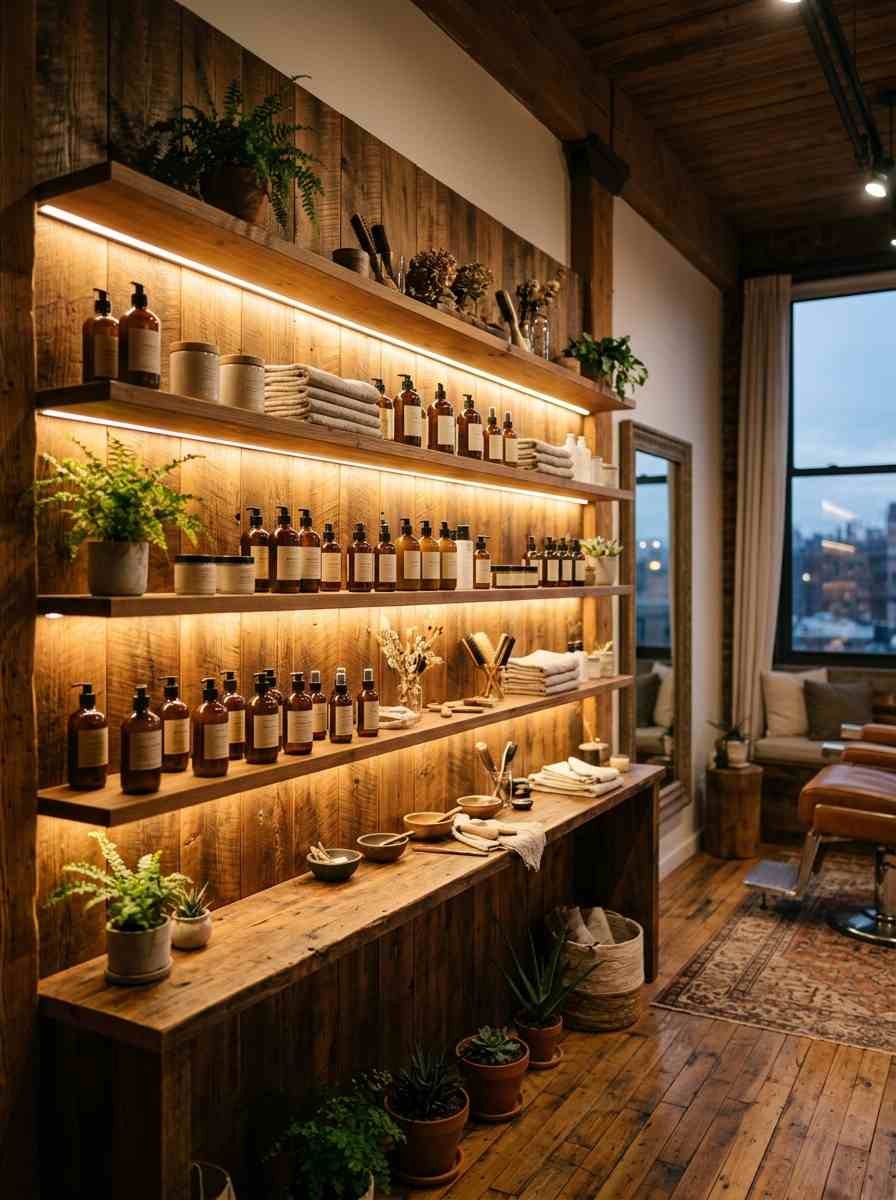
Warm white LED strips under shelving. Skip harsh overhead fluorescents. They wash out skin tone and make every color result look duller than it is.
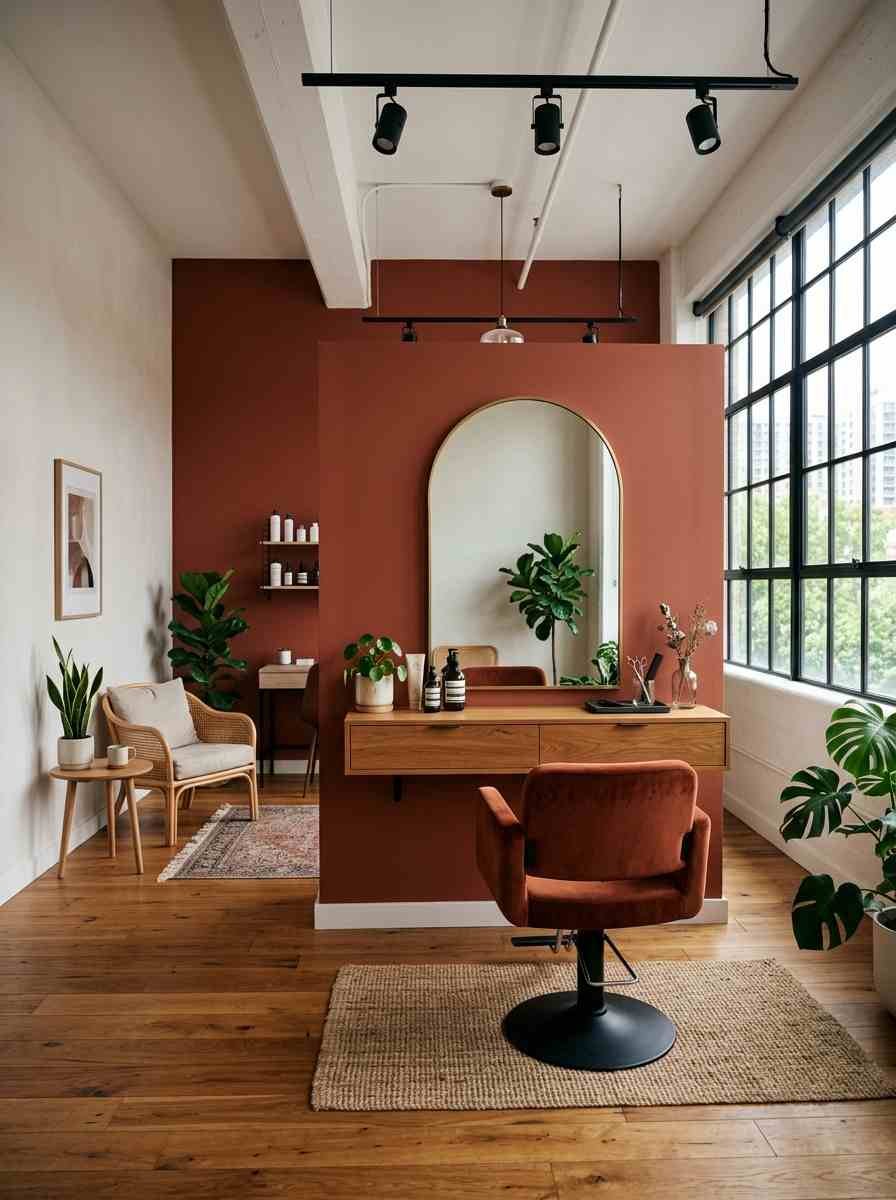
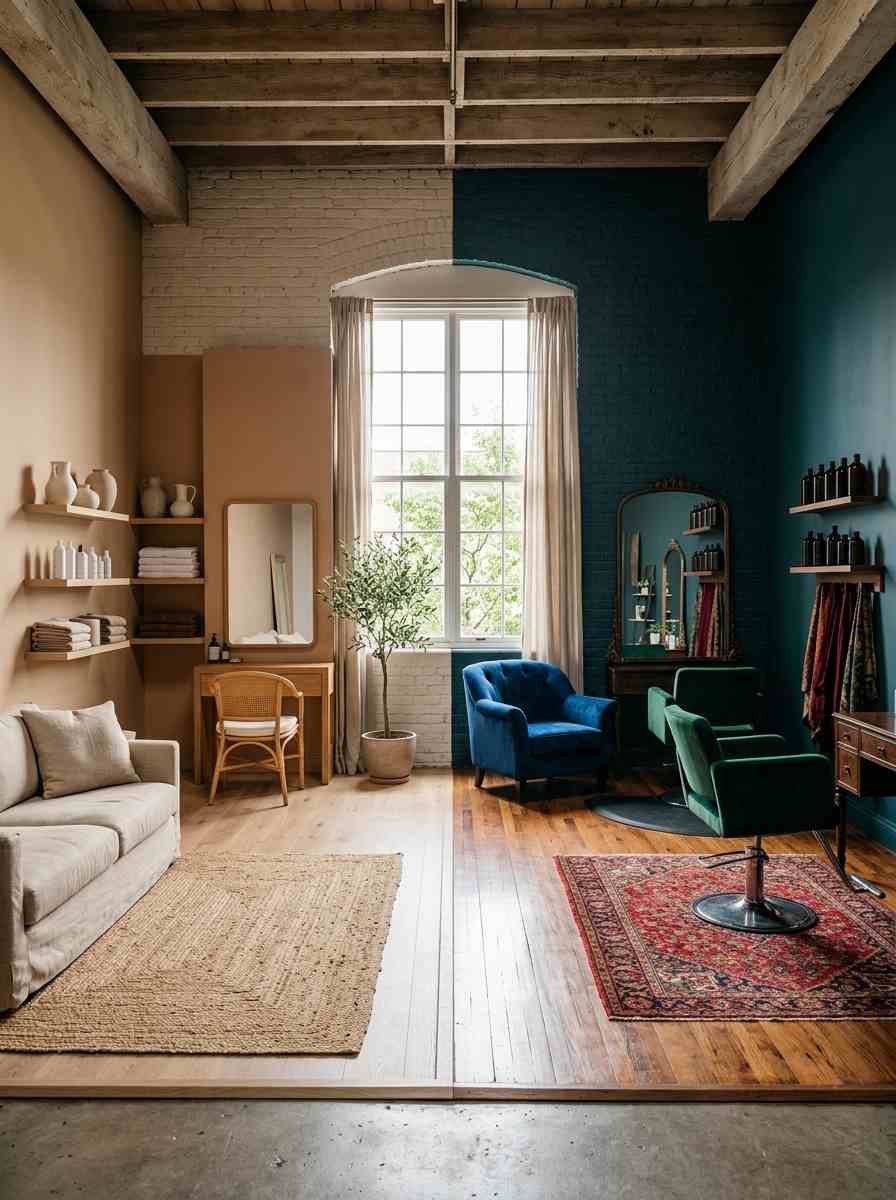
A single bold accent wall, not four matching ones. Terracotta, sage, or a deep emerald behind your station gives your loft a signature look without turning the whole space into a paint sample.
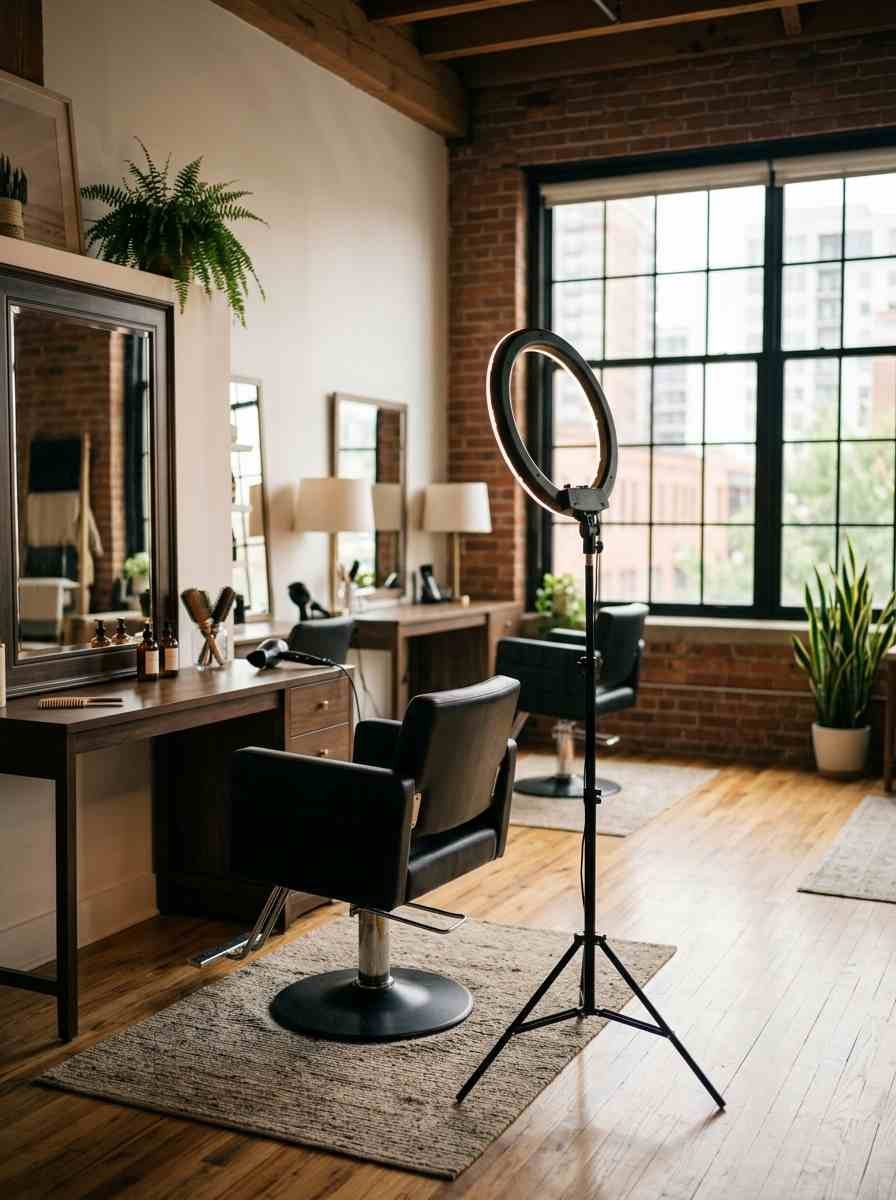
Ring light mounted permanently near the chair. Content creation isn’t optional anymore for most independent stylists.
Build the light into the room instead of dragging a tripod out every time.
Mirror placement across from your window. This one’s an old interior design trick and it still works. It bounces daylight across the whole loft and makes the room read twice as bright.
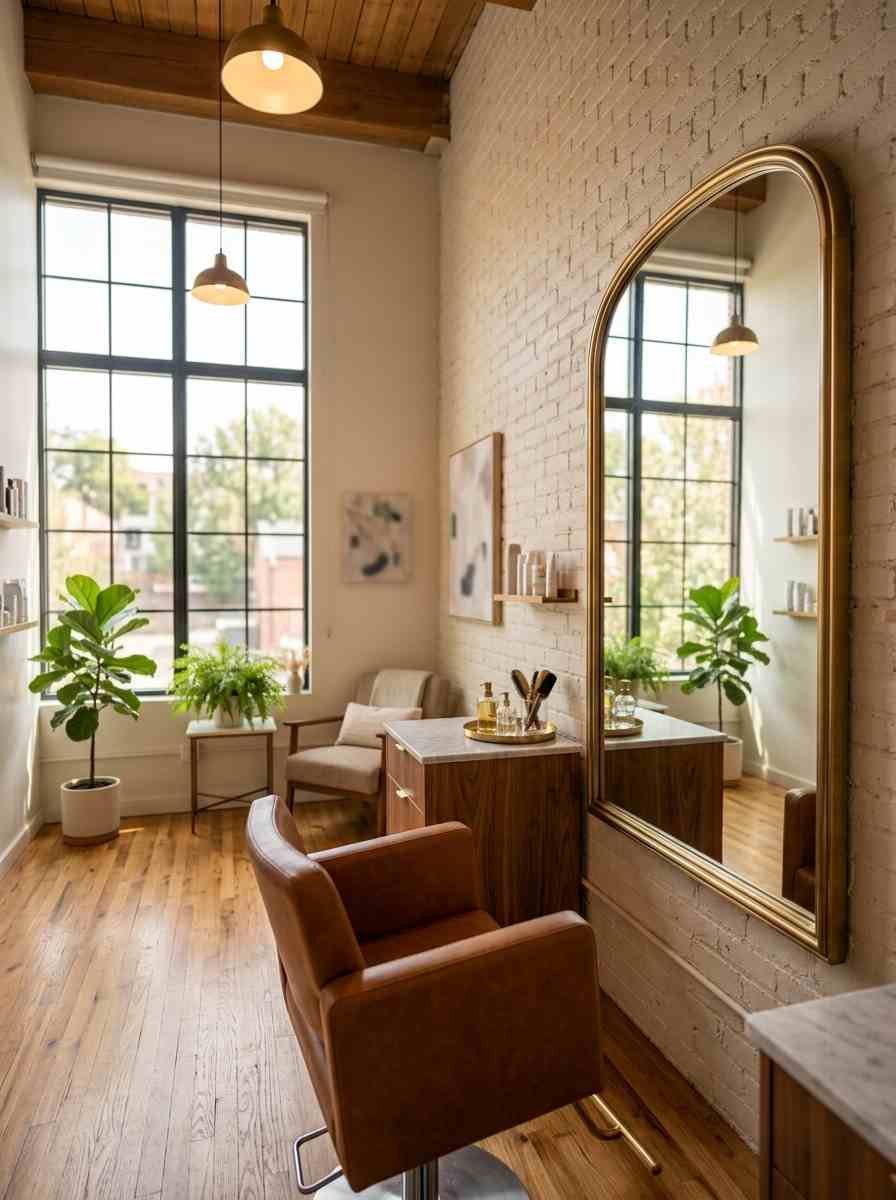
Layered lighting: ambient, task, and accent. One ceiling fixture for general light, a task lamp at the station for precision cuts, and a small accent lamp somewhere just for mood.
Three layers, not one harsh overhead bulb.
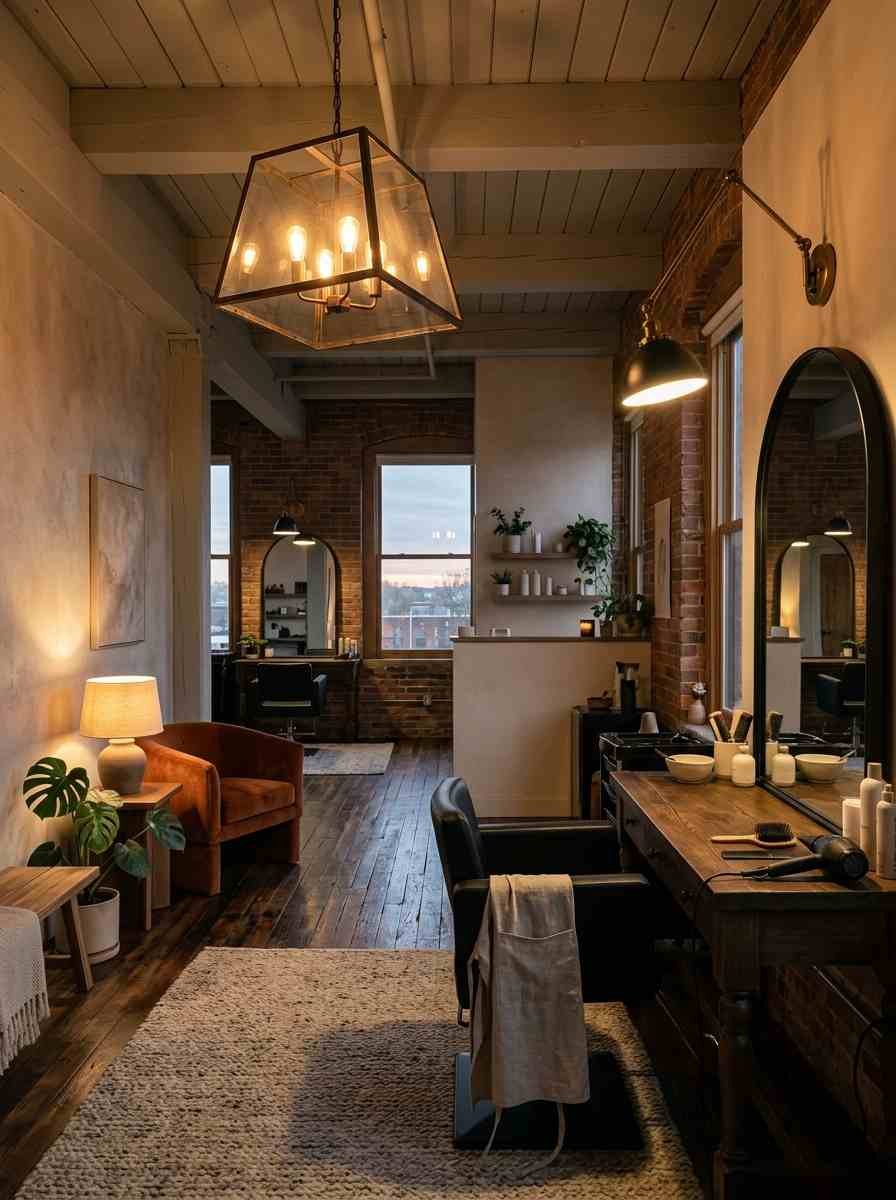
Matte black fixtures against a light wall. This combo has been showing up everywhere lately, and honestly, it’s earned the hype.
It reads modern without feeling cold.
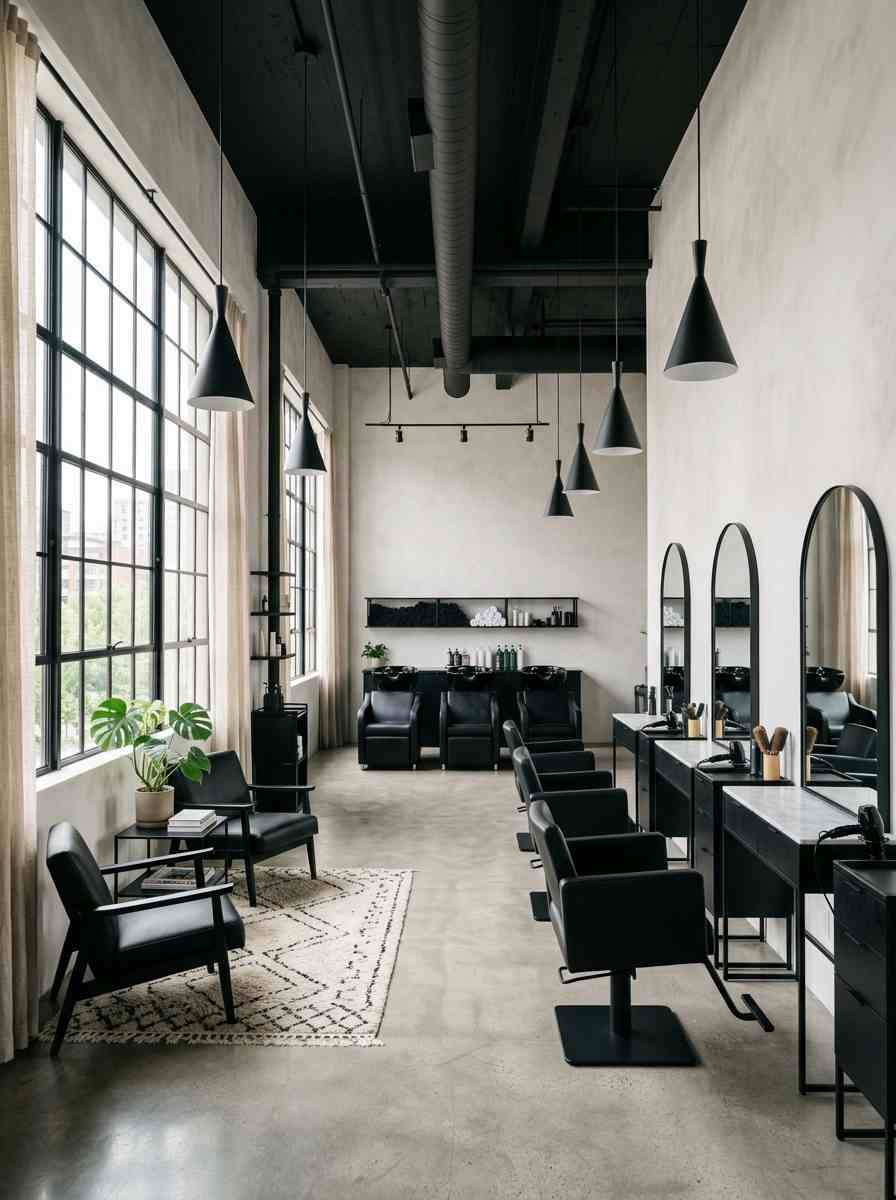
A neutral base with one jewel tone. Beige or warm gray walls, then a ruby or sapphire accent chair.
It photographs like a design magazine spread even on a stylist’s budget.
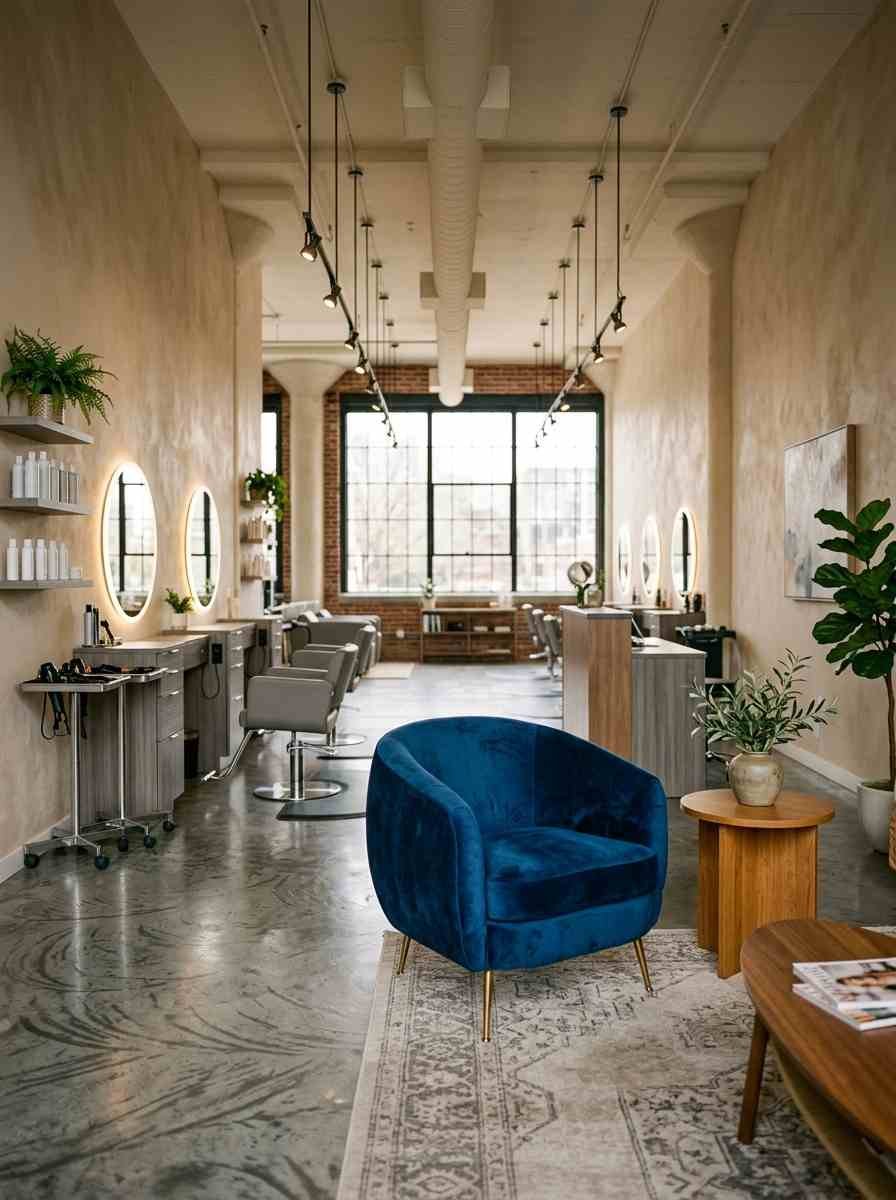
Storage and stations stylists actually use
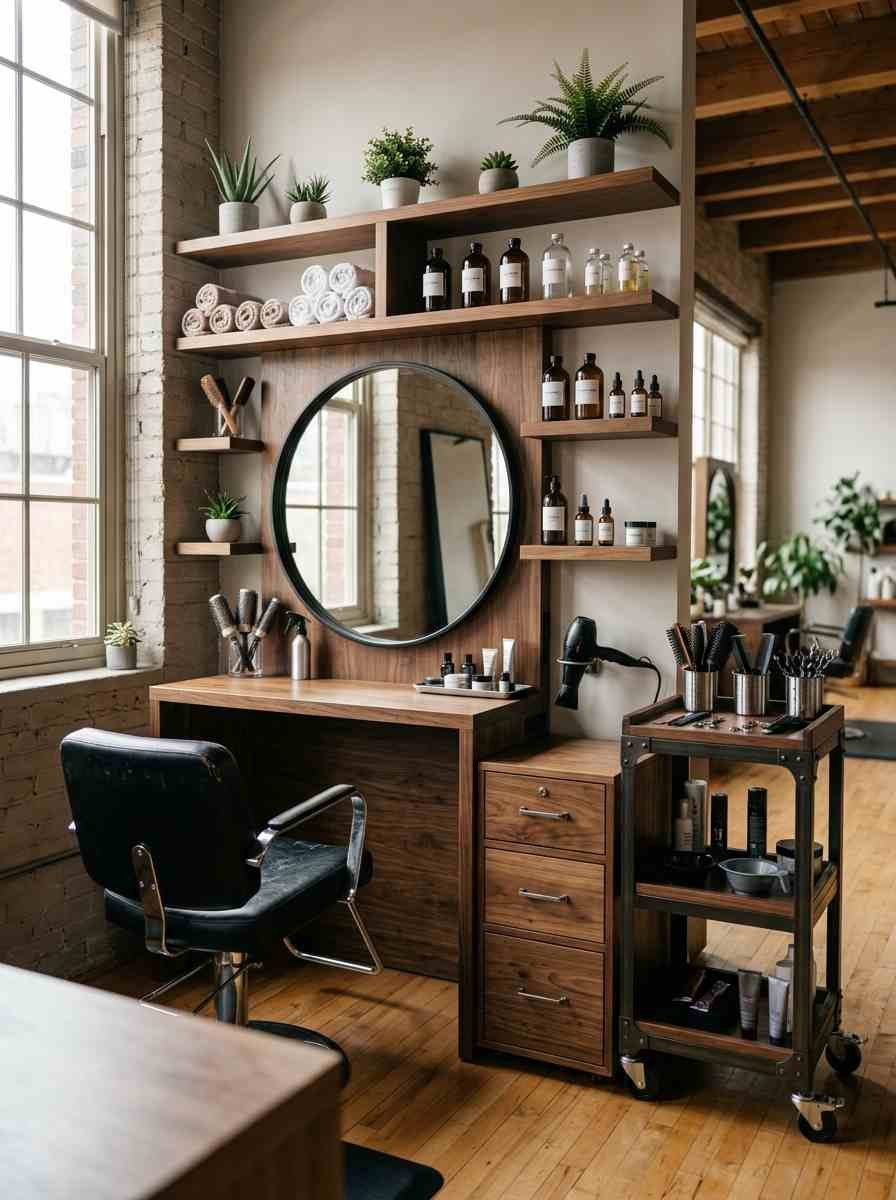
This is where a lot of loft owners overspend on the wrong things.
Skip the trendy cart nobody restocks and focus on what you touch every single appointment.
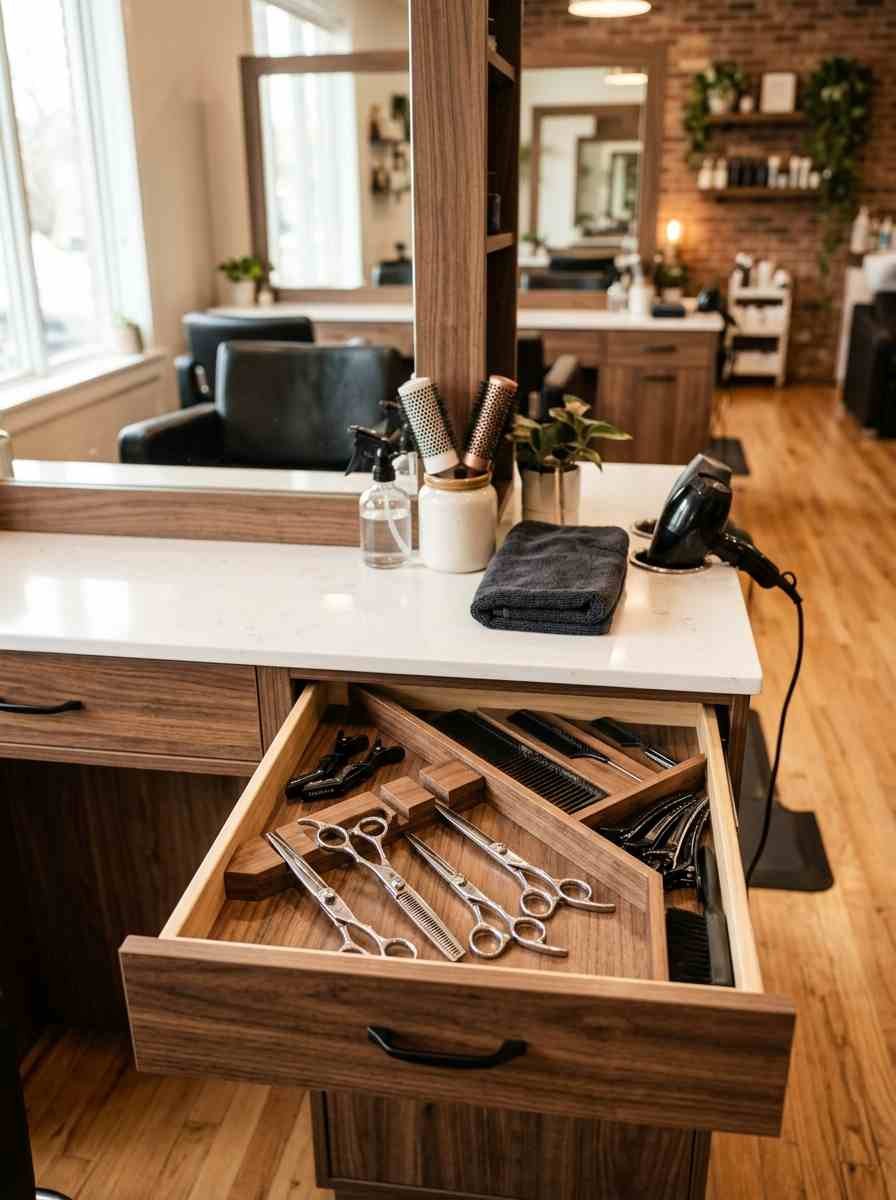
Drawer dividers inside your station. Sounds boring. Saves you probably ten minutes a day of digging for the right clip or comb.
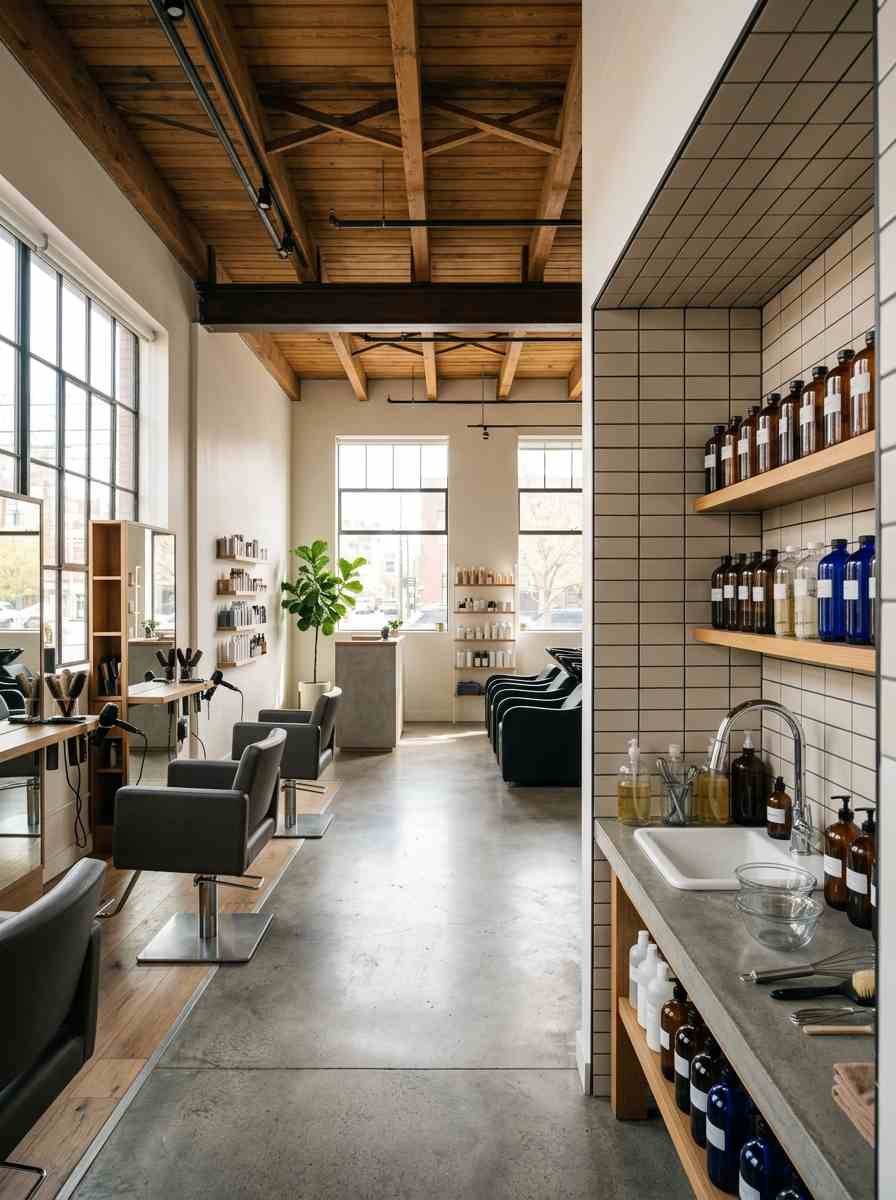
A dedicated color mixing station away from client seating. Keeps the smell contained and keeps your client from watching you measure developer, which, let’s be honest, isn’t the glamorous part of the job.
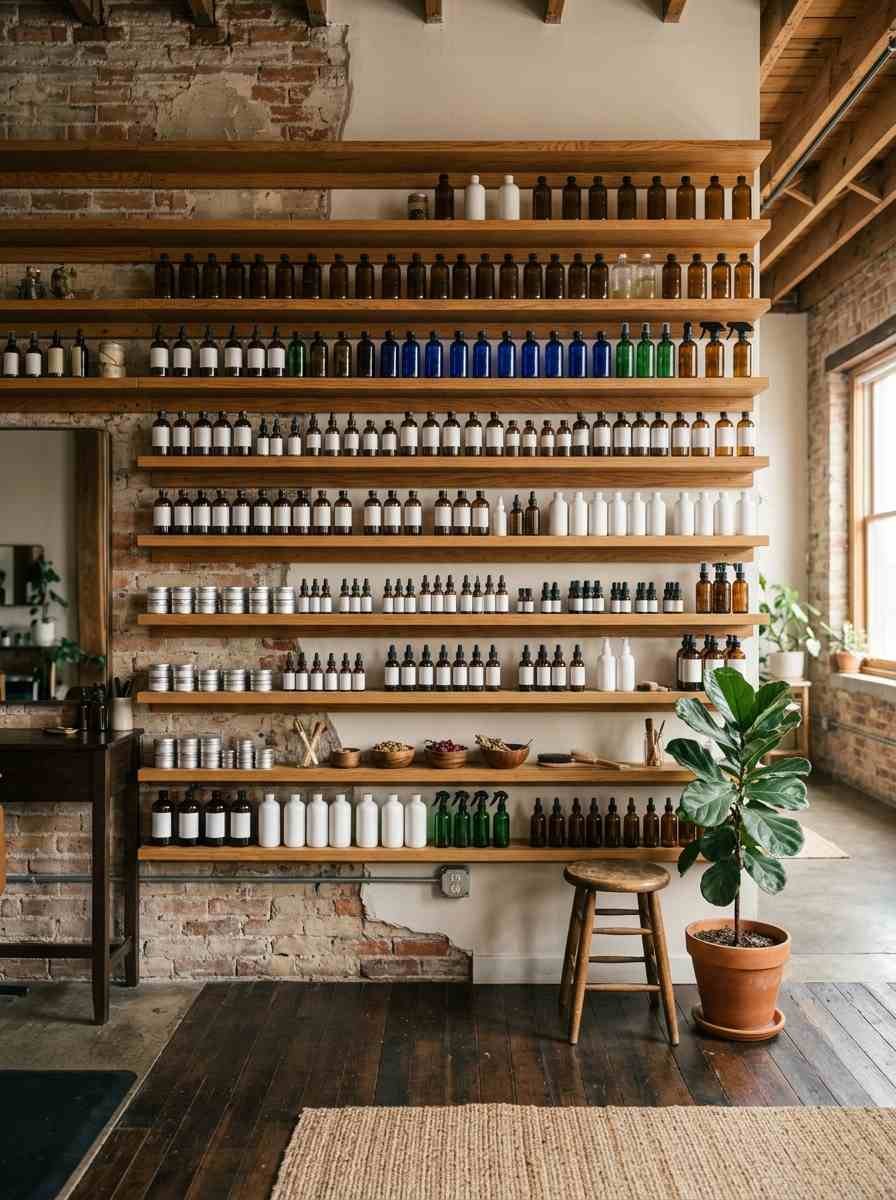
Open shelving for retail products. Clients buy more when they can see and touch the product. Closed cabinets kill impulse purchases.
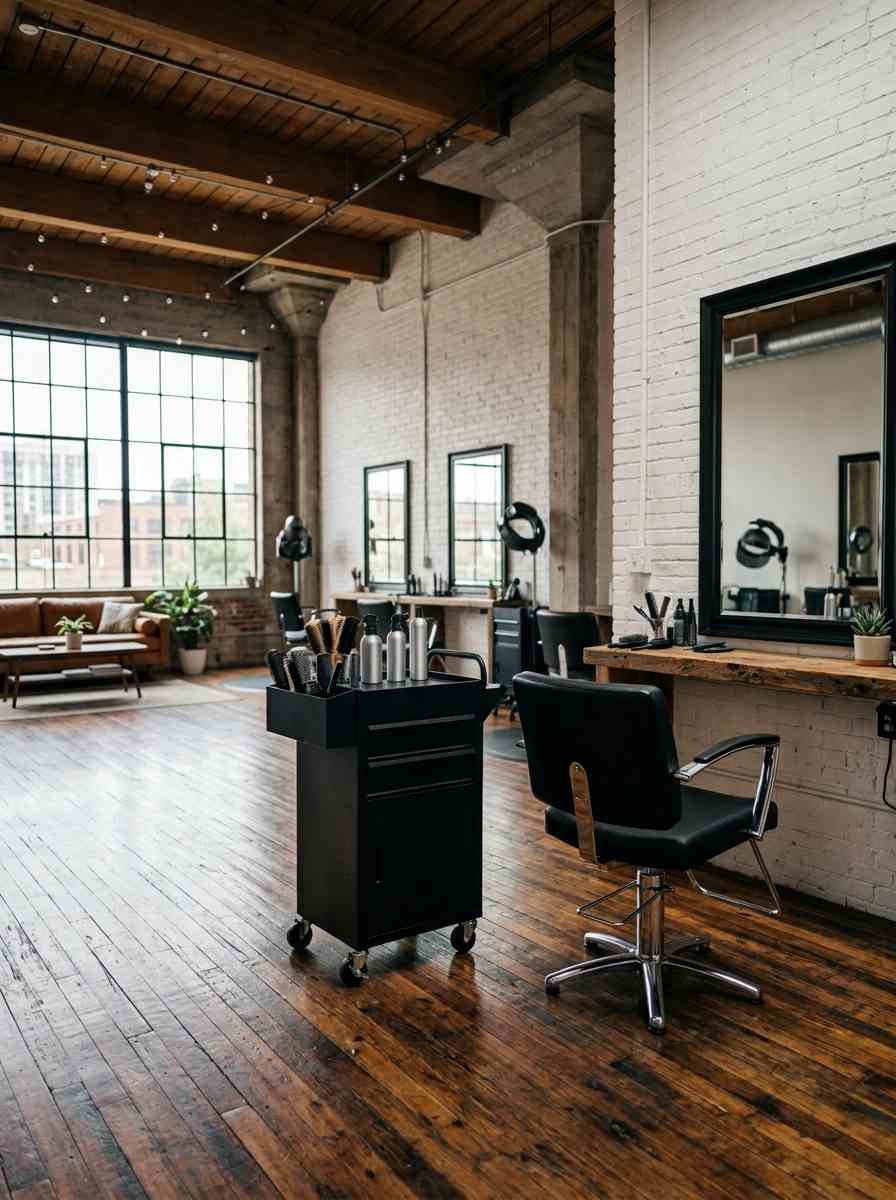
A rolling tool caddy instead of a fixed drawer.
You can pull it wherever you’re working, whether that’s the chair or a shampoo bowl in the corner.
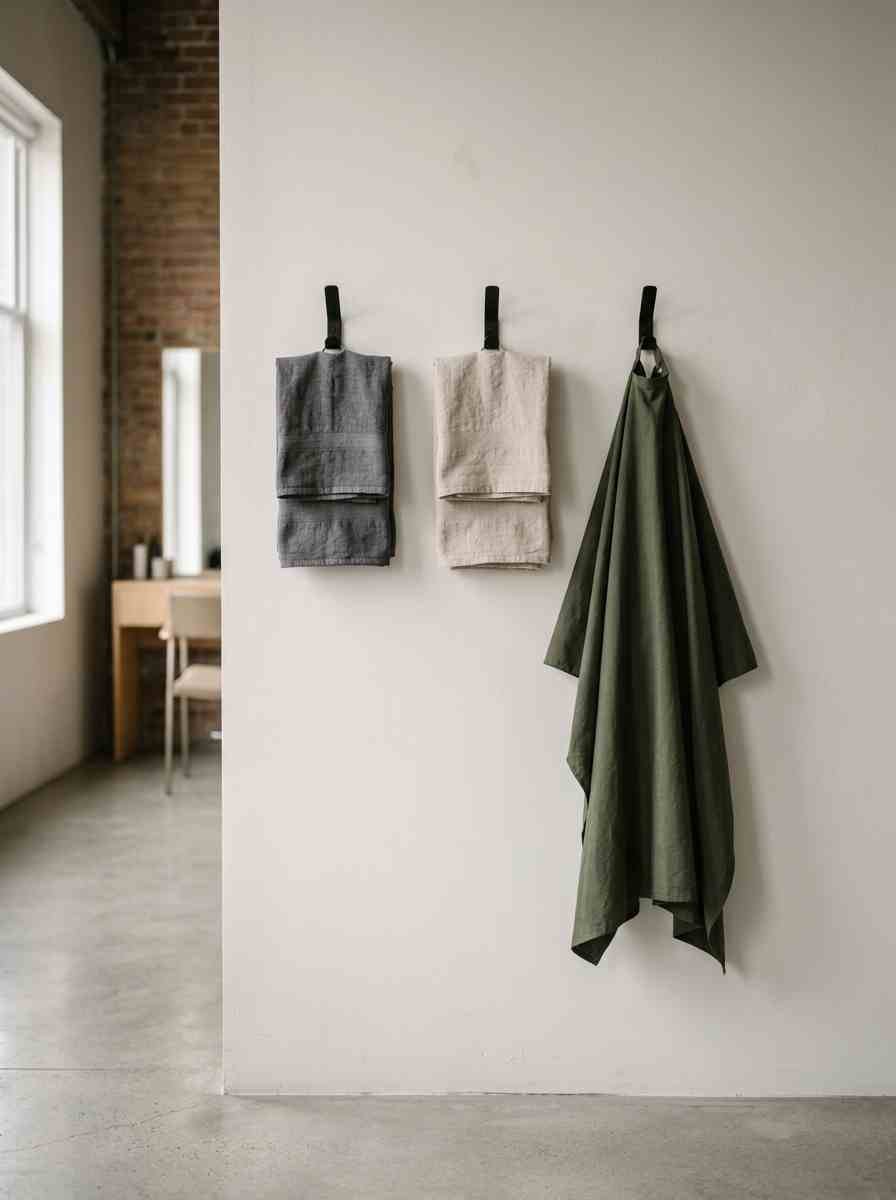
Wall hooks for capes and towels, not a hamper on the floor. Cleaner sightline, faster turnover between clients.
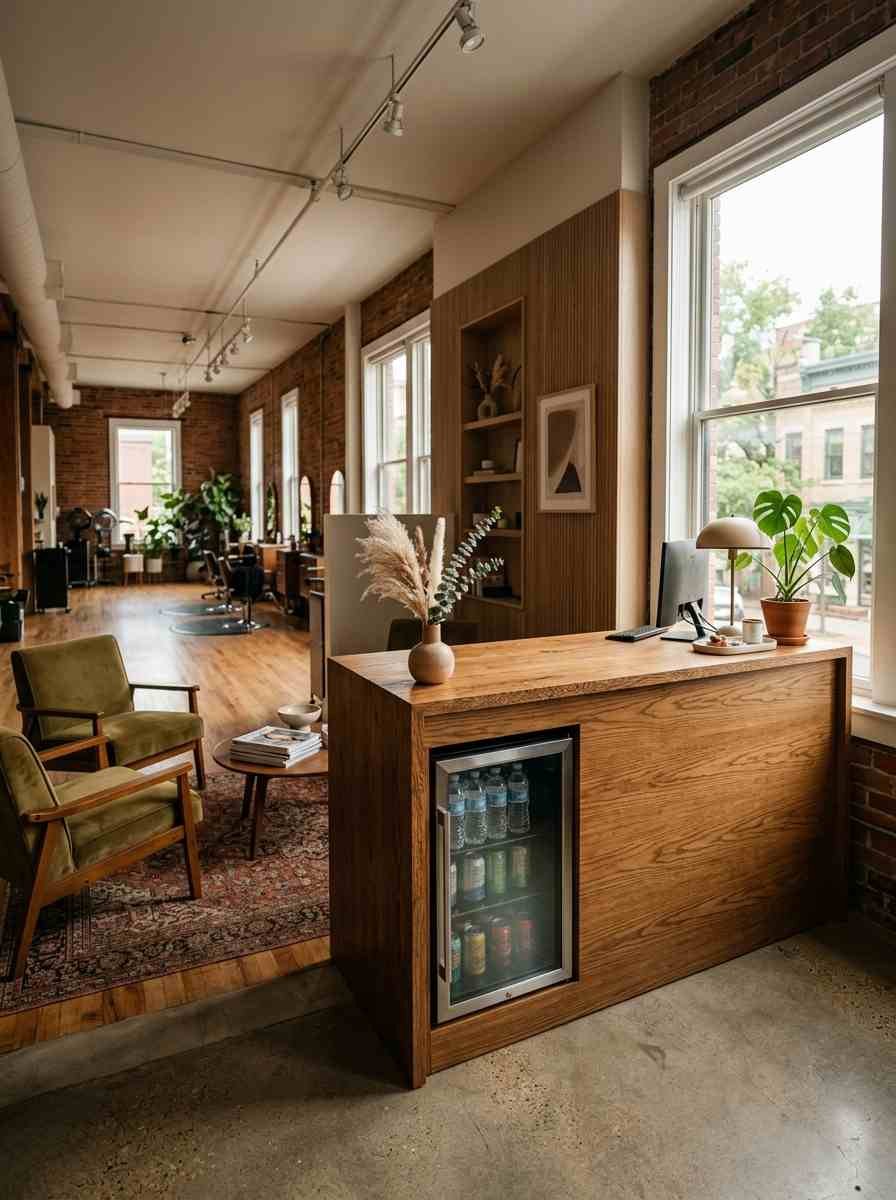
A small fridge under the reception desk. Water for clients, snacks for you during a twelve hour Saturday. Nobody regrets this one.
Decor and personality touches
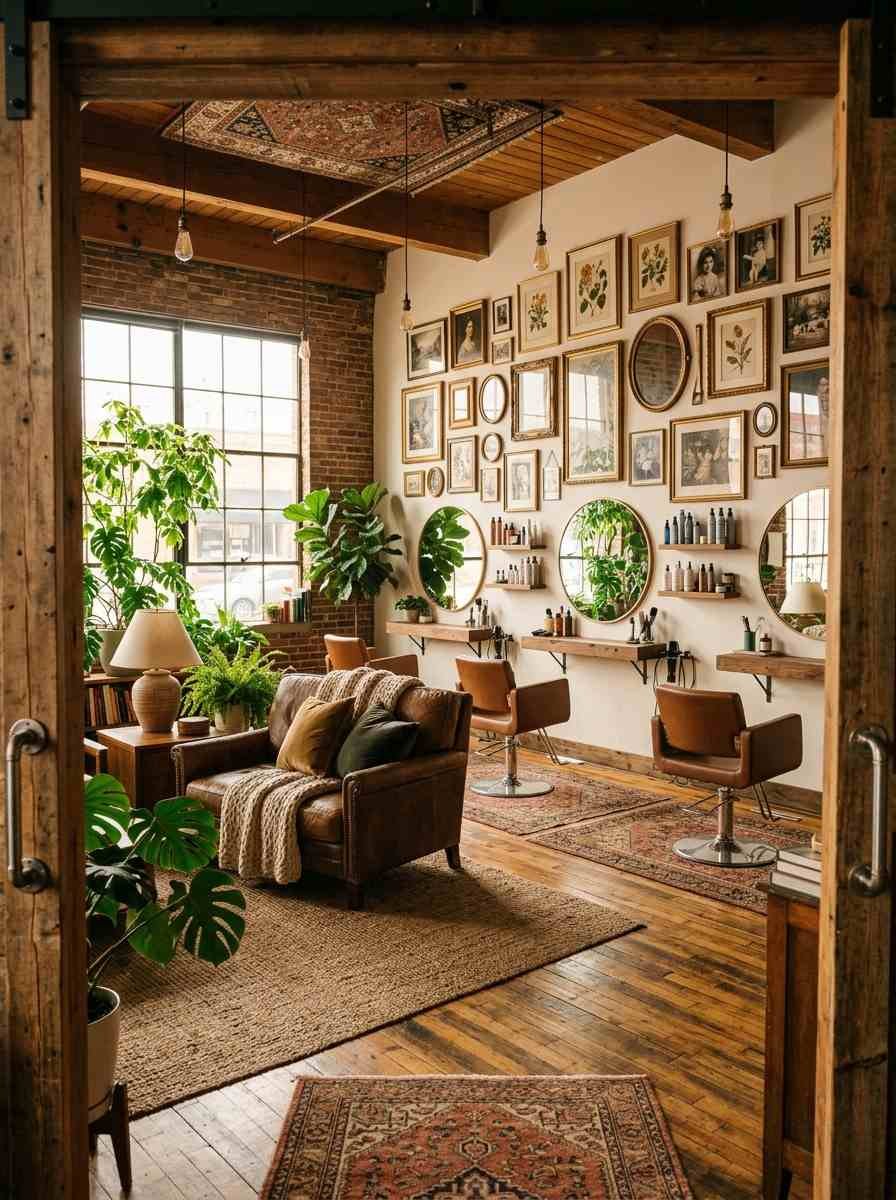
Here’s the part that makes a loft feel like yours instead of a rented box with a chair in it.
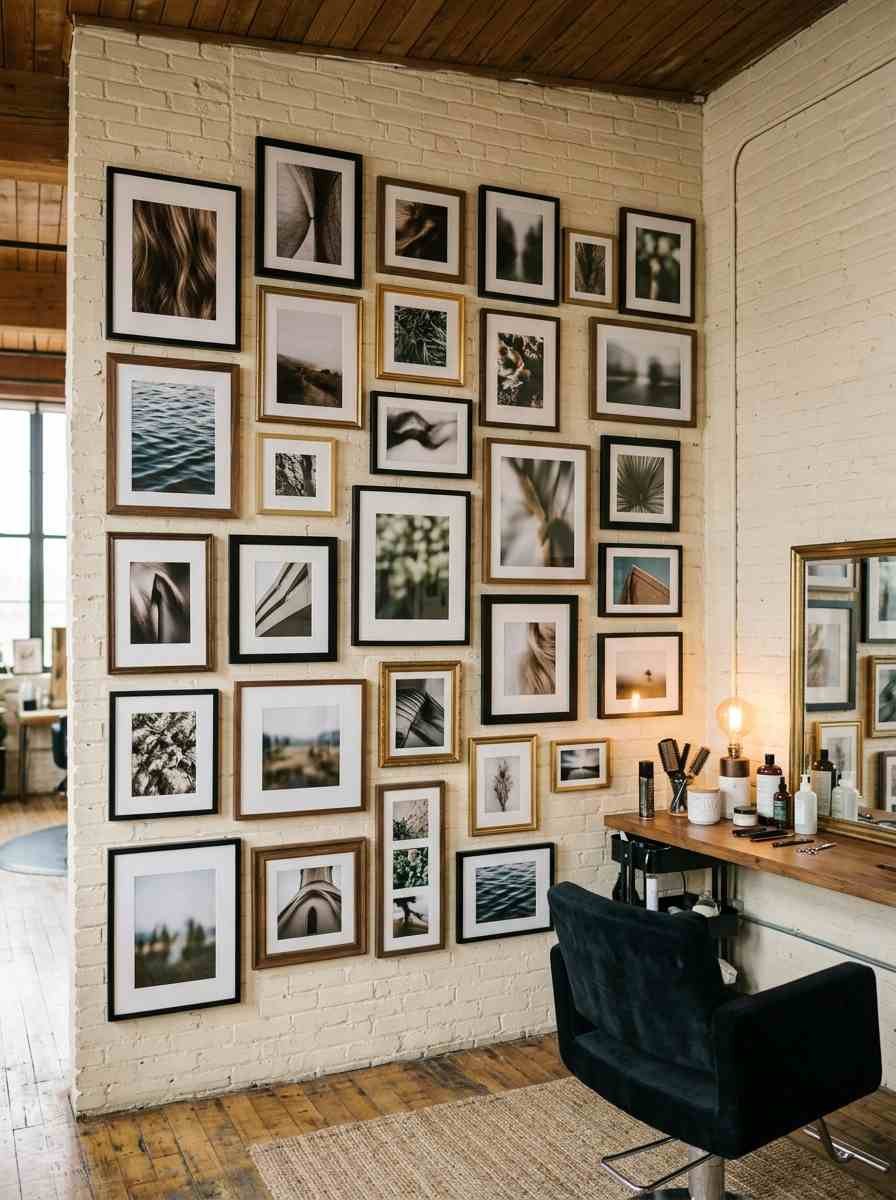
A gallery wall of client transformations. Real work, printed and framed, does more for booking new clients than any stock photo ever will.
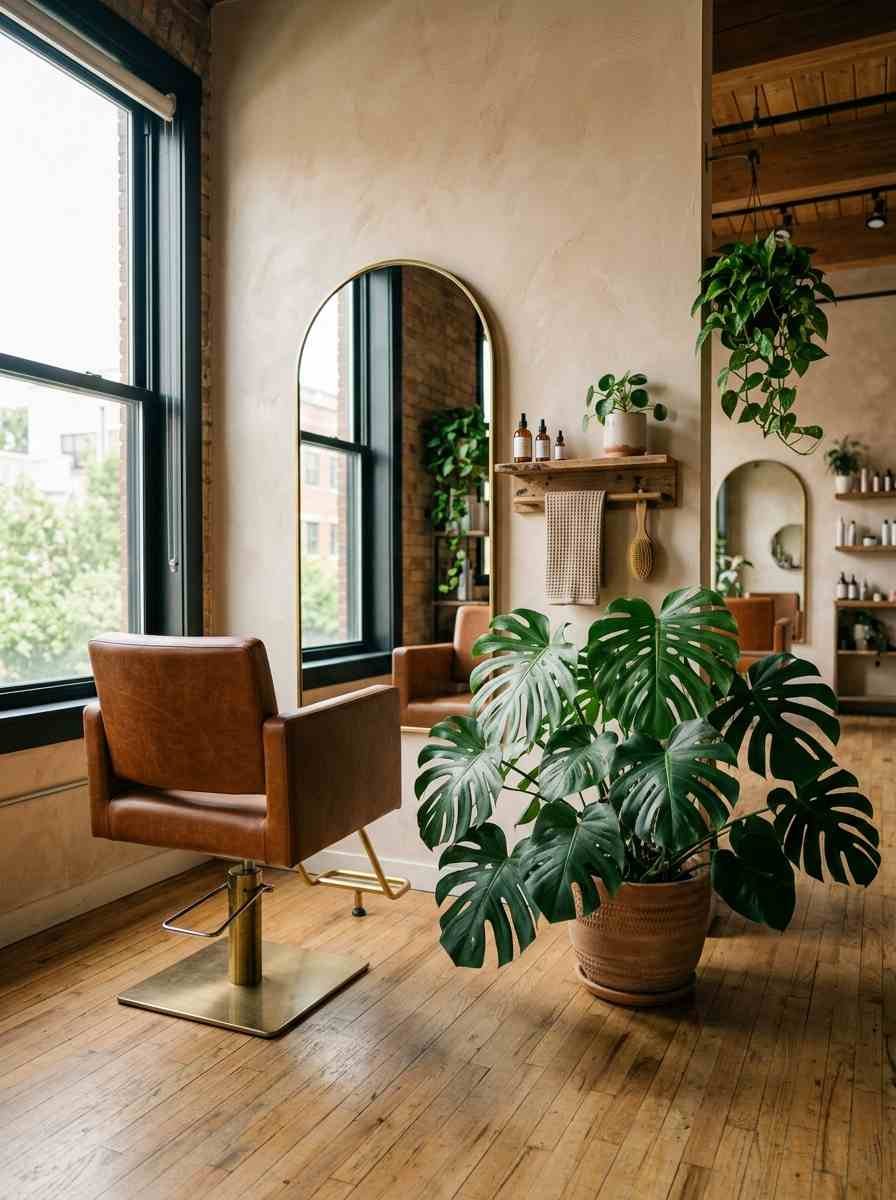
Fresh greenery, even if it’s low maintenance. A snake plant or a monstera in the corner softens hard surfaces like tile and metal.
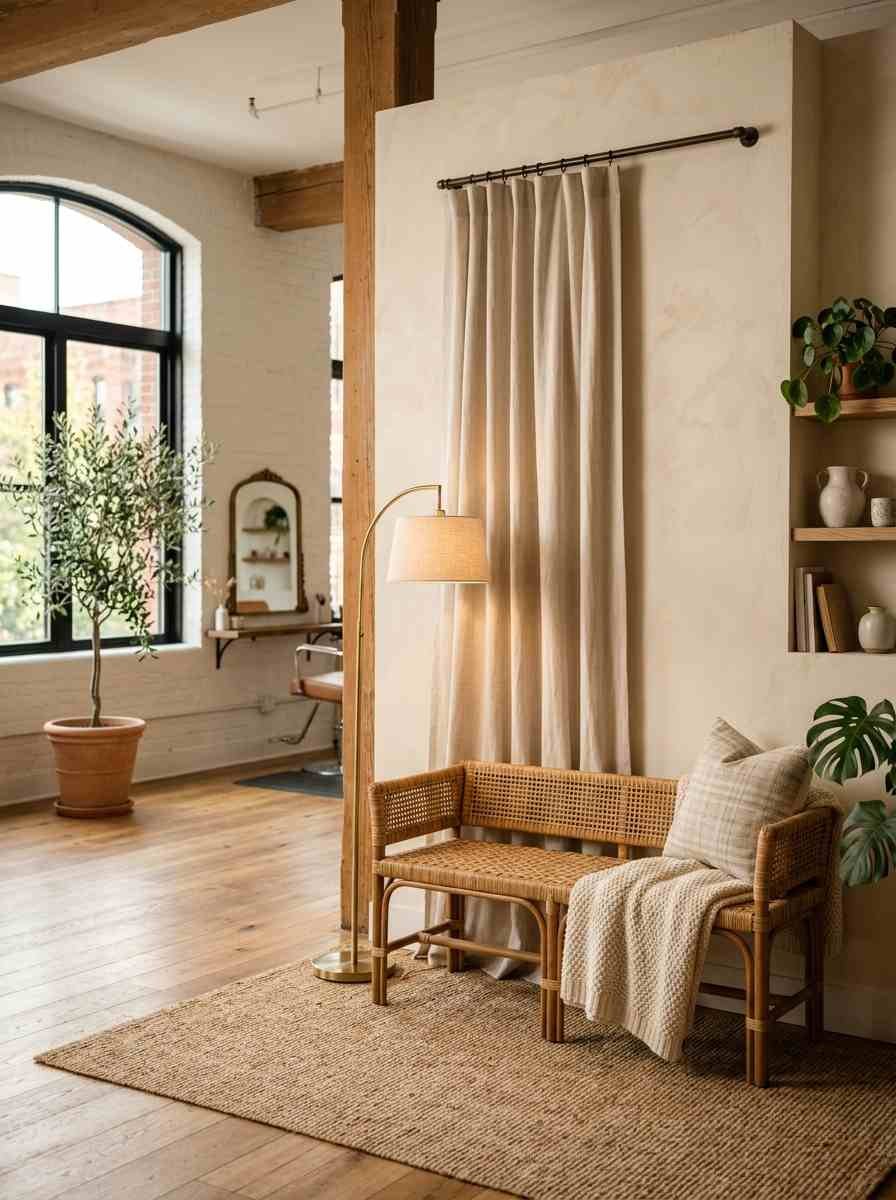
A small “selfie corner” separate from the working station. One good backdrop, decent light, and clients will tag you in their after-photos without you asking.
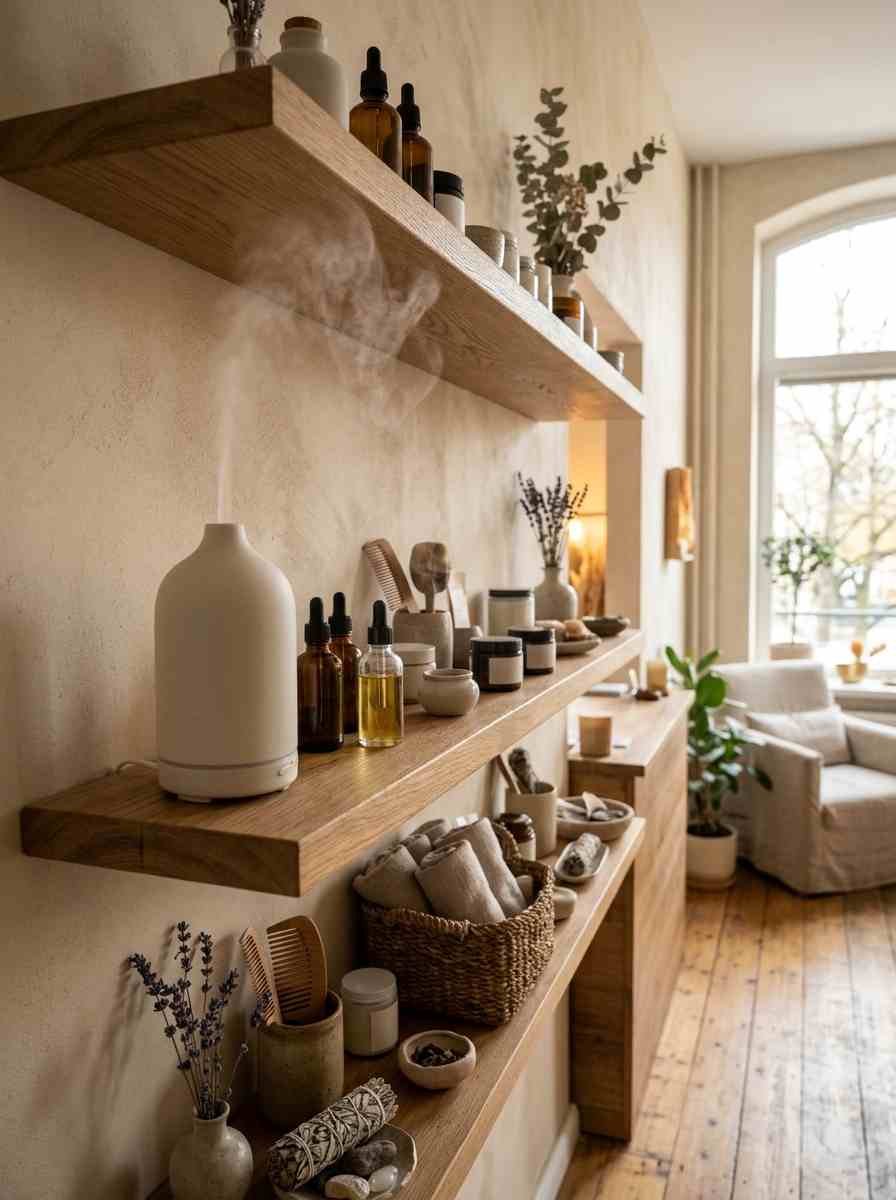
A signature scent. Not a scented candle burning near hair chemicals (please don’t), but a diffuser with something subtle.
Smell is tied to memory more than any other sense, and clients remember how your loft made them feel.
Vintage or secondhand furniture, reupholstered. A thrifted chair with new fabric costs a fraction of a new one and usually has more character.
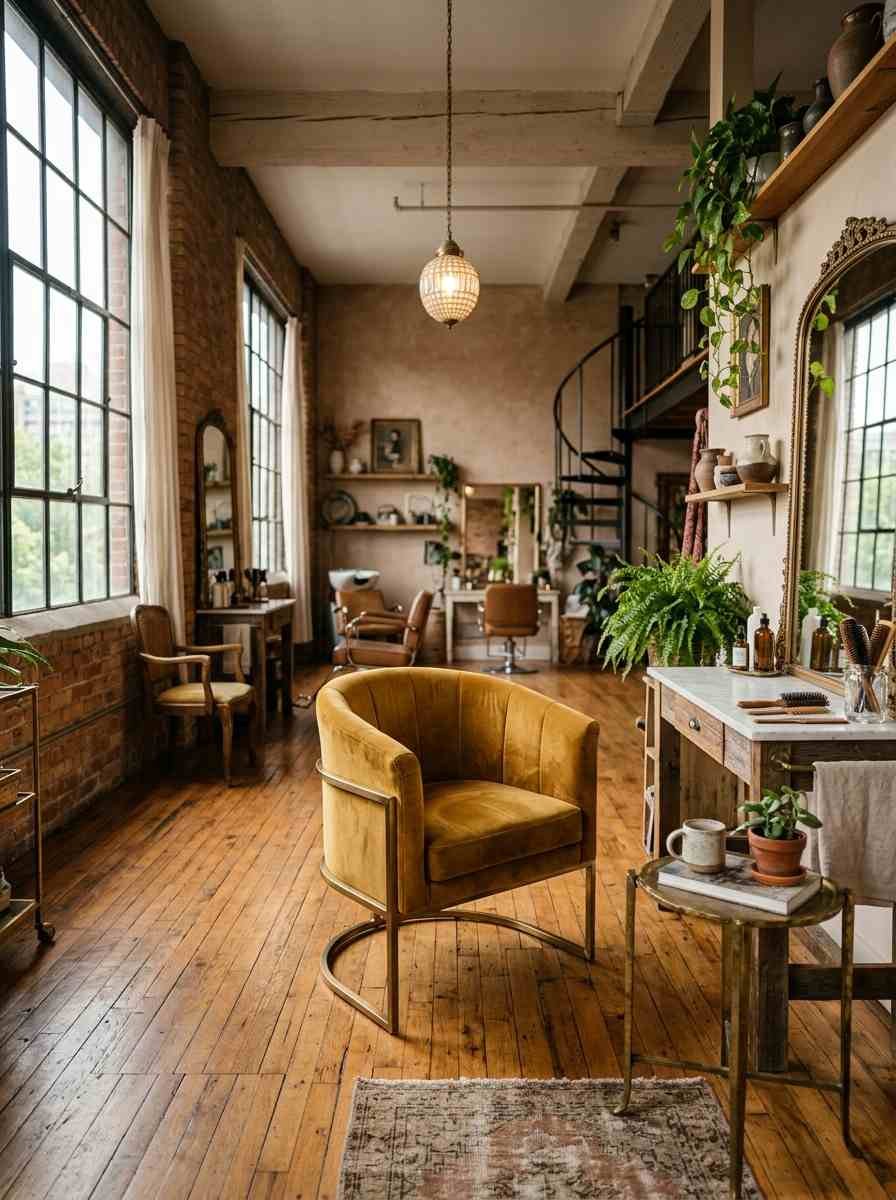
Textured walls instead of expensive wallpaper. Limewash paint or a faux plaster finish gives you that boutique hotel feel for the cost of a weekend project.
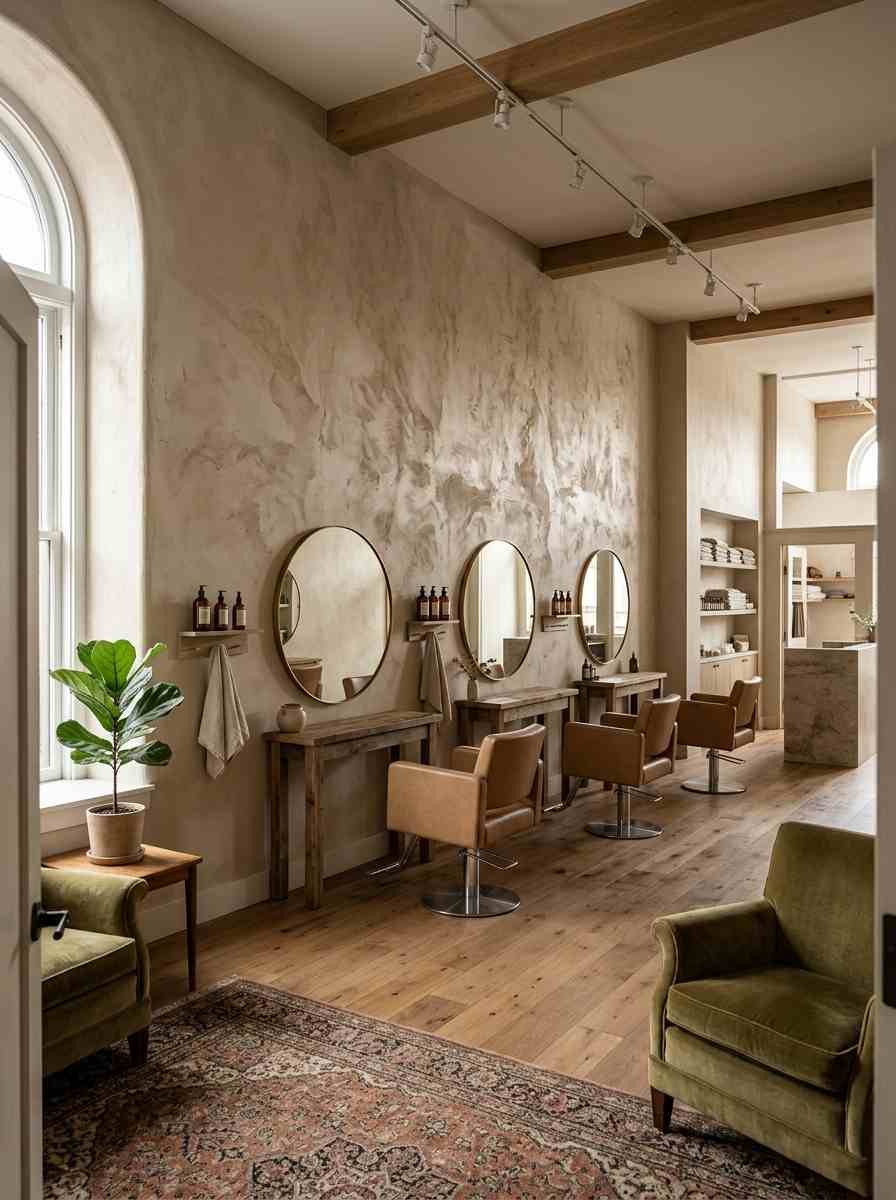
Okay, slightly random tangent here, but I once spent an entire Sunday limewashing a single accent wall in my own loft and ruined a pair of jeans I actually liked. Worth it.
Would do it again. Wear old jeans though.
Budget-friendly upgrades that punch above their weight
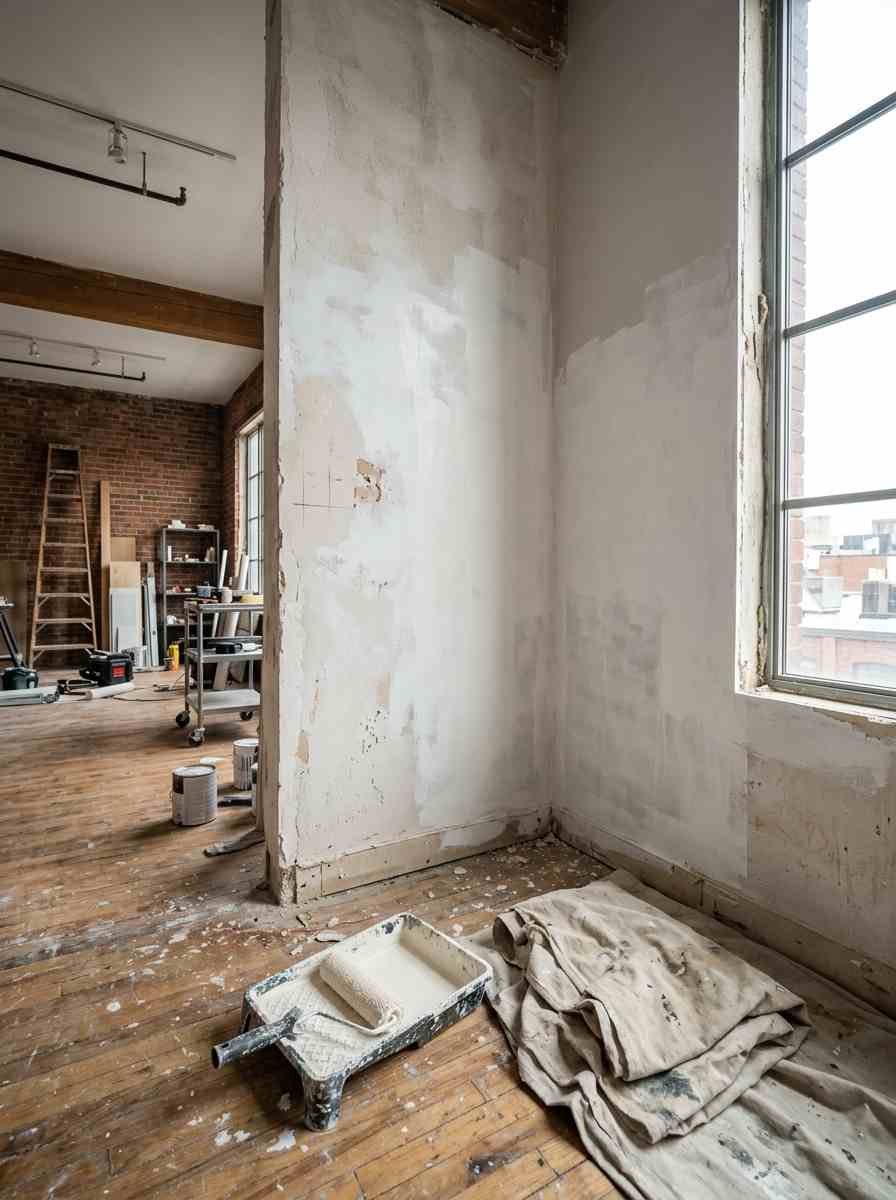
Not everyone renovating a loft has five figures to spend. These four ideas cost the least and change the most.
New cabinet or drawer hardware. Twenty dollars, fifteen minutes, and your whole station looks updated.
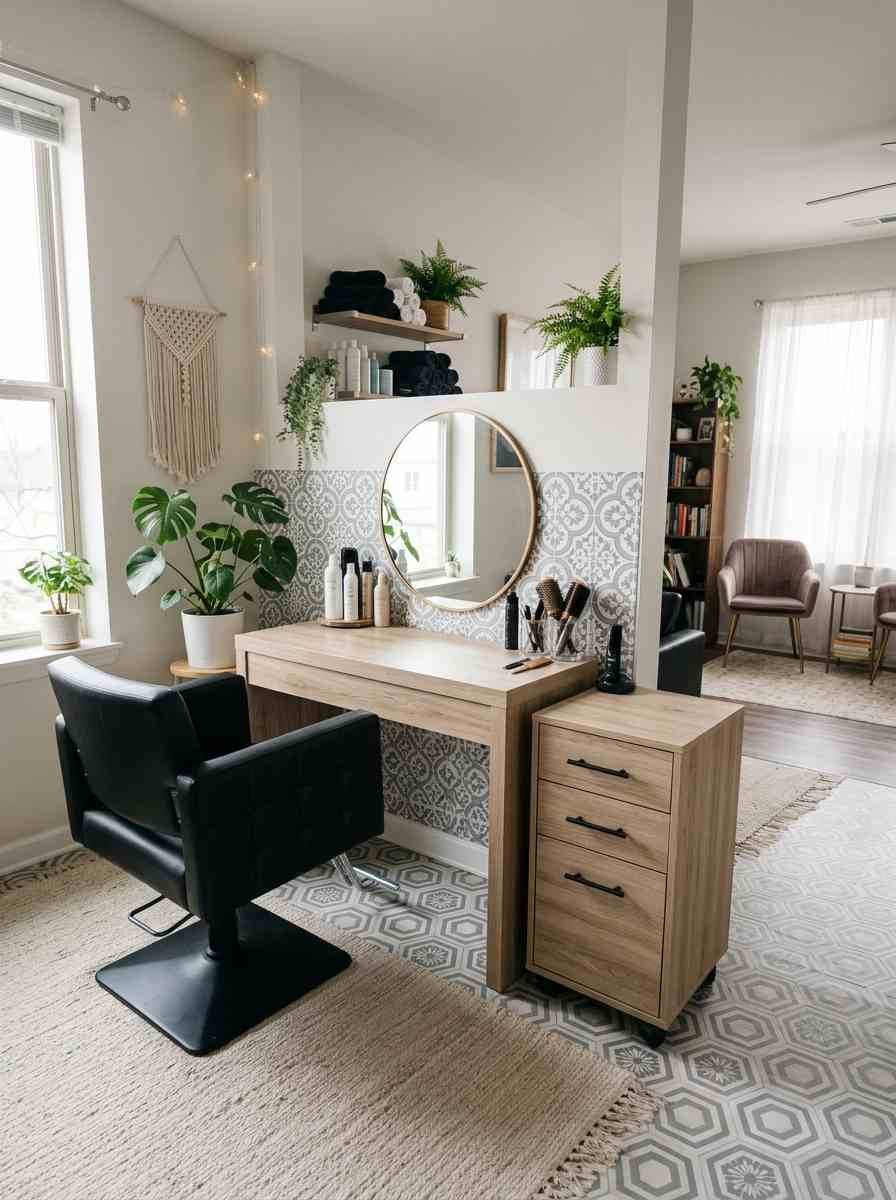
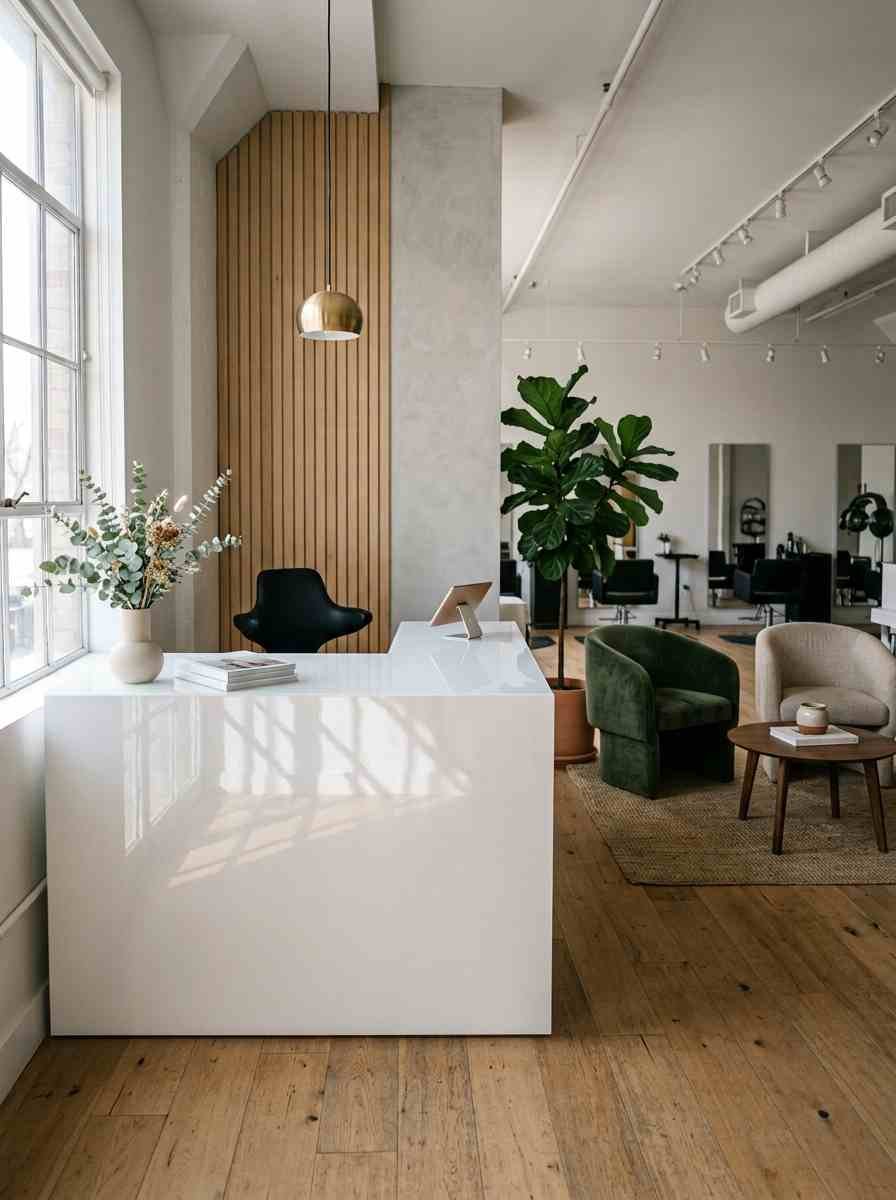
A wrapped or painted reception desk. A high-gloss vinyl wrap runs under $200 and can transform a dated desk into something that looks custom.
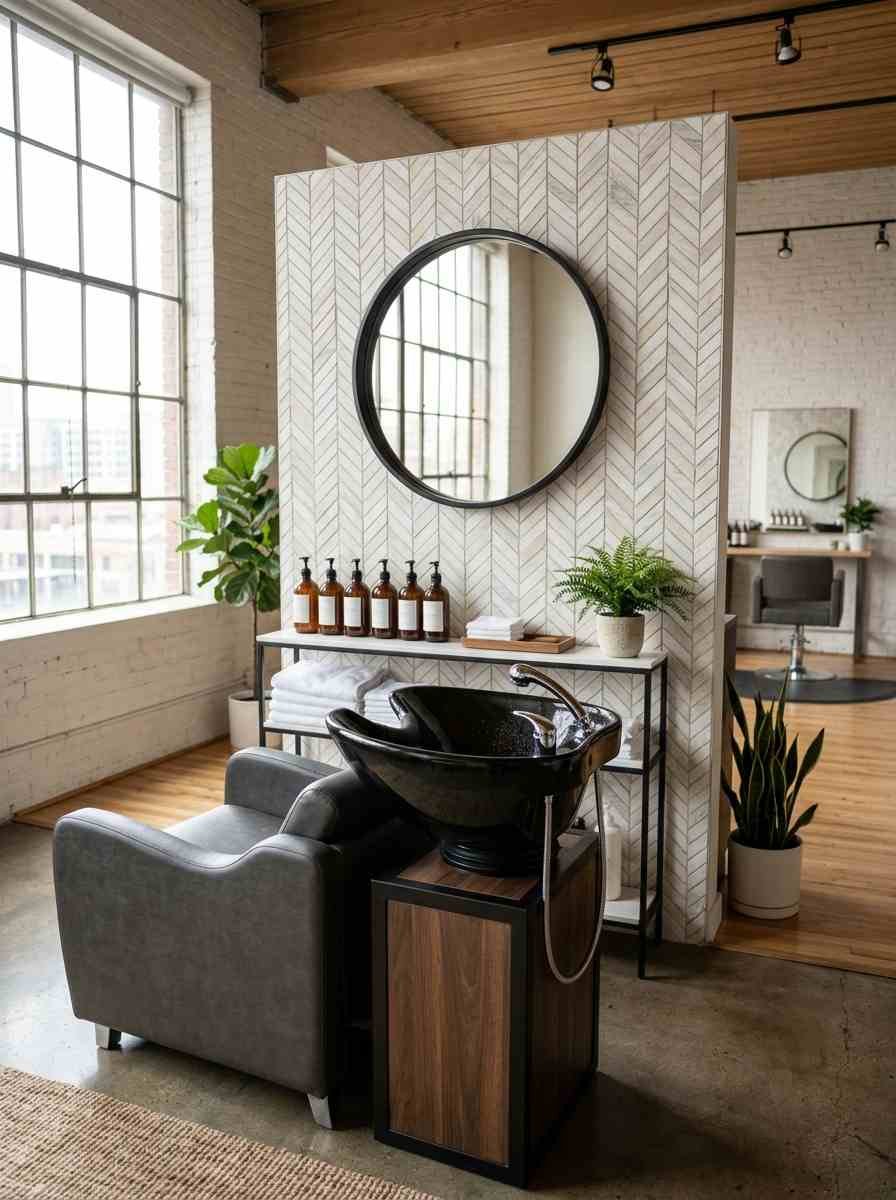
Peel and stick tile behind the shampoo bowl. Way cheaper than real tile, and most versions hold up fine against water splash.
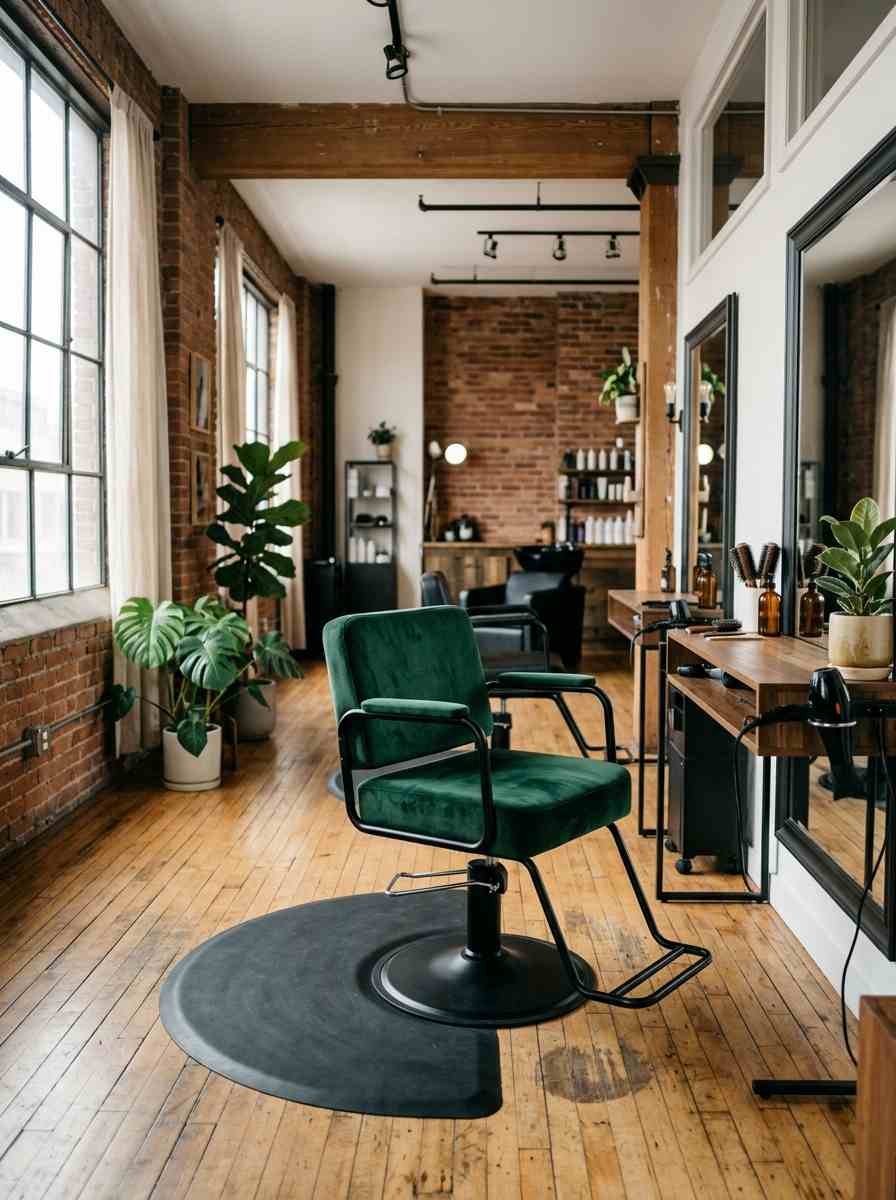
Swap your chair upholstery, not the whole chair. A reupholstered seat in a bold color can be the one design choice people remember about your whole loft.
Quick comparison: which loft vibe fits you
| Style | Best for | Rough cost | Vibe check |
|---|---|---|---|
| Warm minimalism | Stylists who want a calm, repeat-client vibe | Low to mid | Cozy, not sterile |
| Bold jewel tone | Color specialists, editorial clients | Mid | Confident, a little dramatic |
| Boho and greenery | Curly hair and texture specialists | Low | Relaxed, personal |
| Industrial loft | Barbers and urban brand stylists | Mid to high | Sharp, edgy |
Nothing here is set in stone. IMO the best lofts borrow from two categories instead of committing fully to one.
For anyone who wants a deeper dive into where salon design is actually heading this year, <cite index=”3-1″>the shift is toward calmer, more intentional spaces with natural textures and space-saving layouts</cite>, which lines up with pretty much everything on this list.
There’s also solid budget-focused inspiration if you’re working with a tighter renovation budget and want ideas that don’t sacrifice the premium look.
And if layout and zoning feel overwhelming, a guide focused on structural planning first is worth bookmarking before you buy a single decor piece.
Frequently asked questions
Do I need a full renovation to make my loft feel updated? No. Hardware swaps, a wrapped desk, and better lighting change the whole feel of a room for a few hundred dollars total.
What’s the biggest mistake stylists make with a salon loft? Buying decor before solving layout. A beautiful mirror doesn’t fix a station that’s awkward to work at ten hours a day.
How often should I refresh my loft’s look? Once a year is realistic for most independent stylists. Small swaps, like accent pillows or shelf styling, can happen more often without breaking the budget.
Final thought
Your loft is basically a silent business card. Clients decide how much to trust your skill before you even pick up the scissors, just from how the room feels.
So which idea are you trying first? Drop it in the comments, or better yet, pin this and come back once you’ve actually done it. I want to see the before and after.
