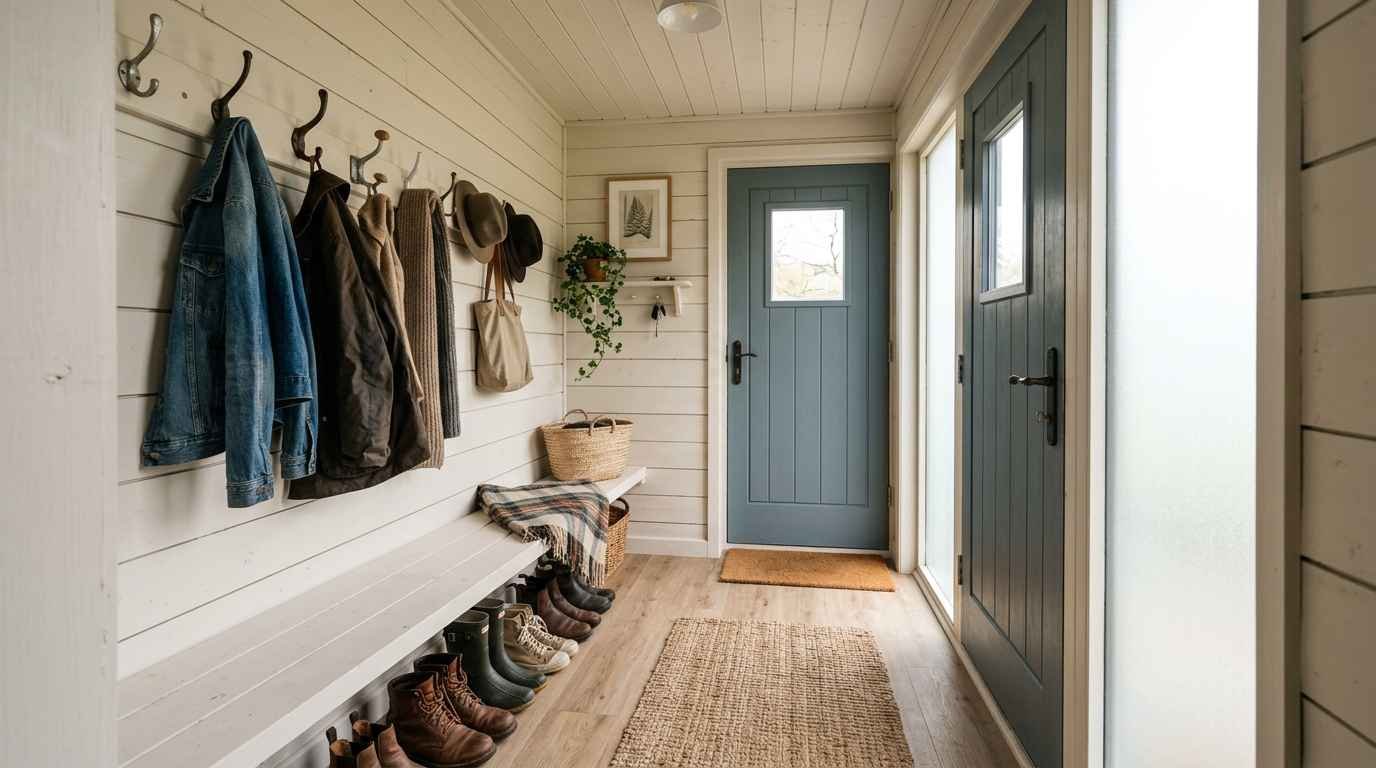
Mobile homes get a bad rap when it comes to storage. I get it. I’ve stood in a 14×70 with 3 pairs of muddy boots piled by the door and thought, “there has got to be a better way.” Turns out, there is.
A proper mud room doesn’t require tearing out walls or dropping $8,000 on a contractor.
Some of the best ones I’ve ever seen cost under $200 total, thrown together on a Saturday with a circular saw and enough coffee to regret it by noon.
Here’s what makes mobile home mud rooms a specific challenge: you’re working with limited square footage near entry points, and the walls aren’t always built for heavy anchoring.
So you need ideas that are light, modular, and budget-conscious. These 17 ideas check every box.
The low-cost impact zone: entry area upgrades
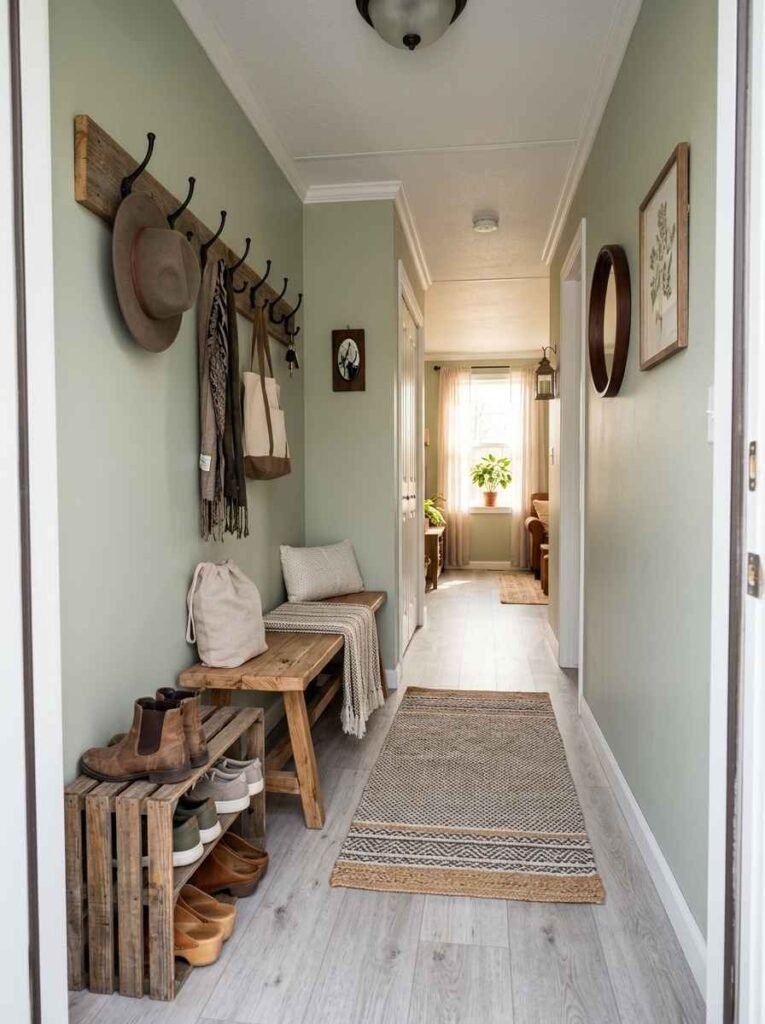
1. DIY pallet bench with hidden storage
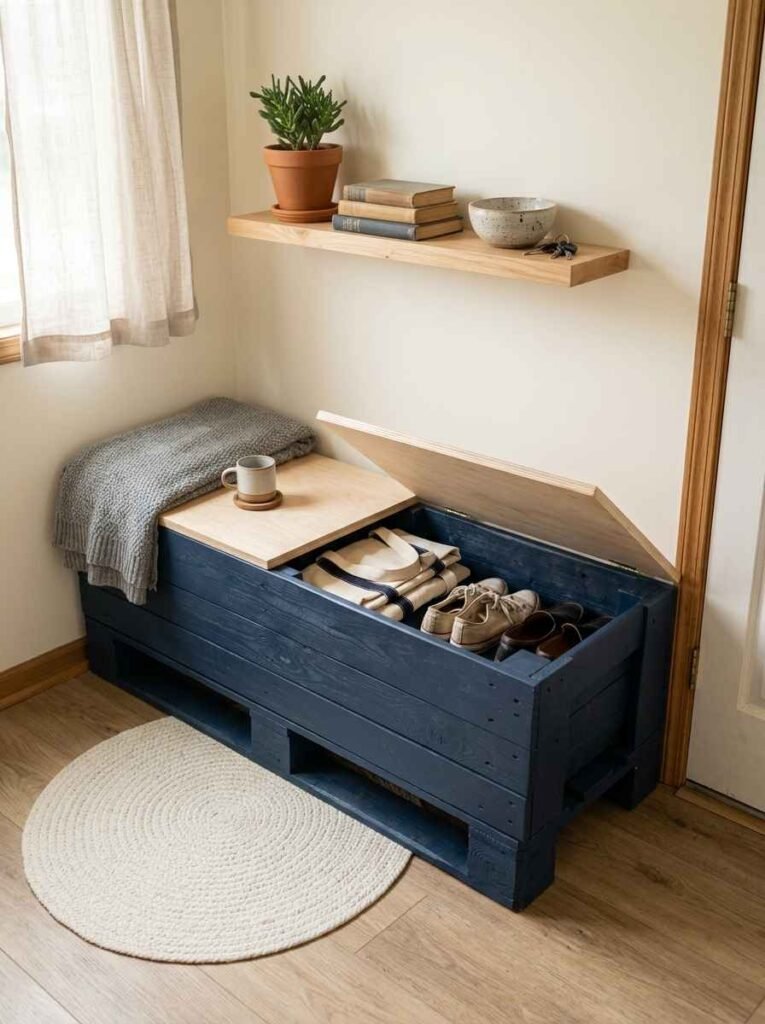
Grab 2 shipping pallets from a local hardware store or Facebook Marketplace (often free). Sand them down, bolt them together, add a hinged plywood top, and you’ve got a bench with storage underneath for $0 to $30 depending on what you already own.
I built one of these a few years back and painted it a deep navy. Still standing.
The storage underneath holds 4 pairs of shoes and a tangle of charging cables I’m choosing not to think about.
2. PVC pipe boot organizer
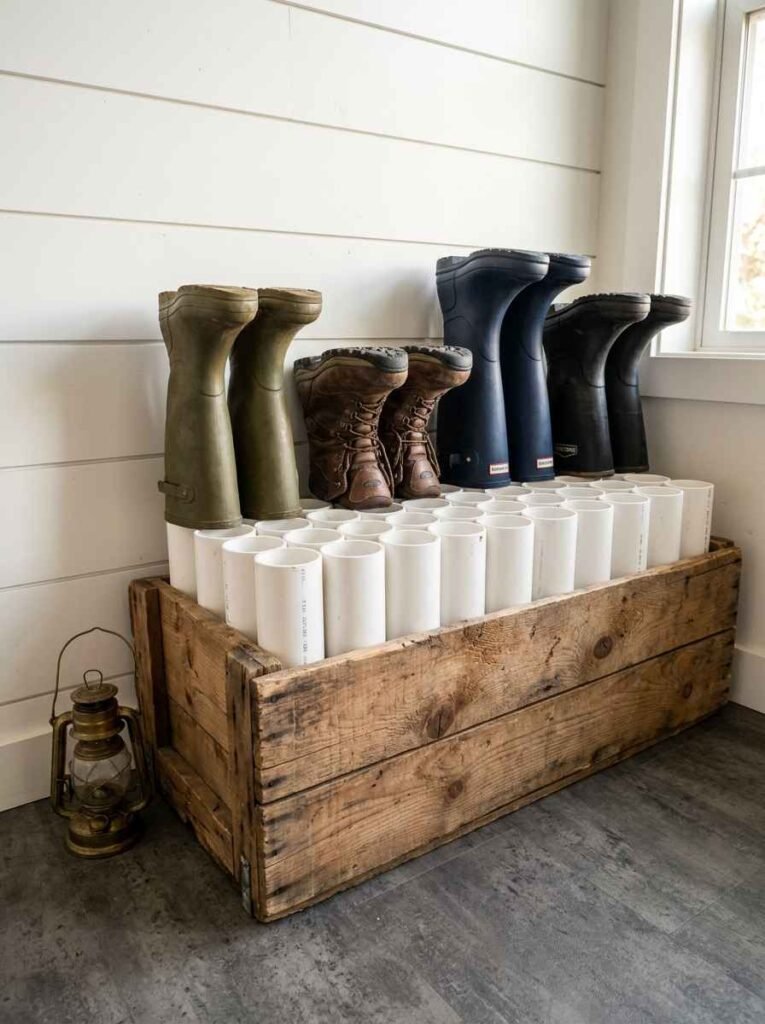
Cut PVC pipes into 12-inch sections, bundle them with zip ties or glue them inside a wooden crate, and stand your boots upright inside.
A 10-foot PVC pipe at most hardware stores runs about $5. The whole build takes 45 minutes.
Total cost: under $15. And it looks way more intentional than boots toppling sideways across the floor every time someone walks past.
3. Thrifted coat hooks on a plank
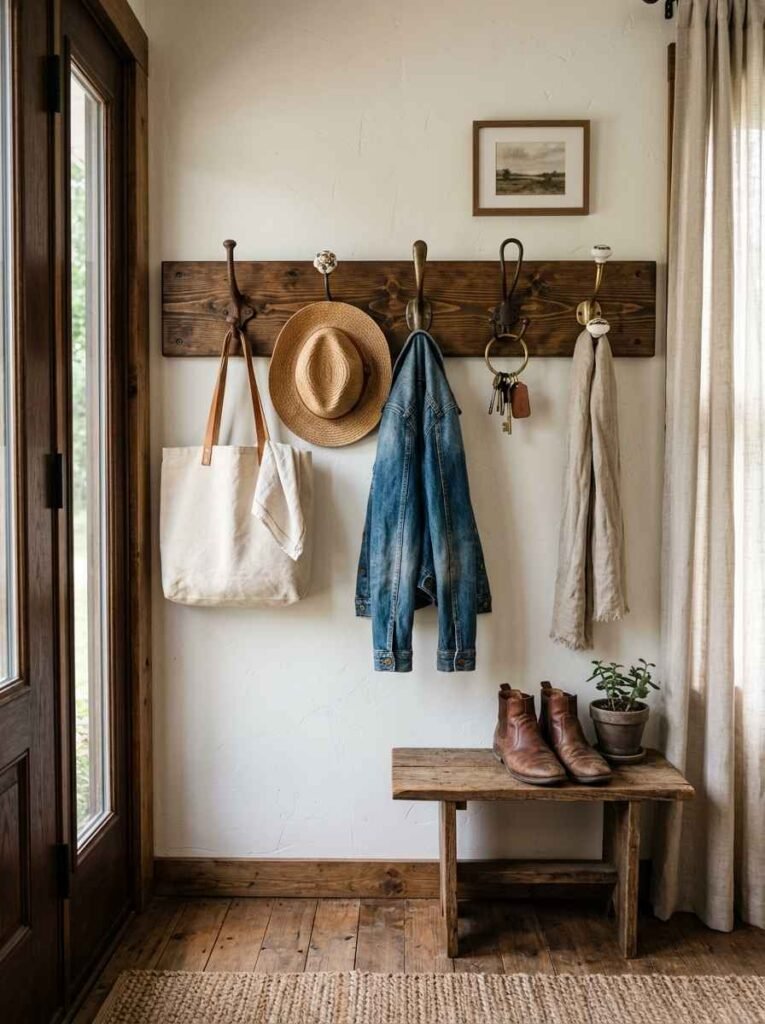
Hit your local thrift store for mismatched vintage hooks, then mount them on a stained wood plank.
A 1×6 pine board from a home center costs about $8. The mismatched look is a genuine Pinterest favorite right now, and for good reason.
Space the hooks 6 to 8 inches apart, drill them in, and anchor the plank to studs or use heavy-duty wall anchors if you’re working with mobile home paneling. Takes maybe an hour.
Shoe storage that actually works
4. Tension rod shoe rack
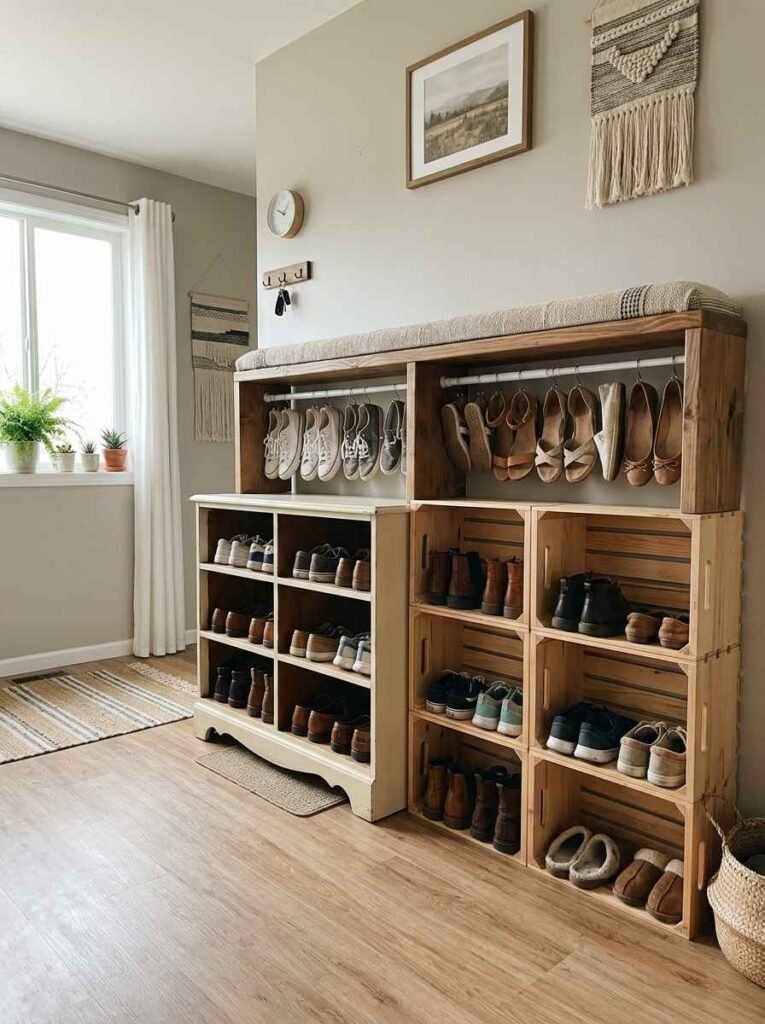
Install 2 tension rods horizontally inside a low cabinet or under a bench shelf, and hang your shoes heel-down across them. No drilling required. Total cost is probably $8 for both rods.
FYI, this works especially well for heels and flats. Sneakers are a little awkward, but you figure it out after a few tries.
5. Repurposed old dresser
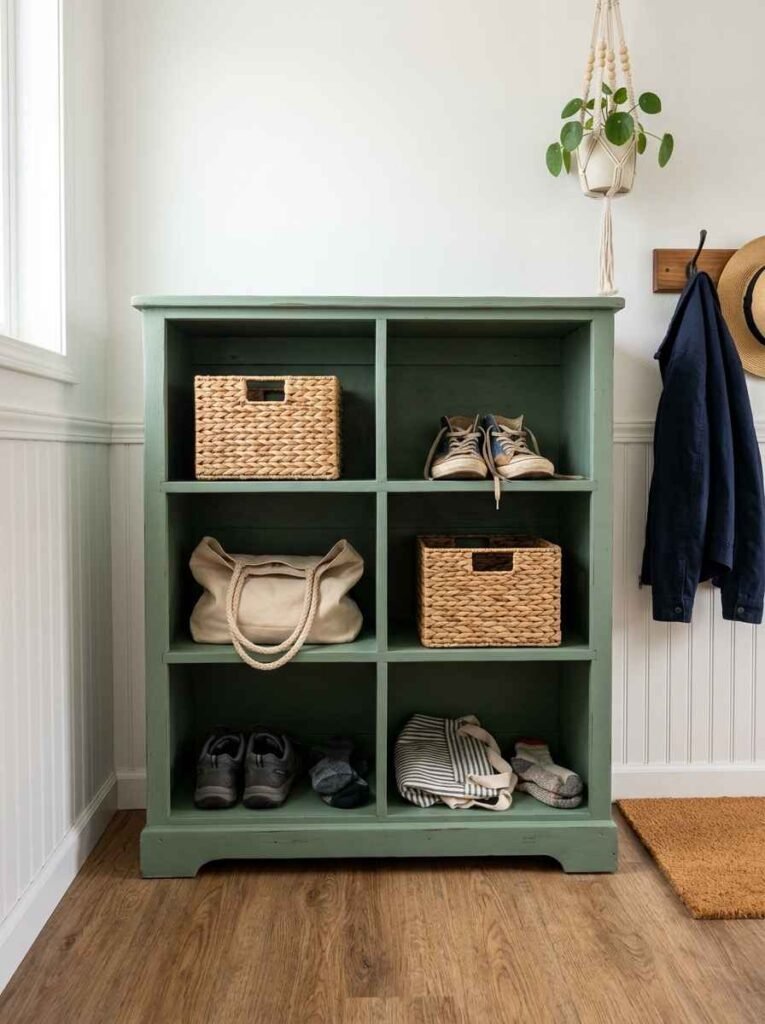
An old dresser from a thrift store or Facebook Marketplace (I’ve seen them listed for $10 to $20) turned on its side becomes an open cubby storage unit.
Remove the drawers, strip the hardware, paint it, and stack it against the wall.
Line each cubby with a small basket for shoes, hats, or sports gear. The footprint is narrow enough to work in most mobile home hallways,
which I think is why this idea keeps circulating on Pinterest.
6. Wood crate cubbies
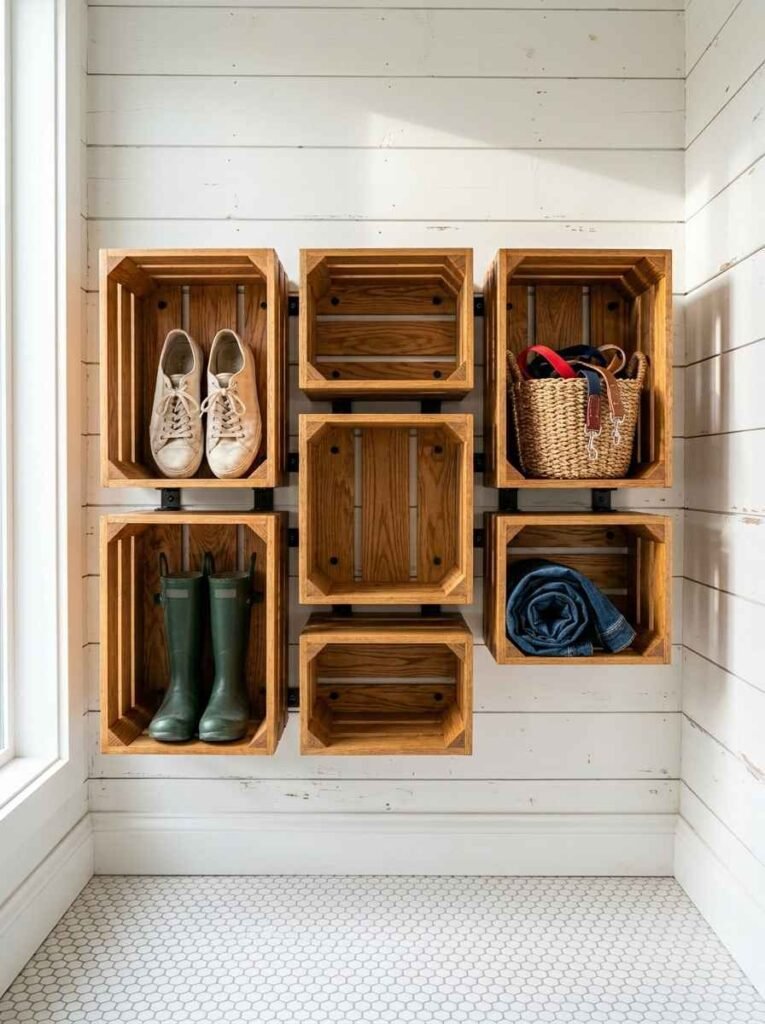
Buy unfinished wooden crates at a craft store (usually $6 to $12 each), stain or paint them, then stack and bolt them together in whatever arrangement fits your space.
An L-shape, a straight column, or a staggered grid all work.
Each crate comfortably holds a pair of shoes or a basket. You can rearrange the whole setup whenever you want, which is honestly a luxury with built-in storage.
Wall space you’re probably ignoring
7. Pegboard wall organizer
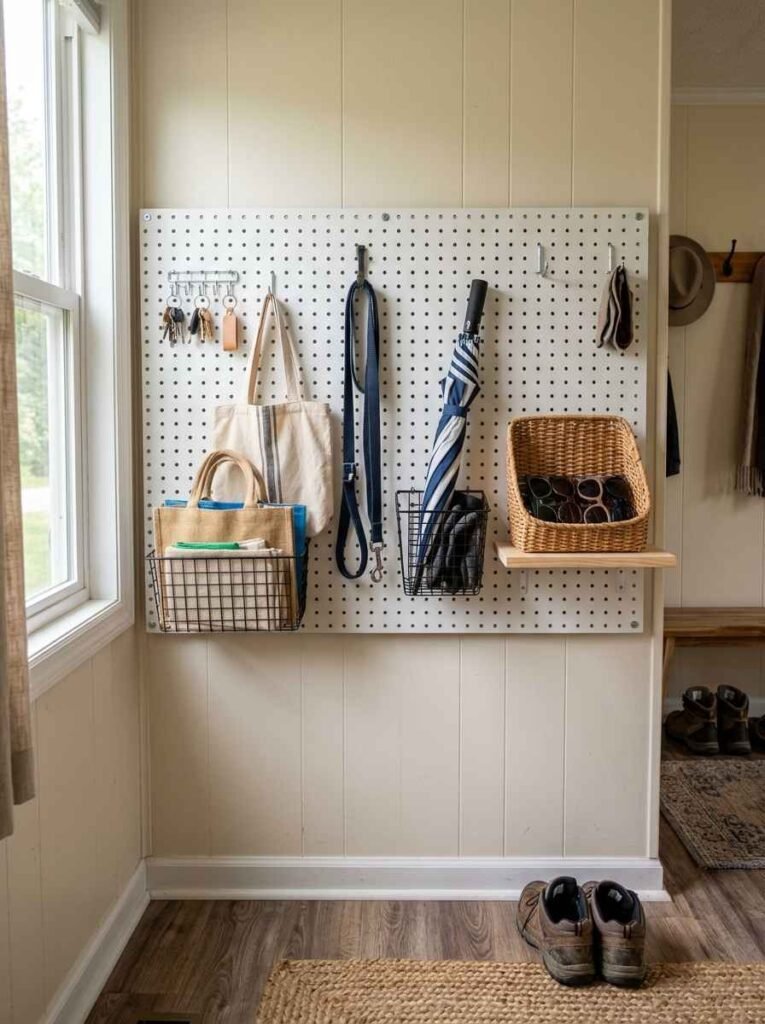
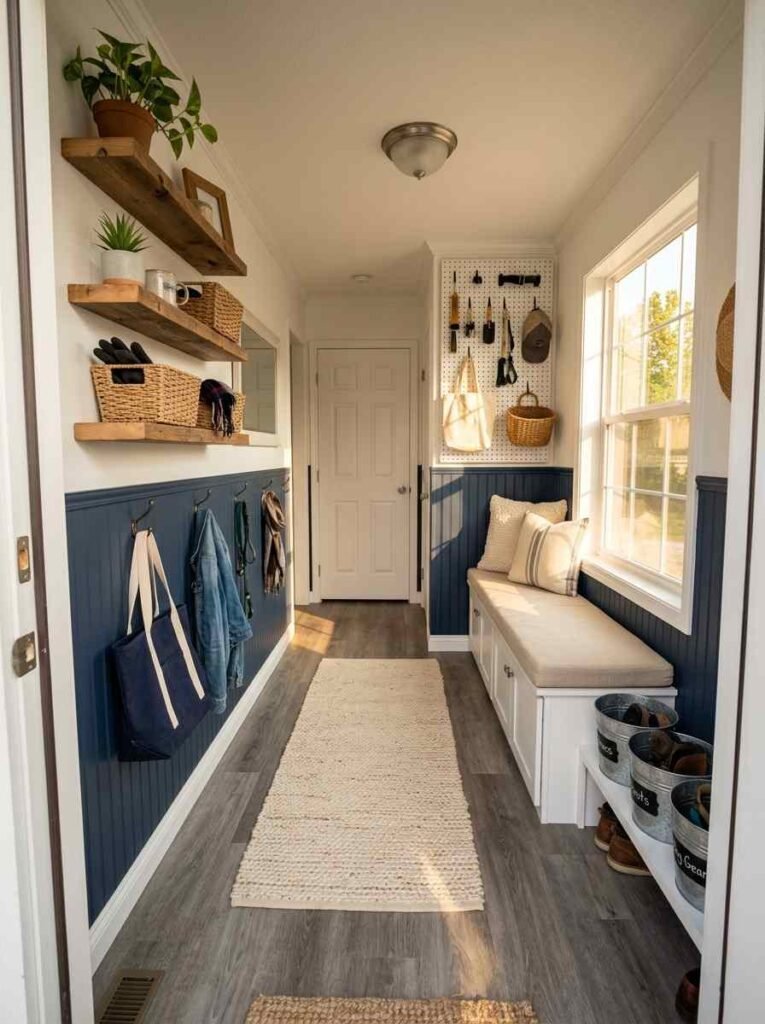
A 2×4 foot sheet of pegboard costs about $12 at most home centers. Mount it, load it with hooks, small shelves, and bins, and you’ve got a fully customizable gear wall that takes up zero floor space.
This is probably my top recommendation for mobile homes specifically because everything lives flat against the wall. Keys, hats, dog leashes, reusable bags, the umbrella that’s been rolling around your trunk since March.
You can check out Family Handyman’s pegboard guide for solid wall anchor options built around manufactured housing wall types.
8. Reclaimed wood floating shelves
Cut a 2×8 board to size, sand it, apply a dark walnut stain, and mount it with shelf brackets. Three of these shelves at staggered heights give you real storage and a Pinterest-worthy look for about $40 total.
Go to a local salvage yard or check Facebook Marketplace for reclaimed barn wood if you want that extra texture without paying boutique prices. The grain variation you get from old wood looks genuinely expensive.
9. Curtain rod with wire baskets
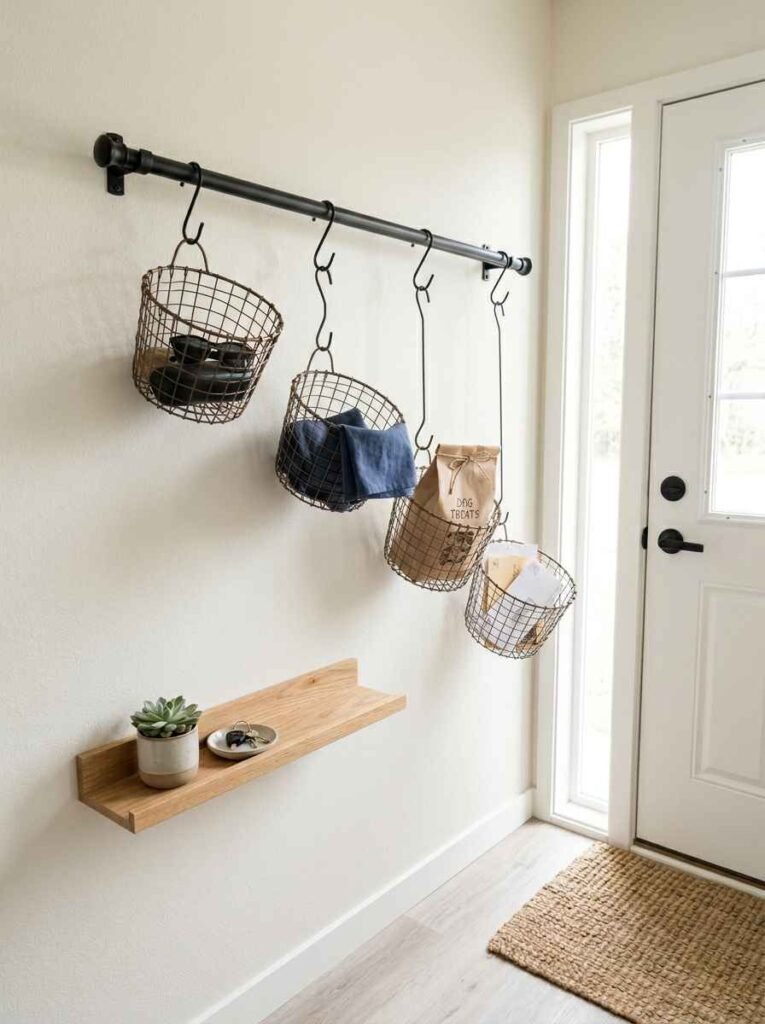
Mount a curtain rod near the door and hang S-hooks from it. Then hang wire baskets from the S-hooks.
Each basket holds sunglasses, mail, dog treats, chargers, whatever your entry area collects by default. Total cost sits around $20 if you shop the dollar store for baskets.
I think this idea gets underrated because it sounds too simple. But it keeps flat surfaces clear, and in a small mobile home entry, clear surfaces are basically survival.
Flooring and walls on a real budget
10. Peel-and-stick vinyl plank flooring
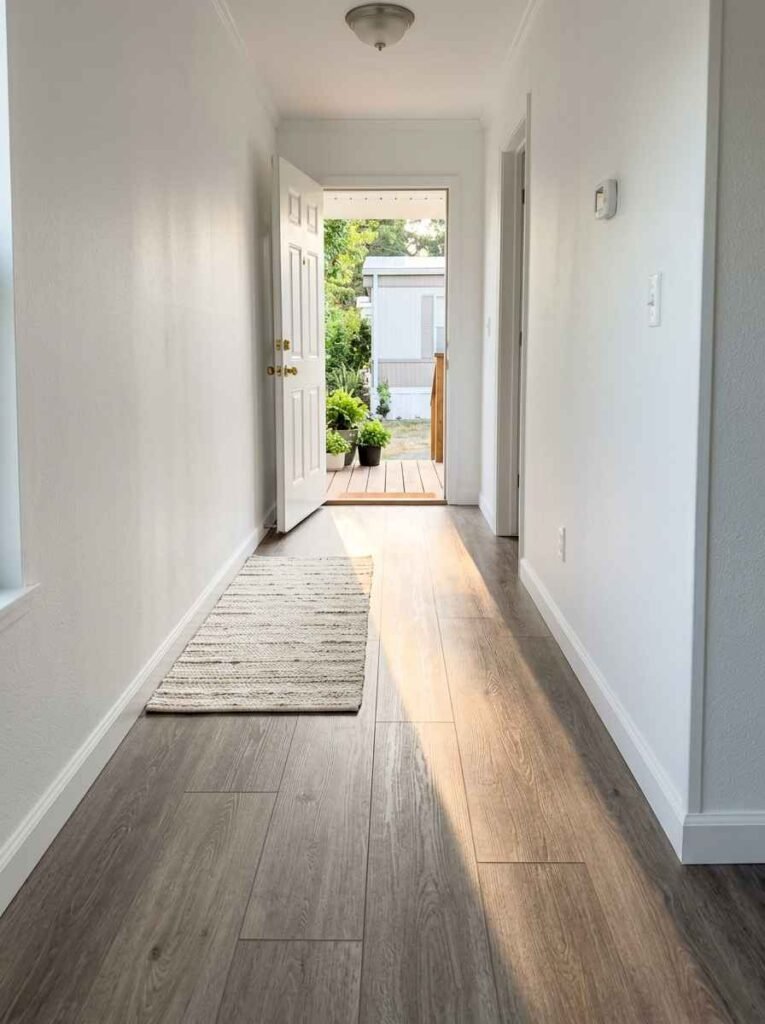
Mud rooms take a beating from dirt and moisture. Peel-and-stick vinyl planks (around $1 per square foot) go down in an afternoon and look genuinely good.
They’re also easy to clean and simple to replace if a section gets too far gone.
A 6×4 foot area takes maybe 10 planks. That’s under $25 for a fresh floor. Wow, it’s one of those things that makes the whole space feel finished when nothing else around it has changed yet.
11. Wainscoting with paint
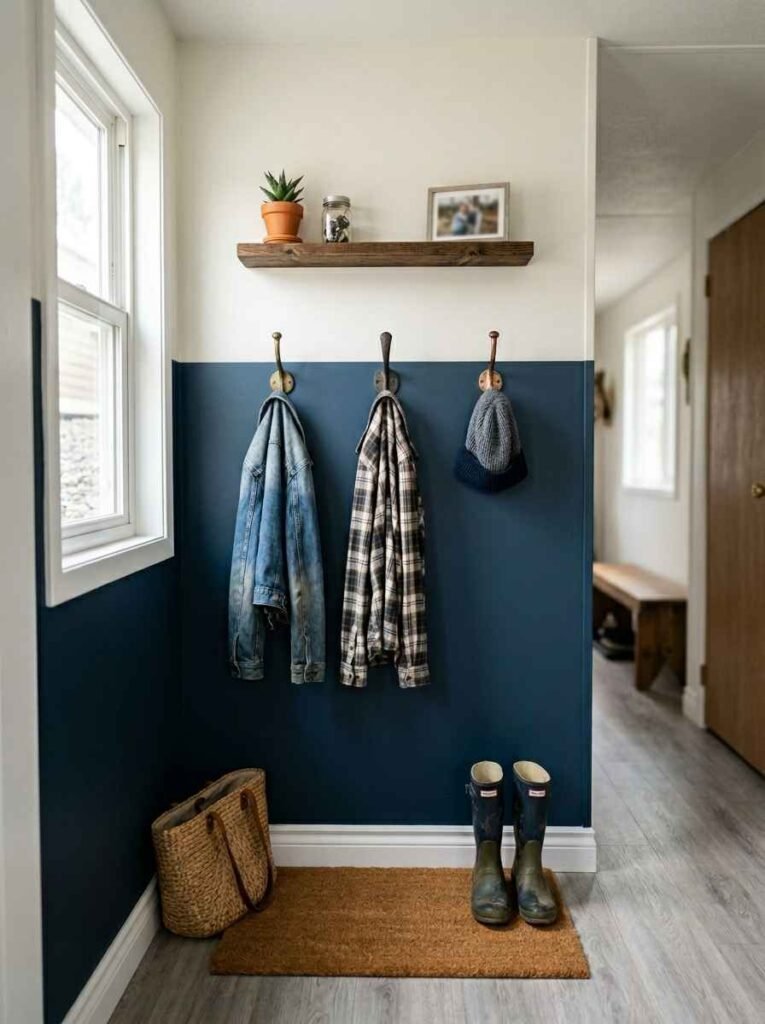
Real wainscoting is a full project. But you can fake it with painter’s tape and 2 colors of paint for about $30 total.
Run a horizontal tape line 36 inches up from the floor, paint the lower section a deep color (dark green, navy, or black all look sharp in a mud room), and leave the top section white or cream.
The result looks built-out and intentional. And it holds up to scuffs and mud smears far better than a plain white wall.
12. Chalkboard paint panel
Paint one wall, or a sheet of plywood cut to fit, with chalkboard paint. Now you’ve got a message board, a grocery list wall, and a kids’ drawing zone in one spot.
A quart of chalkboard paint runs about $14 and covers a full wall.
This works especially well in family homes where the entry area doubles as the daily communication hub.
Gear organization you can build this weekend
13. Galvanized metal buckets
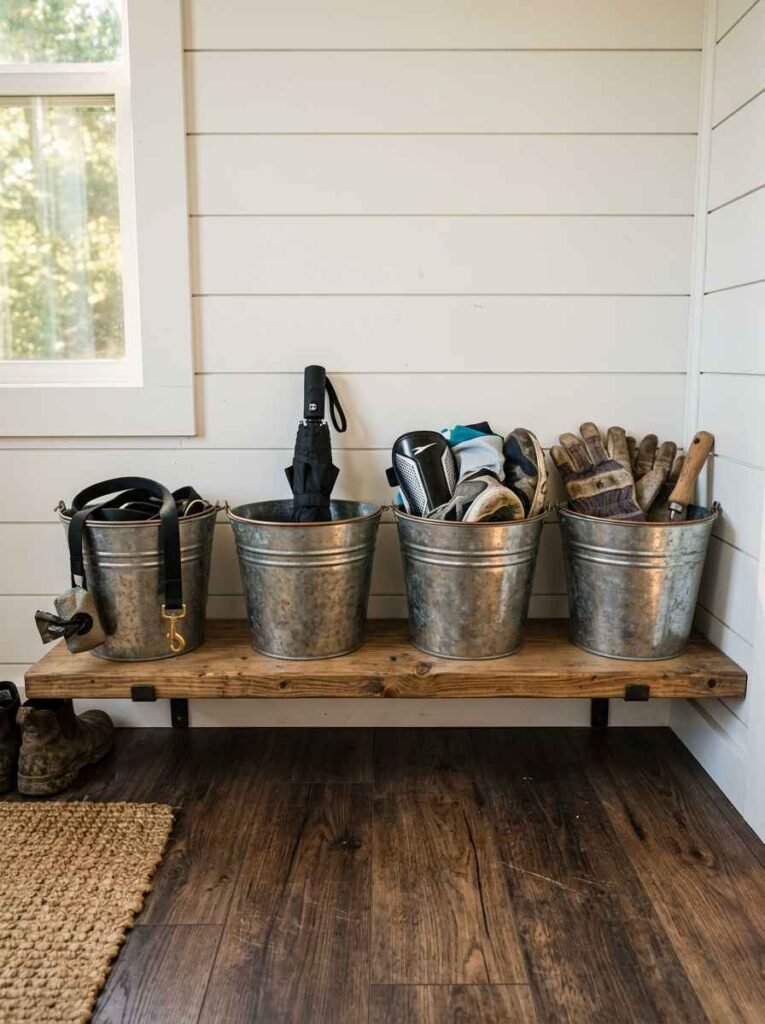
Line up 3 or 4 galvanized buckets on a low shelf or directly on the floor. Label them with chalk markers or paint pens. One for dog leashes, one for umbrellas, one for sports gear. Each bucket costs about $5 at a hardware store or dollar store.
It’s a specific look and it photographs beautifully, which I know matters if you’re pinning the before-and-after results.
14. Magnetic key strip
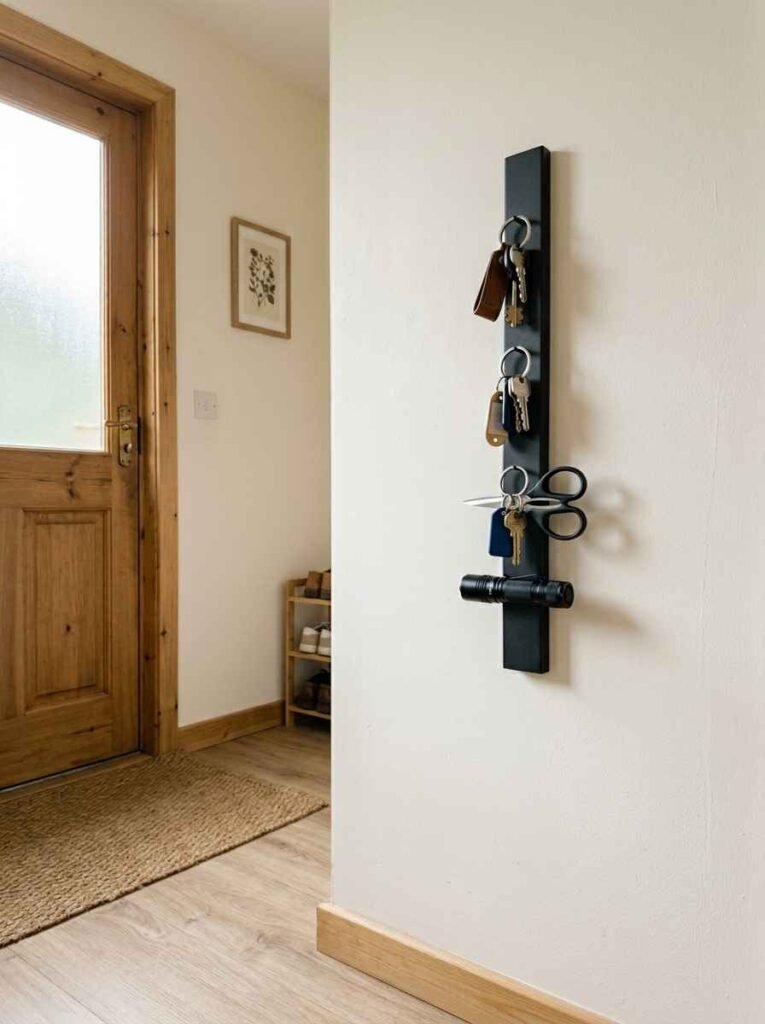
A magnetic knife strip mounted near the door holds keys, scissors, a small flashlight, and anything else metal. They cost about $8 and take 5 minutes to install. No more digging through a junk drawer or a decorative bowl that’s really just where everything goes to disappear.
15. Over-the-door organizer panel
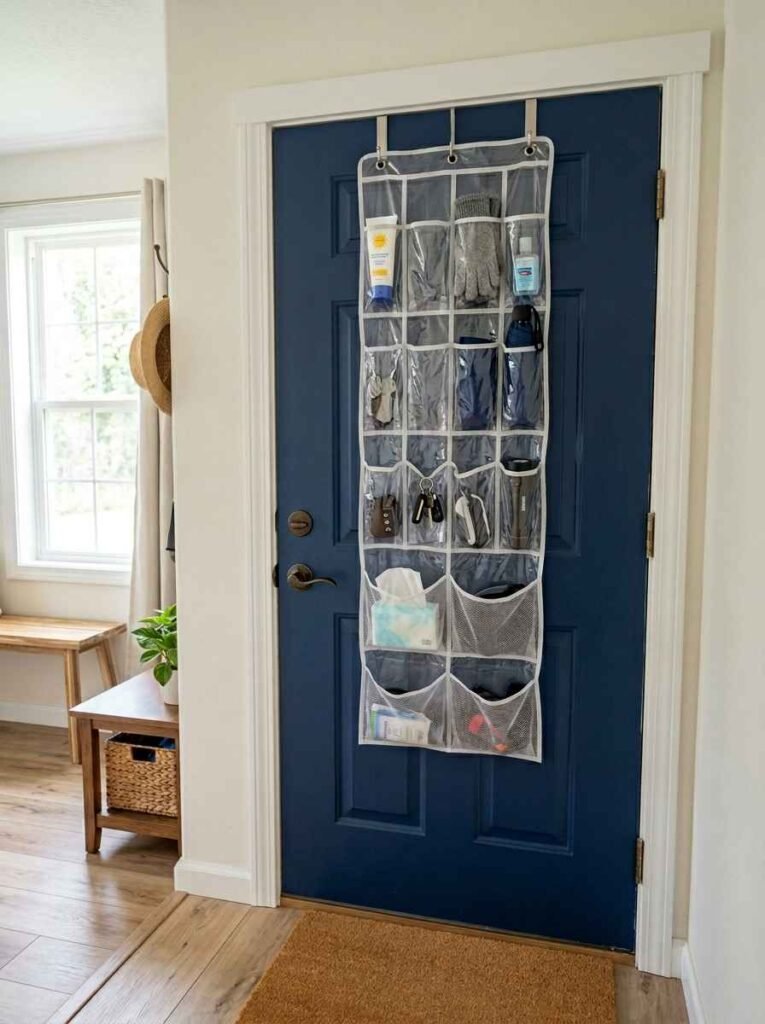
Buy a clear over-the-door shoe organizer and hang it on the back of your entry door. Use the pockets for sunscreen, gloves, masks, hand sanitizer, and small items that otherwise pile up on every flat surface in the house. Cost: about $10 at any big box store.
Side note: I went down a total rabbit hole about door-mounted storage systems one Saturday afternoon and ended up reorganizing my entire coat closet. Just a heads-up that this particular idea has a way of spreading.
16. Repurposed metal school lockers
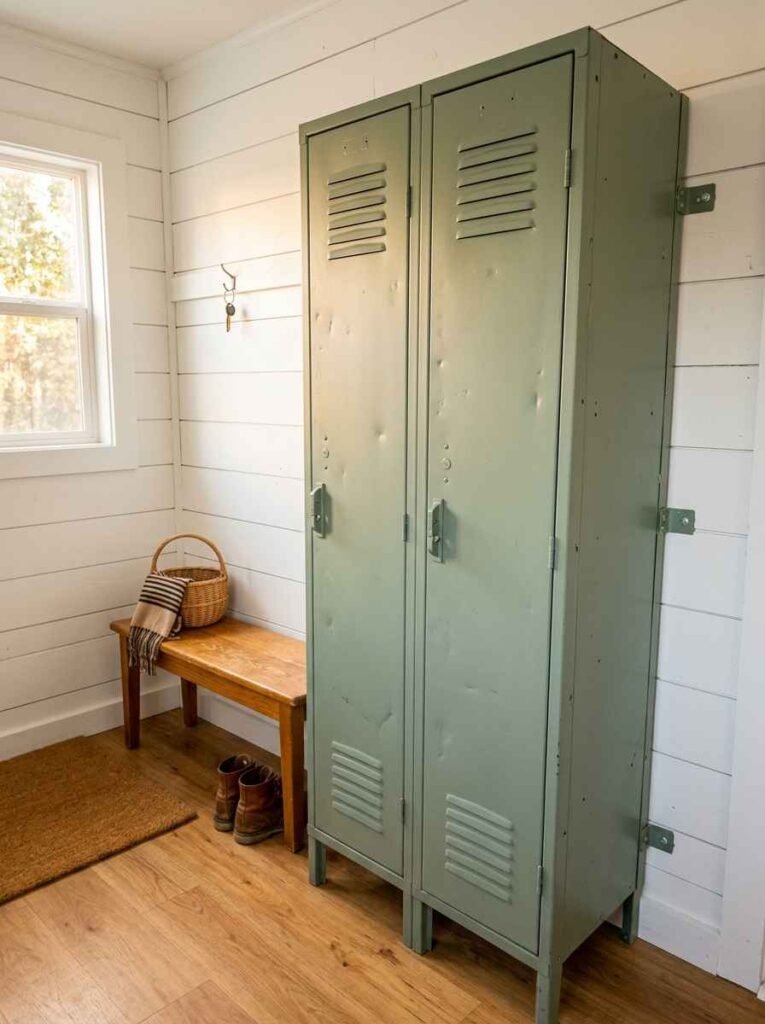
Old school lockers show up on Facebook Marketplace pretty regularly, sometimes for $20 to $50 for a 2-unit set. Sand off the rust, spray paint them, and bolt them to the wall. Instant, very durable storage with a cool industrial look that works in almost any style home.
The Spruce has a solid write-up on sourcing and refurbishing vintage lockers if you want details before committing to the project.
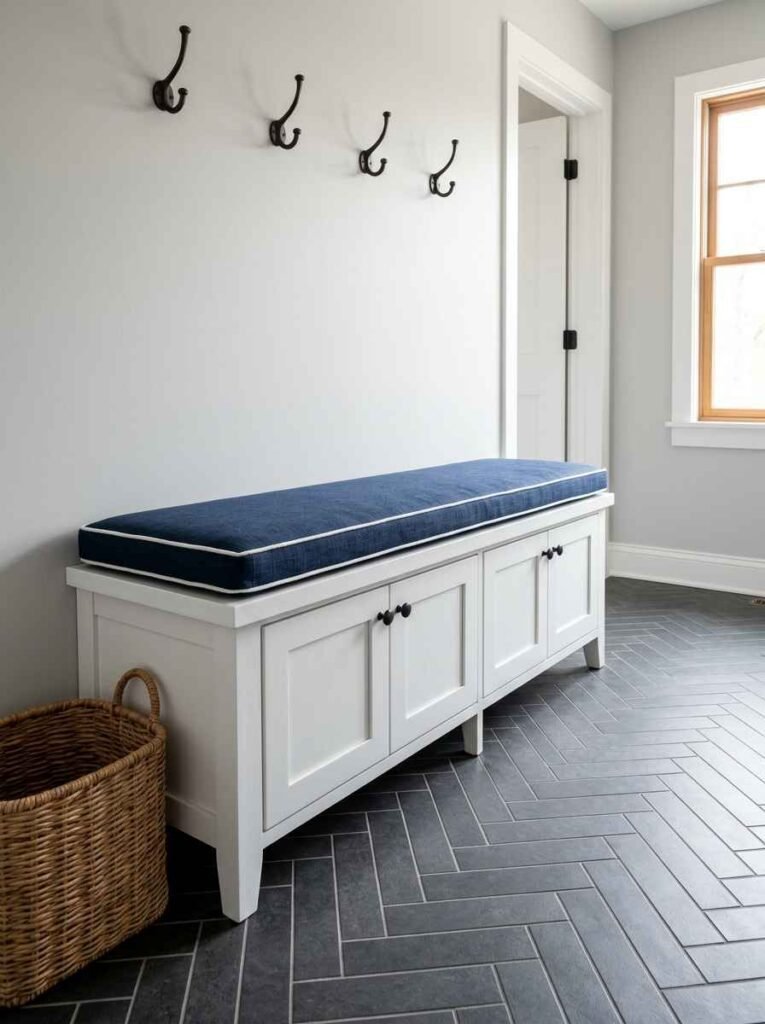
17. DIY bench from base kitchen cabinets
Buy 2 unfinished base cabinets (around $40 to $60 each at IKEA or a home center), place them side by side with a plywood top, and add a cushion cut to size. You get bench seating and full cabinet storage underneath.
This is the most involved build on the list, but it’s also the one that looks most like a real built-in mud room. Bob Vila’s site breaks down this cabinet hack in enough detail that you won’t need to guess at any step.
Quick cost comparison: 4 popular ideas
| Idea | Approx. cost | Build time | Skill level |
|---|---|---|---|
| Pallet bench with storage | $0 to $30 | 3 to 4 hrs | Beginner |
| Pegboard wall organizer | $12 to $30 | 1 to 2 hrs | Beginner |
| Vinyl plank flooring patch | $20 to $30 | 2 to 3 hrs | Beginner |
| Cabinet bench build | $100 to $150 | 6 to 8 hrs | Intermediate |
A few things worth knowing before you start
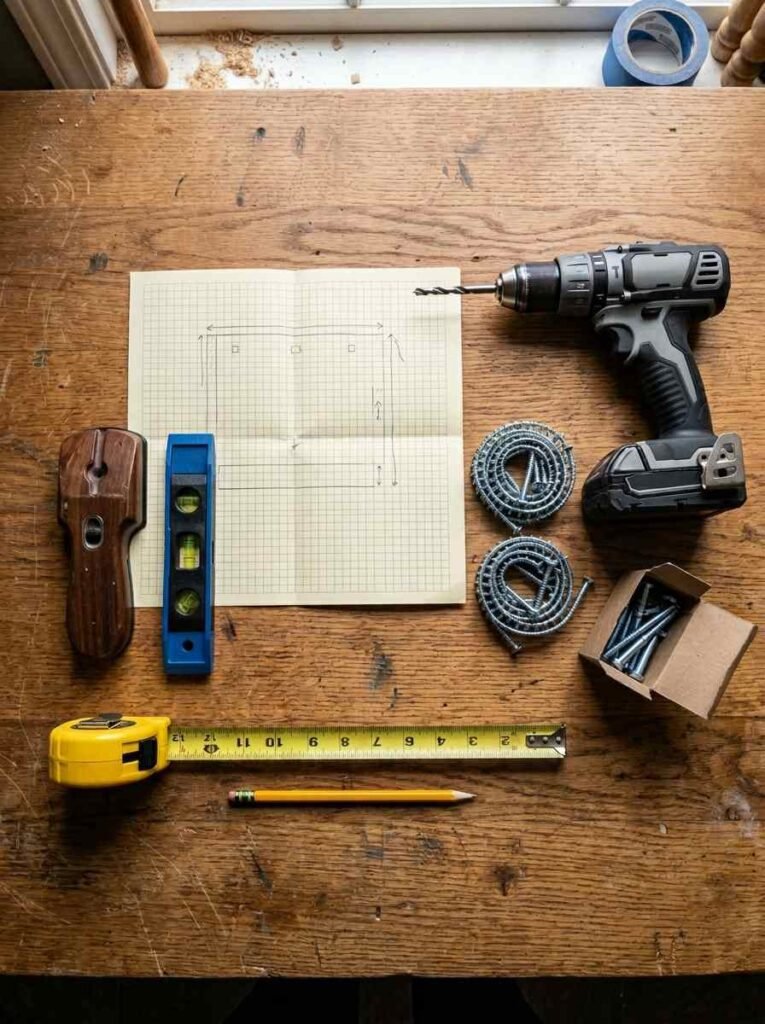
Mobile home walls are different from stick-built walls. The studs are usually 16 inches on center, but the wall material is thinner and more fragile than standard drywall. Always use wall anchors rated for the material you’re working with, and when in doubt, find a stud. A cheap stud finder ($10 at any hardware store) saves a lot of patching later.
The 2 ideas that give you the most visible improvement for the least money are the pegboard organizer and the vinyl plank flooring patch. Start there. You’ll feel the difference immediately, and so will everyone who walks through your front door. 🙂
IMO, the real goal here isn’t just a cleaner entry. It’s building a space that actually absorbs the chaos of daily life so the rest of your home stays calmer. That’s what a good mud room does, and mobile homes can have one just as well as any house on a slab.
FAQ
Q: Do I need a contractor to add a mud room to a mobile home?
No. Every idea on this list is a DIY project. The most involved one (the cabinet bench build) takes basic carpentry skills and a full weekend, but nothing on the list requires a professional.
Q: What’s the best flooring for a mobile home mud room?
Peel-and-stick vinyl plank is the most practical choice for the money. It’s moisture-resistant, easy to clean, and simple to replace if a plank gets damaged. The Spruce’s manufactured home flooring guide covers a solid comparison of options if you want to weigh other materials first.
Q: Can I anchor heavy shelving to mobile home walls?
Yes, with the right hardware. Use toggle bolts or butterfly anchors where you can’t hit a stud. For heavier builds like the cabinet bench, always anchor into studs. A stud finder and a bit of patience go a long way here.
Which of these ideas are you tackling first? Drop it in the comments. I’d genuinely love to see what you put together.
