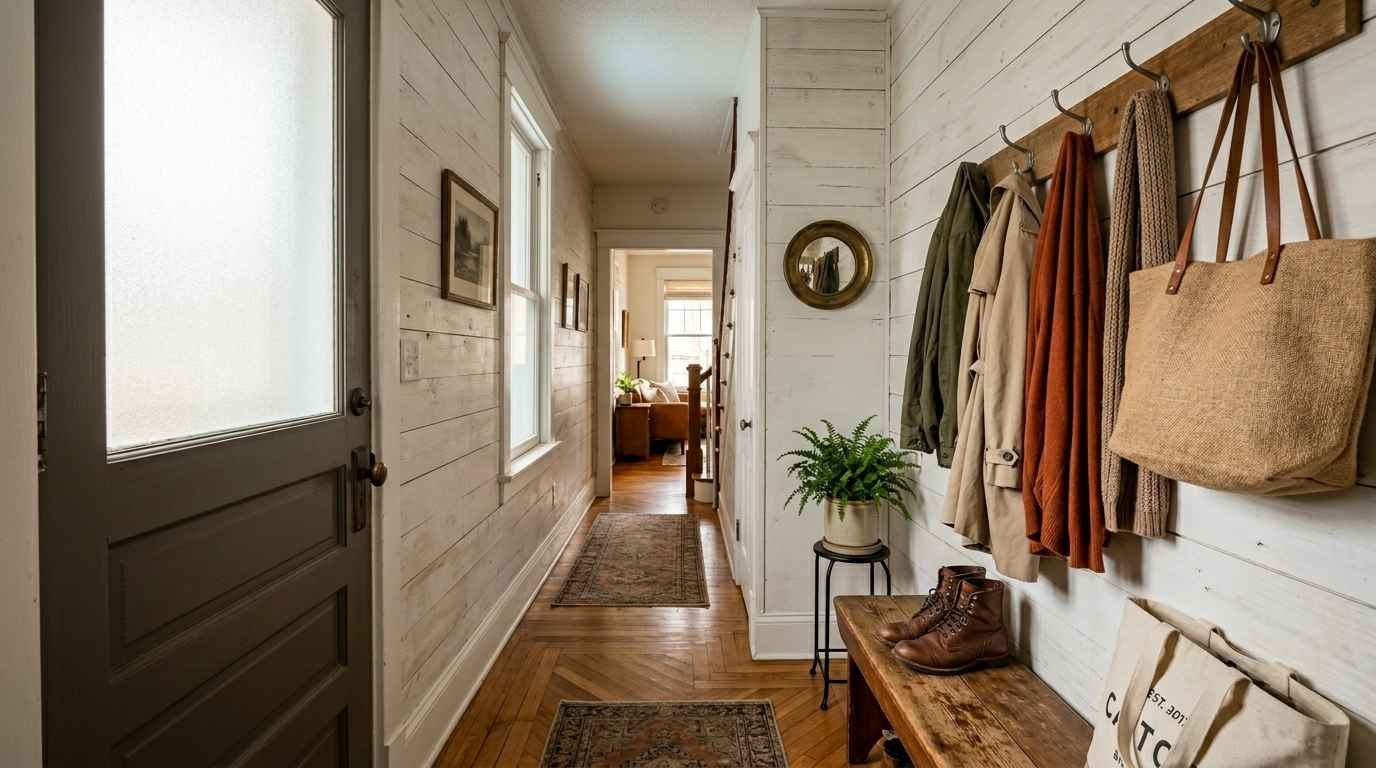
Your entryway does a lot of quiet work. It’s the first thing you see when you drag yourself through the door after a long day, and it’s also the last thing you see when you’re already 3 minutes late and can’t find your keys.
A mudroom coat rack that actually works in a small space? That’s not a luxury. That’s just sanity.
I’ve spent an embarrassing amount of time on Pinterest and in hardware stores obsessing over this.
Some of these builds I’ve tried myself. Others I’ve pinned, planned, and fully intended to build someday. All 23 are genuinely worth your time.
Why small entryways need a different approach
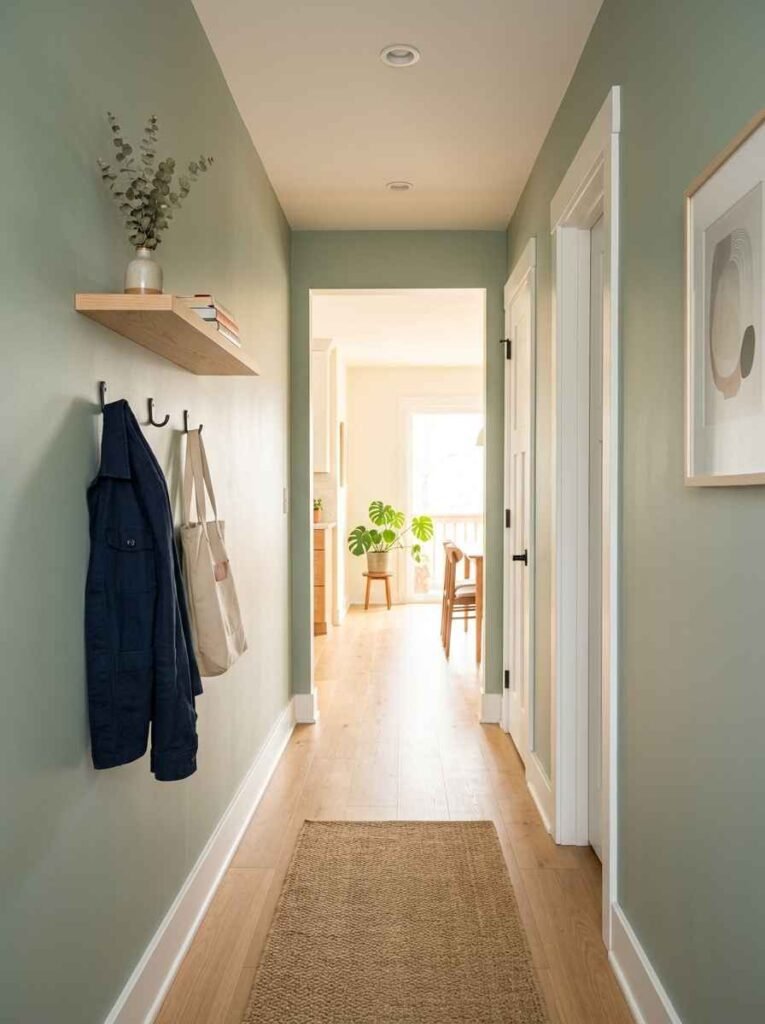
Big mudrooms are easy. You slap up some hooks, add a bench, done. But a 4-foot-wide entry hallway? That’s a whole different puzzle.
The instinct is to cram as much as possible into a small space. Resist that. The best small-space coat racks do 1 or 2 things really well, and they keep visual weight low. Bulky, towering units make a narrow hall feel like a tunnel.
I think the other thing people underestimate is wall depth. If you’ve got 4 inches of clearance between a hung coat and a door frame, that’s enough. You don’t need a 12-inch-deep cabinet in an entryway.
1. Pallet wood plank rack with double hooks
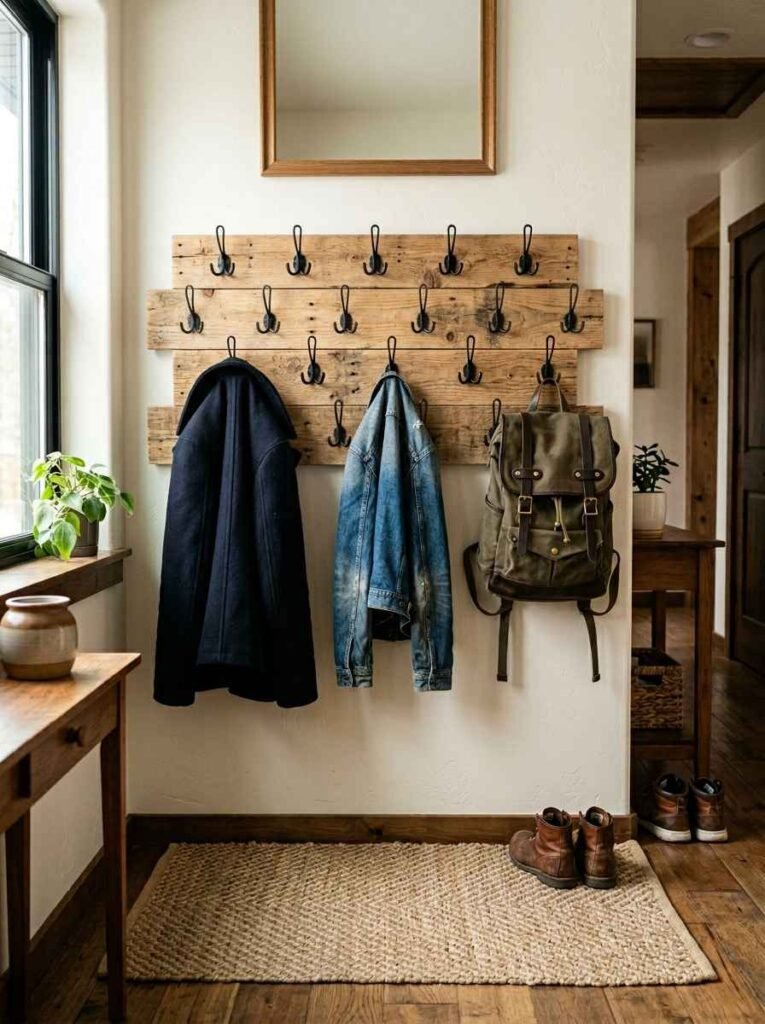
This is probably the most pinned mudroom DIY for a reason. You take 3 to 4 planks from a reclaimed pallet, sand them down to whatever finish you want (rough and rustic or smooth and painted, both work), and bolt them horizontally to the wall in a staggered pattern.
Mount your double-prong hooks every 8 inches or so.
The staggered arrangement means the bottom plank catches bags and backpacks while the top one handles coats and scarves. Total wall space: about 24 inches wide, 18 inches tall.
2. Shaker peg rail
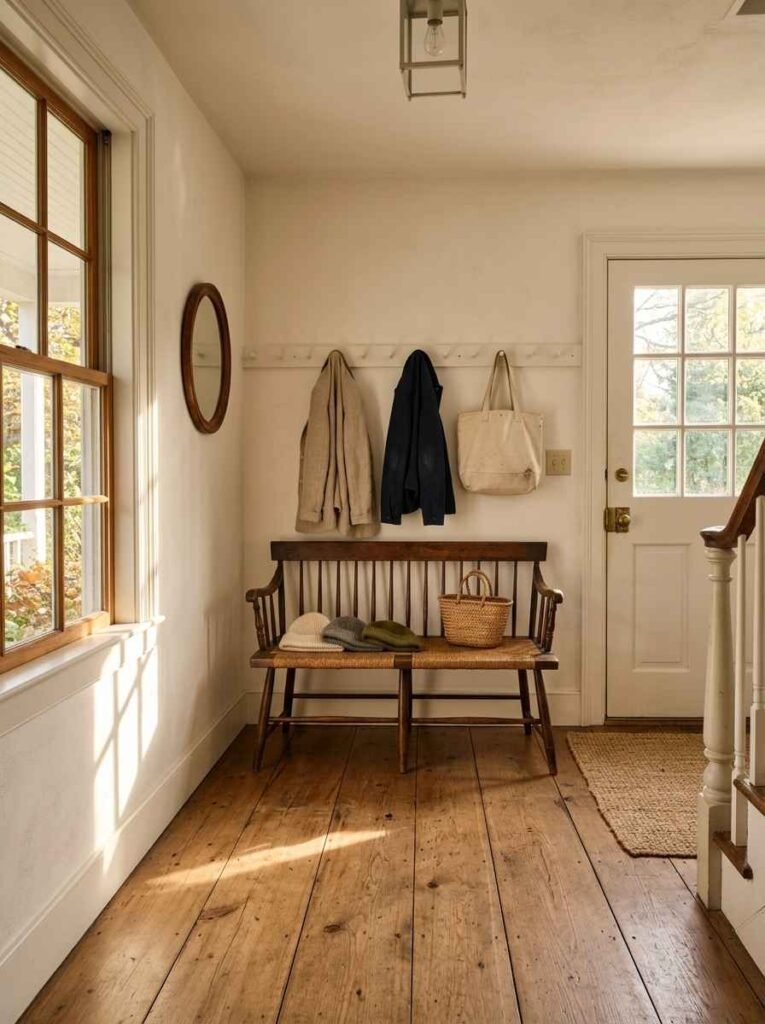
The Shaker peg rail is the original mudroom hero. Simple turned wooden pegs, evenly spaced on a flat board, painted or stained. It’s been doing exactly this job since the 1700s, and it still does it better than most.
You can grab a pre-made Shaker peg rail from most hardware stores or cut your own from 1×4 poplar.
Prime and paint it the same color as your wall if you want it to disappear visually (a smart move in really tight spaces).
3. Copper pipe rack with industrial brackets
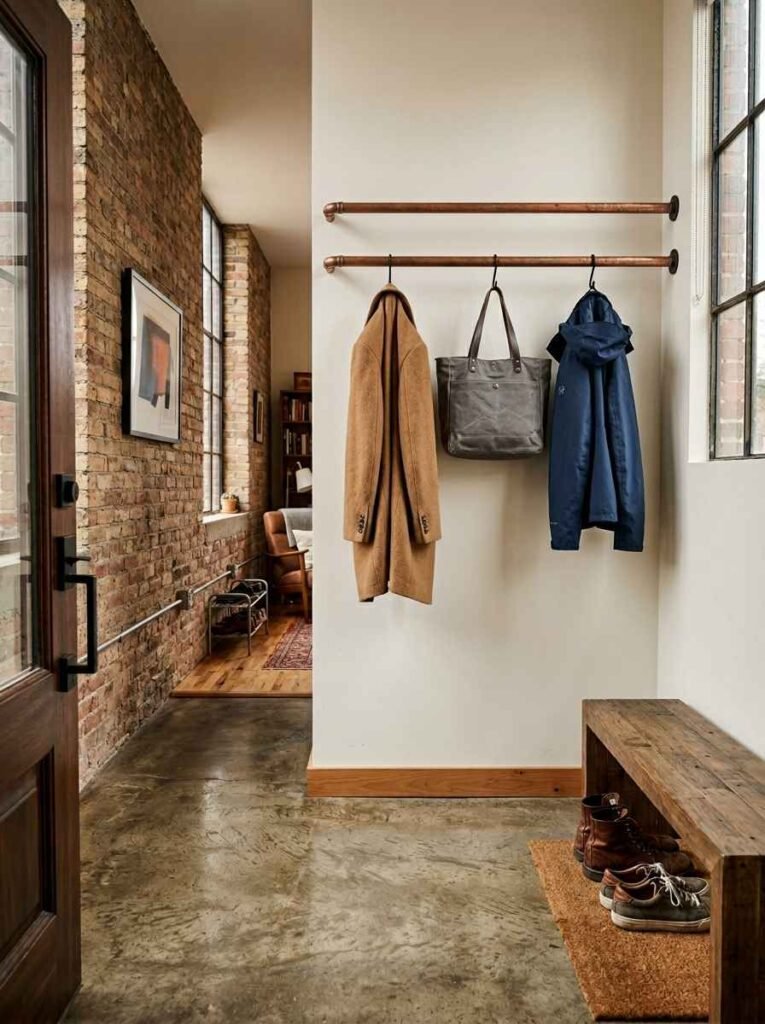
This one looks like it costs $200. It costs about $35. You buy 3/4-inch copper pipe, cut it to length with a pipe cutter, and mount it horizontally using black iron flanges.
Run 2 or 3 parallel pipes at different heights and hang S-hooks from the top pipe for bags and coats.
The copper ages beautifully over time, picking up that warm patina. I genuinely think this is the best-looking option on the list for anyone with a modern or industrial-leaning home. Check out resources like Bob Vila’s copper pipe projects for cutting and fitting guidance if you haven’t worked with copper before.
4. Over-door hook unit (no drilling required)
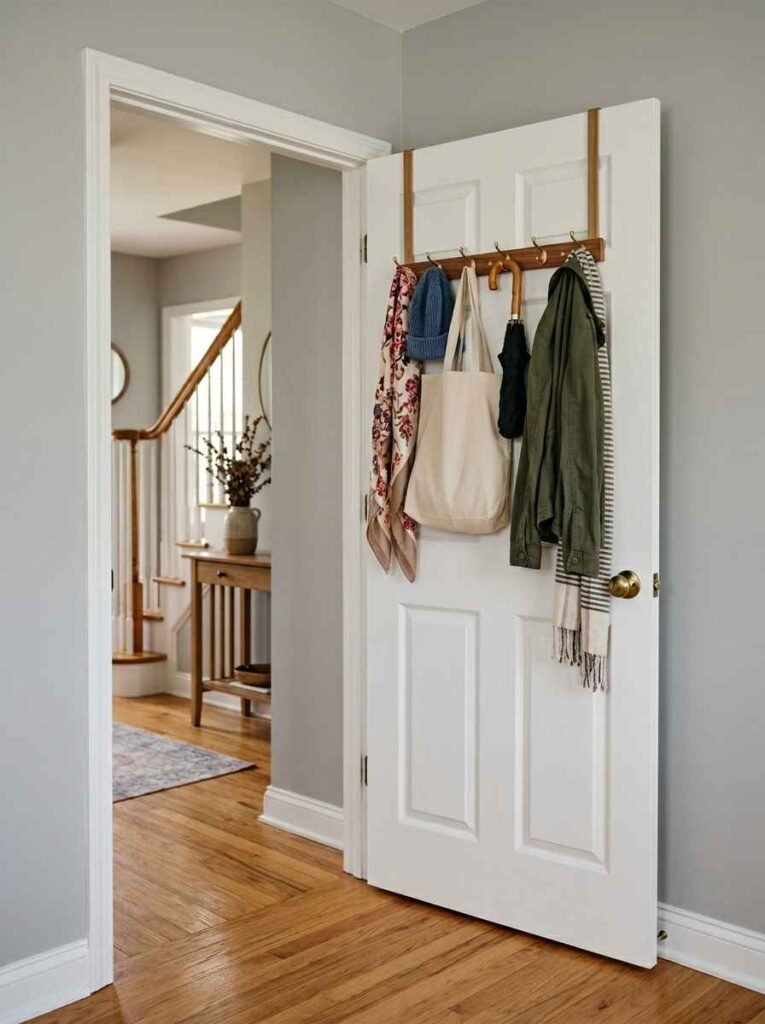
For renters or anyone who simply doesn’t want to touch the walls: an over-door rack is the answer.
You can build a simple version by cutting a piece of 1×3 pine to width, routing a shallow slot in the back edge that fits over a standard door top, and screwing hooks into the front face.
This gets you 6 to 8 hooks with zero wall damage. Works on the back of a closet door too, which basically doubles your storage without using any visible space.
5. Floating shelf with hooks underneath
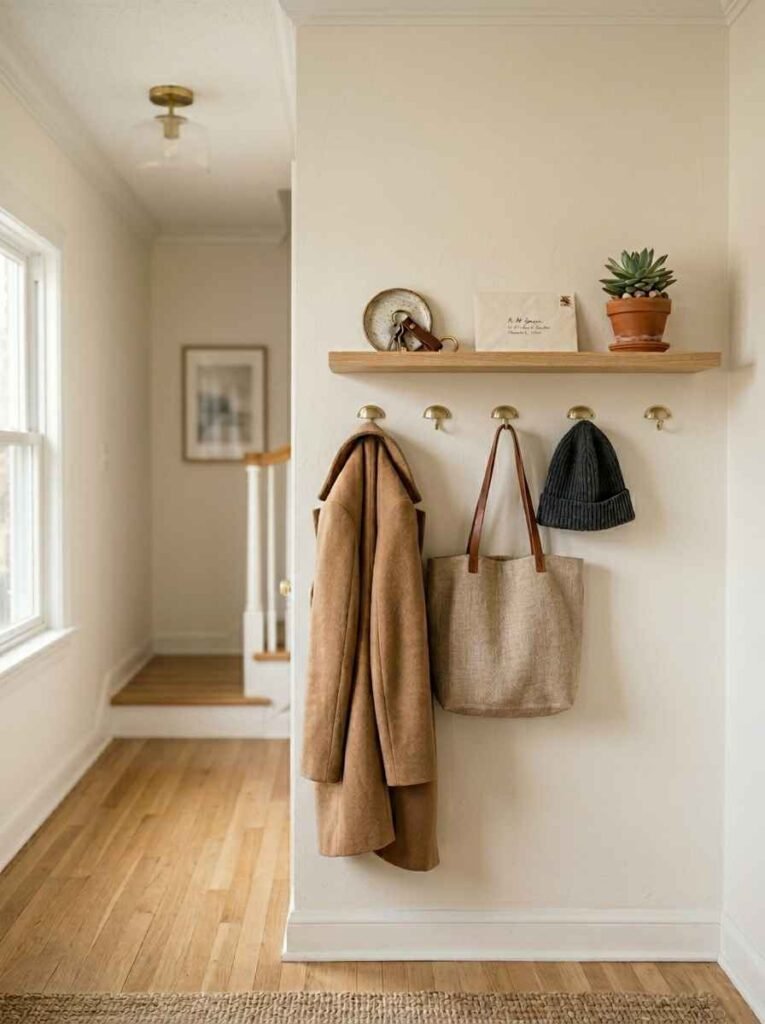
Mount a floating shelf at about 70 inches from the floor, then screw cup hooks or coat hooks into the underside. The shelf itself holds keys, mail, sunglasses. The hooks underneath handle coats and bags.
This is my personal favorite for narrow hallways because the shelf adds horizontal visual interest that makes the space feel wider.
And the whole thing takes up maybe 4 inches of wall depth.
6. Crate and pipe combination
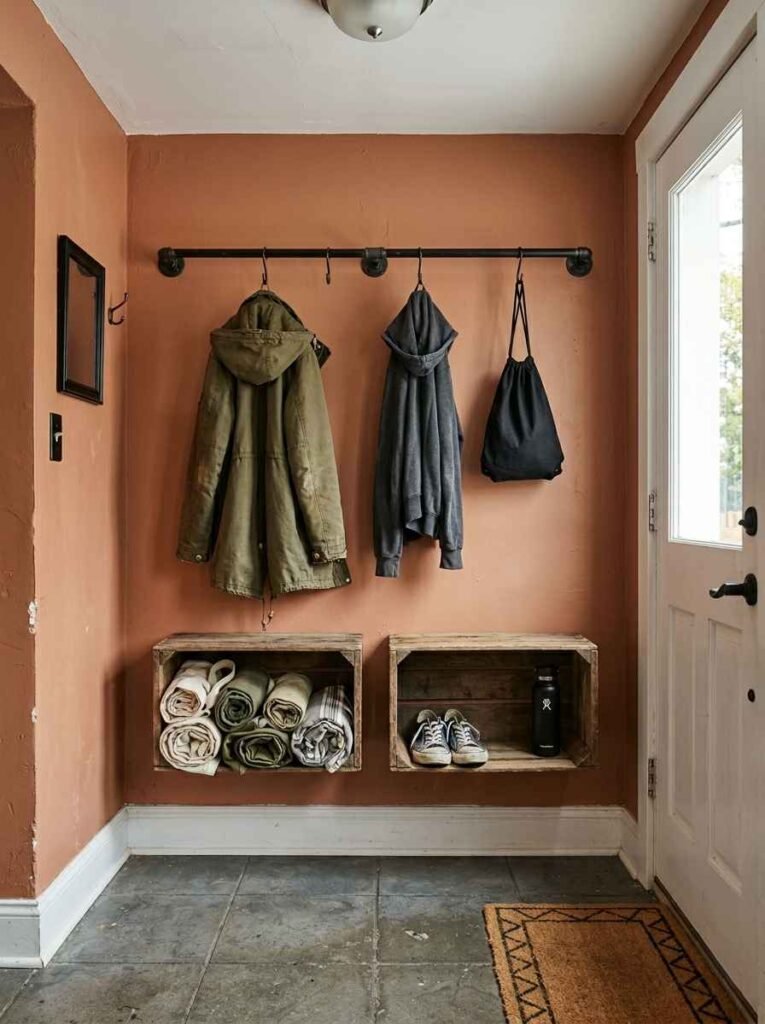
Take 2 wooden crates (the kind from craft stores), mount them side by side at bench height with the open ends facing you, and run a copper or black iron pipe above them at coat-height. The crates hold shoes and sports gear. The pipe handles everything that needs to hang.
Honestly, this is insane how much storage you can pack into a 3-foot wall section with this build.
7. Ladder-style leaning rack
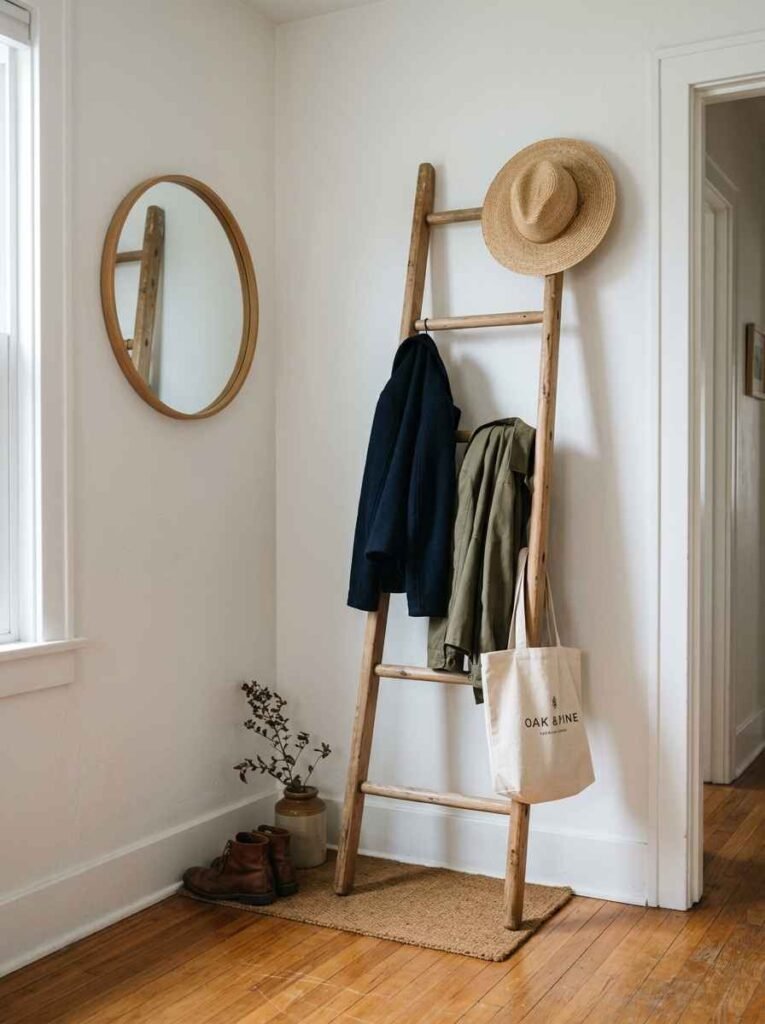
A leaning ladder rack requires zero drilling. Buy or build a simple wooden ladder (or use a real one you’ve sanded down), lean it against the wall at an angle, and drape hooks over the rungs. Hats on the top rung, coats in the middle, tote bags at the bottom.
This works best in corners, where the ladder can lean into two walls and stay stable without anchoring.
8. Herringbone wood panel with hooks
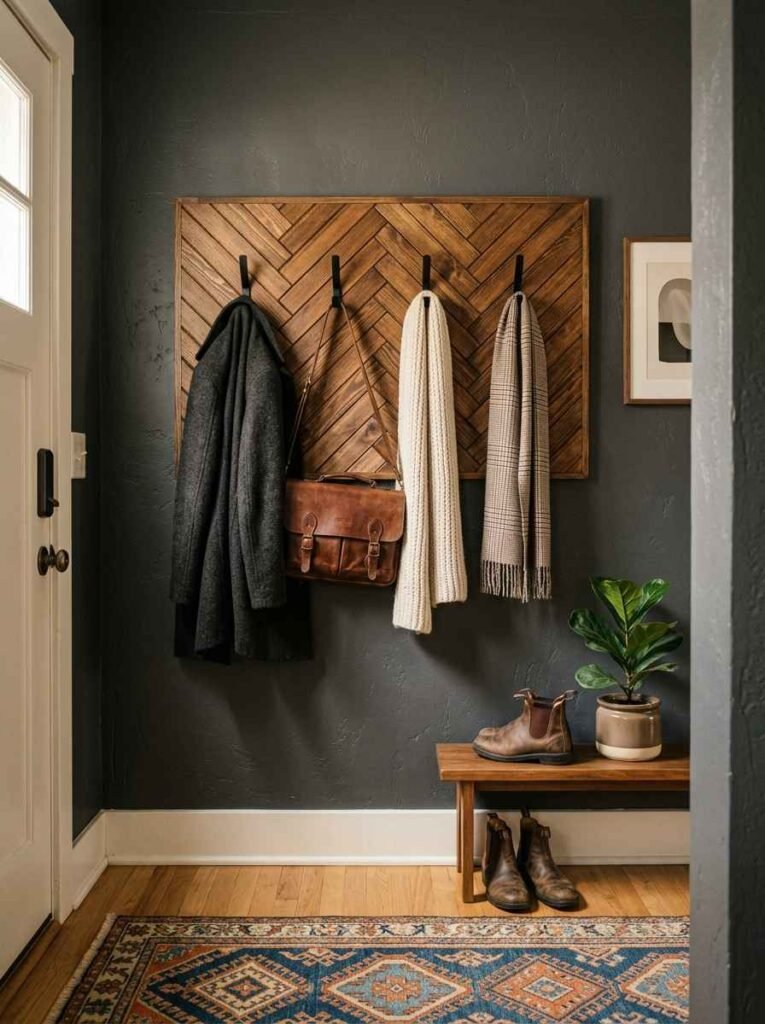
Cut 1×2 pine strips into 8-inch sections and glue them in a herringbone pattern onto a plywood backing. Sand smooth, stain in a warm walnut or whitewash finish, then mount your hooks directly into the plywood. The result is a piece that looks like it came from a boutique hotel lobby.
The plywood backing makes this surprisingly strong. You can anchor it with 4 screws into studs and it’ll hold winter coats, dog leashes, and a backpack or 2 without moving.
9. Chalkboard paint panel with hooks
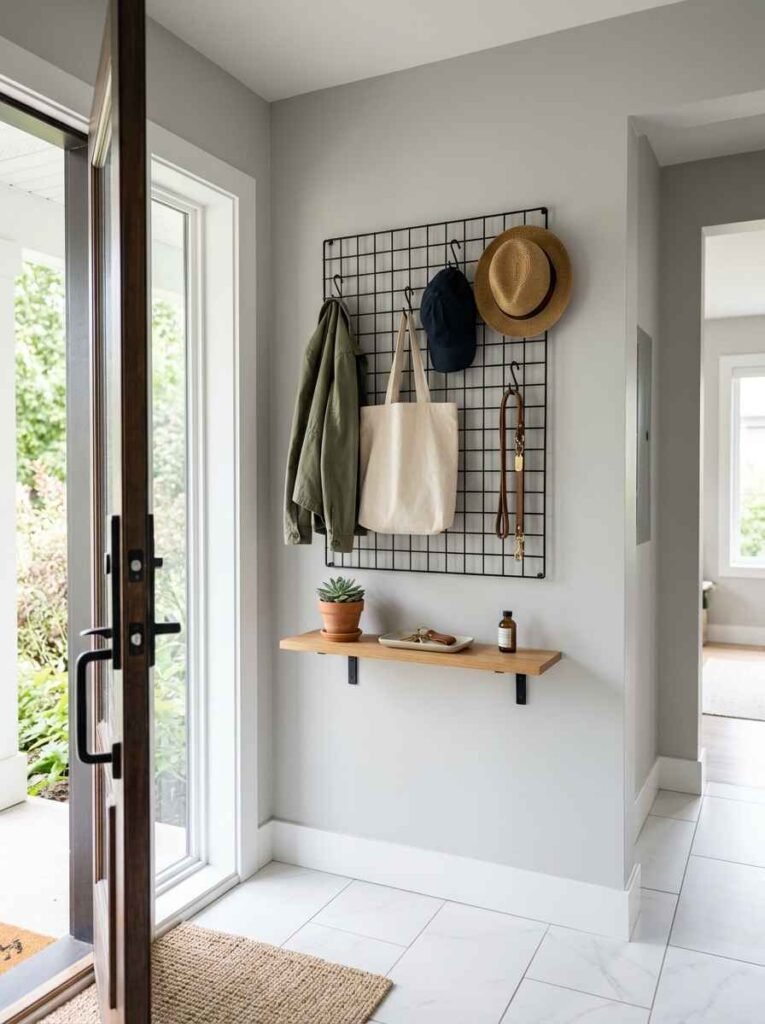
Paint a section of wall (or a mounted MDF panel) with chalkboard paint, let it cure for 72 hours, then bolt coat hooks into the lower half. You get a message board above and functional coat storage below.
Good for families with kids. You can write the week’s schedule, grocery lists, or passive-aggressive reminders about whose turn it is to take out the trash. IMO, this is a feature, not a bonus.
10. Wire grid panel rack
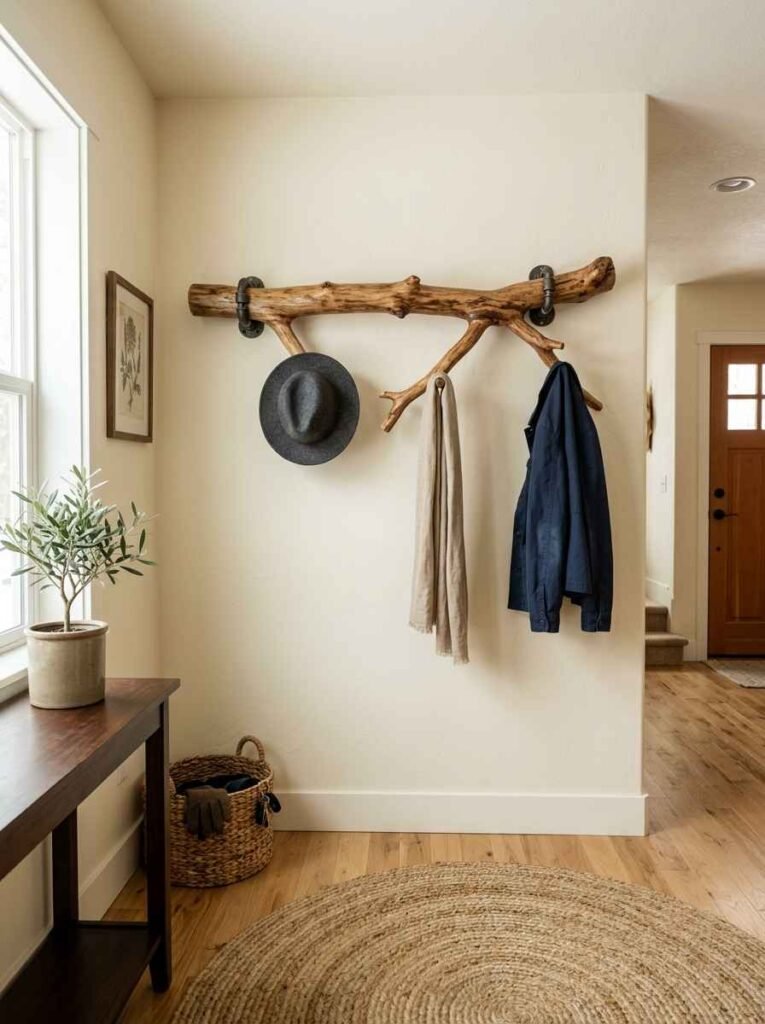
These metal wire grid panels (usually sold as pegboard alternatives or display grids) mount flat to the wall and accept S-hooks anywhere along the grid. Total customization with no new drilling every time your storage needs change.
They’re also cheap. A 2-foot by 4-foot grid runs about $15 at most home goods stores or on Amazon. Spray-paint it matte black for a cleaner look.
11. Branch coat rack
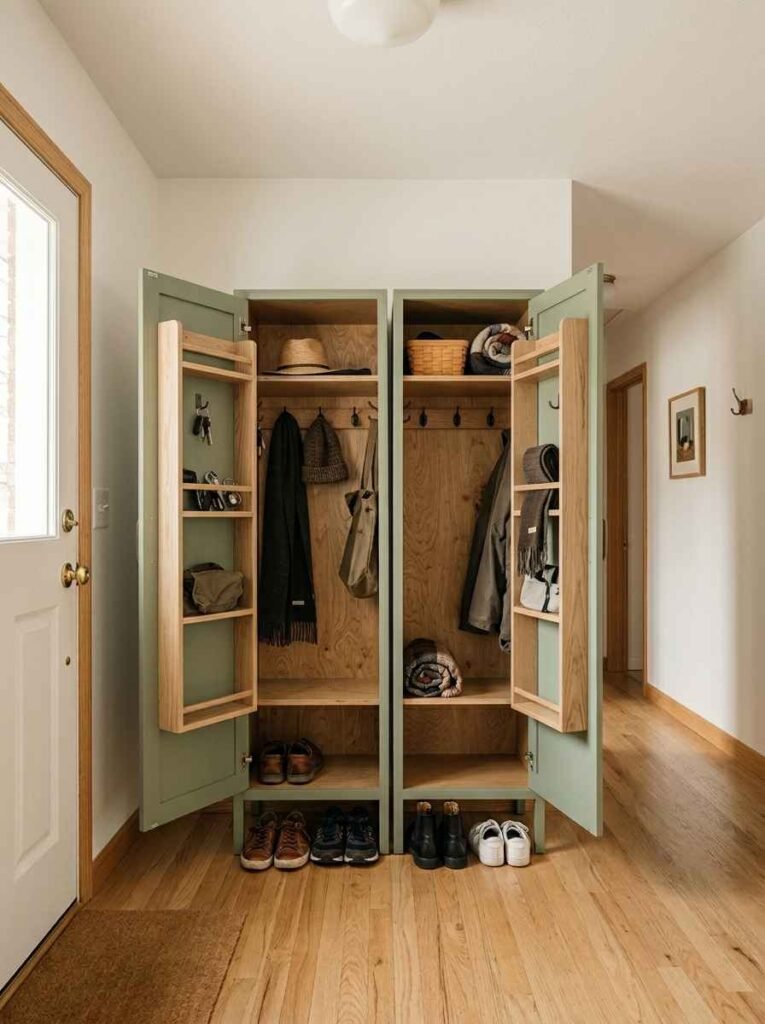
This is the one people do a double-take at when they visit. Find a branch with a good spread of secondary branches (about 2 feet wide), strip the bark, let it dry for a week or 2, and mount the main stem to the wall using 2 heavy-duty pipe clamps. The smaller branches become natural hooks.
The organic shape means no 2 are the same. If you source a branch with 4 to 6 decent offshoots, you’ve got a coat rack that also works as wall art. Here’s a solid guide to sourcing and curing branches for indoor use from The Spruce Crafts.
12. Mudroom locker unit (small scale)
A mini-locker built from 3/4-inch plywood, sized to about 18 inches wide and 72 inches tall. Internal shelf at 40 inches for folded items, 3 hooks on the interior wall, and a small magnetic door to close it all off.
You can build 2 of these side by side in a 36-inch wall space and give each family member their own dedicated zone. Labeling helps, though, because apparently adults still need reminders about whose section is whose.
13. Barn door hardware as a sliding hook panel
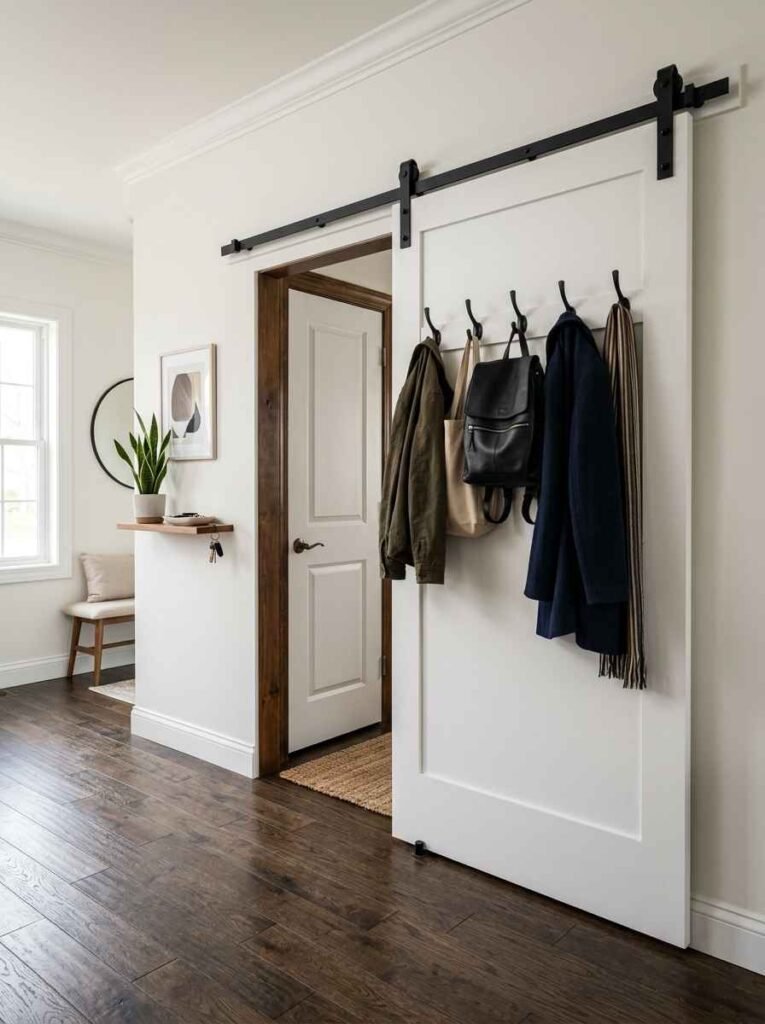
Mount a piece of 3/4-inch MDF on barn door hardware track. Screw your hooks into the MDF panel. When you need access to what’s behind it (a closet, another storage area, an electrical panel, whatever), slide the panel aside.
This works especially well in entryways that share a wall with a coat closet. The hook panel covers the closet door, and you can still access the closet by sliding the panel. Two problems solved at once.
14. Pegboard station
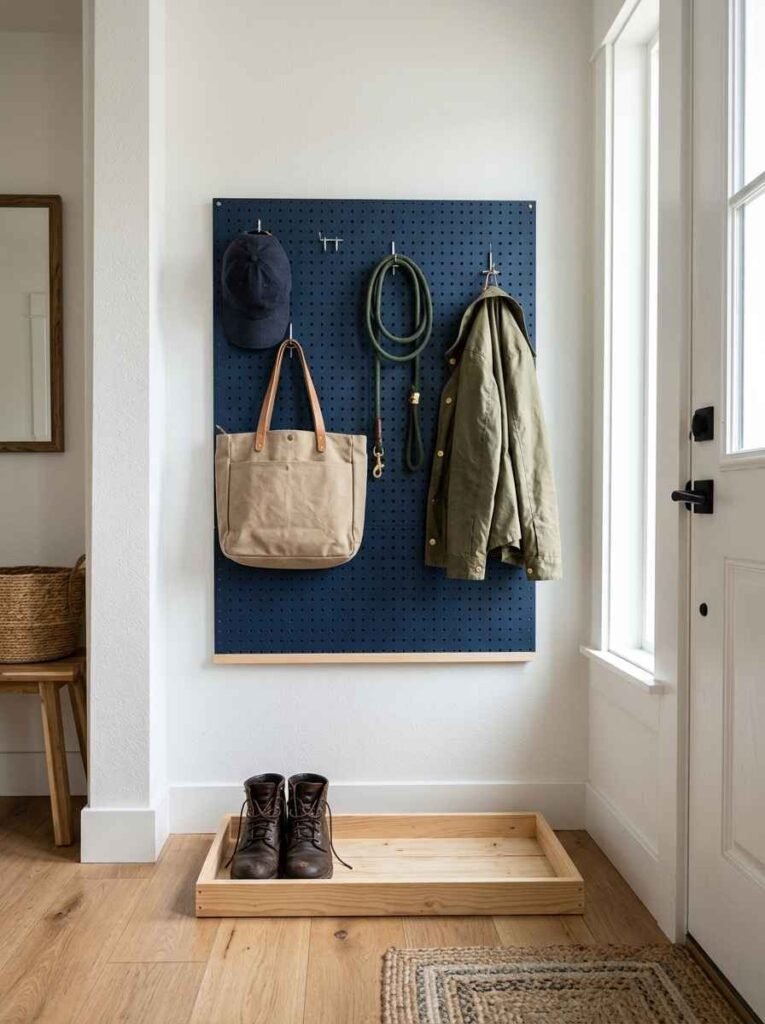
Standard pegboard from any hardware store, painted in a color that matches your wall or goes deliberately bold. Mount it in a 24-by-36-inch section at eye level. Pegboard hooks are cheap and widely available, and you can reconfigure the whole setup in about 10 minutes whenever your needs change.
I’d add a small wooden lip along the bottom edge of the pegboard (just a 1×2 strip) to give it a more finished look and stop things from sliding off the lower hooks.
15. Floating bench with back hooks
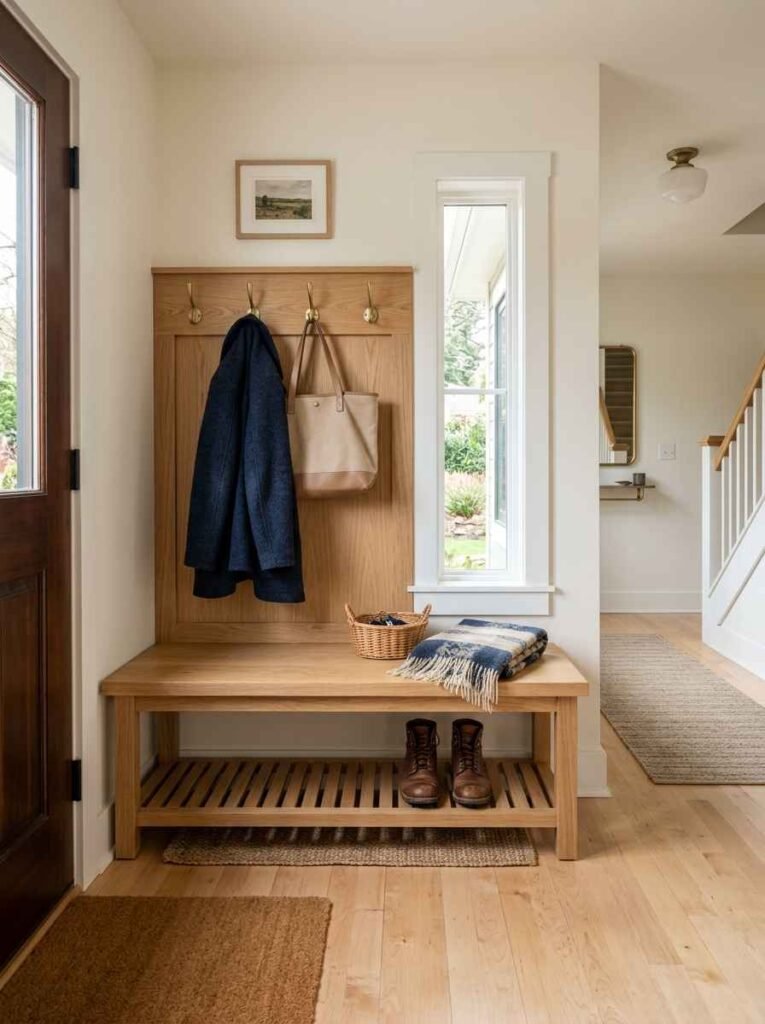
A wall-mounted bench (about 16 inches deep, 36 inches wide) at seat height, with a vertical panel rising behind it and hooks mounted at coat height on that panel. The bench doubles as shoe storage if you build a lower shelf into it.
This is probably the most complete small-entryway solution on this list. It takes care of shoes, coats, and bags in one unit without requiring a walk-in mudroom. For guidance on building wall-mounted benches without wobble, the Family Handyman’s woodworking section has some genuinely good step-by-step tutorials.
A quick comparison of mounting options
| Hook type | Best wall surface | Weight capacity | Difficulty |
|---|---|---|---|
| Screw-in hooks | Drywall with studs | Up to 30 lbs | Easy |
| Adhesive hooks | Smooth painted wall | Up to 7 lbs | Very easy |
| Toggle bolt hooks | Drywall, no stud | Up to 15 lbs | Moderate |
| Lag bolt hooks | Studs or solid wood | 50+ lbs | Moderate |
16. Vintage window frame with hooks
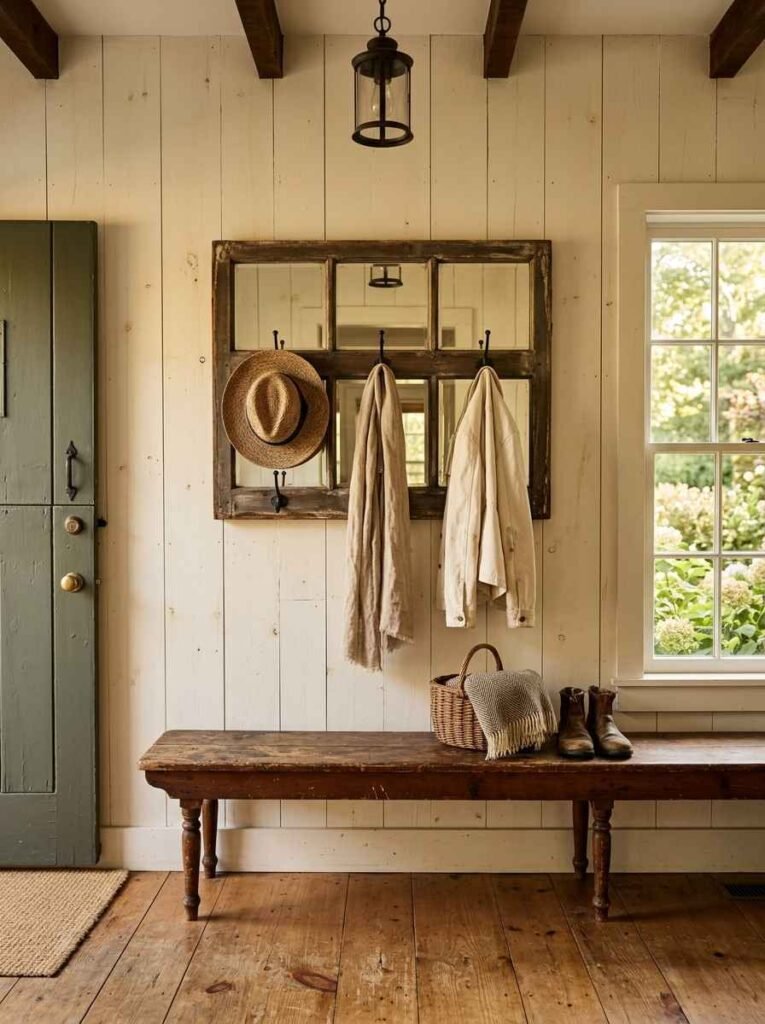
An old window frame (check estate sales or Habitat for Humanity ReStores) painted and mounted flat to the wall, with hooks screwed into the lower rail and vertical mullions. The window panes can hold small chalkboard inserts or mirrors.
This is a genuinely beautiful option if you lean toward farmhouse or cottage-style interiors. And it usually costs less than $20 if you source the frame used.
17. Rope and driftwood rack
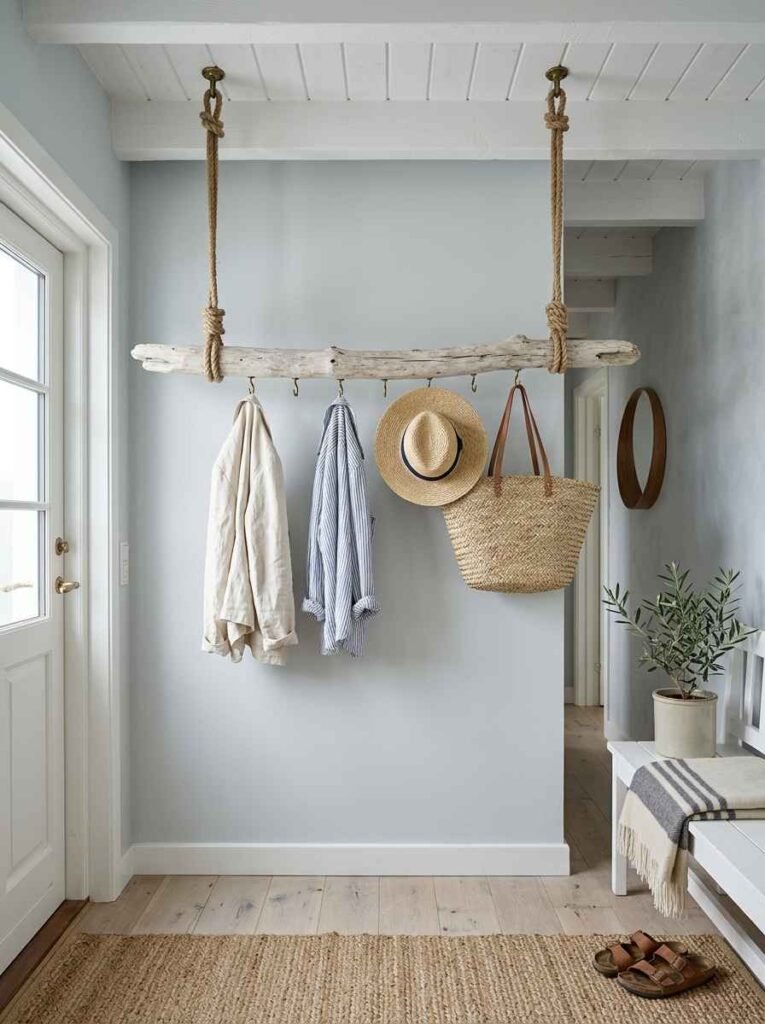
Cut a piece of driftwood to about 30 inches wide. Drill 6 evenly spaced holes along the top edge and thread a length of thick nautical rope through them, knotting underneath to keep each section taut. Attach the rope ends to two wall anchors at the top, so the driftwood hangs horizontally. Screw simple cup hooks along the bottom face.
This one is a little more fragile than the others. FYI, it’s not the right choice if you’ve got heavy winter parkas. But for lighter jackets, hats, and dog leashes, it looks genuinely stunning in coastal or Scandinavian-style homes.
18. Galvanized pipe and wood slab
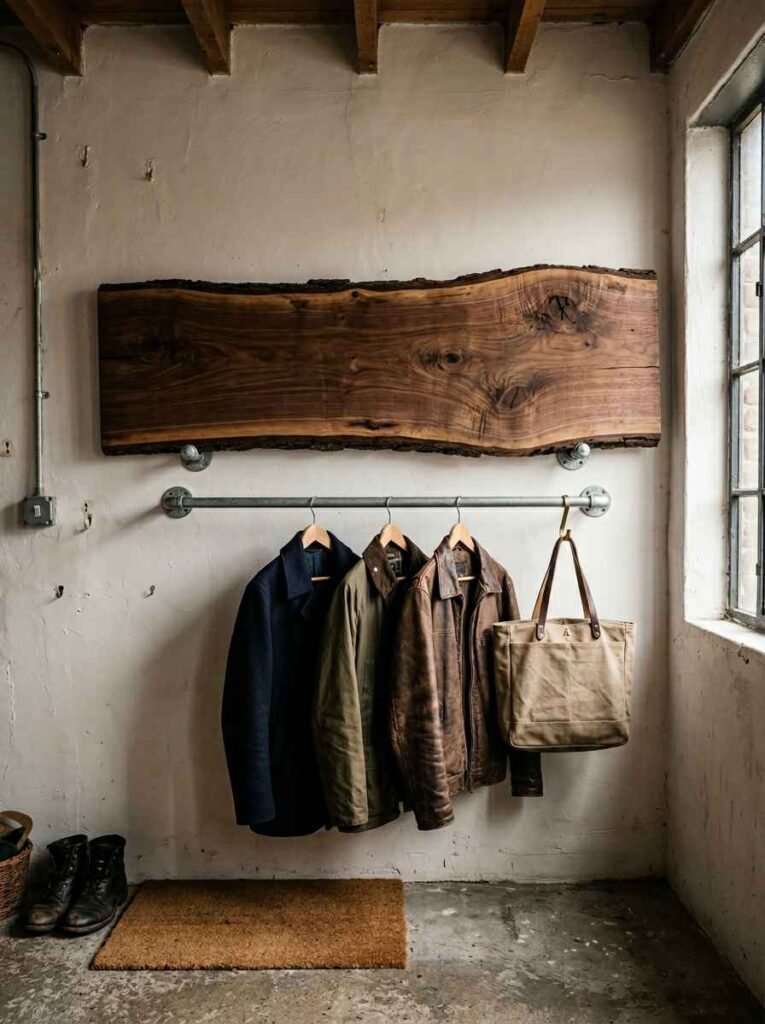
Get a live-edge wood slab cut at around 6 inches wide and 48 inches long. Sand it, seal it with a clear coat, and mount it horizontally using galvanized pipe flanges at each end. Run a second galvanized pipe horizontally about 12 inches below the slab, mounted to the wall with pipe straps, to act as the main coat bar.
The slab becomes a display shelf. The pipe holds the coats. It’s a bit of a statement piece, but for a slightly larger entryway, it earns the wall space.
19. Bicycle hook station (for small apartments)
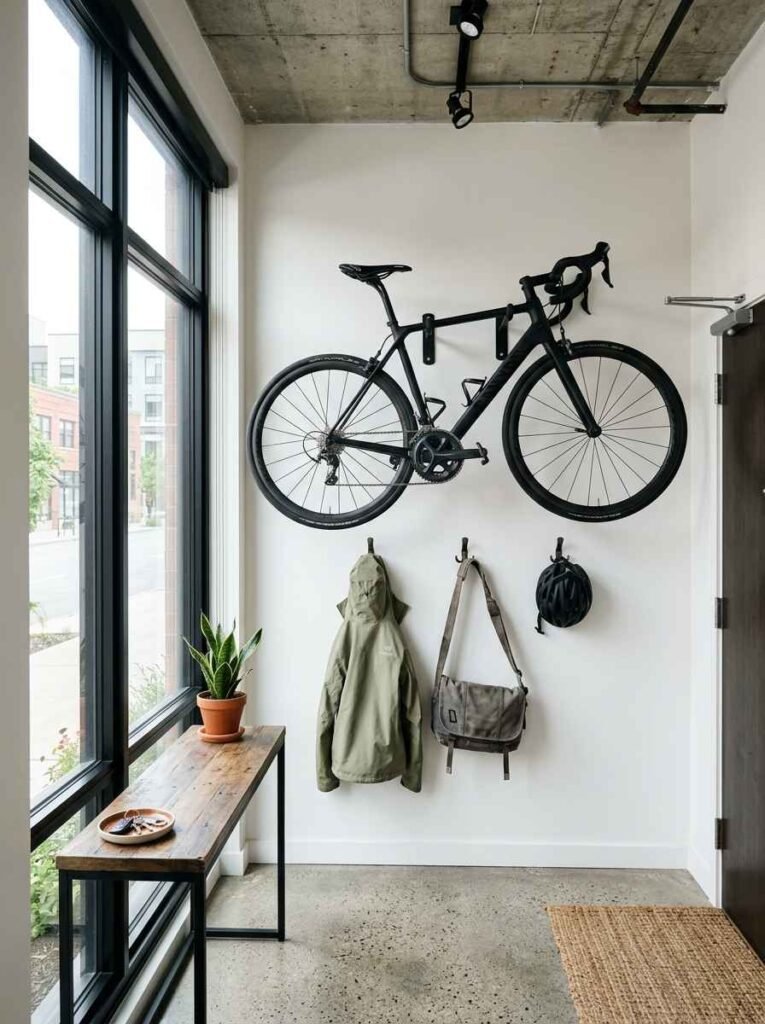
If your entryway leads straight into your main living space and you also need to store a bike, wall-mounted bicycle hooks can double as coat and bag hooks if you plan the layout carefully. Mount 2 horizontal bike hooks at around 5.5 feet from the floor (most bikes, lifted up, clear doorways at that height) and add standard coat hooks directly beneath them at 60 inches.
I’ll be honest: this only works if you’re comfortable with a bike on your wall. Some people love it. Others find it stressful. You know which one you are.
20. Macrame wall hanging with integrated hooks
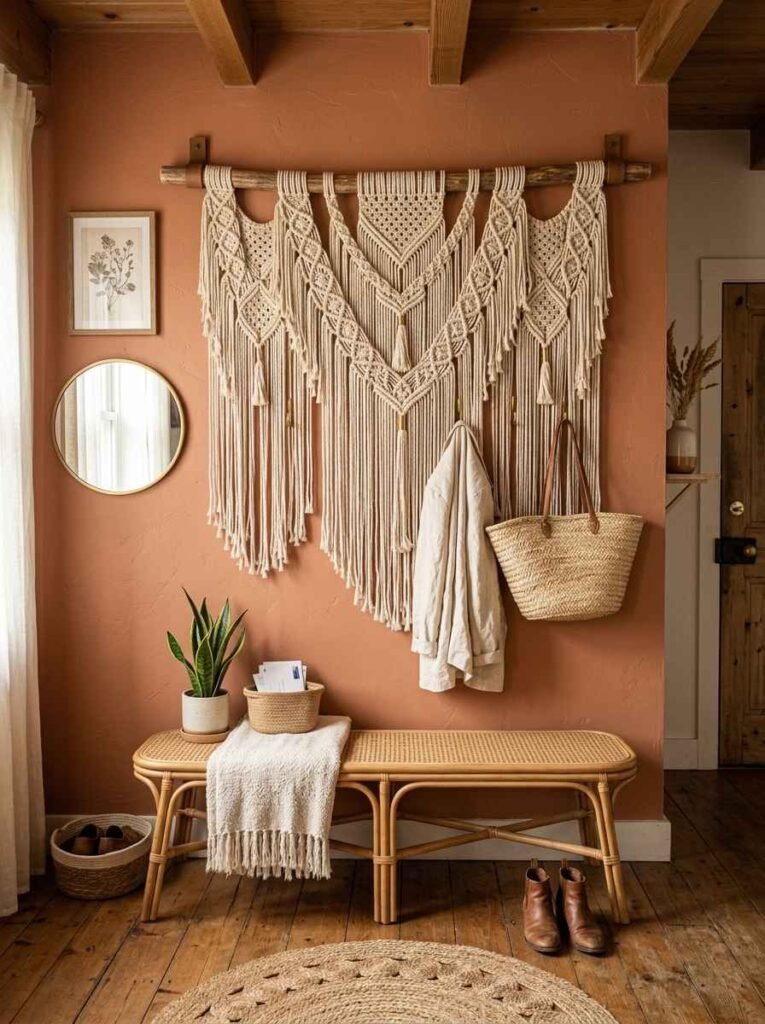
A macrame wall hanging with wooden dowels can have small brass hooks tied into the lower section of the design. The macrame itself acts as decorative cover; the hooks do the actual work.
This is a surprisingly functional version of a trend that often stays purely decorative. If you buy a kit from an Etsy seller who makes these specifically as coat racks, the structural dowels are usually rated to hold 15 to 20 pounds per hook.
21. Painted mural panel with hooks
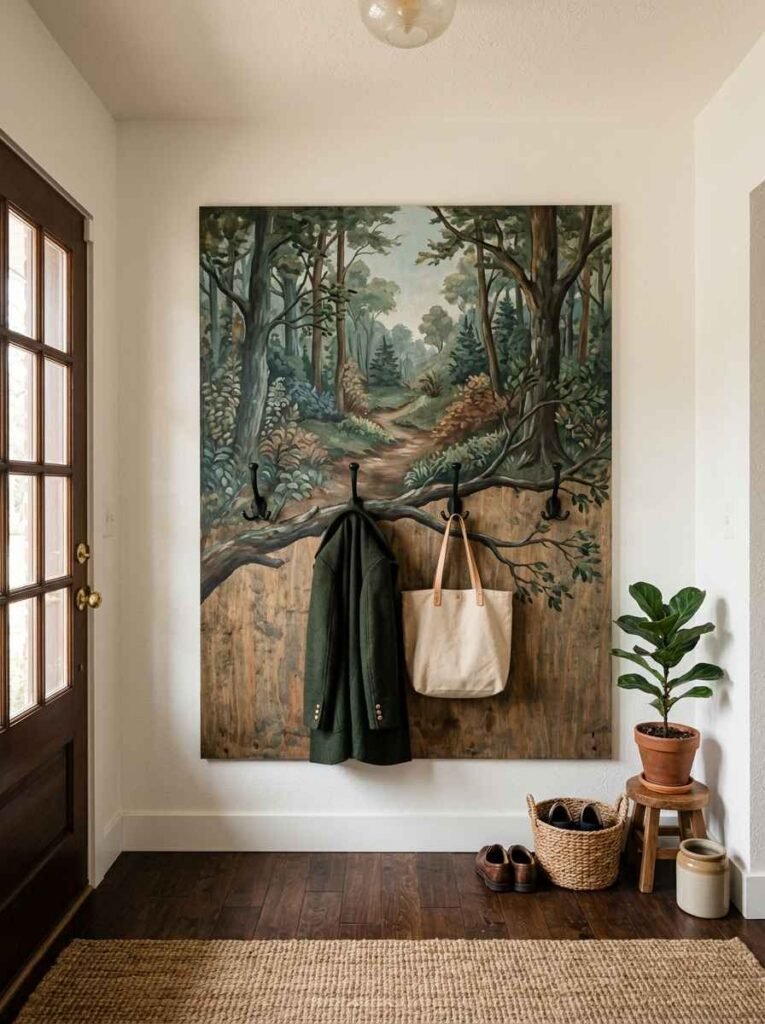
Have a local artist paint a mural or graphic design on a piece of 3/4-inch plywood (about 36 by 48 inches). Mount the plywood to the wall. Add your hooks at intervals along the bottom third of the panel.
The hooks become part of the composition if you plan it with the artist beforehand. I’ve seen this done with a forest scene where the hooks are painted as branches. It’s genuinely one of the most personal DIY options on this list.
22. Tension rod with hanging bins
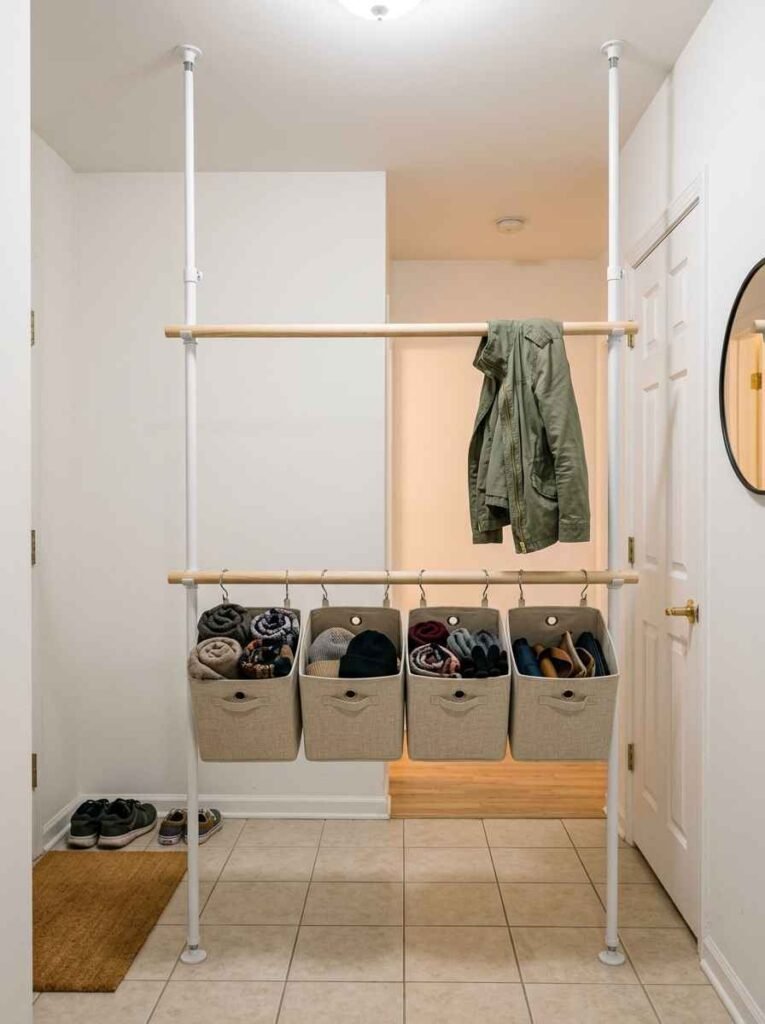
This one is for the person who really, truly cannot drill anything. Two tension rods installed vertically between the floor and ceiling (like closet rod tension poles) with cross-dowels or a horizontal rod strung between them. Hang fabric bins from the horizontal rod using shower rings, and you’ve got hanging storage that leaves zero marks.
The weight limit is lower than any wall-mounted option, and it takes up a bit more floor space. But for a rental with strict rules about wall damage, this is probably your best path.
23. Built-in niche with flush hooks
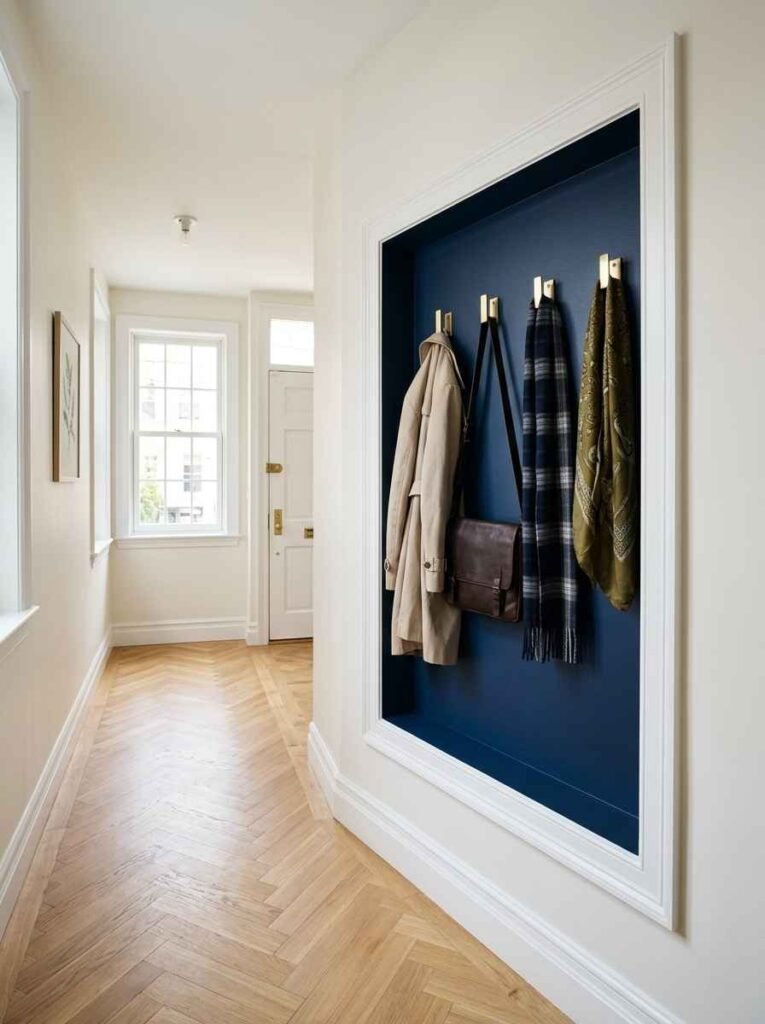
If you have a hollow wall (common between a garage and a house, or between a bathroom and a hallway), you can cut a shallow niche about 3 inches deep and 24 inches wide into the drywall. Frame the opening with wood trim, paint it an accent color, and mount flush hooks inside.
The coats sit inside the wall rather than jutting out from it. In a really narrow hallway, those 3 recovered inches make a noticeable difference. This is the most labor-intensive option on the list, but the result is clean in a way none of the surface-mounted options can match.
Tips that actually matter before you build
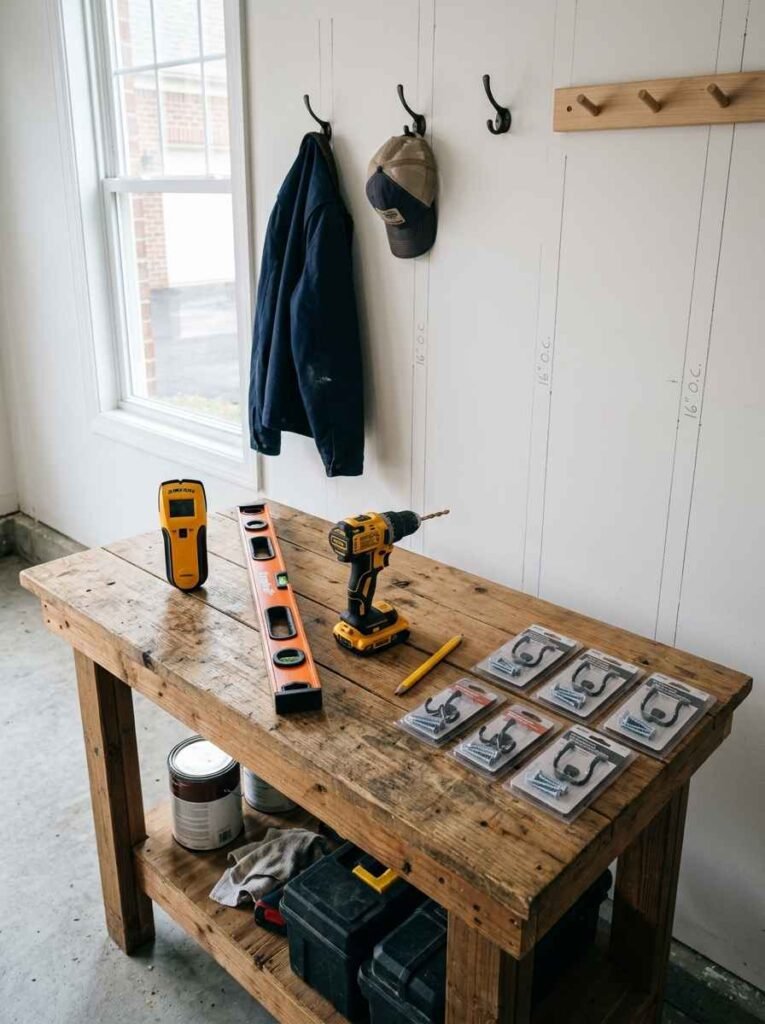
- Find your studs first. A $15 stud finder saves you from a $200 drywall repair.
- Measure the actual clearance behind your door when it’s fully open. More than one person has built a beautiful coat rack that gets bashed by the door every time someone walks in.
- If you’re painting your rack the same color as the wall, use the same finish (matte vs. eggshell vs. satin). Mismatched sheens catch the light differently and look off.
- Think about what you actually use daily versus what you store seasonally. Daily items need accessible, eye-level hooks. Seasonal stuff can go higher.
FAQ
What’s the best height to mount coat hooks for a family with kids and adults?
Mount an upper row at around 66 to 72 inches from the floor for adults, and a lower row at 40 to 48 inches for kids. The lower row also works well for bags and umbrellas regardless of who’s using it.
How many hooks do I actually need in a small entryway?
For a household of 2 to 4 people, 6 to 8 hooks usually does it, once you account for daily coats, a couple bags, and occasional extras. Any more than that in a tight space and things start to overlap and snag constantly.
Can I build any of these without power tools?
Yes, several of them. The over-door hook unit, the tension rod system, the ladder rack, and any option using pre-cut lumber from a hardware store (most stores will cut to size for free or a small fee) all require minimal or no power tools. A hand drill and a level get you through most of the others.
Have you already tried one of these builds? I’d genuinely love to know which one you landed on and whether you ran into any snags mid-project. Drop a comment below or tag your finished entryway on Pinterest so others can find the inspiration too.
