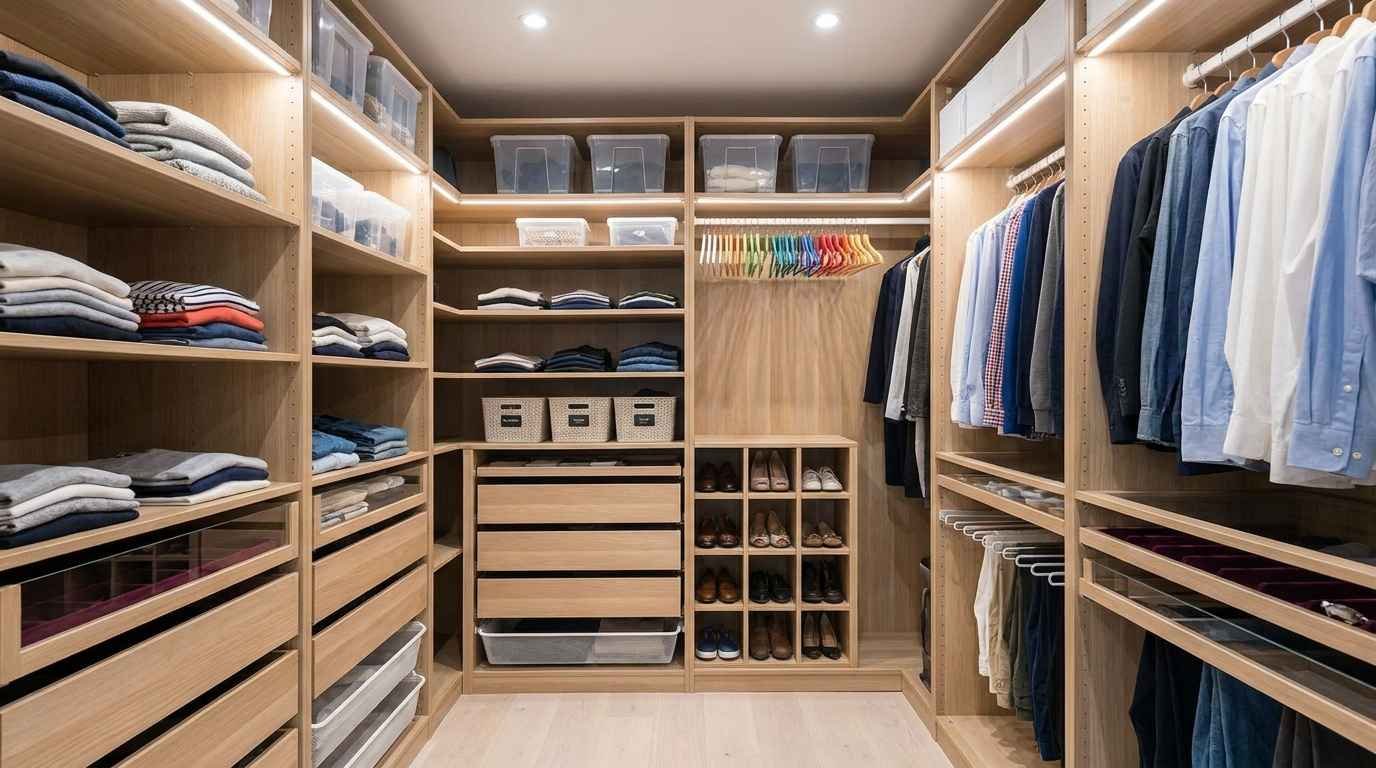
Let me be real with you — I’ve stood in front of my wardrobe at 7am, half-asleep, completely unable to find a single matching sock. Sound familiar? Yeah, I thought so. A messy wardrobe doesn’t just waste your time — it genuinely messes with your mood. So I spent weeks testing, researching, and yes, slightly obsessing over bedroom wardrobe storage ideas that actually work. This article is everything I wish someone had told me sooner.
1. Start With a Wardrobe Audit (Seriously, Do This First)
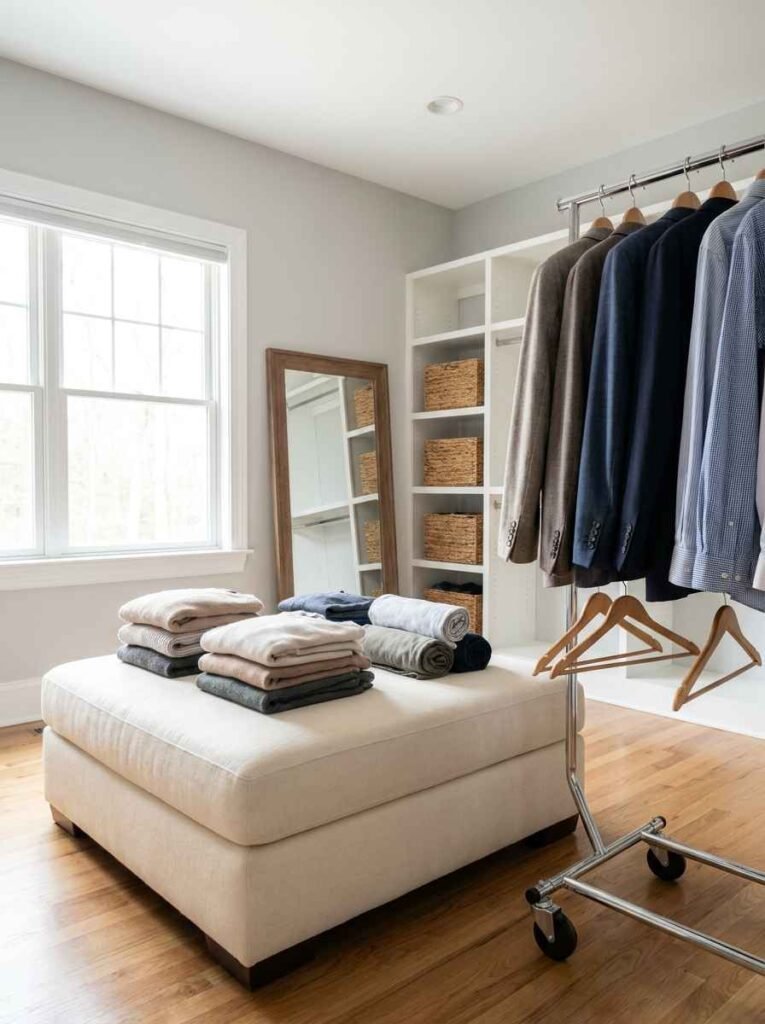
Before you buy a single organiser or fancy hanger, you need to know what you’re working with. I cleared out my entire wardrobe last spring and honestly? I found three jackets I forgot I owned. That’s not a flex — that’s a problem.
Pull everything out. Sort into keep, donate, and bin piles. Once you see what’s left, organising it becomes so much easier. The golden rule: don’t organise clutter, eliminate it.
2. Double Your Hanging Space With a Wardrobe Divider Rod
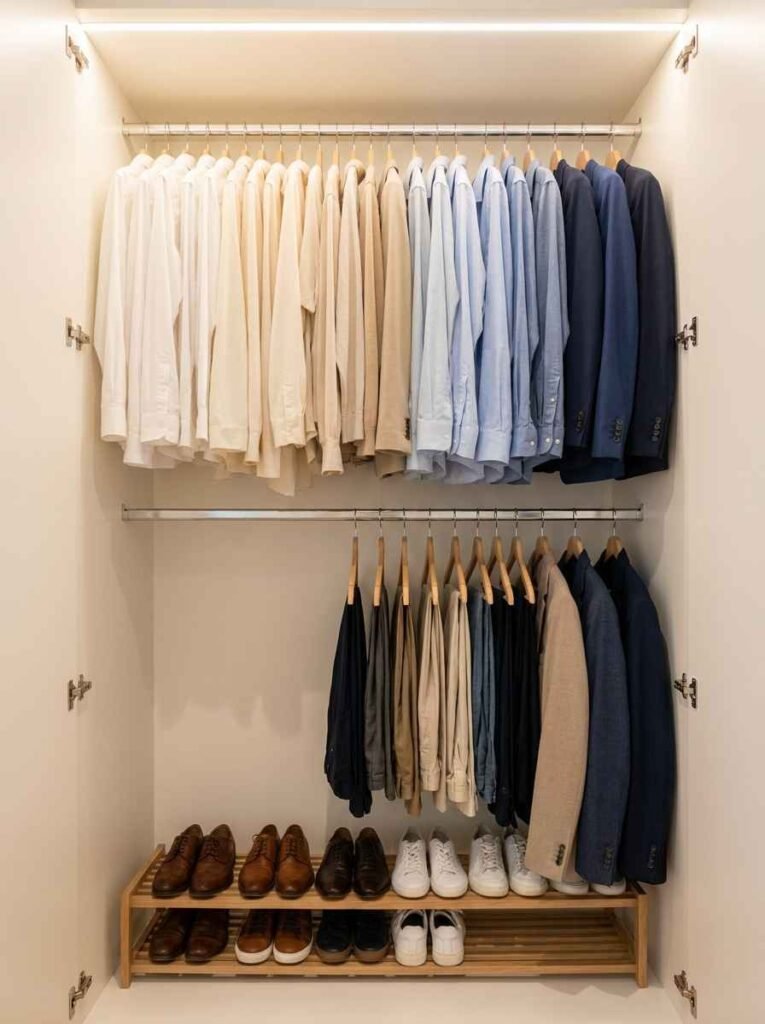
Here’s one of my favourite tricks — adding a second hanging rail inside your existing wardrobe. You literally double your hanging capacity overnight. I picked up a simple extendable one for under £15 and it changed my life (okay, maybe just my mornings, but still).
This works brilliantly for shorter items like shirts, blazers, and folded trousers. The bottom half stays free for shoes or drawers.
Quick Info Table: Hanging Space Hacks
| Hack | Best For | Approx. Cost | Difficulty |
|---|---|---|---|
| Second hanging rail | Shirts, blazers | £10–£20 | Easy |
| S-hooks | Bags, scarves | £5–£10 | Very Easy |
| Velvet slim hangers | All clothing | £10–£15 | Easy |
| Cascading hanger clips | Trousers, jeans | £5–£8 | Easy |
3. Velvet Slim Hangers — The Unsung Heroes
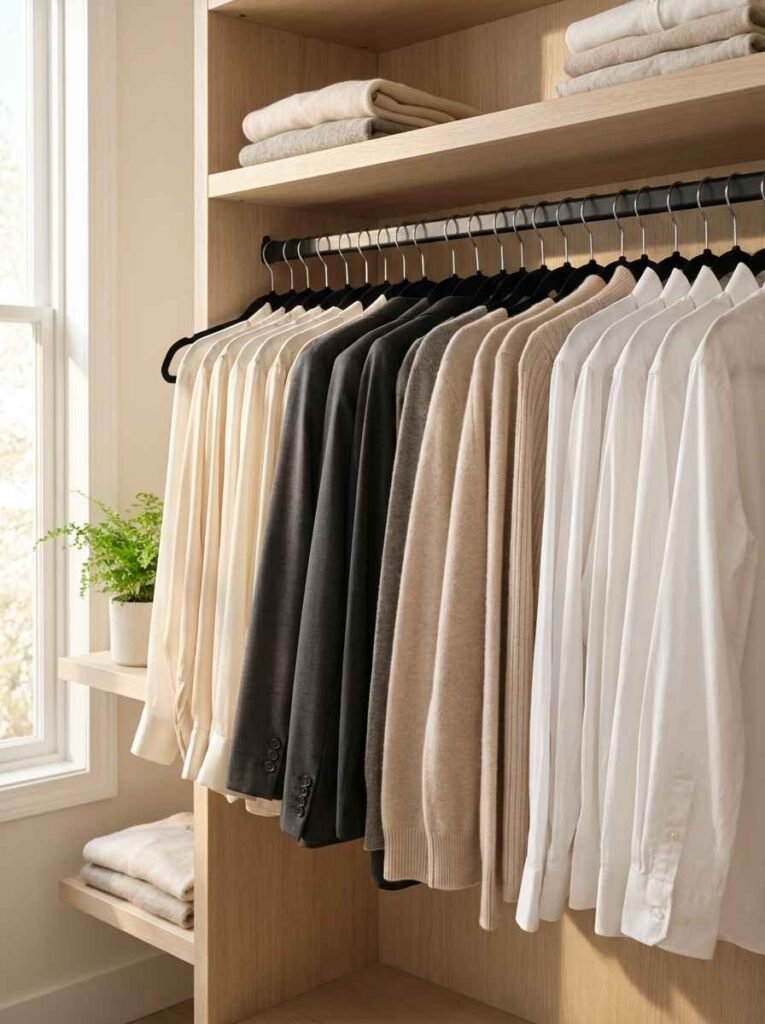
I cannot stress this enough — swap your chunky plastic hangers for slim velvet ones. I resisted this for years because, honestly, how much difference could a hanger make? A lot. A lot a lot.
Velvet hangers are thinner, clothes don’t slip off, and suddenly you’ve got 40% more rod space. Every wardrobe person swears by these and they’re right. FYI, you can grab a 50-pack for under £12 on Amazon.
4. Use the Floor Space — Shoe Racks and Stackable Drawers
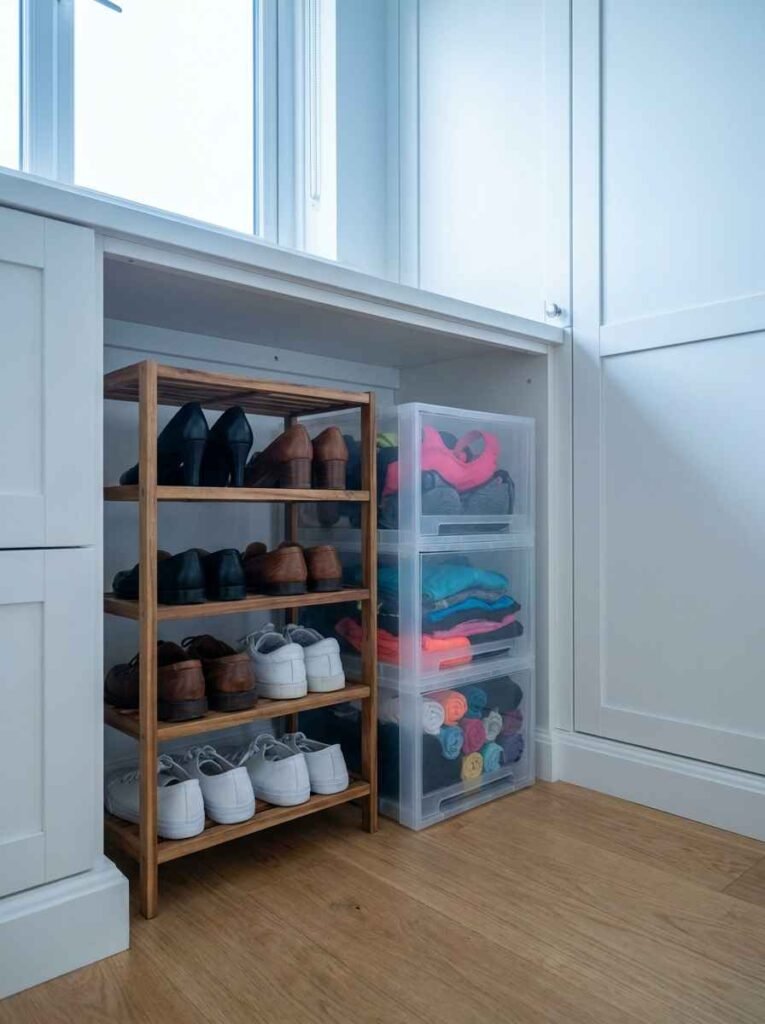
Most people completely waste the floor of their wardrobe. That dead space at the bottom? Gold. A slim shoe rack or stackable plastic drawers can turn that zone into serious storage real estate.
I use a clear stackable drawer system for gym gear — socks, headbands, resistance bands, all in one spot. No more digging through random piles like a raccoon searching for food. The clear sides mean I can see everything at a glance, which is honestly the biggest win.
5. Editor’s Choice — Wardrobe Organiser Products Worth Buying
Bro, I’ve tried a lot of products. Some were great, some were a total waste of money. Here are three I’d genuinely recommend:
This is a killer standalone unit if your wardrobe space is genuinely limited. I used one of these in a rental flat and it held more than I expected — hanging space plus shelves on the side. Solid build, easy to assemble, and it doesn’t wobble like a nervous Jenga tower.
6. Shelf Dividers — The Overlooked Genius Tool
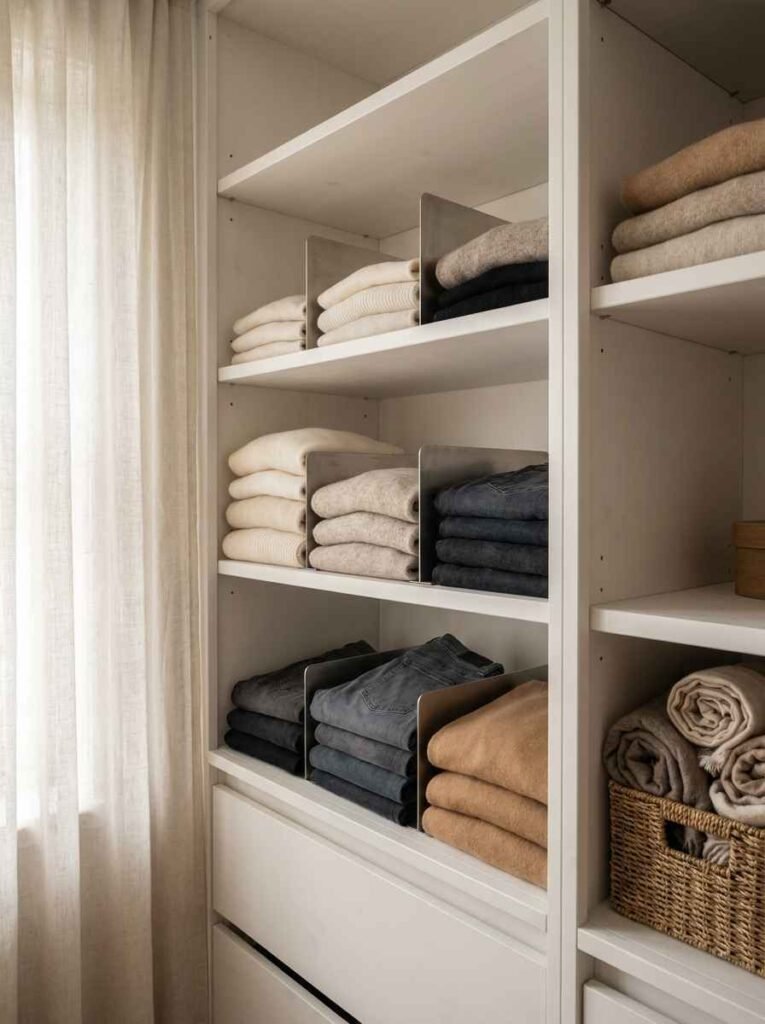
Shelf dividers are one of those things that look boring in the product photo but completely transform your shelves. They stop your folded piles from toppling over — you know, that thing where you grab one jumper and suddenly twelve fall off the shelf. Yep. Solved.
I use metal ones because they clip on and stay put. Plastic ones tend to slide around, which defeats the whole point. Honestly, they’re about £8 for a pack and worth every penny.
7. Vacuum Storage Bags for Seasonal Clothing
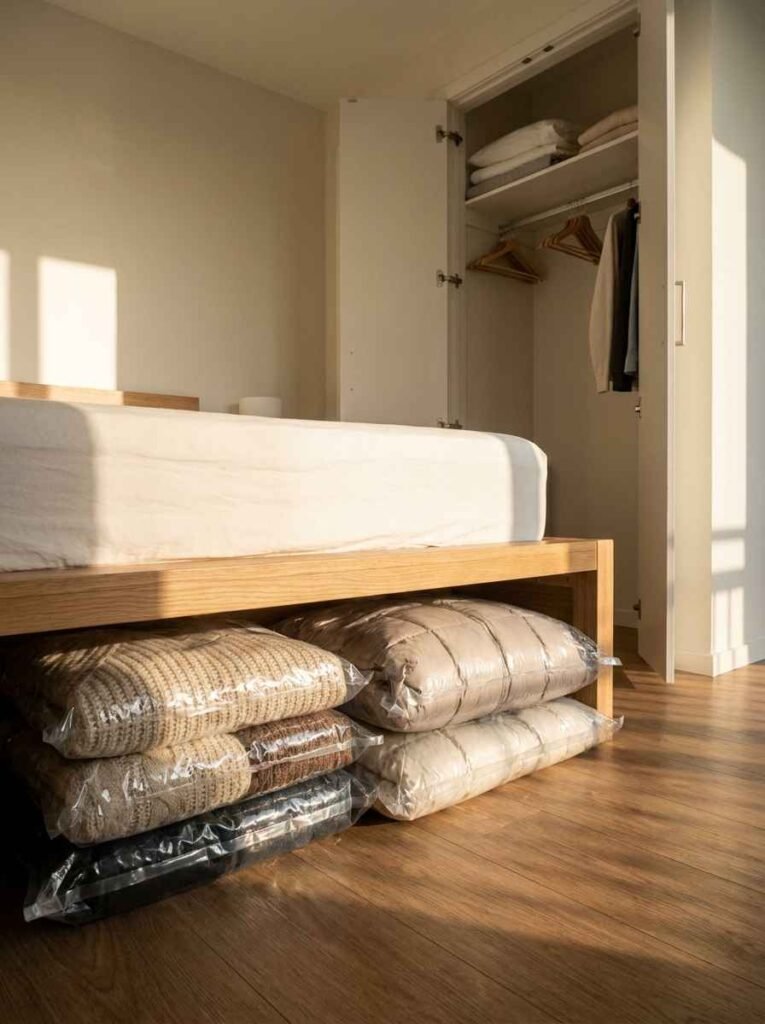
Seasonal clothing — winter coats, chunky knits, extra blankets — takes up an absurd amount of space. Vacuum storage bags compress bulky items down to a fraction of their size. You roll out the air, seal the bag, and suddenly that massive duvet fits under your bed.
I do this every May when I switch from winter to summer wardrobe. It takes maybe 20 minutes and frees up an entire shelf. If you haven’t tried this yet, what are you even doing? 🙂
8. Over-the-Door Organisers — Use That Hidden Space
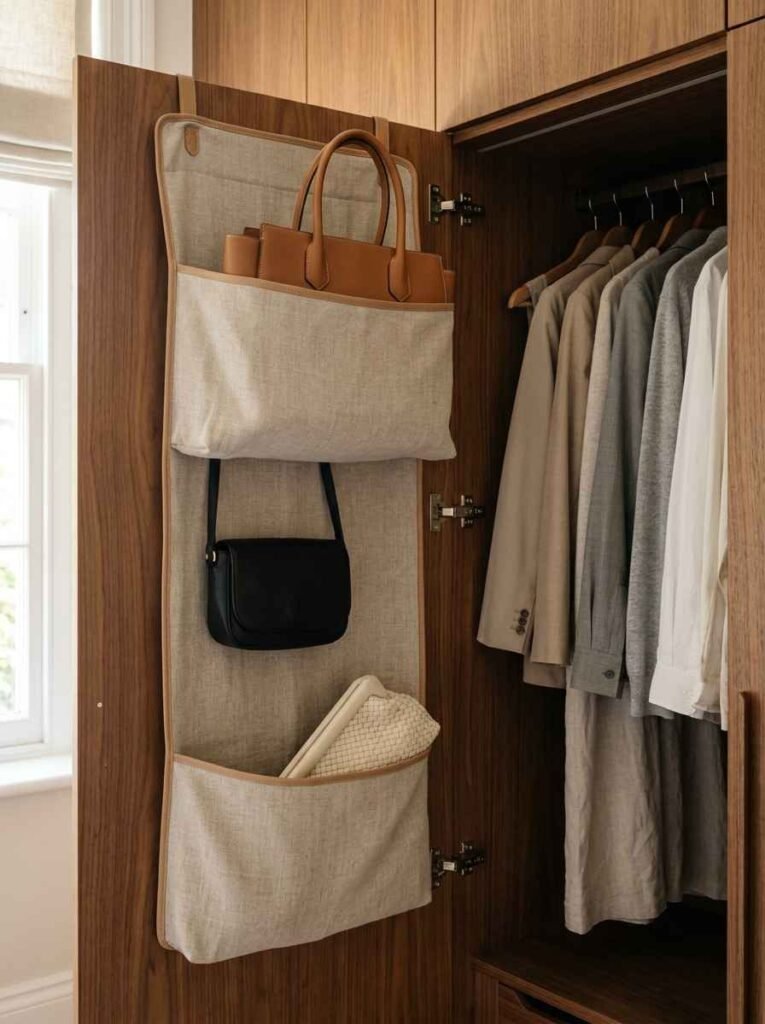
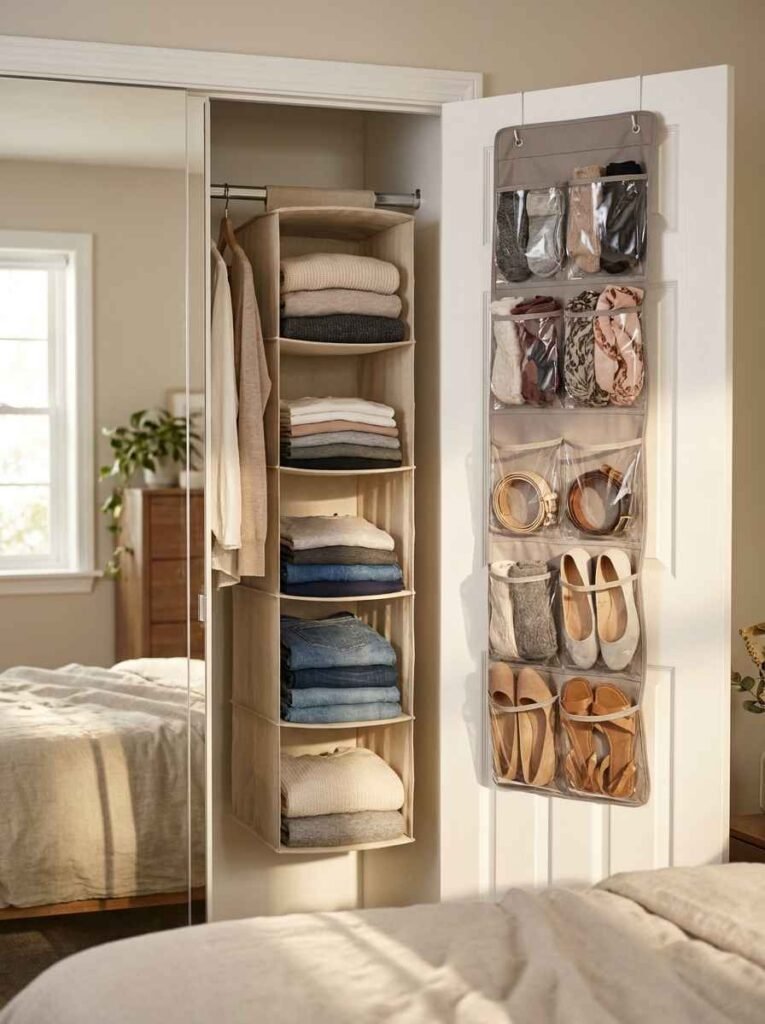
The back of your wardrobe door is basically free real estate that most people completely ignore. Over-the-door organisers with pockets can hold shoes, accessories, scarves, belts — honestly, whatever’s cluttering up your shelves.
I use one specifically for handbags and it keeps them in shape and visible. No more stuffing them into corners where they get squashed. This one small change genuinely impressed me more than some of the pricier solutions I’ve tried.
9. Editor’s Choice — Two More Products Worth Your Attention
Here are two more products that I think pair brilliantly together:
The hanging shelf organiser clips onto your existing rail — no tools, no fuss — and adds instant vertical storage for folded clothes, bags, or accessories. The over-door pocket organiser is perfect for shoes, scarves, or anything small you want visible and accessible. I use both together and they work brilliantly as a combo, especially in smaller wardrobes.
10. Drawer Organisers for the Small Stuff
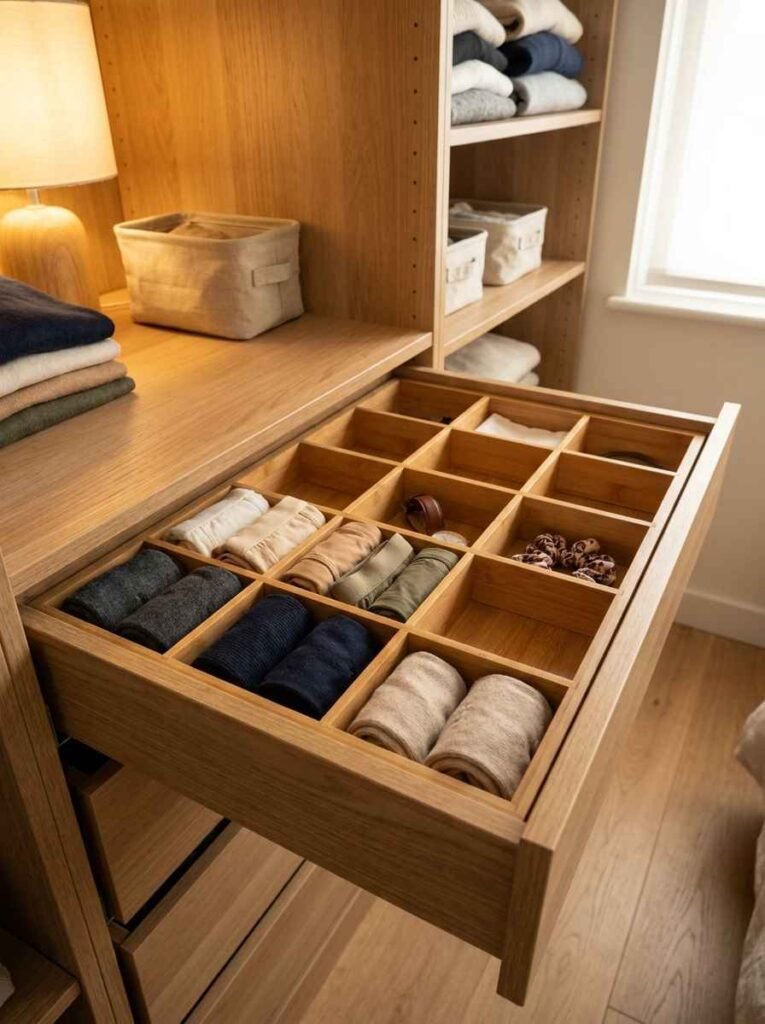
Underwear drawers. We need to talk about them. Mine used to look like a fabric explosion. Drawer organisers — those little grid-style dividers — completely changed how I manage the small stuff. Socks in one section, underwear in another, gym kit in a third.
It takes about ten minutes to set up and saves you five minutes every single morning. That adds up to nearly 30 hours a year. Honestly, I did that maths and immediately went to buy a second set.
11. The KonMari Fold — Try It, Judge It Later
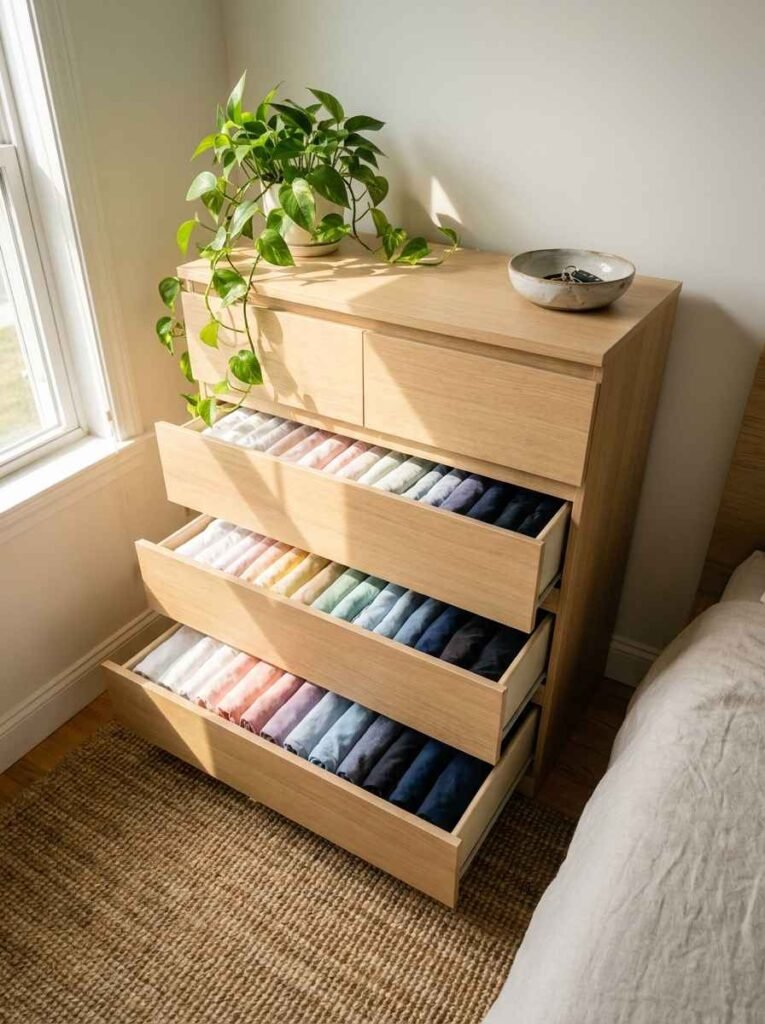
I know, I know — Marie Kondo feels a bit 2019 at this point. Honestly, this trend does feel slightly overdone now. But here’s the thing: the vertical folding method actually works for drawers and shelves. You fold items into compact rectangles and stand them upright so you can see every single item at once.
I tried it with my t-shirts and went from a chaotic pile to a neat, colour-coded row. Took 20 minutes. Zero products required. Just a slightly embarrassing YouTube tutorial and some patience.
12. Use Hooks — Inside, Outside, Everywhere
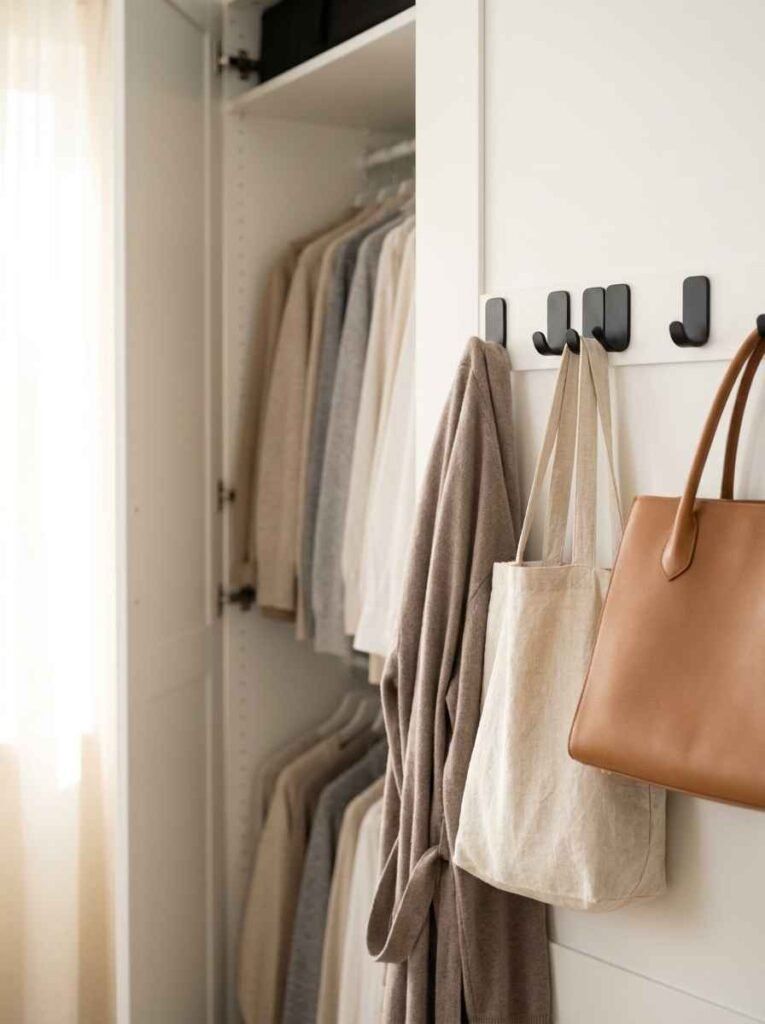
Adhesive hooks are cheap, easy, and surprisingly strong. Stick them inside the wardrobe door, on the side panels, or above the rail for extra storage points. I hang my dressing gown, tomorrow’s outfit, and my gym bag all on hooks just inside my wardrobe door.
This is one of those solutions that sounds too simple to be useful — and yet here we are, and I haven’t lost a gym bag since. Command strips are the brand I trust most; they hold well and come off cleanly when needed.
13. Built-In Shoe Cubby Systems
If you’re serious about wardrobe organisation, a modular shoe cubby system is a game-changer. These slot-style units give each pair of shoes its own space, keep them visible, and stop the dreaded “pile of shoes at the bottom of the wardrobe” chaos.
I’m not going to lie — my old method was just chucking them in and hoping for the best. The cubby system genuinely made me feel like an adult with their life together. That’s a rare feeling and I’ll take it.
14. Stackable Clear Boxes for Accessories
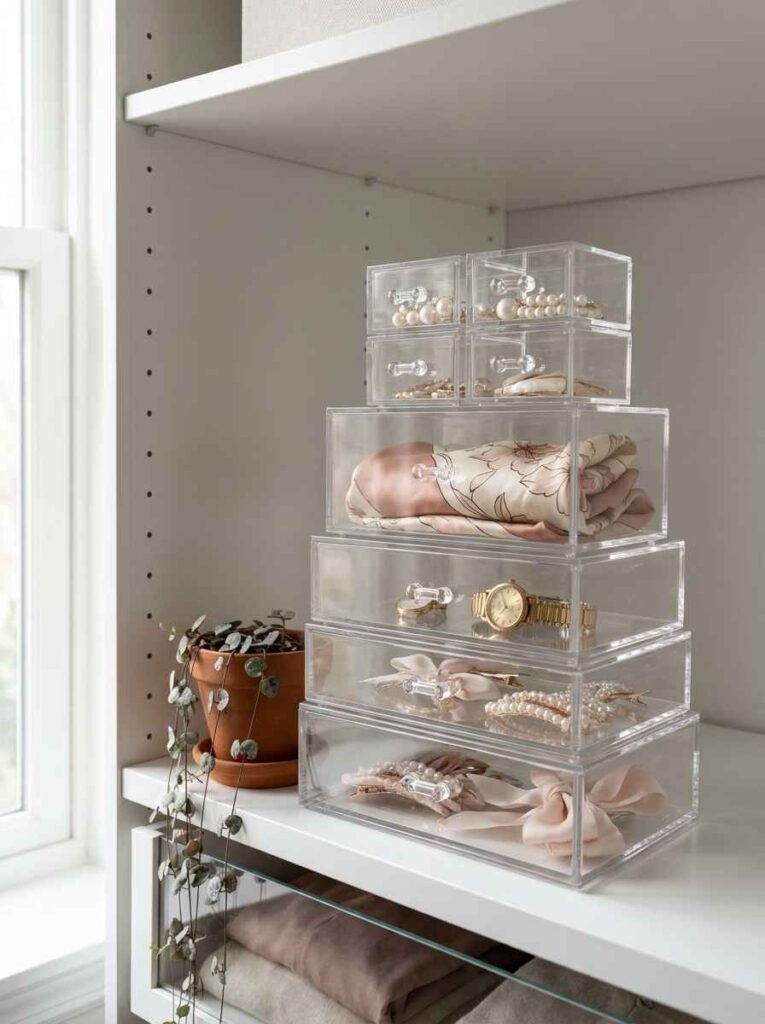
Jewellery, sunglasses, watches, hair accessories — all the small stuff that disappears into the abyss. Stackable clear acrylic boxes keep everything visible and dust-free. You can stack them on a shelf or inside a drawer.
IMO, clear boxes are always better than opaque ones for accessories because you can see what’s inside without pulling everything out. I lost a pair of earrings for six months because I put them in a box I couldn’t see through. Lesson learned :/
15. Tension Rods for Handbags and Clutches
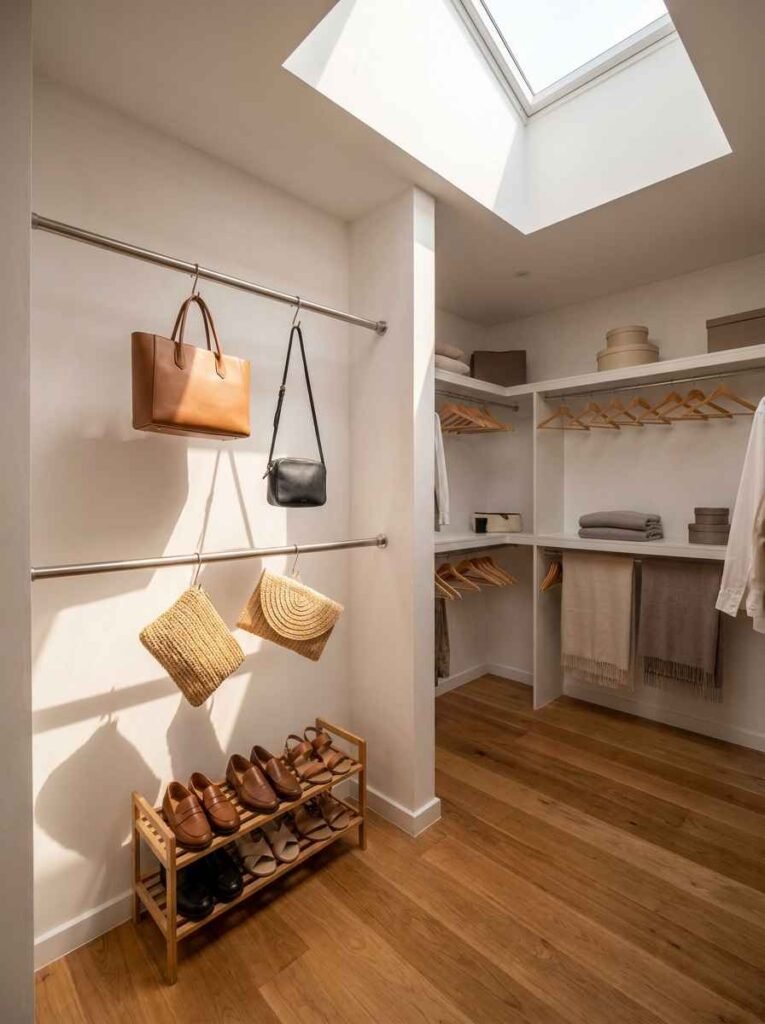
Here’s a creative one I genuinely love — using tension rods to hang handbags on the wall inside your wardrobe. You place the rods horizontally and hang the bag handles over them. It keeps bags upright, in shape, and takes up virtually no floor space.
I got this idea from a Pinterest rabbit hole at midnight (we’ve all been there) and it’s become one of my most-used wardrobe hacks. Cost me about £5 and took three minutes to set up.
16. Labelling Your Storage — Boring but Life-Changing
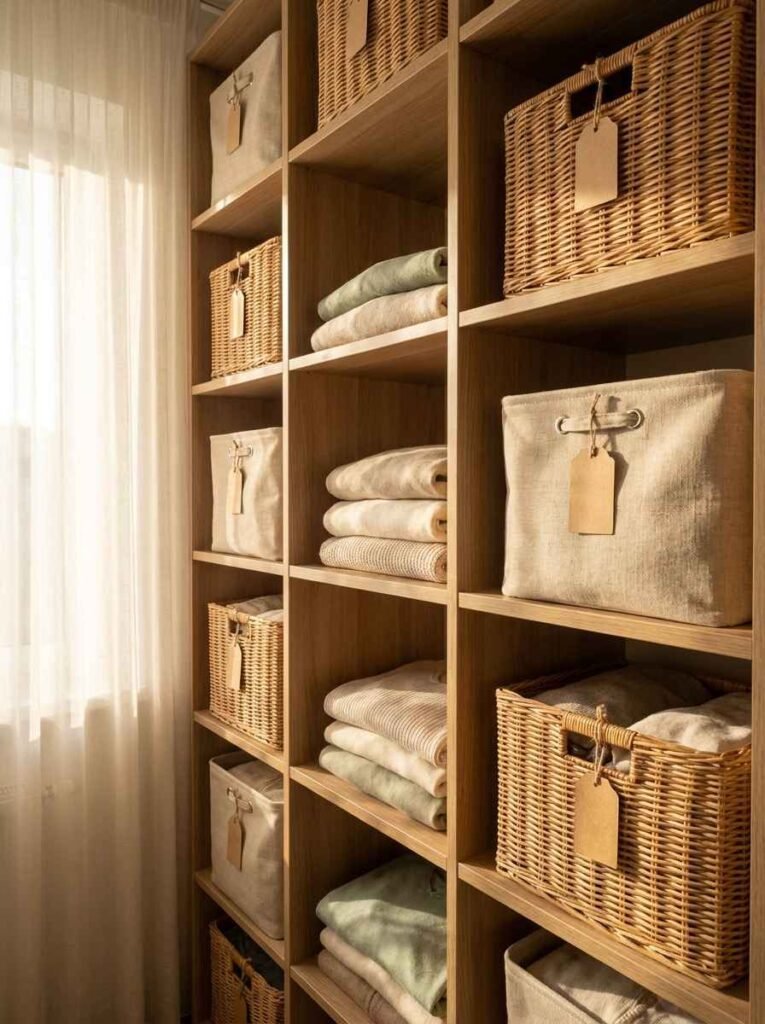
Okay, this one sounds aggressively unsexy. But labelling your shelves, boxes, and baskets is one of those habits that pays off every single day. When everything has a place and a label, you spend zero time wondering where anything is.
I use a simple label maker, but handwritten labels on kraft sticker tags work just as well and look quite cute, honestly. Once you start labelling, you’ll wonder how you ever lived without it. (And yes, you’ll label everything — I’m warning you now.)
17. Baskets and Fabric Bins for Upper Shelves
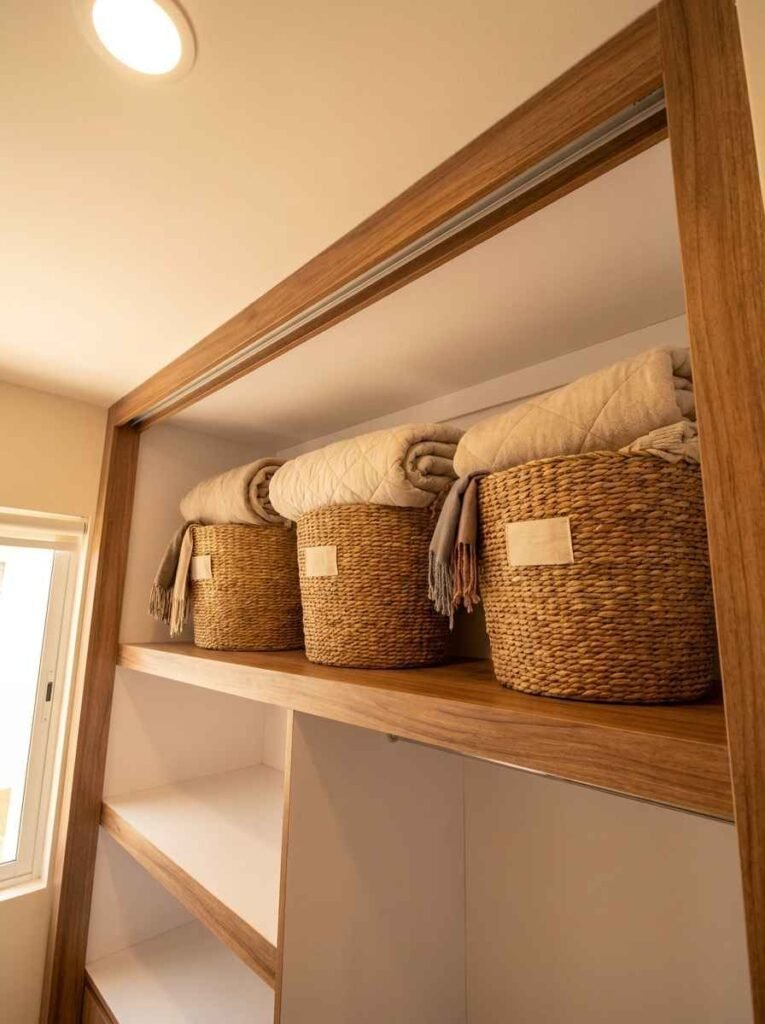
The top shelf of most wardrobes is basically no-man’s land — too high to see into, too easy to dump things in and forget. Woven baskets or fabric storage bins tame this zone beautifully. Label the front, and suddenly the top shelf becomes useful storage instead of a graveyard for random items.
I use three baskets up there — one for extra bedding, one for out-of-season accessories, and one that I’ve labelled “miscellaneous” (which is just code for things I can’t categorise but can’t throw away either). Works a treat.
18. Go Modular — Build a System That Grows With You
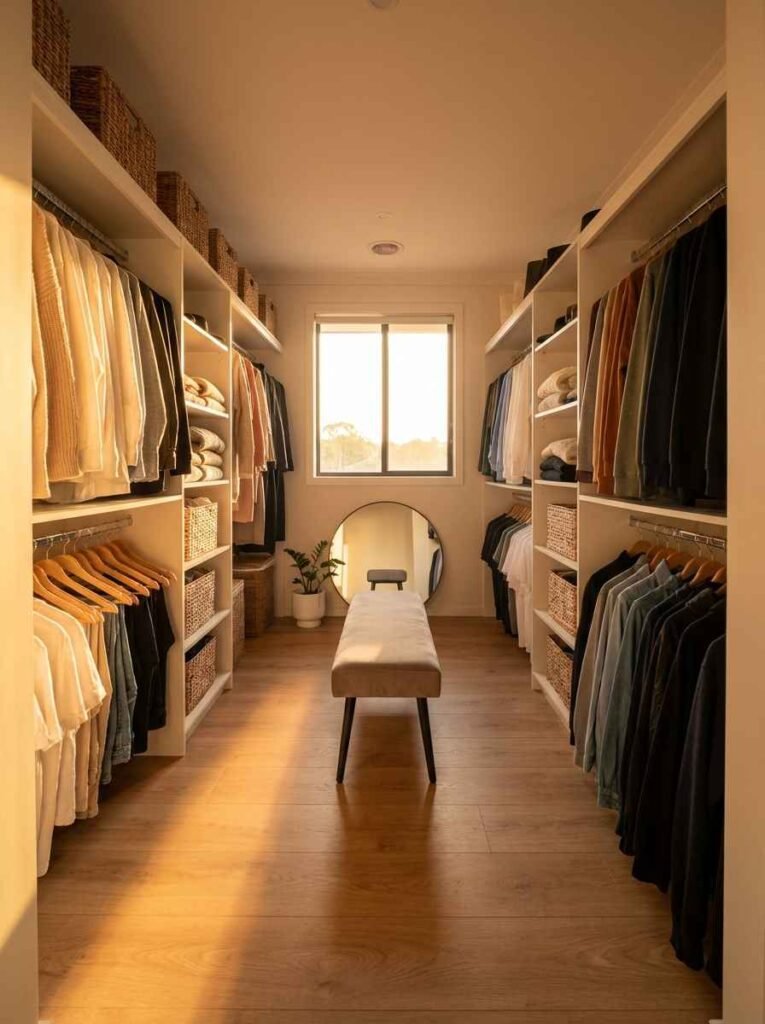
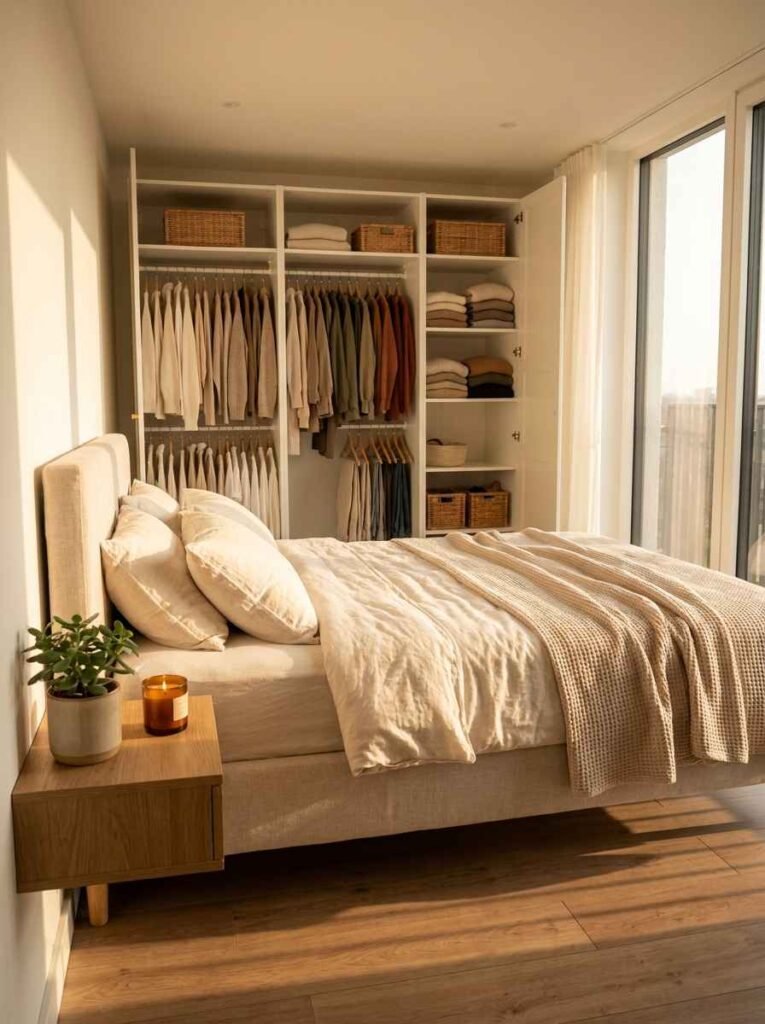
This is the big one. The best wardrobe storage system isn’t one-size-fits-all — it’s modular, flexible, and adapts as your life changes. Brands like IKEA’s PAX system, or even budget alternatives on Amazon, let you customise shelves, rails, and drawers to your exact needs.
I rebuilt my wardrobe storage from scratch using a modular approach and the difference was staggering. When my needs changed — more hanging space, less shelf space — I just reconfigured. No buying entirely new furniture. Wow, that kind of flexibility genuinely makes life easier.
Useful Resources Worth Bookmarking
- IKEA PAX Wardrobe Planner — brilliant for planning modular wardrobe layouts
- The Home Edit on organisation methods — genuinely useful real-world organisation advice
- KonMari folding guide — still worth reading even if it’s a bit 2019
Wrapping It All Up
Right, so here’s the takeaway — a clutter-free wardrobe isn’t about having loads of money or a massive space. It’s about being intentional with the space you have. Start with a proper audit, use the vertical space, pick up a few smart organisers, and build a system that actually fits your life.
I genuinely went from dreading my wardrobe to enjoying getting dressed in the morning. That’s not me being dramatic — that’s just what a bit of organisation does for your brain. If you take away just three ideas from this article, let them be: slim hangers, shelf dividers, and that second hanging rail. Those three alone will transform your space.
Now it’s your turn — which of these ideas are you trying first? Drop a comment or share this with someone whose wardrobe desperately needs help. Go on, you know who that person is.
Frequently Asked Questions
Q: What’s the single best wardrobe storage idea for a small bedroom? A: Adding a second hanging rail is the quickest, cheapest way to double your usable space with zero renovation needed. Pair it with slim velvet hangers and you’ll be amazed at the difference.
Q: Are modular wardrobe systems worth the investment? A: Absolutely — especially if your storage needs change over time. IKEA PAX and similar systems let you reconfigure rather than replace, which saves money long-term.
Q: How do I stop my wardrobe getting messy again after organising it? A: The honest answer? Habit. Everything needs a designated place, and you need to return things to that place consistently. Labels help enormously. Do a quick five-minute tidy every Sunday and it stays manageable.
