
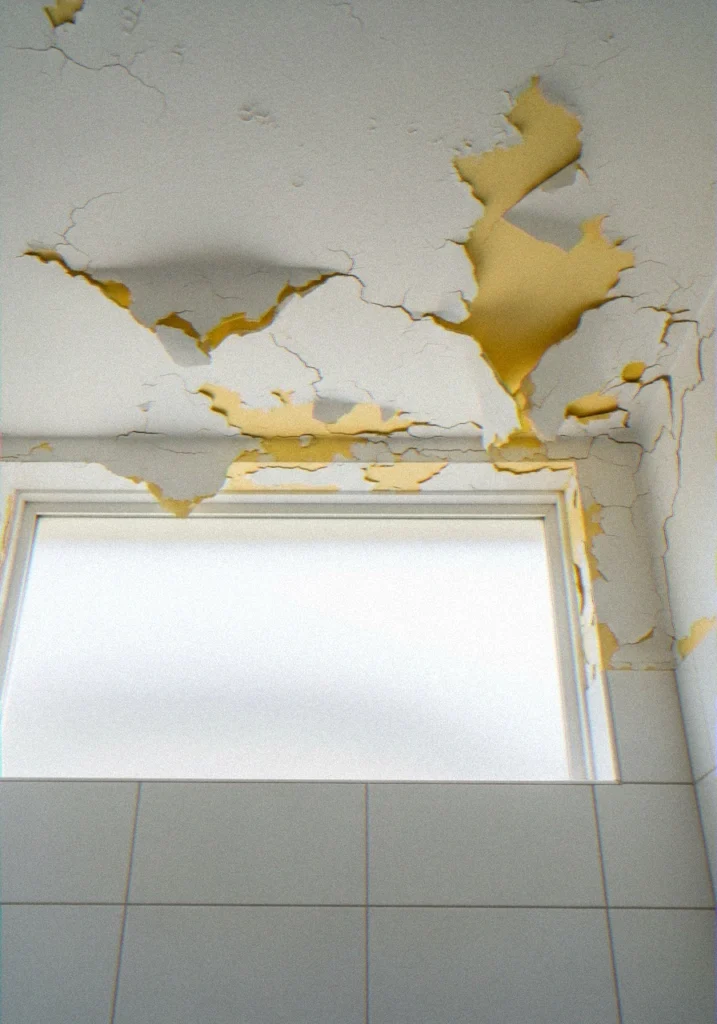
You enter your bathroom and look up and yes, there it is. Your walls are curling, bubbling and peeling, as though it were the skin of your ceiling. It was not really the spa atmosphere that you wanted, right? This is precisely what happened to me in my own bathroom two years ago and trust me there is nothing like neglecting something to make the situation much more dramatic:/
The ceiling above a shower takes more abuse than almost any other surface in your home. Steam, heat, humidity — it’s basically a daily attack.
But here’s the thing: fixing peeling paint on a bathroom ceiling is a completely doable DIY project, and I’m going to walk you through every single step I used to fix mine and keep it looking good ever since.
Why Is Your Bathroom Ceiling Paint Peeling in the First Place?
Before you grab a scraper and go to town, let’s talk about why this happens. Because here’s the truth — if you don’t fix the root cause, you’ll be back here doing this exact same job in six months. Ask me how I know.
Steam and moisture are the main villains here. Every hot shower you take sends warm, wet air straight up to that ceiling. If your ventilation isn’t up to scratch, that moisture parks itself between the paint and the surface, slowly destroying the adhesion until the paint literally gives up and starts falling off.
Here are the most common causes of peeling paint in bathroom ceilings:
- Inadequate ventilation — Weak or absent exhaust fan
- Wrong paint used — Flat or standard ceiling paint instead of moisture-resistant formula
- No primer applied — Skipping primer is basically setting your paint up to fail
- Existing mold or mildew — Bathroom ceiling peeling and mold often go hand in hand
- Water leak from above — Sometimes it’s not the shower at all — a leaky pipe or roof can cause this too
- Too many old paint layers — Years of buildup creates a weak, unstable base
Sound familiar? The first step to it all is determining your particular cause of what you are doing and then everything following it becomes so much more effective.
Quick Reference Guide — Peeling Paint in Bathroom Ceiling
This is a convenient reference table, which I could have used before I started my own repair. Make a note of this, it is really handy.
| Problem | Likely Cause | Best Fix |
|---|---|---|
| Paint bubbling near shower | Steam with no ventilation | Improve fan + moisture-resistant paint |
| Black spots under peeling paint | Mold/mildew growth | Bleach treatment + mold-killing primer |
| Paint peeling at edges only | Poor original adhesion | Scrape, sand, reprime fully |
| Soft or spongy ceiling | Water leak from above | Fix leak first, dry out, then repaint |
| Paint peeling shortly after repainting | Wrong paint type used | Strip back, use bathroom-specific paint |
| Large sections falling off | Long-term moisture damage | Replace drywall section if needed |
| Yellowing + peeling together | Old oil-based paint failing | Full strip and shellac-based primer |
What You’ll Need to Fix Peeling Paint in the Bathroom
Whatever you are going to use needs preparation. No one would want to run to the hardware store in the middle of the job when they are covered with pieces of paint. Here’s the full list:
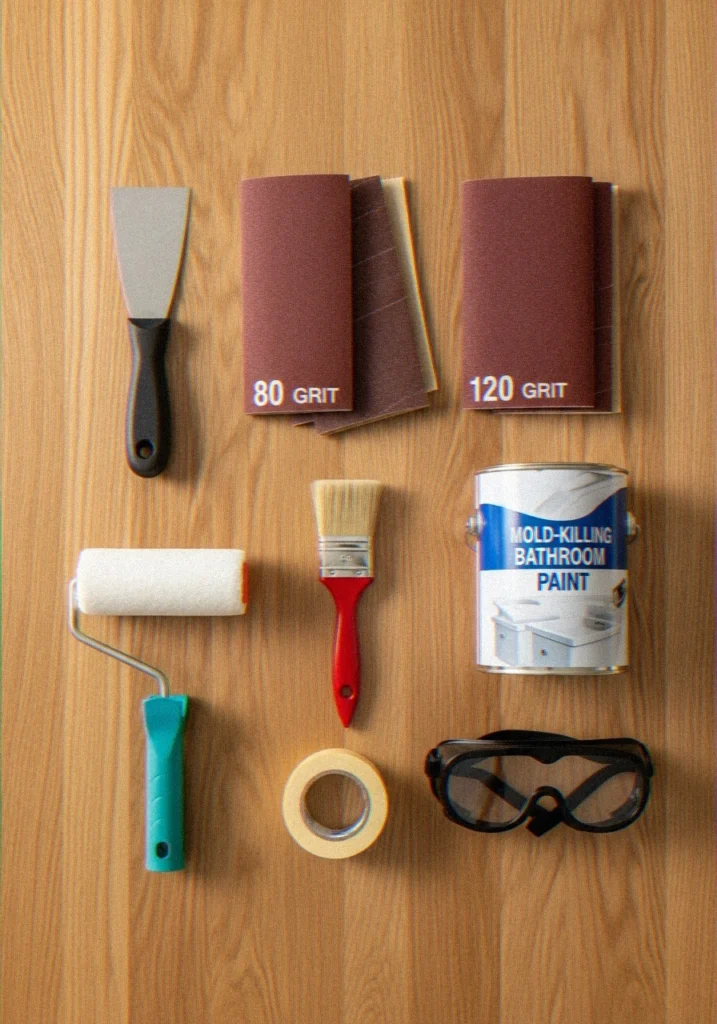
Tools:
- Putty knife or wide paint scraper
- 80-grit and 120-grit sandpaper
- Drop cloths and painter’s tape
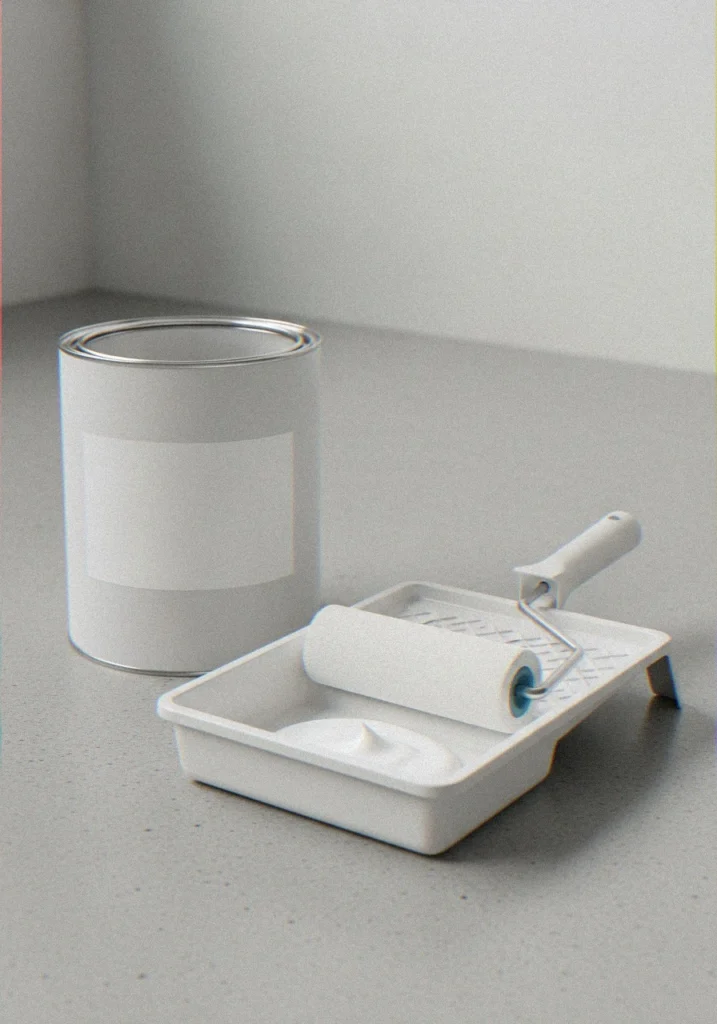
- Paint roller with extension pole
- Angled brush for edges
- Safety goggles and a dust mask
Materials:
- Mold-killing primer — I personally use Zinsser BIN Shellac-Based Primer or Kilz Original
- Bathroom-specific ceiling paint (satin or semi-gloss finish)
- Joint compound or lightweight spackle
- Bleach solution for mold treatment
- Mildewcide additive (optional but worth it)
IMO, don’t cheap out on the primer. It’s the single most important material in this entire job.
Step-by-Step: How to Fix Peeling Paint Around a Shower Ceiling
Step 1 — Protect Everything Below First
Lay drop cloths over your tub, toilet, and floor. Tape off the wall edges where they meet the ceiling with painter’s tape. Paint chips and sanding dust will fall everywhere — and dried joint compound stuck in your shower grout is a genuinely miserable thing to clean.
Turn off the bathroom exhaust fan too. You don’t want to suck dust and debris through your ventilation system.
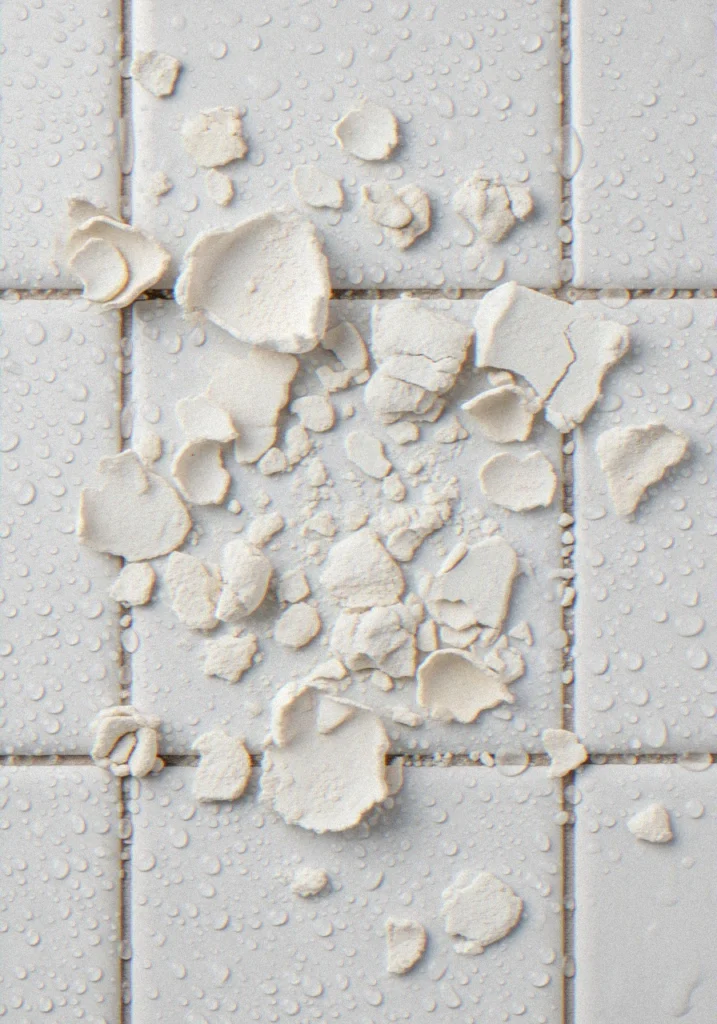
Step 2 — Scrape Off Every Bit of Loose Paint
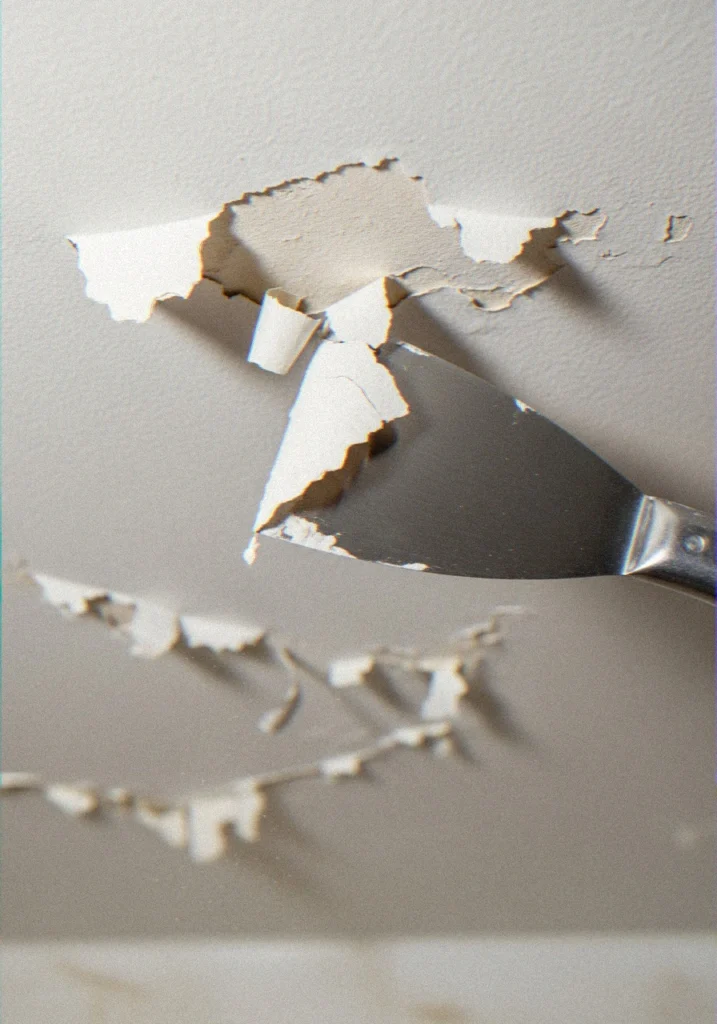
Grab your putty knife and get aggressive. Remove all flaking, bubbling, and lifting paint. The goal here isn’t to be neat — it’s to be thorough. Press around the edges of the peeling areas too. If anything flexes, sounds hollow, or moves even slightly, scrape it off.
The biggest mistake people make with peeling paint in bathroom ceiling repairs is only removing the obviously loose bits. Leaving weakly bonded paint under new paint just delays the failure. Every compromised area needs to go.
Step 3 — Sand the Edges Smooth
After scraping, you’ll have rough, uneven edges where old paint meets bare ceiling. Use 80-grit sandpaper to feather those edges down, then follow up with 120-grit for a smooth overall surface.
Cleanse all surfaces with a piece of slightly moist cloth to wipe the dust. Allow the surface to become dry, at least allow several hours in a well-ventilated room. When one paints on a dusty or wet surface, then they are on a shortcut to peeling.
Step 4 — Deal With Bathroom Ceiling Peeling and Mold
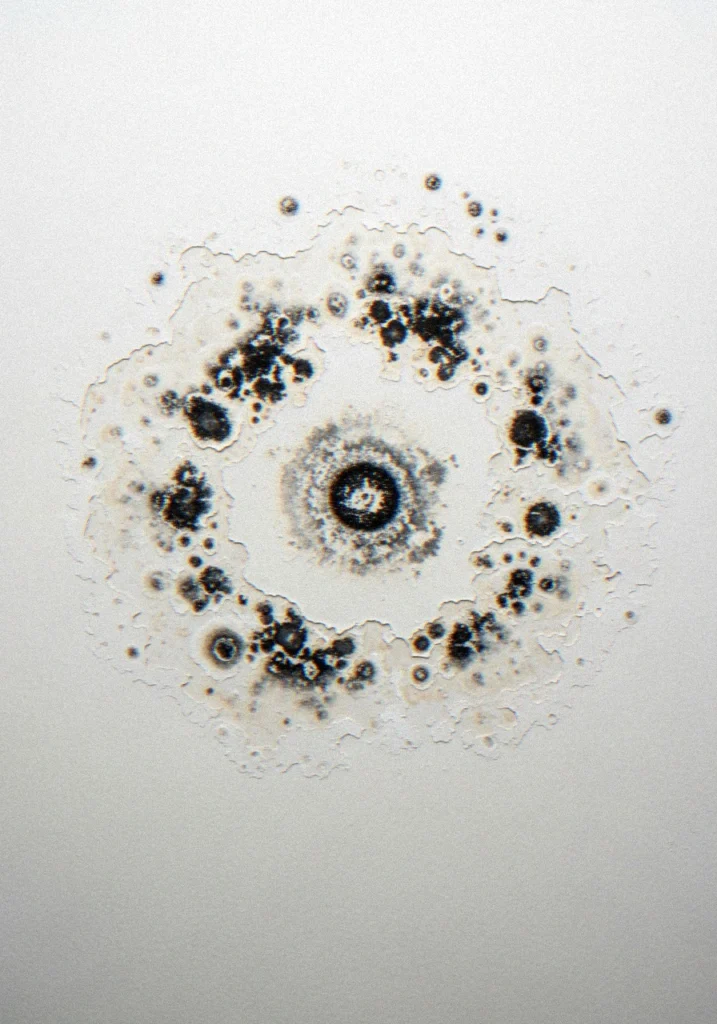
Here’s where a lot of DIYers skip an absolutely critical step. If you see any dark spotting — black, green, or pinkish — that’s mold or mildew. Painting straight over it will not fix it. It’ll grow right through your new paint within weeks.
Mix one part bleach to three parts water and apply it to all affected areas with a sponge or cloth. Leave it for 10–15 minutes, then wipe off and let it air dry fully. For persistent or widespread mold issues, the EPA’s mold remediation guide is genuinely worth reading before you proceed.
Don’t rush this step. Mold behind fresh paint is way worse than a slightly delayed project.
Step 5 — Apply a Mold-Resistant Primer (Not Optional)
This is the step that separates a paint job that lasts five years from one that starts peeling again in five months. A proper high-humidity primer is non-negotiable on any bathroom ceiling above a shower.
It is a shellac-based primer that I always apply in the parts that have moisture damage. It helps to seal the stains and block the moisture vapor and provide something solid to your topcoat to hold. Spread a single layer using a roller and allow to dry as indicated on the label – normally about one hour. Don’t skip this to save time. You’ll regret it.
Step 6 — Fill Damaged Areas With Joint Compound
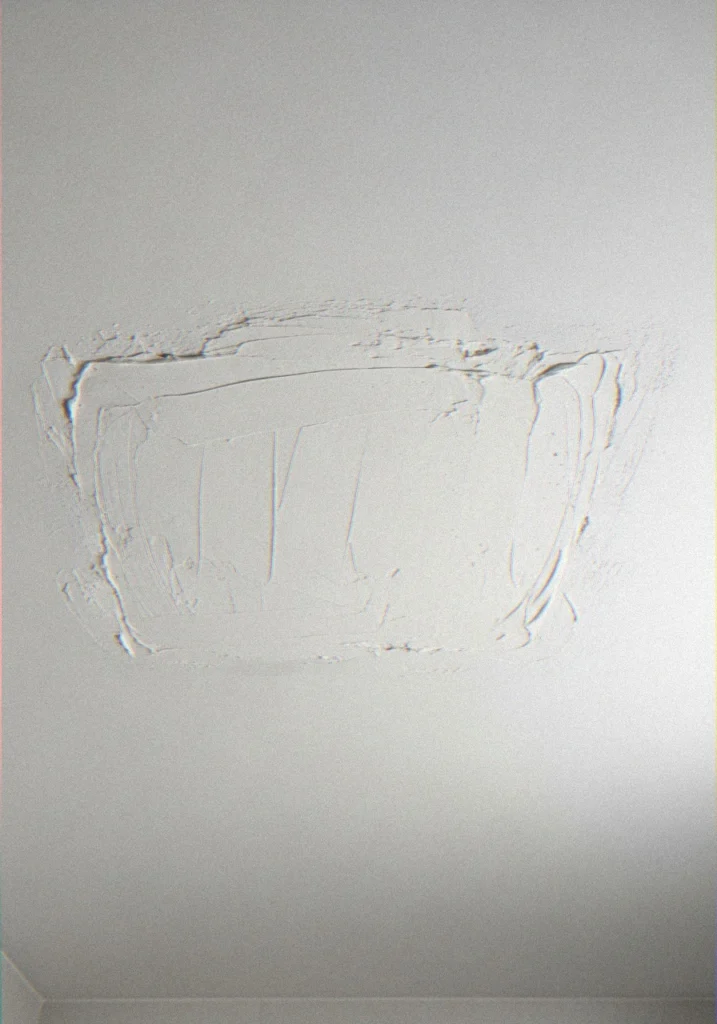
Scraping often reveals soft spots, gouges, or areas where drywall paper tears away. Fill these with lightweight joint compound or spackle before you paint. Apply a thin coat, let it dry fully, sand smooth, and add a second coat if needed.
Patience here matters. Do not blow dry using a heat gun- fast drying cracks. Allow to dry naturally and sand to a smooth flat finish and continue.
Step 7 — Choose the Best Paint for a Peeling Bathroom Ceiling
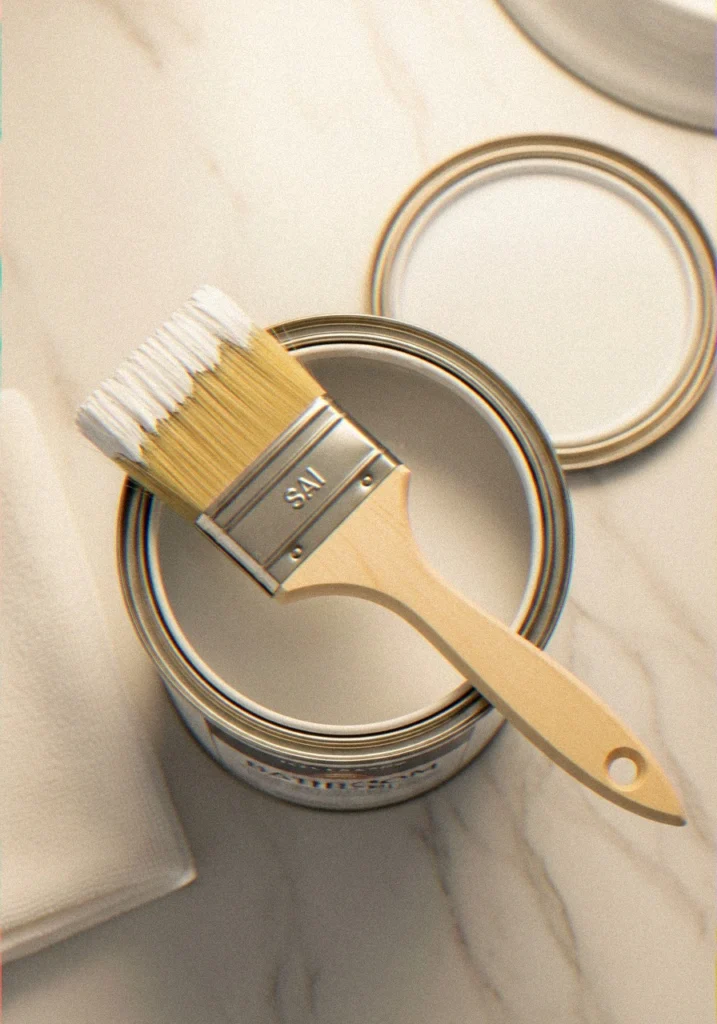
FYI — this is where a lot of people go wrong again, even after doing everything else right. The best paint for a peeling bathroom ceiling is specifically formulated for high-moisture environments. Look for labels that say “bathroom,” “kitchen,” or “moisture-resistant.”
Here’s a quick comparison of finish types to help you choose:
| Paint Finish | Moisture Resistance | Appearance | Best For |
|---|---|---|---|
| Flat/Matte | Poor | No sheen | Not recommended above shower |
| Eggshell | Low-Medium | Slight sheen | Dry bathroom areas only |
| Satin | Good | Soft sheen | Ideal for most bathroom ceilings |
| Semi-gloss | Excellent | Noticeable shine | Best above direct shower area |
I personally use satin finish on bathroom ceilings in most cases. It handles moisture well, it’s easy to clean, and it doesn’t look as stark as semi-gloss. Apply two coats minimum, letting each coat dry fully before the next.
How to Stop the Ceiling Above Your Shower from Peeling Again

Fixing the paint is only half the job. If you don’t address ventilation, the paint will peel again — I promise you that. It might take a year, maybe two, but it will happen.
According to the Home Ventilating Institute, your bathroom exhaust fan should provide at least 1 CFM per square foot of floor space. If your fan is old, undersized, or barely audible, upgrading it is genuinely one of the best investments you can make in your bathroom.
Simple habits that make a huge difference:
- Run the exhaust fan during every shower and keep it running for 15–20 minutes after
- Open a window if possible to increase airflow
- Wipe down wet walls after particularly steamy showers
- Check and replace failed caulk around your shower regularly
How to Waterproof a Ceiling Above a Shower
If you want to go a step further — especially if you’ve had recurring peeling problems — waterproofing the ceiling above a shower is a smart long-term move.
Here’s how to do it properly:
- Complete all the repair steps above first — waterproofing over damaged surfaces doesn’t work
- Apply a waterproofing membrane or waterproofing primer as your base coat — products like RedGard or similar bathroom waterproofing systems work well
- Use a bathroom-specific topcoat paint over the waterproofing base — satin or semi-gloss finish
- Seal all edges where the ceiling meets walls with 100% silicone caulk — this blocks moisture from sneaking in at the joints
- Maintain the ventilation — even the best waterproofing system works better in a well-ventilated bathroom
It is not always needed to waterproof a ceiling but again, this is a must in case you have a bathroom with persistent moisture issues or during the renovation process, this is worth the extra effort and expenditure.
FAQ — People Also Ask
Discover More Decor Ideas
18 Cozy White Aesthetic Bedroom Inspirations to Try Now
18 Gorgeous Black And Green Bedroom Ideas for a Bold Makeover
19 TOP Landscaping Around Tall Deck Ideas for a Stunning Backyard Upgrade
How to Deal With Peeling Paint on a Bathroom Ceiling?
Start by scraping off all loose paint, treating any mold with a bleach solution, and sanding the area smooth. Then apply a mold-resistant, shellac-based primer before painting with a moisture-resistant bathroom ceiling paint in satin or semi-gloss finish. Always address ventilation too — without fixing airflow, the problem will return.
How to Stop the Ceiling Above the Shower Peeling?
The most effective long-term solution combines two things: using the right materials (moisture-resistant primer and paint) and improving ventilation. Upgrade your exhaust fan if needed, run it during and after every shower, and repaint with a proper bathroom-grade satin or semi-gloss paint. This combination dramatically reduces future peeling.
How to Fix Peeling Paint Around a Shower?
The process is the same as ceiling repair — scrape, sand, treat mold if present, prime with a moisture-resistant product, and repaint. The key is being thorough with the scraping stage. Don’t leave any loosely bonded paint behind, as it will cause your new paint to fail in the same spots within months.
How to Waterproof a Ceiling Above a Shower?
After completing all surface repairs, apply a dedicated waterproofing membrane or primer like RedGard as a base coat. Follow with two coats of moisture-resistant bathroom ceiling paint in satin or semi-gloss finish. Seal the ceiling-to-wall junction with 100% silicone caulk for complete protection. Combine this with good ventilation for the best long-term results.
Final Thoughts
Fixing peeling paint on a bathroom ceiling above a shower isn’t complicated — but it does require doing the right things in the right order. Scrape thoroughly. Treat the mold. Prime properly. Use the right paint. Fix your ventilation. Miss any one of those steps and you’re just setting yourself up for a repeat performance.
I have performed this repair in various bathrooms on several occasions and each of them has survived as long as I performed this procedure properly. The entire work normally consumes a weekend, one day to prepare, prime and painting the next day. That is a very modest price to pay to have such a great-looking ceiling that would last years.
And now take that putty knife, and give that poor, peeling ceiling the second chance it rightfully deserves 🙂 You are going to do this.